
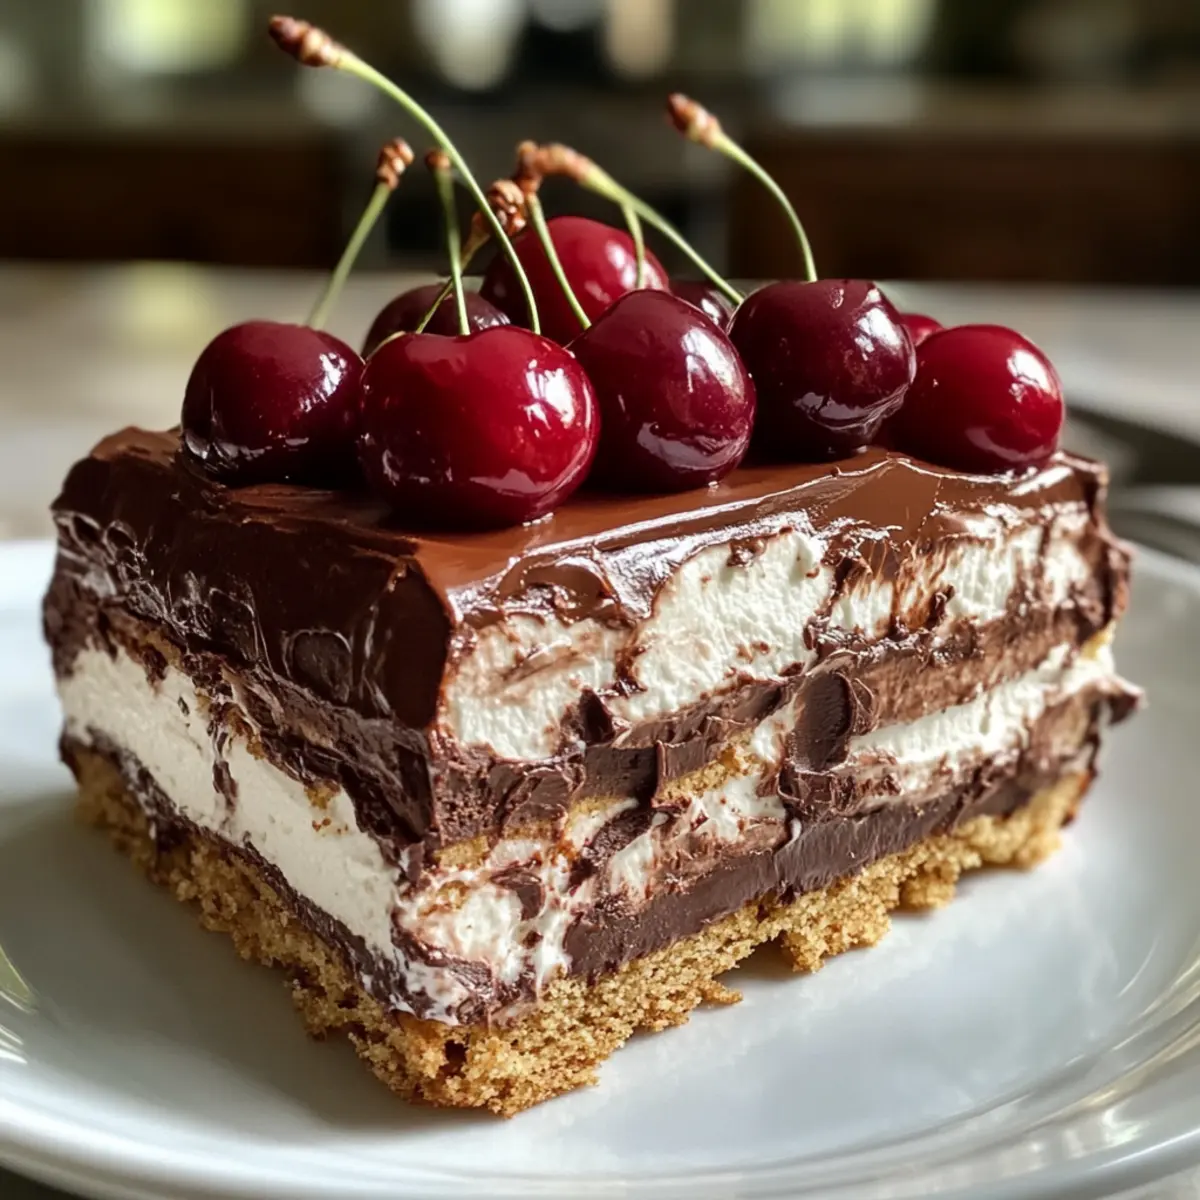
Every summer, my kitchen transforms into a bustling hub of delight, especially when I whip up my No-Bake Chocolate Fridge Cake. This irresistible dessert is a chocolate lover’s fantasy, featuring a creamy, indulgent filling that requires no baking at all. As I layer the crisp chocolate biscuit base with this luscious mixture, I can’t help but smile, knowing that it’s an effortless treat that pleases all crowds and is perfect for warm gatherings. Not only is it stupidly simple to prepare, but it also involves a make-ahead option that lets you focus on the fun of entertaining rather than being tethered to the oven. And just wait until you see the fresh fruit that crowns this delicious cake! Who’s ready to cool off with a slice?
Why is this cake a summer essential?
Effortless Indulgence: This No-Bake Chocolate Fridge Cake requires minimal effort while delivering maximum flavor, making it perfect for those busy summer days.
Versatile Ingredients: With options for different fruits and biscuits, you can easily customize this dessert to suit your taste or what you have on hand, just like with my delicious Pistachio Milk Cake.
Chilled Delight: The creamy, chilled texture is refreshing when served on a hot day, complemented beautifully by fresh cherries or berries.
Make-Ahead Magic: Prep this cake a day or two in advance! It stays fresh, allowing you to enjoy more time with your guests and less time in the kitchen.
Crowd-Pleaser: This dessert is sure to impress friends and family, turning even the most casual of gatherings into something special – a guaranteed hit, just like my popular Carrot Cake Cheesecake.
No-Bake Chocolate Fridge Cake Ingredients
For the Base
- Chocolate Biscuit – Provides the structural base of the cake; use any plain chocolate biscuit or digestive biscuits if unavailable.
- Butter – Binds the ingredients together and adds richness; coconut oil can be used for a dairy-free version.
For the Filling
- Heavy Cream – Contributes to the creamy texture; consider a dairy-free alternative if desired.
- Unsweetened Cocoa Powder – Enhances the chocolate flavor; opt for high-quality cocoa for best results.
- Sweetened Condensed Milk – Adds sweetness and moisture; for a less sweet version, use half the quantity and add a natural sweetener if necessary.
For the Topping
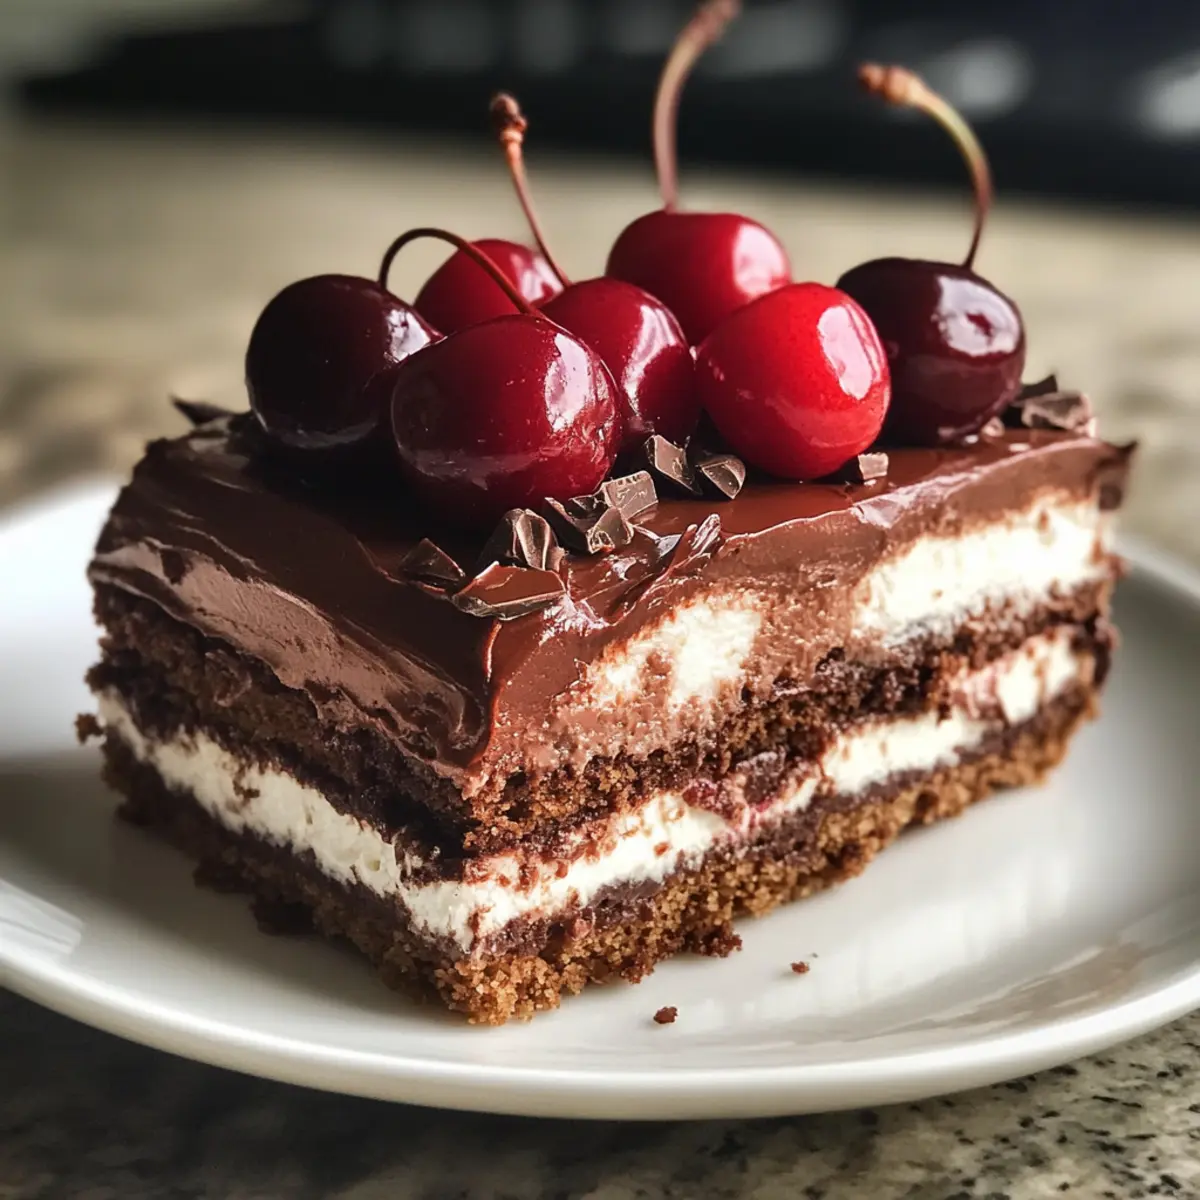
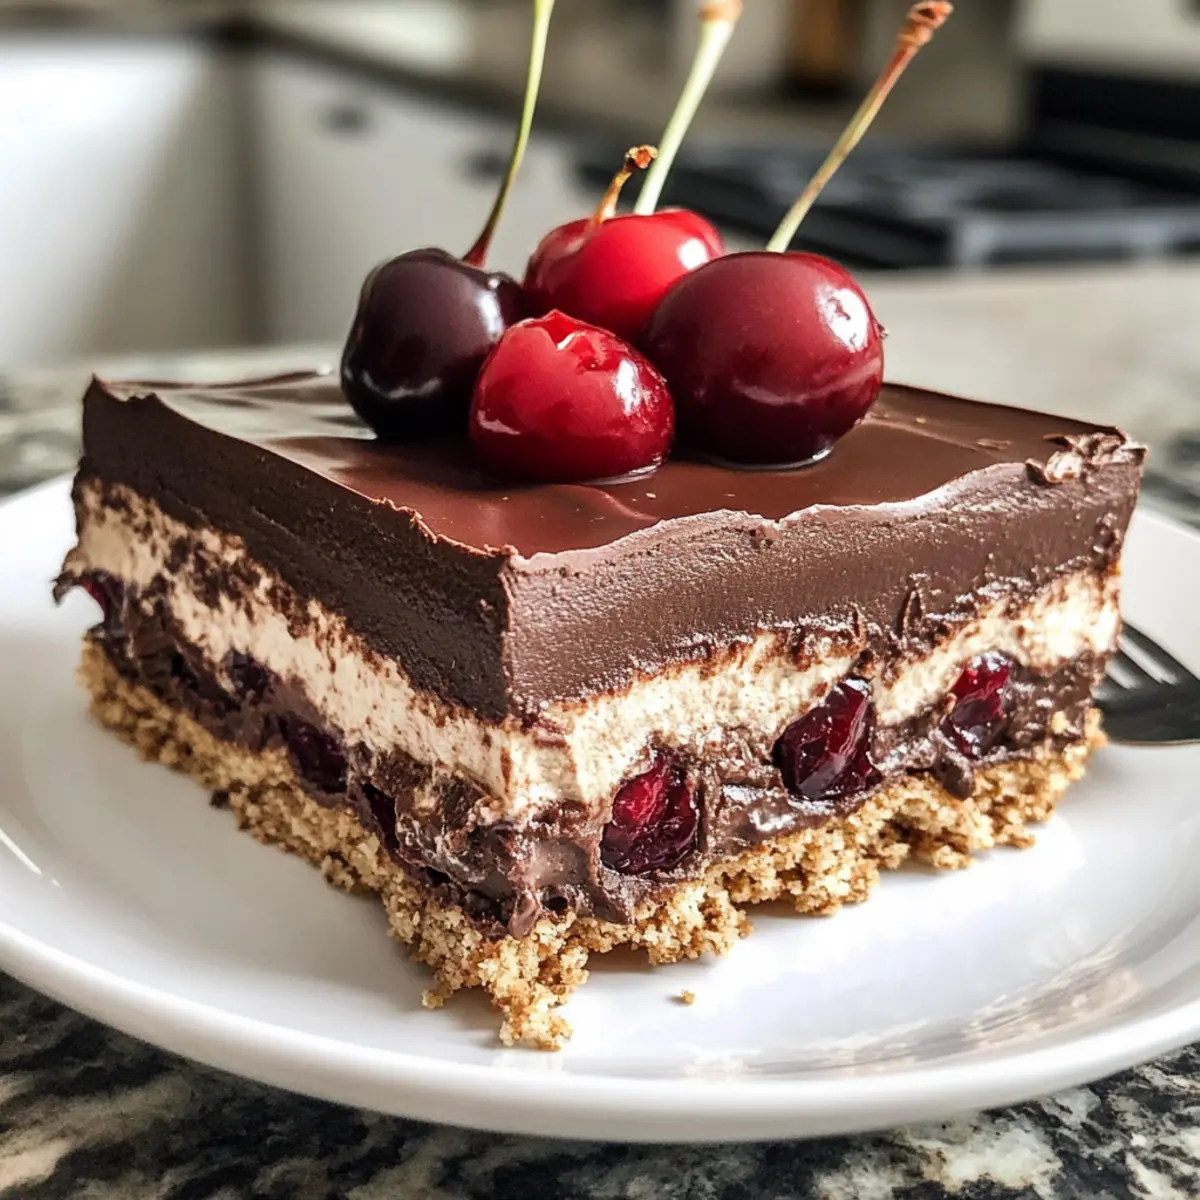
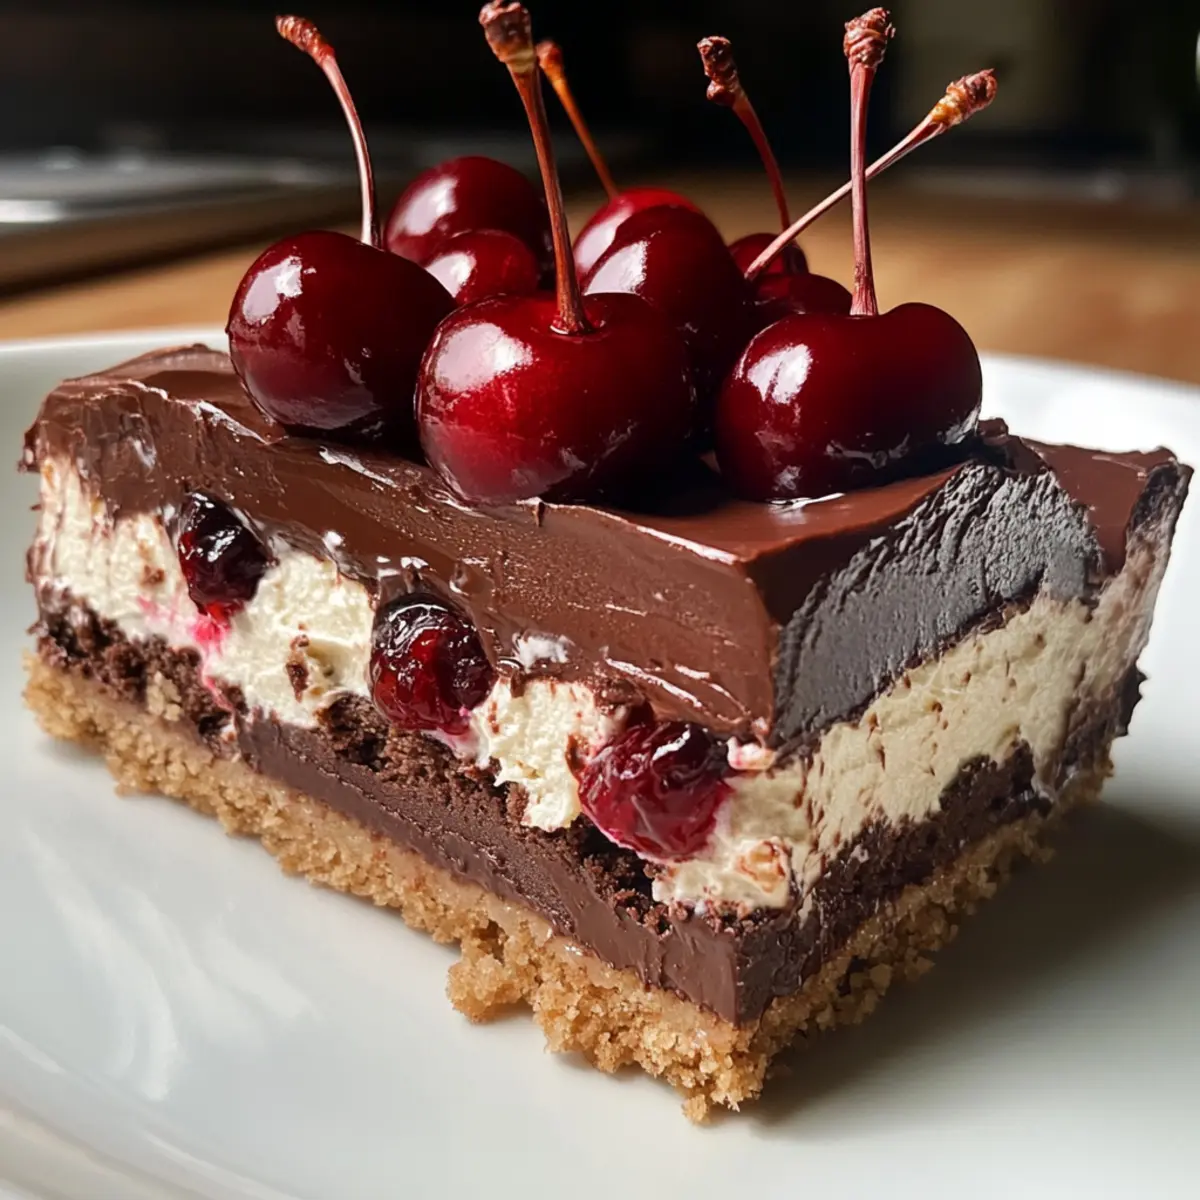
- Cherries or Other Fruits – Provides a fresh contrast to the richness of the cake; can substitute with blueberries, raspberries, or chocolate chips.
Enjoy making your delicious No-Bake Chocolate Fridge Cake that everyone will love!
Step‑by‑Step Instructions for No-Bake Chocolate Fridge Cake
Step 1: Crush the Biscuits
Begin by placing your chocolate biscuits in a large zip-top bag. Use a rolling pin to crush them into small, uneven pieces, roughly the size of a pea. This step only takes about 5–7 minutes and sets the base for your No-Bake Chocolate Fridge Cake. Pour the crushed biscuits into a mixing bowl and set aside.
Step 2: Whip the Cream
In a medium-sized bowl, use an electric mixer to whip the heavy cream until it reaches soft peaks, which should take about 3–5 minutes. The cream should hold its shape without being too stiff. This fluffy cream will give your No-Bake Chocolate Fridge Cake a light, airy texture, so watch closely after 3 minutes to prevent over-whipping.
Step 3: Mix the Chocolate Filling
In a separate mixing bowl, combine the unsweetened cocoa powder, sweetened condensed milk, and melted butter. Stir these ingredients together until well combined, creating a smooth, rich chocolate mixture. This step takes around 2–3 minutes, and the mixture should be glossy and creamy, setting the stage for a luscious filling.
Step 4: Fold in the Whipped Cream
Gently fold the whipped cream into the chocolate mixture using a spatula. Hold the spatula at an angle and scoop from the bottom to incorporate while being careful not to deflate the whipped cream. This will take about 2 minutes, and you want the mixture to be evenly combined with no visible streaks for that delightful No-Bake Chocolate Fridge Cake filling.
Step 5: Layer the Ingredients
In a lined rectangular container, layer the crushed biscuits and the chocolate cream mixture alternatively. Start with a layer of crushed biscuits, followed by a generous layer of the chocolate filling. Repeat this process until all ingredients are used, finishing with the chocolate layer on top. This should take about 5 minutes, creating a beautiful layered effect.
Step 6: Add the Topping
Slice the cherries in half or leave them whole, depending on your preference, then sprinkle them evenly over the top layer of the cake. You can also add additional fruits or chocolate chips at this time to enhance the visual appeal. This step adds a fresh touch to your No-Bake Chocolate Fridge Cake, and it should only take about 3 minutes.
Step 7: Chill to Set
Cover the container with plastic wrap and refrigerate the cake for at least 4 hours, preferably overnight. This chilling process allows the flavors to meld and the cake to set properly. During this time, the texture will transform into a creamy delight, so resist the urge to sneak a bite until the time is up!
Step 8: Slice and Serve
Once chilled, remove the No-Bake Chocolate Fridge Cake from the refrigerator. Use a sharp knife to cut it into neat slices. Serve chilled, optionally pairing each slice with a dollop of whipped cream and a few fresh berries on the side. This final step should take just a few minutes and promises a satisfying treat for everyone.
Tips for the Best No-Bake Chocolate Fridge Cake
-
Cream Peaks Matter: Ensure the cream is whipped to soft peaks; over-whipping will lead to a heavy texture in your No-Bake Chocolate Fridge Cake.
-
Chilling Time: Chill the cake for at least 4 hours, but overnight is even better. Insufficient chilling may leave it runny when sliced.
-
Ingredient Substitution: Feel free to substitute ingredients, such as using dairy-free cream or different fruits. Just keep the proportions similar for best results.
-
Layering Technique: Layer the crushed biscuits and filling evenly for a beautiful presentation; always start and end with the chocolate filling layer.
-
Fresh Toppings: Add fresh fruits just before serving for the best flavor and presentation; this keeps them vibrant and appealing on the cake.
No-Bake Chocolate Fridge Cake Variations
Feel empowered to customize your No-Bake Chocolate Fridge Cake in delightful ways that suit your taste buds!
-
Dairy-Free: Swap heavy cream with coconut cream for a luscious, dairy-free alternative. This adds a pleasant tropical note to your dessert.
-
Fruit Lovers: Instead of cherries, try layering blueberries or raspberries for a burst of freshness. The slight tartness complements the sweetness beautifully!
-
Nutty Twist: Add crushed nuts, like almonds or hazelnuts, between the biscuit layers for an extra crunch. This addition brings a wonderful texture that contrasts with the creamy filling.
-
Chocolate Explosion: Incorporate chocolate chips into the filling for an indulgent touch. These morsels melt into the cream, amplifying the chocolate flavor with every bite.
-
Spiced Up: Mix in a pinch of cinnamon or espresso powder to the chocolate filling for an unexpected flavor boost. It elevates the cake to a luxurious treat that’s hard to resist.
-
Frozen Treat: Freeze the assembled cake for an ice-cream-like dessert, perfect for hot summer days. Serve it straight from the freezer for a refreshing chocolate delight.
-
Flavored Biscuits: Use orange-flavored biscuits for a zesty twist. The hint of citrus adds a brightness that pairs wonderfully with the chocolate filling.
-
Mini Versions: Make individual portions in muffin tins for a fun presentation. These bite-sized treats are perfect for sharing with guests, just like my popular Chocolate Espresso Banana bread!
Feel free to mix and match these variations to create your perfect version of the No-Bake Chocolate Fridge Cake – a delightful way to enjoy this versatile dessert!
How to Store and Freeze No-Bake Chocolate Fridge Cake
Fridge: Keep your No-Bake Chocolate Fridge Cake in an airtight container for up to 3 days. This way, it stays fresh and maintains its delicious texture.
Make-Ahead: You can prepare the cake up to 2 days in advance. Just remember to cover it well to preserve the flavors as it chills.
Freezer: If you need to store it longer, freeze the cake wrapped tightly in plastic wrap for up to 2 months. Thaw it in the fridge before serving for optimal texture.
Reheating: This dessert is best enjoyed chilled; however, if it gets too firm after freezing, let it sit at room temperature for about 10-15 minutes before slicing.
Make Ahead Options
These No-Bake Chocolate Fridge Cakes are a fantastic option for meal prep and can be made up to 2 days in advance, allowing you to simplify your dessert planning for gatherings or busy weeknights. You can prepare the entire cake, layering the biscuit base and chocolate filling, then top it with your choice of fruit. For best results, cover the cake tightly with plastic wrap to ensure it stays fresh and the fruits maintain their vibrancy. When you’re ready to serve, simply slice and enjoy; it will be just as delicious and creamy as if made that day. This means more time savoring with loved ones and less time in the kitchen!
What to Serve with No-Bake Chocolate Fridge Cake?
The perfect spread of sides can elevate your dessert experience, transforming a simple slice into a delightful feast.
-
Creamy Vanilla Ice Cream: A scoop of vanilla ice cream adds a deliciously cold contrast to the rich flavors of the fridge cake, enhancing every bite.
-
Fresh Berries Medley: A vibrant mix of raspberries, strawberries, and blueberries brings both color and a burst of freshness that cuts through the sweetness beautifully.
-
Whipped Cream: This classic topping adds a fluffy, airy texture that complements the dense chocolate layers, making for a dreamy dessert combination.
-
Chocolate Sauce Drizzle: A drizzle of warm chocolate sauce intensifies the dessert’s rich flavor, inviting chocolate lovers to indulge even more.
-
Coffee or Espresso: Enjoy a warm cup alongside your fridge cake; the bitterness of coffee perfectly balances the sweetness, creating a satisfying contrast.
-
Mint Tea: The refreshing essence of mint tea can cleanse the palate and provide a light finish after indulging in this decadent treat.
-
Pistachio Cake: For those looking for variety, a slice of pistachio cake offers a nutty flavor that pairs surprisingly well with chocolate, creating a delightful duo.
-
Coconut Water: A light and hydrating option, coconut water complements the richness of the cake and offers a refreshing tropical flair.
-
Chocolate-Covered Strawberries: These bite-sized beauties can enhance the dessert experience, adding an extra layer of chocolate indulgence that’s visually stunning and delicious.
No-Bake Chocolate Fridge Cake Recipe FAQs
What type of chocolate biscuits should I use for the No-Bake Chocolate Fridge Cake?
You can use any plain chocolate biscuit or digestive biscuits as the base for your No-Bake Chocolate Fridge Cake. I recommend using a rich chocolate biscuit for a deeper flavor. Avoid those with added flavors or fillings to keep the recipe balanced and delicious!
How long can I store leftover cake in the fridge?
Store your No-Bake Chocolate Fridge Cake in an airtight container for up to 3 days. This ensures it remains fresh and retains its delightful texture. Just make sure to seal it well so that it doesn’t absorb any odors from the fridge.
Can I freeze the No-Bake Chocolate Fridge Cake?
Absolutely! You can freeze the cake wrapped tightly in plastic wrap for up to 2 months. When you’re ready to enjoy it, simply thaw in the fridge for several hours or overnight. This way, the texture remains creamy and satisfying. If you notice it feels too firm after freezing, let it sit at room temperature for 10 to 15 minutes before slicing.
What should I do if my whipped cream isn’t thickening properly?
If your whipped cream isn’t thickening, ensure that you’re using cold heavy cream and that your mixing bowl is also cold. This helps the cream whip better. Whip it at medium to high speed and be careful not to over-whip, as that can lead to a butter-like texture. If all else fails, you can add a small amount of powdered sugar or cornstarch to help stabilize it.
Are there any dietary considerations for this dessert?
Yes! If you’re making the No-Bake Chocolate Fridge Cake for someone with dietary restrictions, consider using a dairy-free cream and substituting butter with coconut oil. Additionally, be cautious of the ingredients if there are allergies, particularly to nuts or gluten, as some chocolate biscuits may contain those. Always check labels when selecting substitutions!
Irresistible No-Bake Chocolate Fridge Cake for Sweet Summers
Ingredients
Equipment
Method
- Begin by placing your chocolate biscuits in a large zip-top bag. Use a rolling pin to crush them into small pieces.
- In a medium bowl, whip the heavy cream until it reaches soft peaks.
- In another bowl, mix the cocoa powder, sweetened condensed milk, and melted butter until smooth.
- Gently fold the whipped cream into the chocolate mixture until evenly combined.
- Layer the crushed biscuits and chocolate cream mixture alternately in a lined container.
- Top with halved cherries or additional fruits and chocolate chips if desired.
- Cover with plastic wrap and refrigerate for at least 4 hours to set.
- Slice and serve chilled, optionally with whipped cream and fresh berries.
Leave a Reply