
I once stumbled upon a small Hawaiian bakery that smelled like paradise, filled with the delightful aroma of fresh Butter Mochi baking. I couldn’t resist that chewy, rich treat, and it sparked a love for this gluten-free dessert that I’ve cherished ever since. This Irresistibly Chewy Gluten-Free Butter Mochi combines the comforting flavors of butter and vanilla with a soft texture that simply melts in your mouth. Not only is it incredibly easy to whip up, making it perfect for both solo indulgence and gatherings, but it’s also a delightful twist on traditional treats that everyone can enjoy. Whether served warm or at room temperature, this dessert captures the essence of home and the joy of sharing sweet moments. So, why not take a little culinary journey with me and discover how to create this delightful treat? You’re just a few steps away from enjoying a piece of paradise!
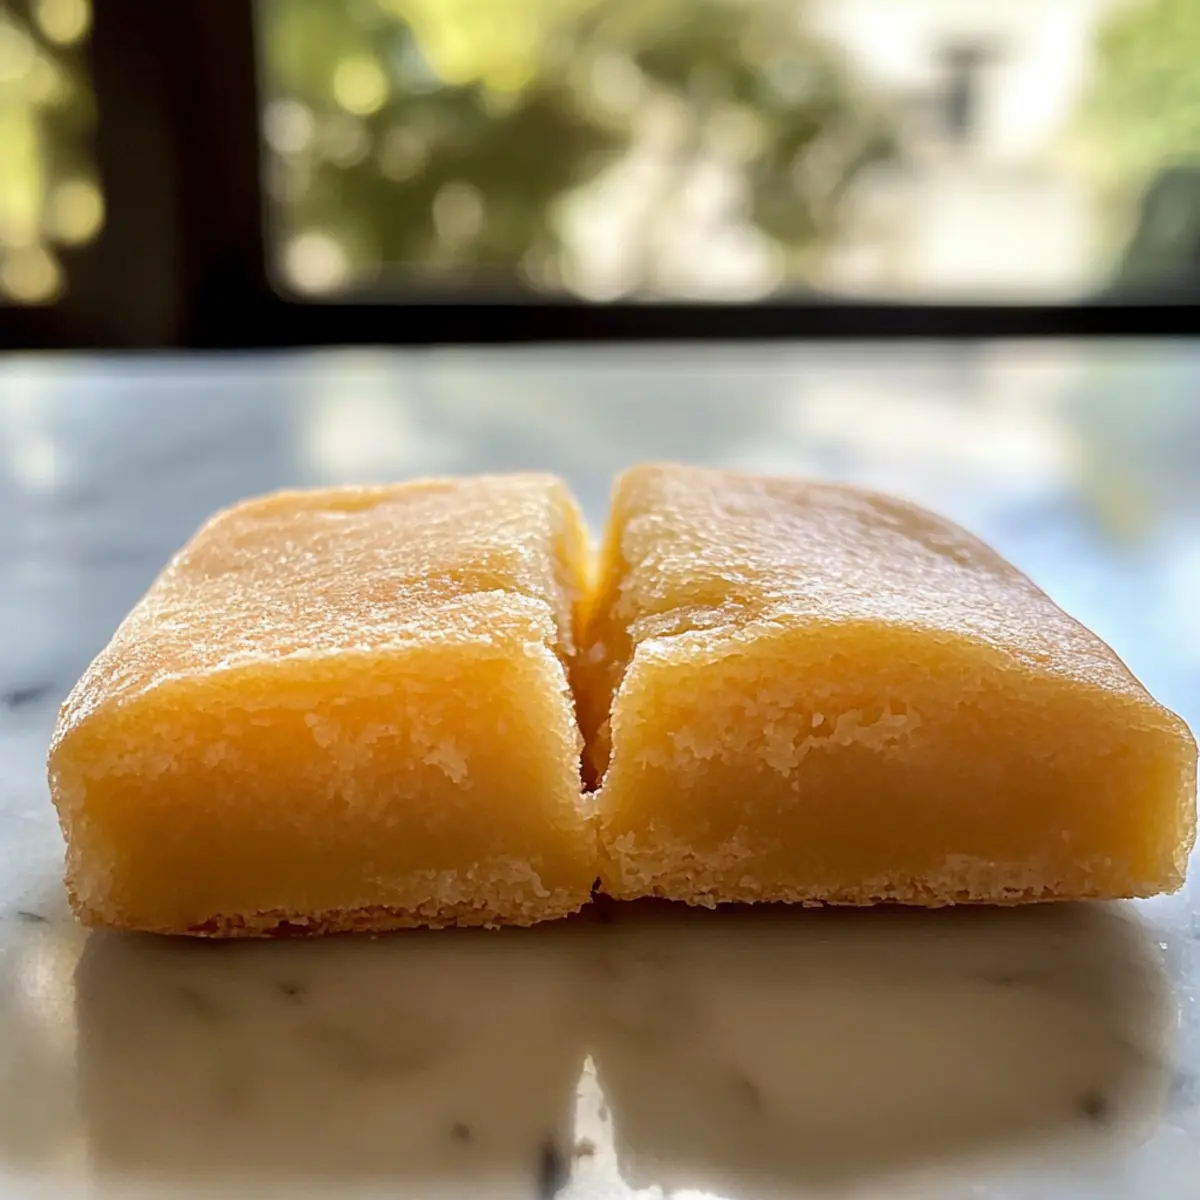
Why is Chewy Butter Mochi a Must-Try?
Irresistible Texture: The soft, chewy consistency of this Butter Mochi is nothing short of enchanting, with each bite melting in your mouth.
Easy to Make: This recipe requires minimal effort, ensuring you spend more time enjoying your treat rather than slaving away in the kitchen.
Tropical Flavor: The delightful combination of coconut milk, butter, and vanilla brings a taste of the islands right to your home.
Perfect for Sharing: Ideal for gatherings, this dessert allows you to impress friends or family with a unique, homemade delight they haven’t tasted before!
Versatile Customizations: Try adding a drizzle of melted dark chocolate or pairing with fresh fruit to personalize your experience—just as you might with my delicious Honey Butter Cornbread or Herbed Potato Rolls.
Gluten-Free Goodness: This recipe caters to gluten-free diets, ensuring everyone can indulge without worry.
Chewy Butter Mochi Ingredients
For the Batter
• Sweet Rice Flour – This essential ingredient provides Butter Mochi its signature chewy texture; do not substitute it with regular flour.
• Granulated Sugar – Adds the essential sweetness; palm sugar can be used for a more robust flavor profile.
• Coconut Milk – Introduces a rich, tropical flavor; opt for full-fat for added creaminess.
• Melted Butter – Ensures a luscious, moist dessert that enhances the overall flavor.
• Eggs – Provides structure and richness to the mochi, helping it hold together beautifully.
• Baking Powder – Helps the cake rise slightly; don’t skip this for the perfect texture.
• Vanilla Extract – Enhances the buttery flavor; use pure extract for the best taste.
• Salt – Balances sweetness and elevates the overall flavor, making each bite more delightful.
Step‑by‑Step Instructions for Chewy Butter Mochi
Step 1: Preheat the Oven
Start by preheating your oven to 350°F (175°C). This step is crucial for ensuring your Chewy Butter Mochi bakes evenly. Once heated, get your 9×13-inch baking dish ready by greasing it lightly with butter or cooking spray. The greased surface will help the mochi release easily after baking, creating a delightful texture.
Step 2: Combine Dry Ingredients
In a large mixing bowl, whisk together 2 cups of sweet rice flour, 1 cup of granulated sugar, and 1 tablespoon of baking powder until well combined. It’s important to mix these dry ingredients thoroughly to avoid lumps in your batter, paving the way for that signature chewy texture. The mixture should be homogenous and light before moving on to the next step.
Step 3: Mix in Wet Ingredients
Pour in 1 cup of coconut milk and ½ cup of melted butter into the dry ingredient mixture. Blend these together using a whisk until the batter is smooth and creamy, ensuring there are no dry patches. The mixture should be thick yet pourable, reflecting the lush consistency characteristic of Chewy Butter Mochi.
Step 4: Incorporate Eggs and Flavorings
Gently whisk in 2 large eggs, 1 teaspoon of vanilla extract, and a pinch of salt to the batter. This will enrich the flavor profile and improve the texture of your mochi, making it wonderfully soft. Ensure everything is well-mixed, as this creates the delightful melt-in-your-mouth quality we are aiming for.
Step 5: Bake the Batter
Transfer the combined batter into the greased baking dish, spreading it evenly. Place it in the oven and bake for 35-40 minutes. The top should turn a lovely golden brown, and a toothpick inserted in the center of the Chewy Butter Mochi should come out clean, indicating it’s ready to be removed.
Step 6: Cool Before Cutting
Once baked, let the Chewy Butter Mochi cool in the pan for about 10 minutes. This resting period is essential, allowing the dessert to set perfectly before slicing. The cooling process also makes it easier to cut into squares without crumbling, retaining that beloved chewy texture.
Step 7: Slice and Serve
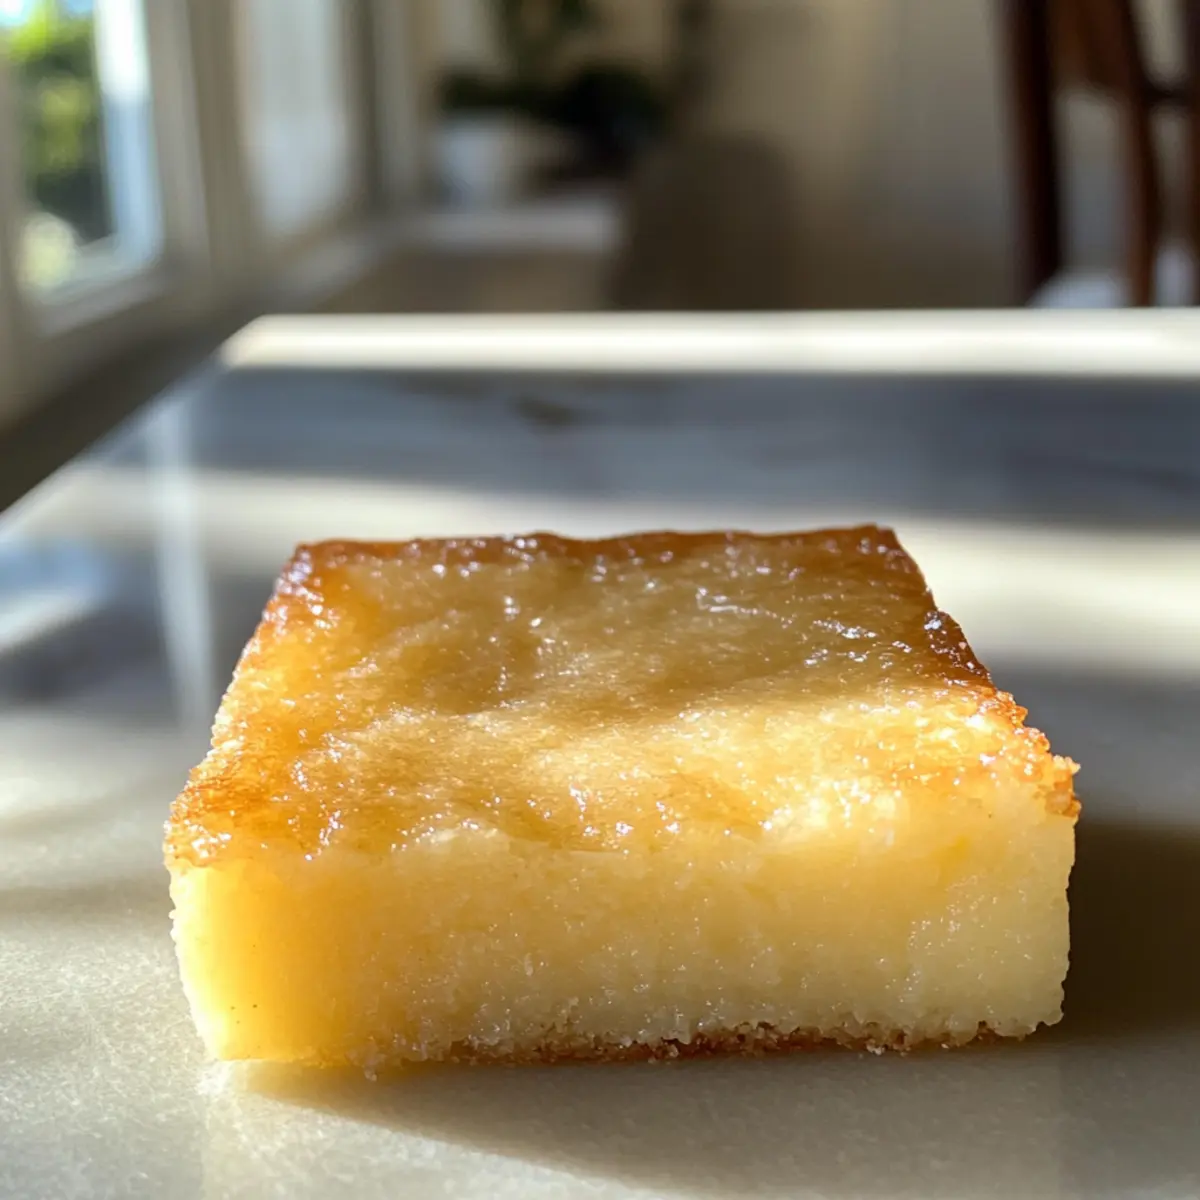
After cooling, use a sharp knife to cut the Butter Mochi into squares. Each piece should reveal a chewy center that is both soft and rich. These delightful squares can be enjoyed warm or at room temperature, making them perfect for sharing at gatherings or indulging on your own.
Chewy Butter Mochi Variations & Substitutions
Feel free to unleash your creativity and customize your Chewy Butter Mochi with these fun and delightful variations!
-
Dairy-Free: Replace melted butter with coconut oil for a smooth, dairy-free alternative that still offers rich flavor.
For an extra tropical twist, consider using a hint of coconut extract to enhance the overall coconut flavor! -
Flavor Boost: Add 1 teaspoon of almond extract for a wonderfully aromatic twist that complements the vanilla beautifully.
-
Chocolate Drizzle: Melt some dark chocolate and drizzle it over the cooled mochi for a decadent finish.
This rich addition adds a delightful contrast to the chewy texture and enhances its indulgent appeal. -
Fruit Add-In: Mix in 1 cup of shredded coconut or diced ripe bananas for added flavor and texture.
This not only makes the mochi more interesting but also brings a burst of freshness to each bite! -
Nutty Crunch: Stir in ½ cup of chopped macadamia nuts or almonds before baking for a delightful crunch.
This adds a satisfying texture that perfectly balances the chewy mochi! -
Matcha Twist: Incorporate 1-2 tablespoons of matcha powder into the batter for a unique flavor and stunning green color.
This trendy ingredient not only looks beautiful but also infuses a subtle earthiness that pairs well with the sweetness. -
Zesty Kick: Add the zest of one lime to the batter for a hint of citrus that brightens the flavor profile.
The zesty notes beautifully complement the richness of the coconut and enhance the overall experience. -
Tropical Toppings: Serve with a scoop of coconut ice cream or drizzle with warm pineapple sauce for a complete tropical experience!
This combination transforms your Chewy Butter Mochi into an island-inspired dessert that warms the heart.
Feel free to explore these variations and share your favorite creations with family and friends, making every batch of Chewy Butter Mochi a sweet adventure worthy of a piece of paradise!
How to Store and Freeze Chewy Butter Mochi
Room Temperature: Store at room temperature in an airtight container for up to 2 days to keep it fresh and chewy.
Fridge: If you want to keep it longer, refrigerate the Chewy Butter Mochi in an airtight container for up to a week. This will keep the dessert moist while enhancing the flavors.
Freezer: For longer storage, freeze individual squares wrapped in plastic wrap and then placed in a freezer bag for up to 3 months. Thaw at room temperature before enjoying.
Reheating: To enjoy your Chewy Butter Mochi warm, simply microwave for about 10-15 seconds or warm it in an oven set to low for a minute or two.
Expert Tips for Chewy Butter Mochi
-
Quality Flour Matters: Use high-quality sweet rice flour designed for mochi; this is key for achieving that perfect chewy texture.
-
Mix Well: Ensure the batter is thoroughly mixed to avoid lumps; a creamy consistency is essential for a uniform bake.
-
Check Doneness: Keep an eye on the baking time and test with a toothpick; it should come out clean for the ideal Chewy Butter Mochi.
-
Cooling Is Key: Allow the mochi to cool for at least 10 minutes before cutting; this helps it set and keeps it from crumbling.
-
Air-tight Storage: Store leftovers in an airtight container to maintain moisture and texture; they’re best enjoyed fresh but can last a few days!
Make Ahead Options
These Chewy Butter Mochi are perfect for meal prep enthusiasts looking to save time during busy days! You can make the batter up to 24 hours in advance; simply combine all the dry ingredients and store them in an airtight container, then refrigerate the wet ingredients separately. When you’re ready to enjoy your treat, whisk the wet ingredients into the dry mixture, bake as usual, and you’ll have that melt-in-your-mouth dessert just as delicious as if it were freshly made. Additionally, you can cut and store leftover squares in an airtight container at room temperature for up to 2 days or in the refrigerator for up to 1 week to maintain their delightful chewiness.
What to Serve with Irresistibly Chewy Gluten-Free Butter Mochi?
Indulging in a piece of soft, chewy Butter Mochi opens the door to creating a delightful meal experience, perfect for sharing with loved ones.
-
Coconut Ice Cream: This creamy, tropical treat enhances the coconut flavor in the mochi, creating a luscious dessert duo that feels like a slice of paradise.
-
Fresh Mango Slices: Juicy, ripe mango adds a refreshing contrast to the chewy texture of the mochi, balancing sweetness and providing a burst of tropical flavor.
-
Tropical Fruit Salad: A colorful mix of pineapple, kiwi, and bananas brings freshness to the table. The vibrant fruit brightens your dessert experience and adds a healthy element.
-
Matcha Green Tea: The earthy bitterness of matcha complements the sweetness of the Butter Mochi, creating a soothing contrast that enhances the overall flavor profile.
-
Mango Sticky Rice: This traditional dessert resonates with the mochi’s chewy texture, making for a beautiful pair that celebrates Asian flavors and culture.
-
Chocolate Drizzle: Melting dark chocolate over your mochi offers a rich, decadent touch. It adds both sweetness and depth, turning a delightful dessert into an indulgent treat.
-
Sweetened Coconut Flakes: Sprinkling toasted coconut flakes on top adds texture and a toasted flavor that complements this luscious mochi beautifully.
-
Lychee Soda: A fizzy, refreshing drink, lychee soda pairs well with the mochi’s rich consistency, cleansing the palate while enhancing sweet notes.
-
Honey Drizzle: A light drizzle of honey over the top creates a beautiful shine and additional sweetness, elevating each bite to heavenly heights.
Chewy Butter Mochi Recipe FAQs
How do I select the right sweet rice flour for Chewy Butter Mochi?
Absolutely! When choosing sweet rice flour for your Chewy Butter Mochi, look for products labeled as “mochi flour” or “glutinous rice flour” (like Mochiko). This type of flour is crucial for achieving that authentic, chewy texture that makes this dessert so delightful. Avoid any regular all-purpose flour as it will not yield the same results.
How should I store leftover Chewy Butter Mochi?
For optimal freshness, store leftover Chewy Butter Mochi at room temperature in an airtight container for up to 2 days. If you’d like to keep it longer, refrigeration is an option; it should last up to a week. Just ensure it’s well sealed, as this helps maintain its delightful texture!
Can I freeze Chewy Butter Mochi?
Yes, you can! For freezing, wrap individual squares of Chewy Butter Mochi in plastic wrap, then place them in a freezer bag to prevent freezer burn. It will keep well for up to 3 months. To enjoy, simply thaw at room temperature or heat in the microwave for 10-15 seconds to bring back that soft, chewy goodness.
What should I do if my Chewy Butter Mochi turns out too dry?
If your Chewy Butter Mochi comes out dry, it’s likely due to overbaking. Always check it a few minutes before the baking time is up. For the perfect bake, it should be golden on top, and a toothpick should come out clean but not too dry. To revitalize dry squares, simply drizzle with a bit of coconut milk or serve them warm with ice cream for added moisture.
Are there any dietary considerations for Chewy Butter Mochi?
Certainly! This recipe is naturally gluten-free, so it is suitable for those with gluten sensitivities. However, it’s good to be aware of any allergies to specific ingredients like eggs or dairy (from the butter). You can opt for coconut oil as a dairy-free alternative or use flaxseed meal mixed with water as a vegan egg substitute if you need to accommodate dietary restrictions.
How long does it take to make Chewy Butter Mochi?
The entire process of making Chewy Butter Mochi takes roughly 1 hour from start to finish, including 35-40 minutes of baking time. This also allows for a cooling period of about 10 minutes before slicing into squares, making it a relatively quick dessert to whip up for a gathering or just a cozy night at home.
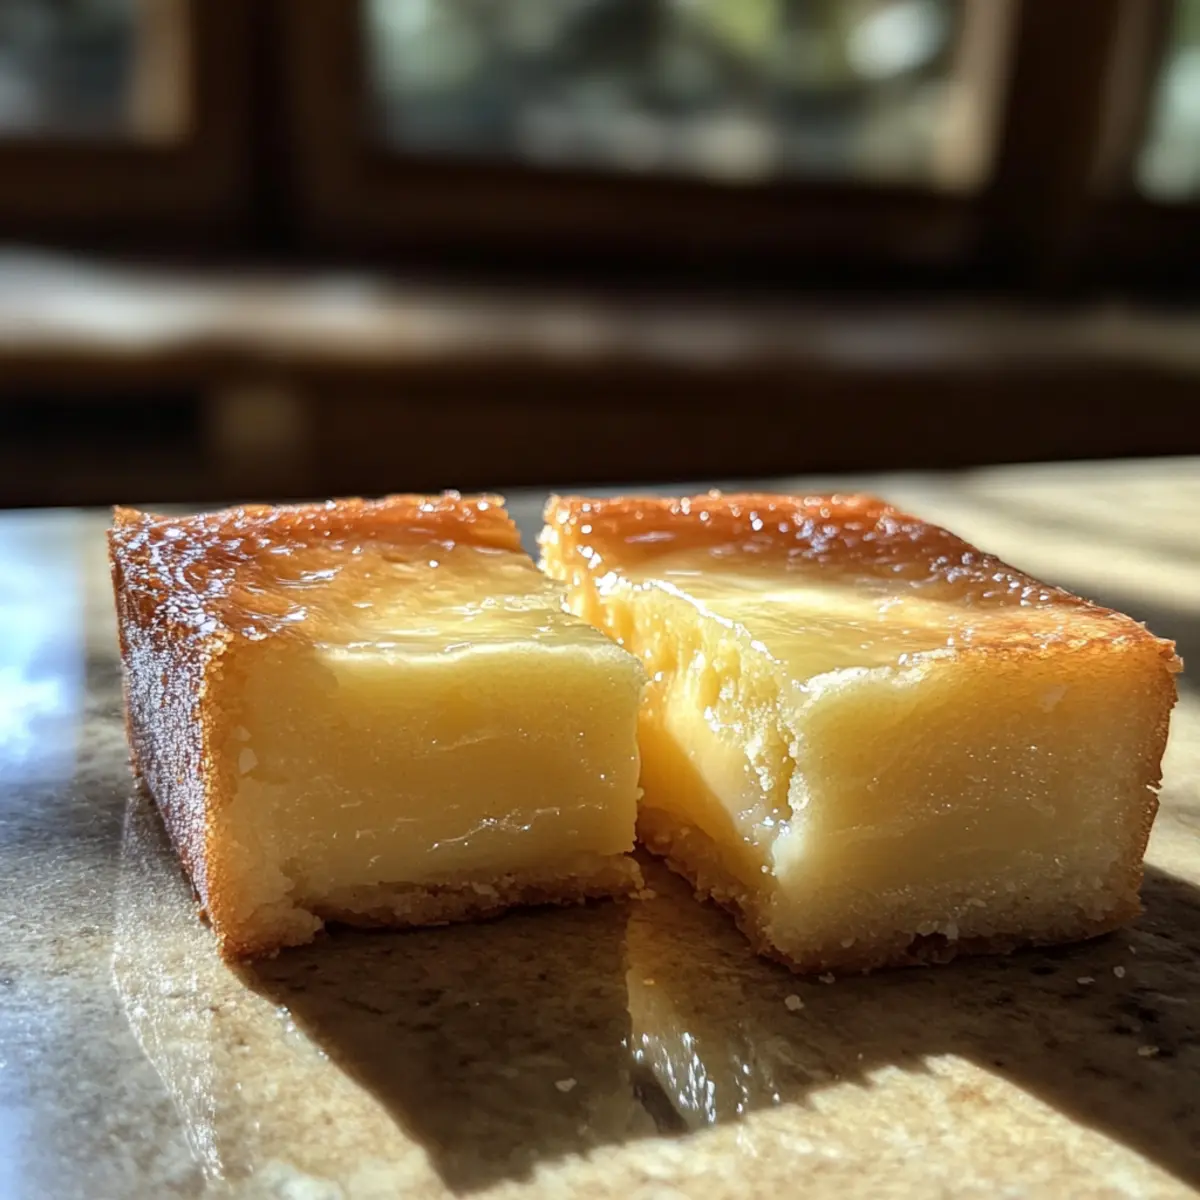
Chewy Butter Mochi: A Taste of Island Delight at Home
Ingredients
Equipment
Method
- Preheat your oven to 350°F (175°C) and grease the 9x13-inch baking dish.
- In a large mixing bowl, whisk together sweet rice flour, granulated sugar, and baking powder until combined.
- Pour in coconut milk and melted butter, whisk until the batter is smooth.
- Gently whisk in eggs, vanilla extract, and salt until well mixed.
- Transfer the batter into the greased baking dish and bake for 35-40 minutes until golden brown.
- Let cool in the pan for about 10 minutes before slicing into squares.
- Cut into squares and enjoy warm or at room temperature.
Leave a Reply