
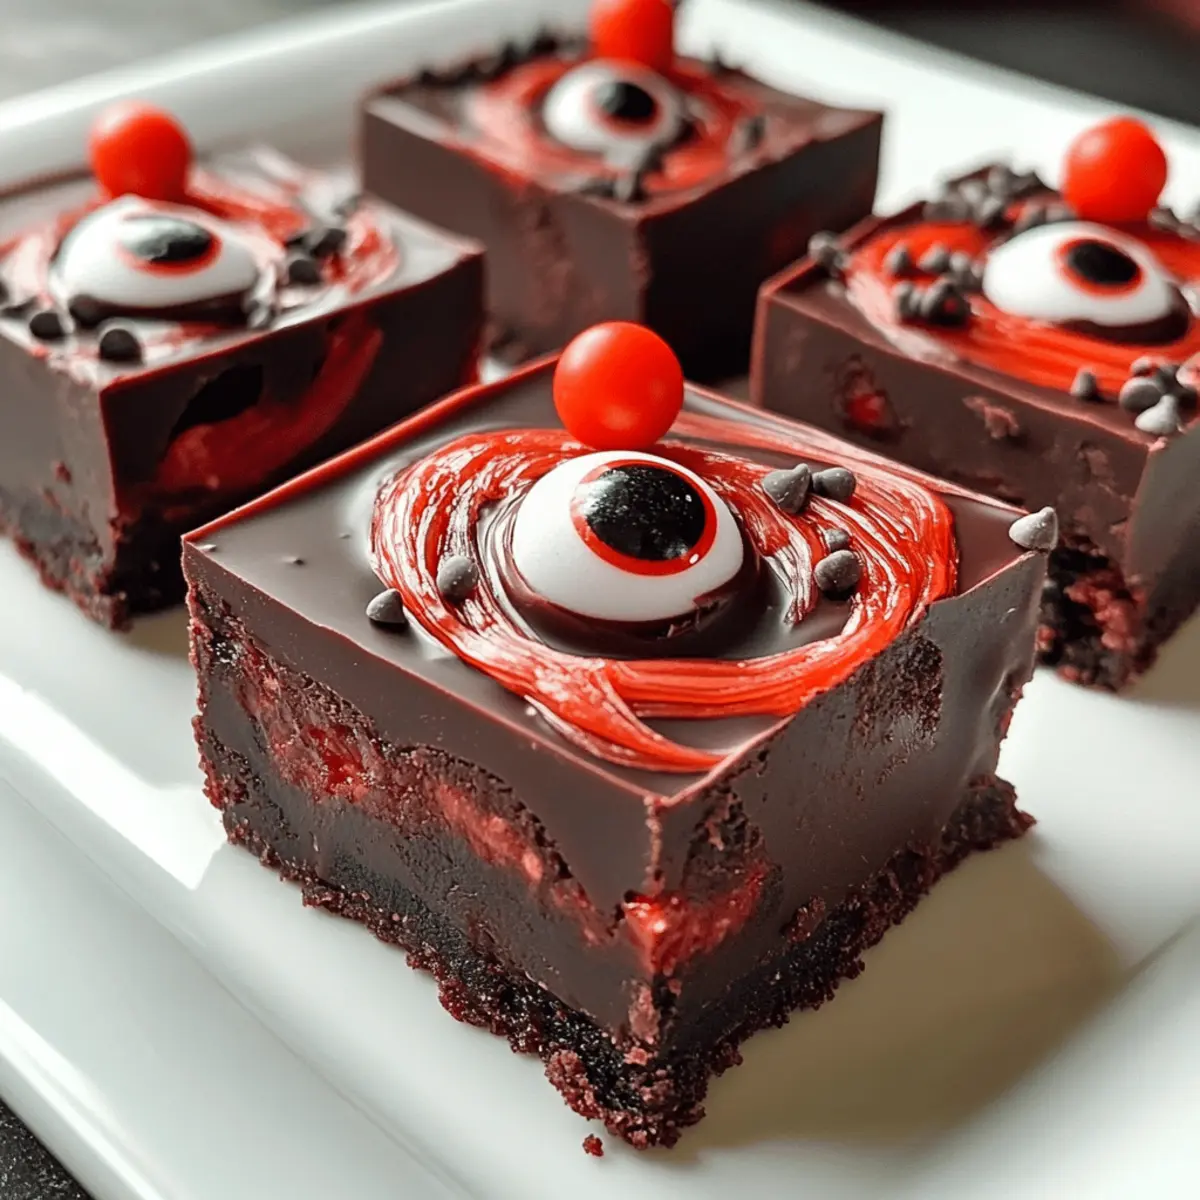
As I gathered with friends for our annual Halloween bash, the conversation turned to the desserts that would make our gathering unforgettable. That’s when I decided to whip up a batch of Vampire Fudge—a spooktacular no-bake treat that promises to steal the show! With its rich dark chocolate base swirled with a vibrant red raspberry or cherry ‘blood’ effect, this dessert is not only visually striking but also ridiculously easy to make. Perfect for both kids and adults, this recipe is a quick triumph that takes just 20 minutes to prep. It’s the ideal way to add a twist to your Halloween celebrations and create sweet memories without the fuss—so why not join me in making this frightfully delicious treat? What fun decorations will you choose to make your Vampire Fudge stand out?
Why is Vampire Fudge a Must-Try?
Irresistible Ease: This no-bake treat simplifies your Halloween baking—just 20 minutes of prep!
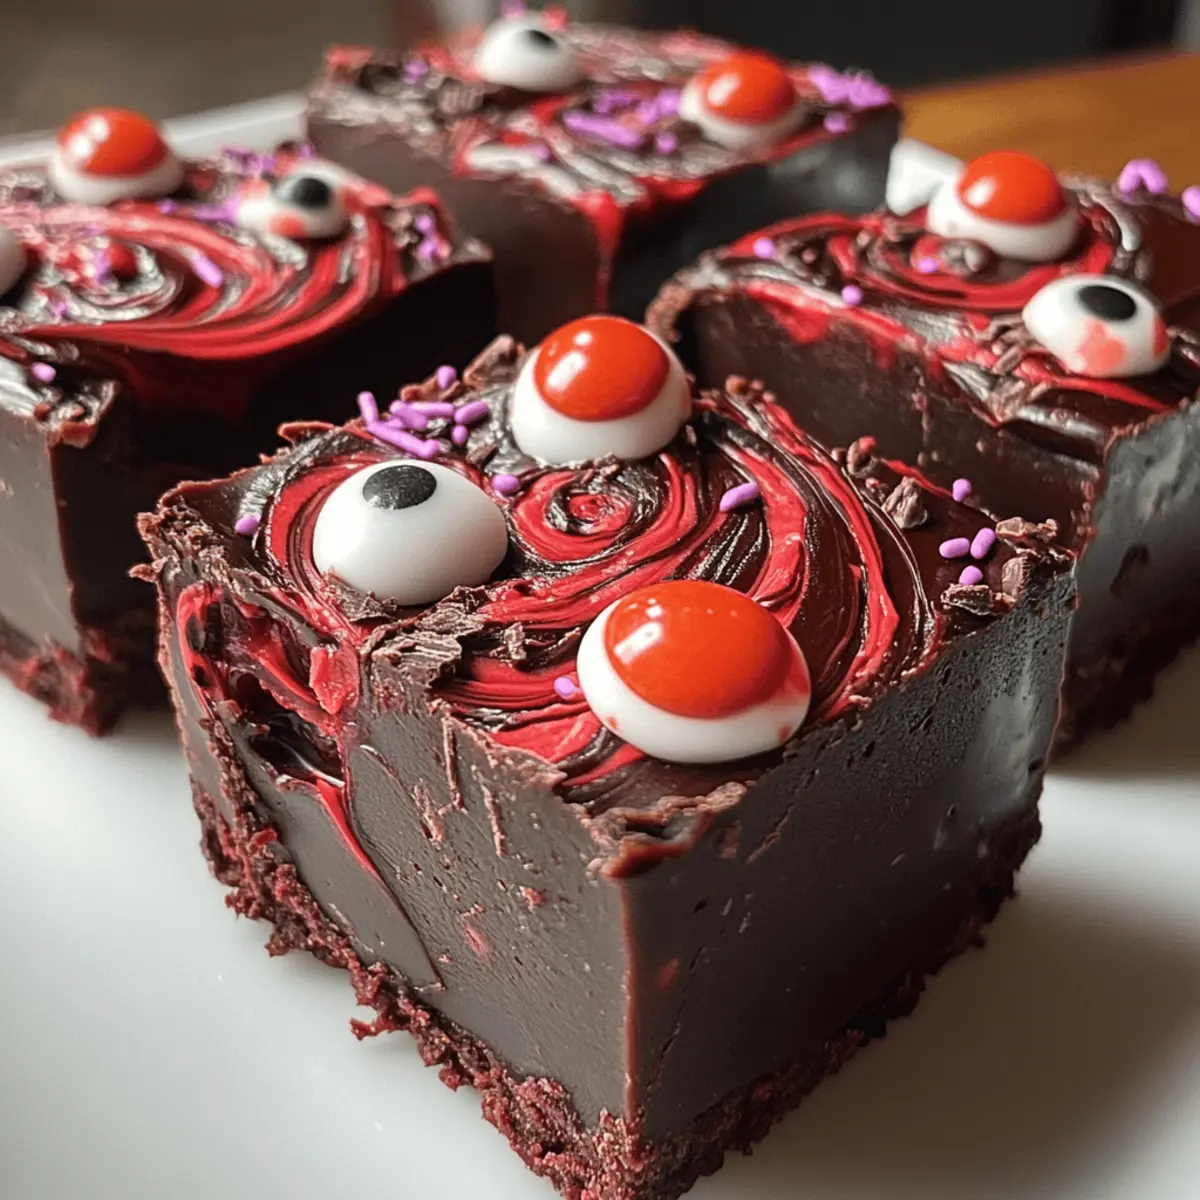
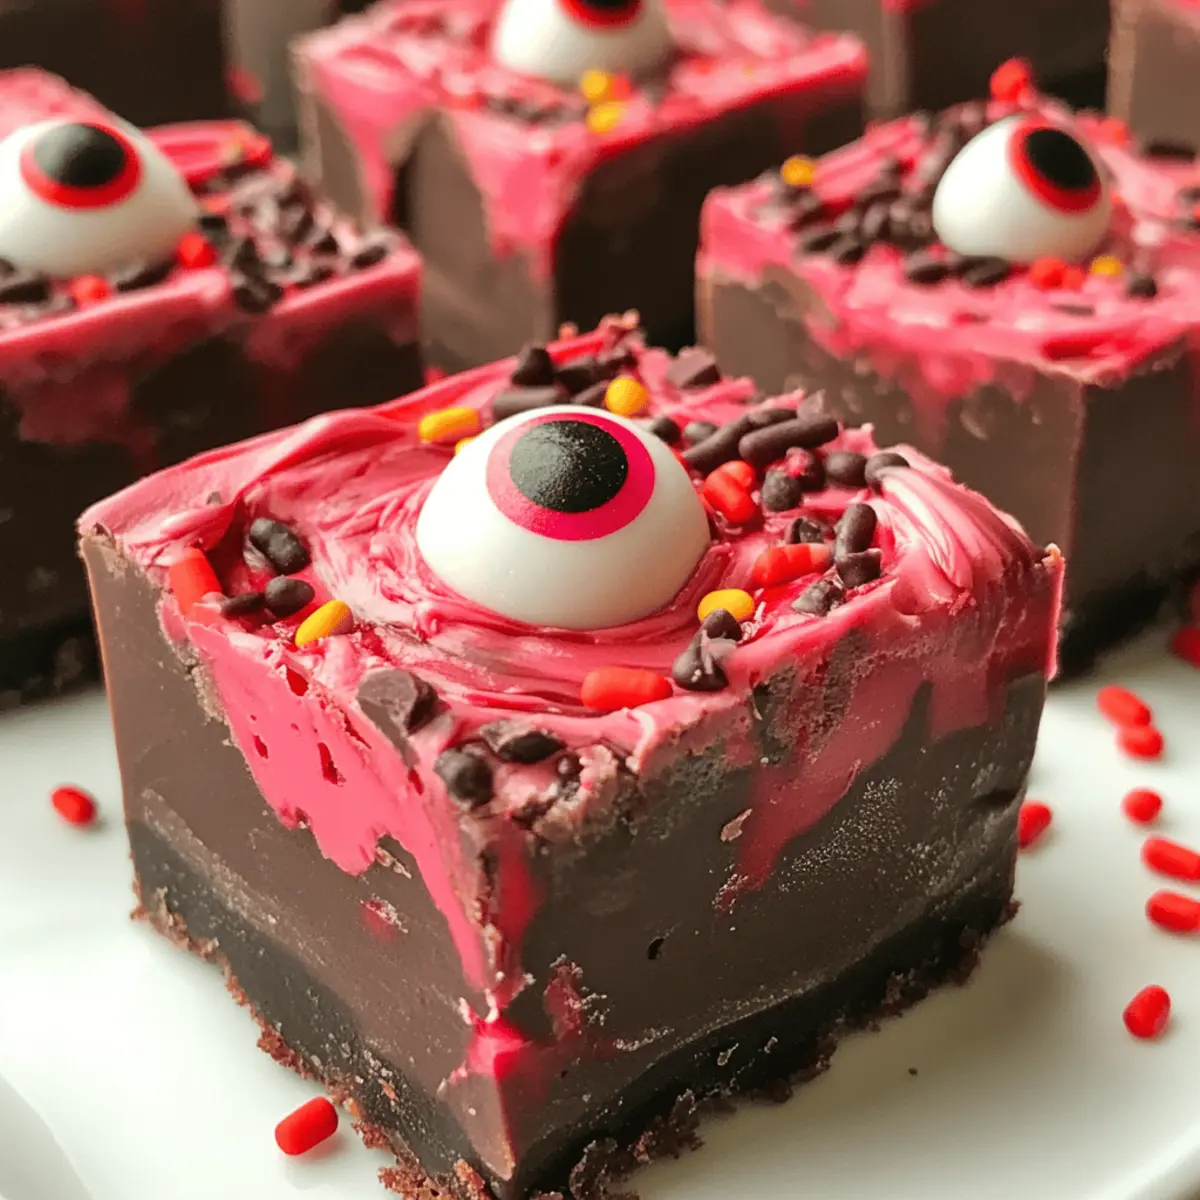
Ghoulish Appeal: With its vivid red swirl, Vampire Fudge grabs attention and delight from guests of all ages.
Customizable Fun: Feel free to mix in different fruit fillings or toppings for a personal touch.
Crowd-Pleasing Sweetness: This rich, chocolatey treat is perfect for parties, school events, and trick-or-treat bags, guaranteeing smiles all around.
Seasonal Spirit: Capture the essence of Halloween with a dessert that embodies festive fun; it’s sure to spark joyful conversations.
Dive into the spooky spirit with recipes like Halloween Sprinkles or pair this fudge with delightful themed drinks!
Vampire Fudge Ingredients
For the Chocolate Base
• Semi-Sweet Chocolate Chips – The main base for flavor and texture; dark chocolate works well for a richer taste.
• Sweetened Condensed Milk – Provides creaminess and sweetness; use evaporated milk if needed.
• Butter – Adds richness and helps set the fudge, ensuring a tender bite.
• Vanilla Extract – Enhances flavor; almond extract can be a fun twist.
For the ‘Blood’ Effect
• Red Food Coloring – Creates the vibrant ‘blood’ swirl; adjust for more intensity if desired.
• White Chocolate Chips – Optional for an impressive dual-chocolate layer that adds visual interest.
For Decoration
• Candy Eyeballs – Fun decoration that brings a spooky touch; swap out for any themed sweets if necessary.
• Red Licorice Strings – Enhances texture and adds a frightful appearance; any string candy works as a substitute.
• Black Decorating Gel – Optional for adding spooky details; use sparingly for dramatic effect.
• Halloween Sprinkles – Optional but delightful for extra festivity; add them for a touch of celebration!
This delightful Vampire Fudge truly captures the Halloween spirit, begging to be enjoyed at your next festive gathering!
Step‑by‑Step Instructions for Vampire Fudge
Step 1: Prepare the Pan
Begin by lining a 9×9 inch baking dish with parchment paper. This step is crucial for easy removal of your Vampire Fudge later. Ensure the edges of the parchment paper extend slightly above the dish for easier lifting once the fudge has set.
Step 2: Melt the Chocolate Base
In a medium saucepan over low heat, melt together the semi-sweet chocolate chips, sweetened condensed milk, butter, and vanilla extract. Stir continuously until the mixture is smooth and glossy, about 5–7 minutes. Be careful to avoid burning the chocolate; adjusting the heat down as necessary will keep it melting gently.
Step 3: Add Food Coloring
Once the chocolate mixture is smooth, remove it from the heat and stir in the red food coloring. Mix until the color is evenly distributed, creating an eye-catching swirl effect that resembles vampire ‘blood’. The deep red hue should be vibrant and striking, contributing to the festive appearance of the Vampire Fudge.
Step 4: Pour into Pan
Carefully pour the chocolate mixture into the prepared baking dish, using a spatula to spread it evenly. Pat the mixture down gently to ensure it fills the corners of the dish and has an even surface. Once spread, place the pan in the refrigerator for about 30 minutes to allow the fudge to begin setting.
Step 5: Prepare ‘Blood’ Layer
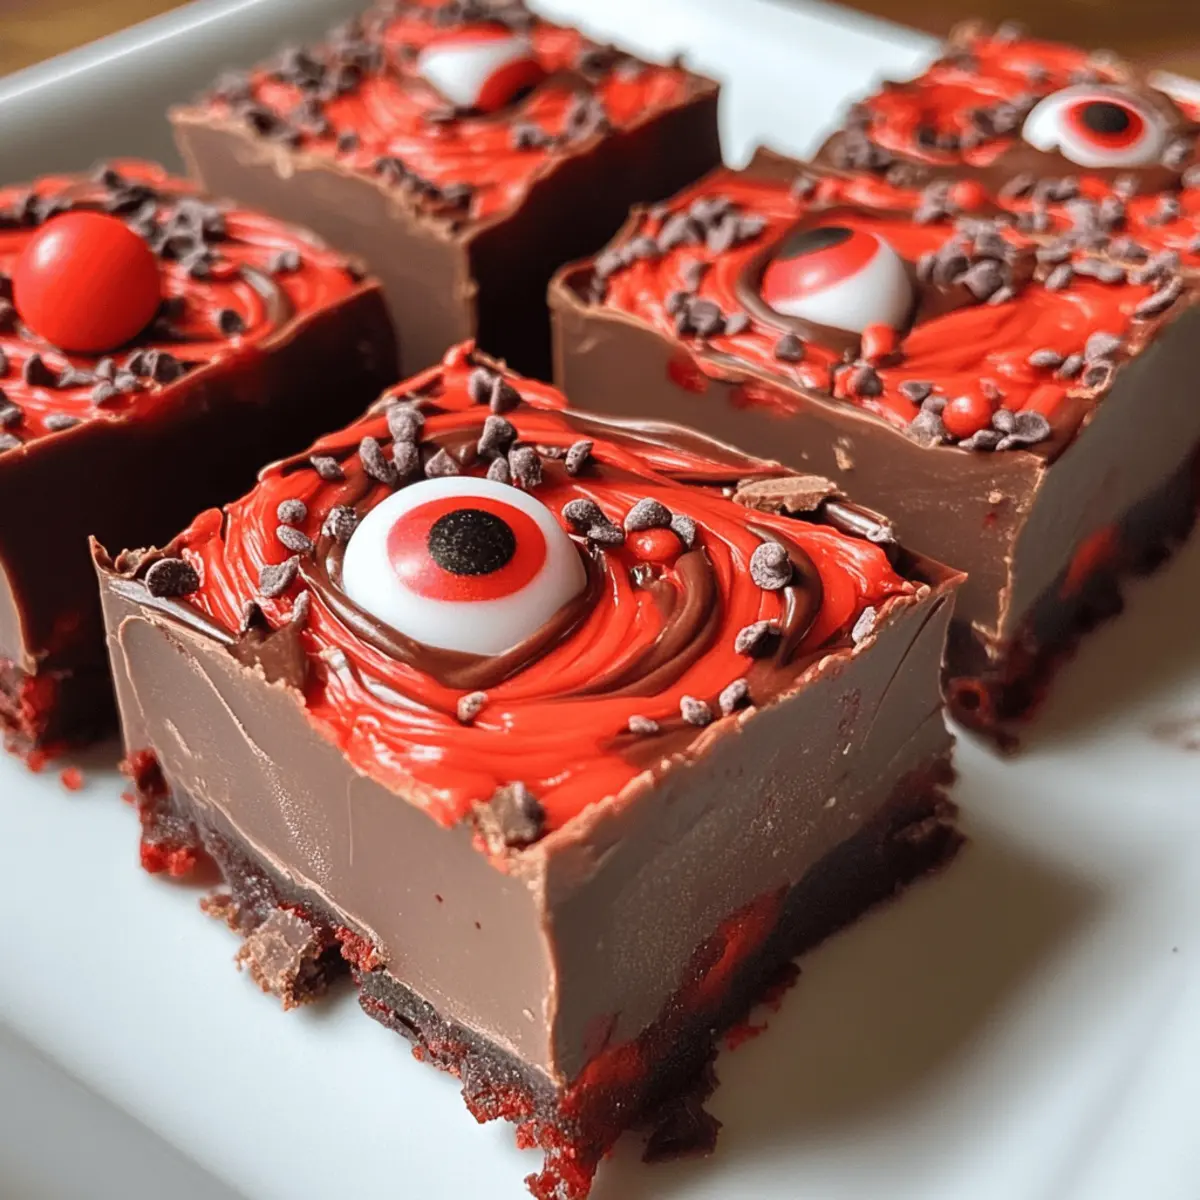
For an optional ‘blood’ effect, melt white chocolate chips with a few drops of red food coloring in a microwave-safe bowl or double boiler. Mix until smooth and pour it over the already set chocolate layer in the pan. Spread it gently for a beautiful layered effect, adding an extra touch of fright to your Vampire Fudge.
Step 6: Chill to Set
Return the pan to the refrigerator and chill for an additional 3–4 hours, or until the fudge is completely firm. Keep an eye on it during this time, ensuring it’s touchable but solid. Proper chilling is key to achieving the perfect texture for slicing later on.
Step 7: Cut & Serve
Once set, lift the fudge out of the pan using the parchment paper. Place it on a cutting board and cut into squares. For a festive presentation, serve the Vampire Fudge with optional decorations like candy eyeballs, red licorice strings, or Halloween sprinkles, ensuring each piece is as spooky as it is delicious!
Expert Tips for Vampire Fudge
- Use Low Heat: Melt chocolate over low heat to prevent burning. High temperatures can ruin the chocolate’s texture and flavor.
- Proper Pan Lining: Make sure to line your baking pan accurately; this helps in removing the fudge cleanly without any sticky mess.
- Personal Flavor Twist: Consider adding a drop of almond extract for depth; it enhances the overall flavor of the Vampire Fudge.
- Monitor Chilling Time: Keep an eye on the fudge while it chills—it’s crucial for the fudge to set thoroughly before slicing to achieve perfect squares.
- Decorate Creatively: Let your imagination run wild with decorations; using unique Halloween-themed candies can make your fudge stand out even more!
What to Serve with Vampire Fudge
Add a festive twist to your gathering with these delightful pairings that elevate your Vampire Fudge experience.
-
Pumpkin Spice Latte: The warm, spices from this coffee drink complement the rich chocolate, creating a cozy fall vibe.
-
Caramel Apple Slices: Crisp apple slices drizzled with caramel bring a refreshing crunch and sweetness, balancing the fudge’s richness perfectly.
-
Witch’s Brew Cocktail: A vibrant green punch made with lime and soda adds a playful touch, making your Halloween feast unforgettable.
-
Chocolate Dipped Strawberries: Juicy strawberries coated in chocolate echo the fudge’s indulgence while providing a fresh, fruity contrast. Serve these alongside for an enchanting touch.
-
Ghostly Vanilla Ice Cream: A scoop of this creamy delight enhances the fudge’s texture, creating an irresistible combination that tantalizes your taste buds.
-
Creepy Crunchy Worms: Gummy worms on top of your fudge or placed around it instantly enhance the Halloween theme, adding a fun, playful element.
Embrace the fun of Halloween with these pairings, and let your creativity soar in constructing an unforgettable dessert table!
How to Store and Freeze Vampire Fudge
Room Temperature: Keep Vampire Fudge in an airtight container for up to 3 days; it stays fresh, but flavor and texture are best when refrigerated.
Fridge: Store in the refrigerator in an airtight container for up to 2 weeks. This helps preserve its creamy texture and rich flavor, especially after chilling.
Freezer: For longer storage, freeze fudge in an airtight container or freezer bag for up to 3 months. Thaw in the fridge before serving to maintain texture.
Reheating: If the fudge becomes too firm, let it sit at room temperature for about 10-15 minutes before cutting or serving for optimal enjoyment.
Make Ahead Options
These Vampire Fudge are perfect for busy home cooks looking to save time! You can prepare the chocolate base and pour it into the pan up to 24 hours in advance, allowing it to chill overnight in the refrigerator. The ‘blood’ layer can also be made ahead by mixing the white chocolate and red food coloring, then stored in a separate airtight container. When you’re ready to impress your guests, simply pour the ‘blood’ layer over the set fudge and chill again for 3–4 hours until firm. To maintain quality, ensure that the fudge is well-wrapped or covered to prevent it from drying out. This way, you’ll have a spooky treat that’s just as delicious with minimal last-minute effort!
Vampire Fudge Variations & Substitutions
Feel free to get creative with this delightful Vampire Fudge recipe and make it uniquely yours!
- Dairy-Free: Substitute sweetened condensed milk with coconut milk and use dairy-free chocolate chips for a vegan option.
- Gluten-Free: Ensure all ingredients, especially any decorations, are certified gluten-free to accommodate dietary needs.
- Fruit-Filled Surprise: Add a layer of fruit puree—like raspberry or cherry—between fudge layers for delightful zing.
- Nutty Twist: Incorporate chopped almonds or cashews into the fudge mixture for added crunch and richness.
- Spicy Kick: Mix in a dash of cayenne or chili flakes to introduce a subtle heat that surprises the taste buds.
- Colorful Theme: Use blue or green food gel to match other festive themes, turning your fudge into something out of this world!
- Nut Butter Swirl: Create a delicious peanut or almond butter swirl for creaminess and an irresistible flavor combination.
As you embark on crafting your spooky treats, consider pairing your fudge with some easy, festive bites like Halloween Sprinkles or a glass of themed punch for a complete celebration package!
Vampire Fudge Recipe FAQs
What type of chocolate should I use for Vampire Fudge?
I recommend using semi-sweet chocolate chips for the best flavor and texture. If you prefer a richer taste, dark chocolate works exceptionally well.
How should I store Vampire Fudge?
Store Vampire Fudge in an airtight container in the refrigerator for up to 2 weeks. This keeps it fresh and maintains its creamy texture. If you want to keep it longer, you can freeze it.
Can I freeze Vampire Fudge?
Absolutely! To freeze Vampire Fudge, cut it into squares and place them in an airtight container or freezer bag, ensuring no excess air is inside. It can last up to 3 months in the freezer. When you’re ready to enjoy it, thaw the fudge in the fridge overnight for best texture.
What should I do if my fudge is too soft?
If your Vampire Fudge is too soft after chilling, it might not have set long enough. Try letting it chill for an additional hour or two. If it remains too soft, consider adding a little more melted chocolate or condensed milk next time to adjust the consistency.
Can I make Vampire Fudge gluten-free or vegan?
Yes! This recipe is naturally vegetarian, and you can easily make it gluten-free by ensuring your chocolate chips are certified gluten-free. For a vegan option, use dairy-free chocolate and a plant-based butter substitute, and this fudge will be perfect for all your plant-based friends.
How do I know if the chocolate is properly melted without burning?
Melt the chocolate over low heat, stirring constantly. Avoid going beyond 5-7 minutes for melting; you’re aiming for a smooth and glossy texture. If you notice any signs of burning—such as a grainy texture or a strong smell—reduce the heat immediately, and stir in a little room temperature butter to help revitalize the mixture.
Vampire Fudge: A Creepy-Sweet No-Bake Halloween Delight
Ingredients
Equipment
Method
- Prepare the Pan: Line a 9x9 inch baking dish with parchment paper for easy removal.
- Melt the Chocolate Base: In a saucepan, melt chocolate chips, sweetened condensed milk, butter, and vanilla over low heat, stirring continuously.
- Add Food Coloring: Stir in red food coloring until the mixture is smooth and evenly colored.
- Pour into Pan: Pour the chocolate mixture into the prepared baking dish and spread evenly. Refrigerate for 30 minutes.
- Prepare ‘Blood’ Layer: Melt white chocolate chips with some red food coloring and pour it over the chocolate layer.
- Chill to Set: Chill the fudge for an additional 3-4 hours until firm.
- Cut & Serve: Lift the fudge out of the pan, cut into squares, and decorate as desired.
Leave a Reply