
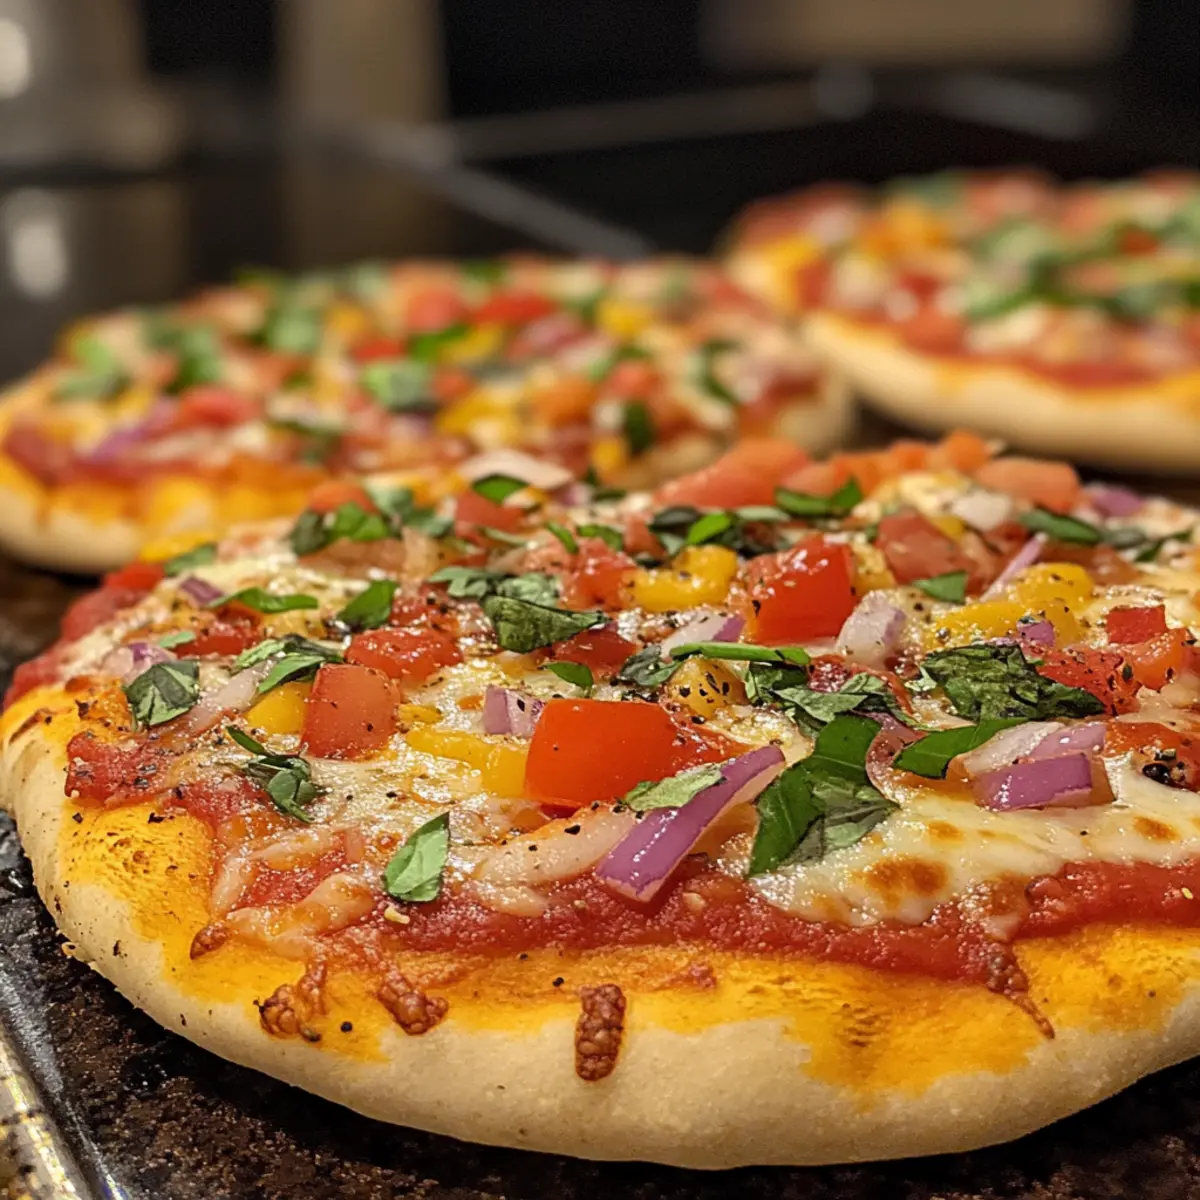
As I rolled out that thin crust pizza dough, the kitchen filled with the comforting scent of baking bread—an aroma that brings back memories of making pizza with my family. This quick and easy thin crust pizza dough is a game changer for busy weeknights. It offers a delightful cracker-like base that’s not only light on the palate but also ideal for serving up a range of toppings, whether you’re doing movie night or hosting friends for game day. With no proofing required, you can whip this dough up in under 30 minutes and dive straight into homemade goodness without the fuss. Are you ready to savor the satisfaction of creating your own pizza masterpiece?
Why Choose This Thin Crust Pizza Dough?
Quick Preparation: Enjoy your homemade pizza in under 30 minutes, making it perfect for weeknight dinners or spontaneous gatherings.
Versatile Method: Choose between a bread machine or stand mixer to suit your cooking style.
Light and Crispy Texture: The cracker-like crust stands up beautifully to toppings while remaining light on your stomach.
No Proofing Required: Skip the time-consuming proofing step, keeping your pizza-making experience hassle-free.
Crowd-Pleasing Creation: Perfect for movie nights or game days, this dough is sure to impress family and friends. If you’re looking to elevate your pizza game, check out my delicious Homemade Thin Mints or some savory Pumpkin Pizza ideas!
Thin Crust Pizza Dough Ingredients
For the Dough
• All Purpose Flour – Provides structure and crispiness to the crust; whole wheat flour can add nutrition but may alter texture.
• Water – Hydrates the flour and forms the dough; make sure it’s warm for better yeast activation.
• Salt – Enhances flavor; can be substituted with sea salt or kosher salt.
• Instant Yeast or Bread Machine Yeast – Leavens the dough for a light, tender crust; active dry yeast can be used but may need activation in warm water first.
Step‑by‑Step Instructions for Thin Crust Pizza Dough
Step 1: Dough Preparation
In a bread machine, combine all-purpose flour, warm water, salt, and instant yeast according to the manufacturer’s instructions. Select the “Dough” cycle and let it mix for about 10–15 minutes until the dough is smooth and slightly tacky. Alternatively, in a stand mixer, use a dough hook on low speed to knead the mixture for about 12 minutes until it forms a firm, elastic ball.
Step 2: Shaping the Dough
Once your thin crust pizza dough is beautifully developed, transfer it to a floured surface. Divide the dough into four equal portions, shaping each into a smooth ball. With a rolling pin, flatten each ball into a thin disc, aiming for approximately 10 inches in diameter and about ⅛ inch thick. Ensure the surfaces are well-floured to prevent sticking as you create your pizza base.
Step 3: Preheat the Oven
Before baking, preheat your oven to 425°F (220°C) to create that perfect crispy crust. As it heats, prepare your baking trays by lining them with parchment paper. For added flavor and a golden finish, brush each pizza base lightly with olive oil, giving it an inviting sheen that enhances texture and taste.
Step 4: Assemble Your Pizza
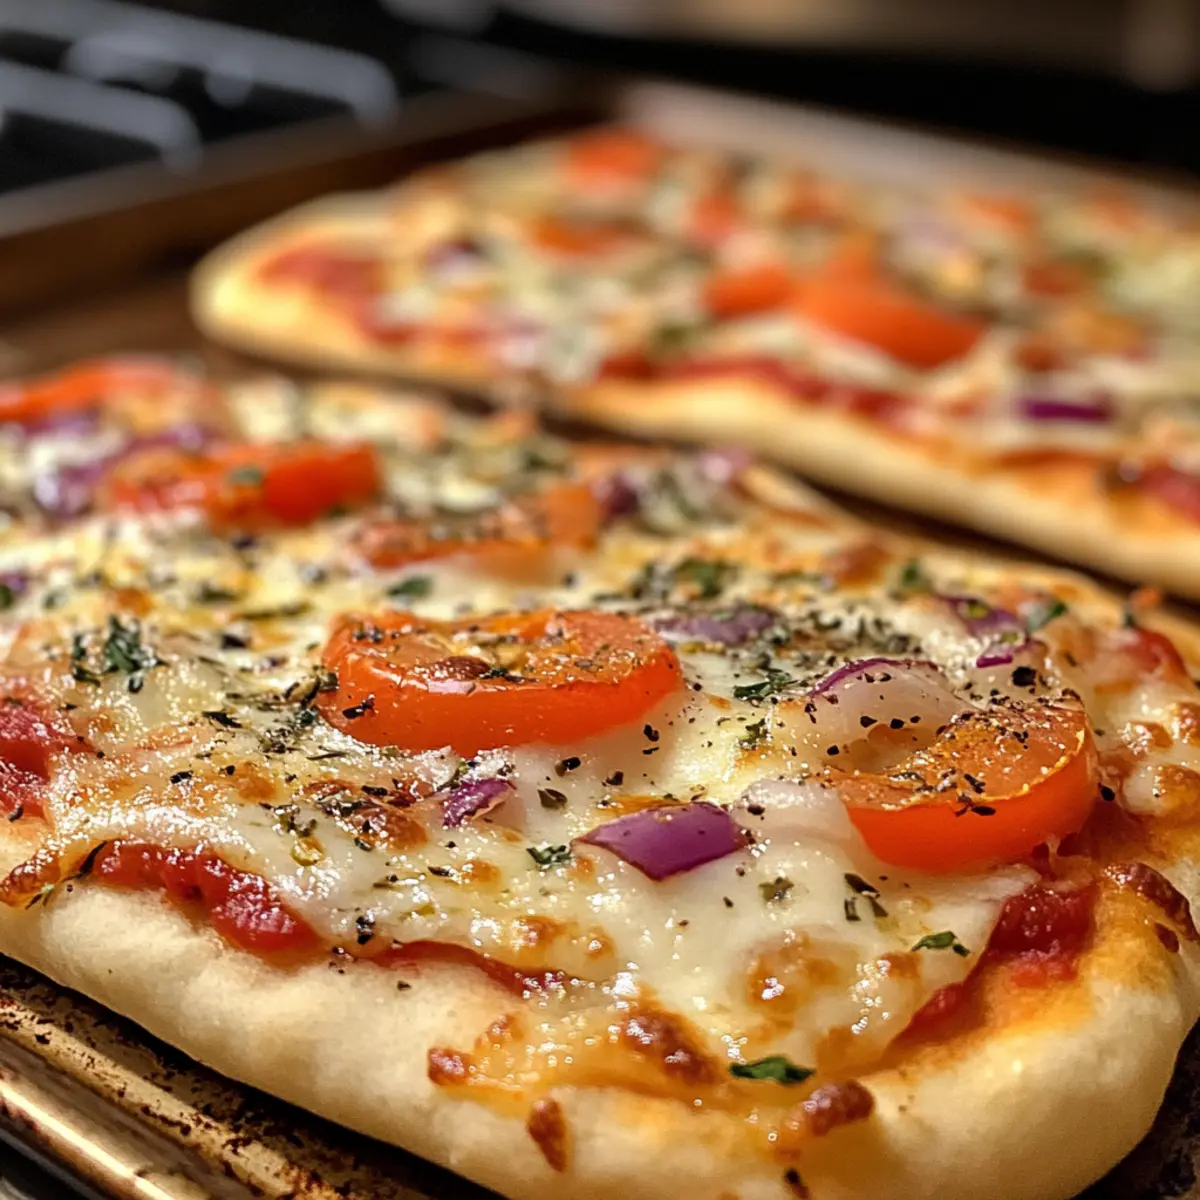
Place each rolled-out thin crust pizza dough on the lined baking tray. Spread your favorite pizza sauce generously over the base, then layer on your preferred toppings and shredded cheese. Be creative—this is the fun part! Spread the toppings evenly, ensuring no corner is left without deliciousness, and prepare for a mouthwatering bake.
Step 5: Baking
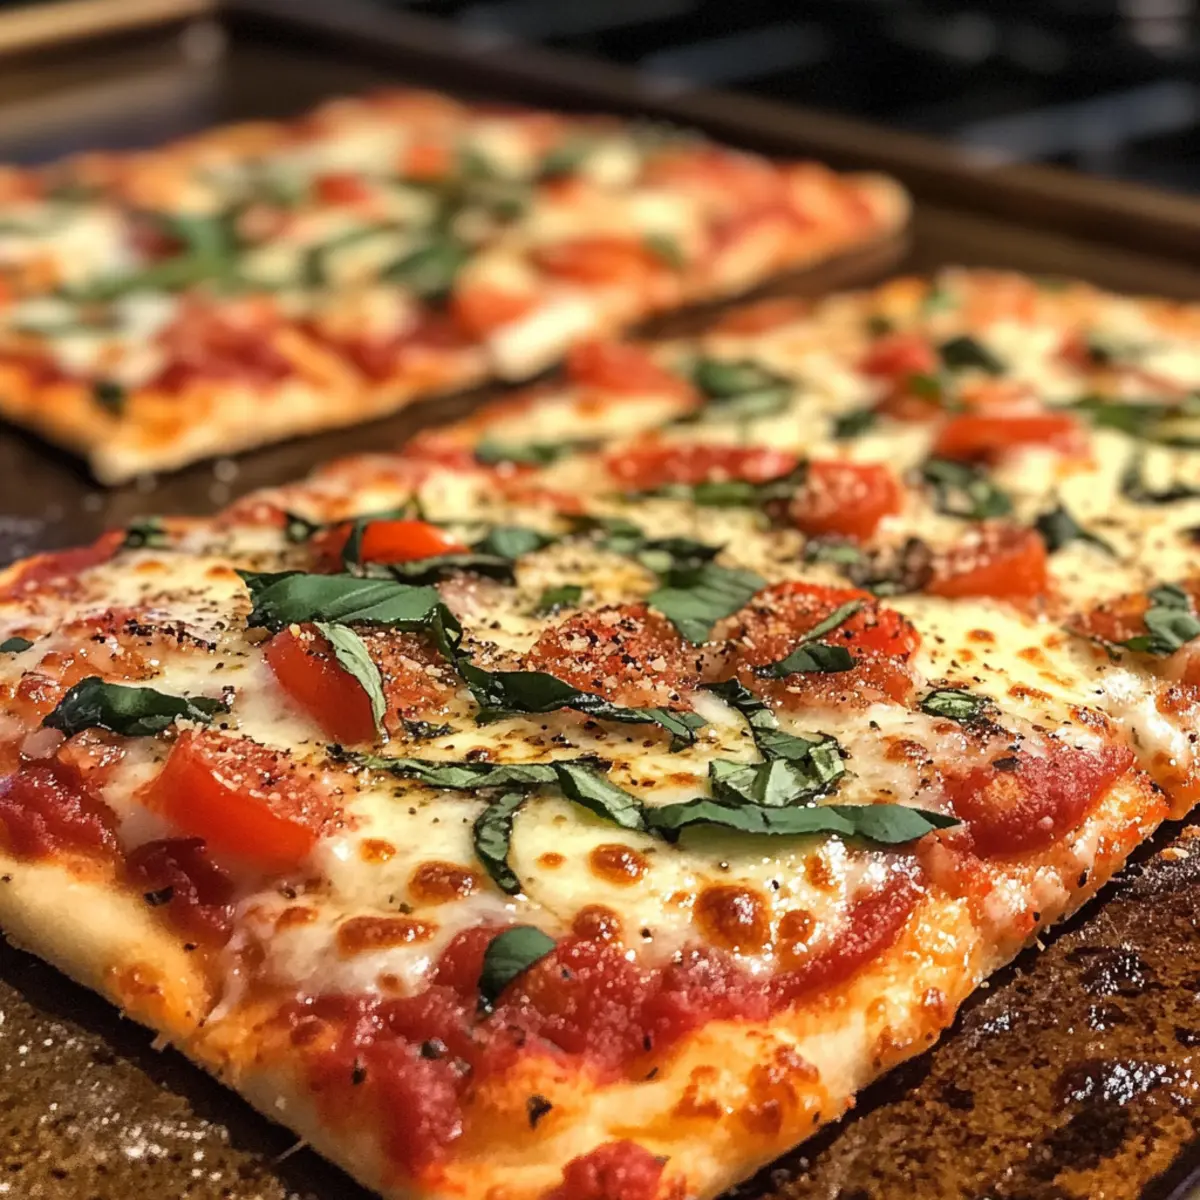
Slide the topped pizzas into the preheated oven and bake for 10–12 minutes. Keep an eye on them as baking progresses; the cheese should bubble and turn golden brown, while the edges of the crust should become crispy and lightly browned. This visual cue signifies that your thin crust pizza dough has achieved delicious perfection.
Step 6: Cooling and Slicing
After baking, carefully remove the pizzas from the oven and allow them to cool for a few minutes on the baking tray. Once they’re cool enough to handle, slice them into wedges using a pizza cutter or knife. This will make it easier for serving and sharing, ensuring everyone gets to enjoy your delightful homemade creation.
Expert Tips for Thin Crust Pizza Dough
-
Perfect Flour Choice: Use all-purpose flour for optimal crispiness, but feel free to experiment with whole wheat for added nutrition.
-
Water Temperature Matters: Ensure your water is warm to activate the yeast properly. Cold water can lead to a reluctant rise.
-
Avoid Over-kneading: Knead just until the dough is smooth and firm. Over-kneading can create a tougher texture instead of a light, airy crust.
-
Roll Thinly: Aim for about ⅛ inch thick when rolling out your dough. This ensures a true thin crust, avoiding a chewier, thicker result.
-
Oven Watch: Keep a close eye on your pizza while baking. Ovens vary in temperature, and that perfect golden brown can turn quickly if you’re not vigilant.
-
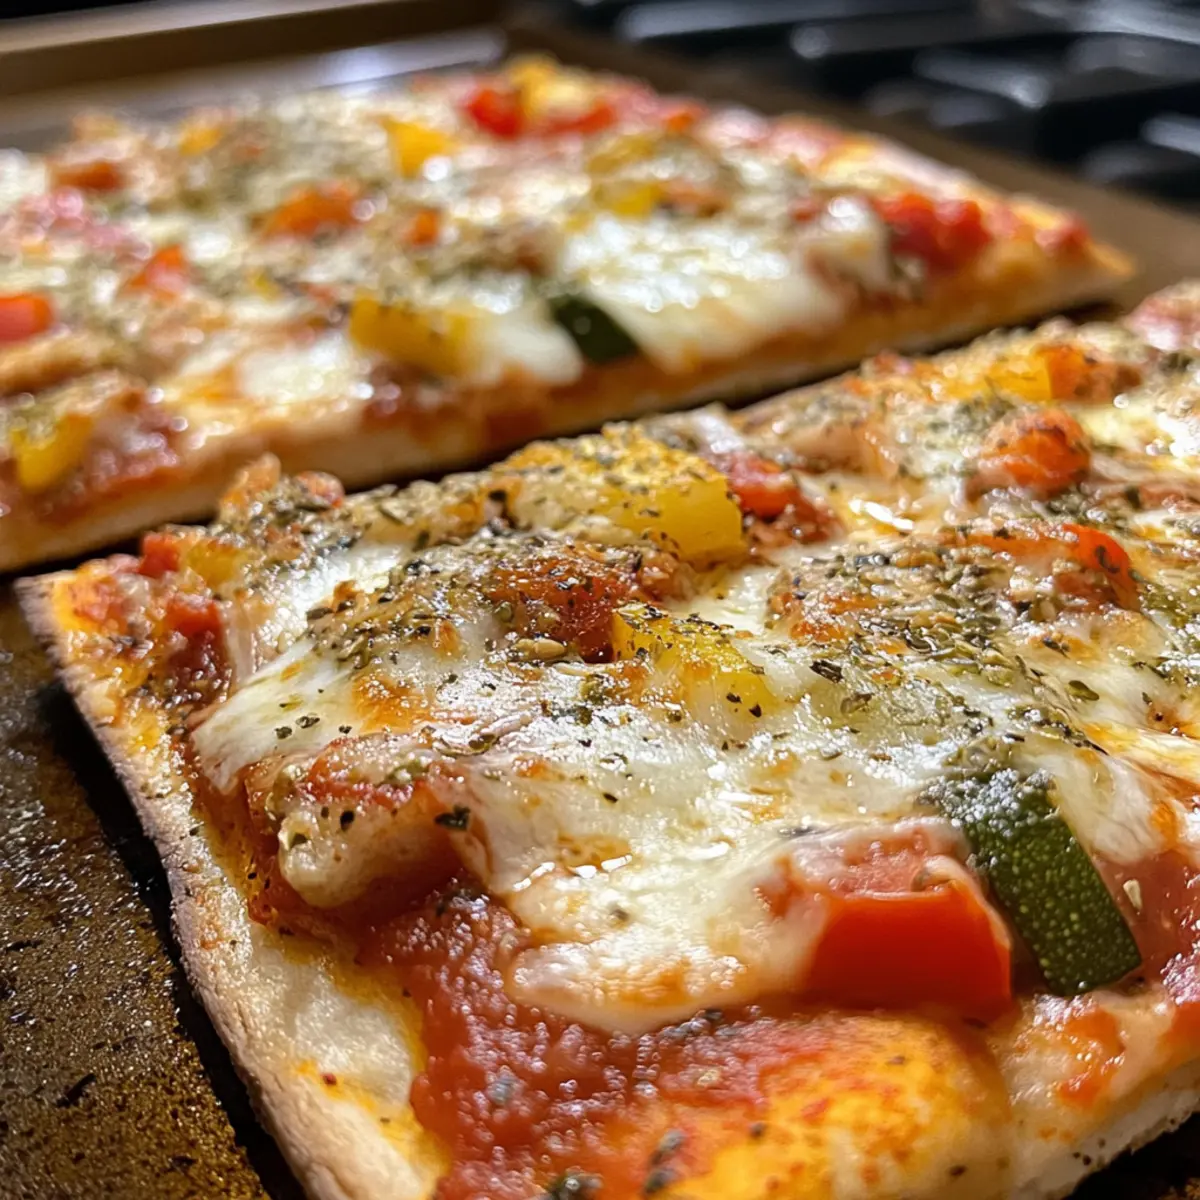
Creative Toppings: Don’t hesitate to mix flavors! A diverse range of toppings enhances the experience, making your thin crust pizza even more enjoyable.
Make Ahead Options
These Thin Crust Pizza Doughs are perfect for meal prep enthusiasts! You can prepare the dough up to 24 hours in advance by mixing all the ingredients and shaping it into balls. Once done, wrap each dough ball tightly in plastic wrap and refrigerate them to maintain their quality and prevent drying out. For even quicker meals during the week, you can roll out the dough into discs and refrigerate them, ready to top and bake when hunger strikes. When you’re ready to serve, simply preheat your oven, add your favorite toppings, and bake for 10–12 minutes. You’ll enjoy a fresh, crispy pizza that’s just as delicious with minimal effort!
Variations & Substitutions for Thin Crust Pizza Dough
Feel free to embrace your culinary creativity and make this dough your own—there are so many delightful twists you can try!
-
Whole Wheat Flour: Substitute all-purpose flour with whole wheat for a nutty, wholesome flavor and added fiber.
Experimenting with whole wheat not only boosts nutrition but also enhances the taste. -
Gluten-Free Option: Use a gluten-free flour blend in place of regular flour for a celiac-friendly dough.
This way, everyone can enjoy homemade pizza night without worry—deliciousness is still guaranteed! -
Herb-Infused Dough: Add dried herbs like oregano or basil into the dough for a fragrant, flavorful kick.
It’s a simple way to elevate the taste of your crust, making every bite a savory delight. -
Cheesy Crust: Mix grated cheese, like parmesan or mozzarella, into the dough for a stringy, cheese-filled crust.
With each bite, you’ll experience a delightful surprise that pairs perfectly with your toppings. -
Spicy Pizza Dough: Stir in some red pepper flakes or a dash of cayenne pepper for a spicy twist.
This addition brings a subtle heat that can complement your favorite toppings beautifully. -
Oil Alternatives: Try substituting olive oil with flavored oils like garlic or basil oil for a gourmet touch.
A drizzle of flavored oil can intensify the overall taste experience of your pizza. -
Sweet Pizza Dough: For a dessert-style pizza, incorporate a bit of sugar or honey into the dough.
This adds a hint of sweetness that can perfectly balance fruity or creamy toppings, transforming your pizza into a delightful dessert. -
Baking Sheet Ideas: Instead of a classic round pizza, divide the dough into small portions for mini pizzas on baking sheets, perfect for parties or game days.
Each guest can customize their tiny pizza with unique toppings!
For even more culinary inspiration, try pairing this thin crust with my delightful Caramelized Onion Naan Pizza or some fun Halloween Mini Pizzas for your next gathering!
How to Store and Freeze Thin Crust Pizza Dough
Fridge: Store unused dough in an airtight container for up to 3 days. It might rise slightly but will still work well for further pizzas.
Freezer: Wrap the dough tightly in plastic wrap and place it in a freezer-safe bag. It can be frozen for up to 2 months without compromising quality.
Reheating: When ready to use frozen dough, let it thaw in the fridge overnight, then bring it to room temperature before rolling out.
Leftover Pizza: Store cut pizza in the fridge for 2-3 days. Reheat in an oven or air fryer for restored crispiness.
What to Serve with Quick & Easy Thin Crust Pizza Dough?
Elevate your pizza night into a memorable meal by pairing it with delightful sides and drinks that complement every slice.
-
Fresh Garden Salad: Crisp greens drizzled with vinaigrette add lightness and balance to the dish, enhancing the overall dining experience. The refreshing textures contrast beautifully with the warm, cheesy pizza.
-
Garlic Breadsticks: These buttery, herb-infused treats are a perfect companion, lending a crunchy sweetness that highlights the savory pizza flavors. Serve with marinara for a delicious dip.
-
Stuffed Mushrooms: Savory bites filled with cheese and herbs provide an earthy, umami flavor profile that pairs seamlessly with your homemade pizza. They make for a delightful appetizer that sparks conversation.
-
Bruschetta: Fresh tomatoes, basil, and mozzarella on toasted bread create a vibrant starter that awakens the palate. The bright flavors enhance the richness of the cheese on your pizza.
-
Wine Pairing: A light red, like Pinot Noir, offers lovely fruitiness without overpowering flavors. It’s the perfect complement to the crispy crust, enriching each mouthful of pizza.
-
Mini Desserts: Finish off your meal with bite-sized delights, like chocolate truffles or lemon bars, to contrast with the savory pizza. They provide a sweet touch without overwhelming the taste buds.
-
Light Soup: A tomato bisque or minestrone serves as a warm and comforting side, echoing the Italian theme while adding a layer of warmth to the meal. Perfect for dipping your crust!
-
Craft Beer: An IPA or a crisp lager can elevate your pizza experience, enhancing its flavors while cooling the palate as you savor each slice.
Transform your pizza night into an unforgettable feast with these delightful pairings that will surely impress your loved ones!
Thin Crust Pizza Dough Recipe FAQs
What type of flour should I use for the best thin crust pizza dough?
I recommend using all-purpose flour for optimal crispiness and structure in your thin crust pizza dough. If you want to incorporate more nutrition, you can substitute some of it with whole wheat flour, but it may slightly alter the texture—creating a heartier crust.
How should I store my leftover pizza dough?
To store unused dough, place it in an airtight container and refrigerate for up to 3 days. Although it may rise slightly due to the yeast, it will still perform beautifully when you roll it out for your next pizza.
Can I freeze thin crust pizza dough?
Absolutely! Wrap the dough tightly in plastic wrap, then place it in a freezer-safe bag to protect it from freezer burn. It can be frozen for up to 2 months. When ready to use, thaw it overnight in the refrigerator and let it come to room temperature before rolling out.
What should I do if my pizza dough doesn’t rise as expected?
If your dough isn’t rising, first, check the age of your yeast. If you’re using instant yeast, ensure it’s within its expiration date. Warm water is critical for activation; if the water is too cold, the yeast may not activate properly. If you’ve kneaded too long, the dough may also become tough, leading to less rise. Aim for a smooth consistency without overworking the dough.
Can I make this dough gluten-free?
Yes! You can substitute the all-purpose flour with a gluten-free flour blend. Just make sure it’s one specifically designed for baking. The texture might be different, but it will still create a delightful base for your pizza creations.
Will my dog be able to eat thin crust pizza?
It’s not advisable to share thin crust pizza with your dog, mainly due to the salt and yeast content. While a bite of plain crust might be okay, make sure to avoid giving them any toppings, especially onions, garlic, or sauces, which can be harmful to pets.
Effortless Thin Crust Pizza Dough for Quick Homemade Nights
Ingredients
Equipment
Method
- In a bread machine, combine all-purpose flour, warm water, salt, and instant yeast according to the manufacturer's instructions. Select the 'Dough' cycle and let it mix for about 10–15 minutes until the dough is smooth and slightly tacky. Alternatively, in a stand mixer, use a dough hook on low speed to knead the mixture for about 12 minutes until it forms a firm, elastic ball.
- Transfer the thin crust pizza dough to a floured surface. Divide the dough into four equal portions, shaping each into a smooth ball. With a rolling pin, flatten each ball into a thin disc, aiming for approximately 10 inches in diameter and about ⅛ inch thick.
- Preheat your oven to 425°F (220°C) to create that perfect crispy crust. Prepare your baking trays by lining them with parchment paper and brush each pizza base lightly with olive oil.
- Place each rolled-out thin crust pizza dough on the lined baking tray. Spread your favorite pizza sauce generously over the base, then layer on your preferred toppings and shredded cheese.
- Slide the topped pizzas into the preheated oven and bake for 10–12 minutes until the cheese is bubbly and golden brown and the edges of the crust are crispy.
- After baking, carefully remove the pizzas from the oven and allow them to cool for a few minutes on the baking tray. Slice into wedges using a pizza cutter.
Leave a Reply