
As the summer sun casts its warm glow, nothing feels quite as refreshing as a scoop of homemade ice cream. My Roasted Strawberry Cheesecake Ice Cream delivers that nostalgic cheesecake flavor without the fuss, and the best part? It’s made without any flour or eggs! Roasting the strawberries not only amplifies their sweetness but also adds a deep complexity that transforms a simple scoop into an unforgettable treat. Whether you’re entertaining guests or seeking a delightful post-dinner dessert, this creamy concoction is sure to impress. Quick to whip up and so satisfying, it’s a summer staple that stands out from your typical offerings. Are you ready to bring a taste of summer right to your kitchen?
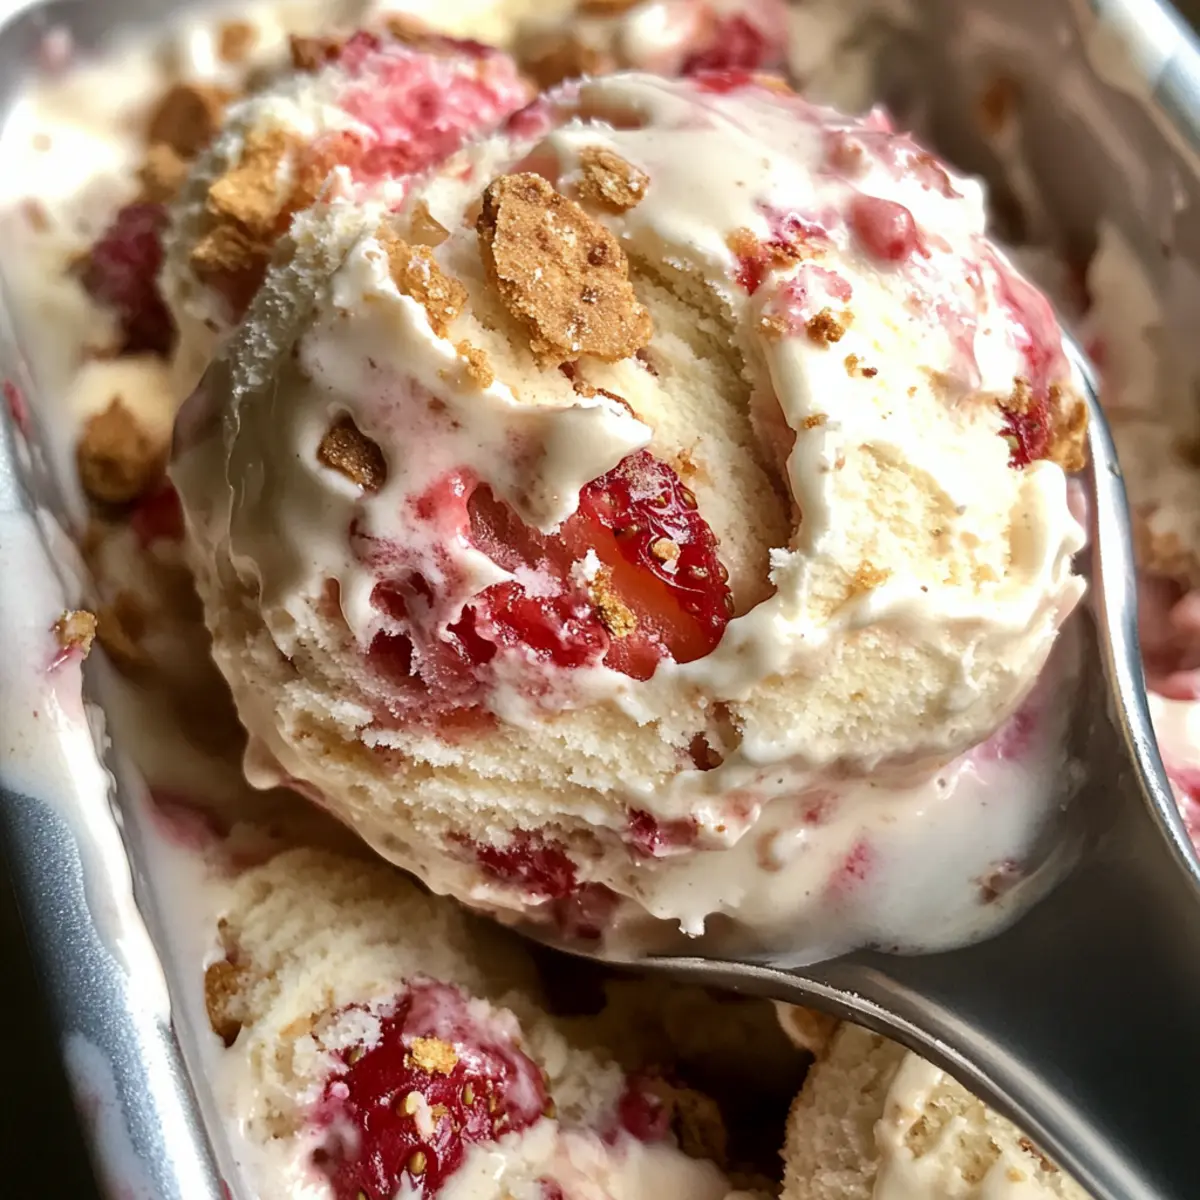
Why Is This Ice Cream So Special?
Irresistible Flavor: This Roasted Strawberry Cheesecake Ice Cream captures the essence of summer with its sweet, roasted strawberries and creamy cheesecake base.
Unique Preparation: Roasting the strawberries enhances their natural sweetness, offering a depth of flavor that simply cannot be replicated.
Easy to Make: With no flour or eggs required, this ice cream is incredibly simple to whip up, allowing you to spend more time enjoying and less time preparing.
Versatile Choices: Mix and match with other fruits or create a delicious topping by pairing it with fresh strawberries or even drizzling a bit of chocolate for an extra indulgence.
Perfect for Gatherings: Whether it’s a family BBQ or a cozy dessert night, this crowd-pleaser is bound to impress your guests and become a requested favorite!
For more delightful ideas, check out my recipe for Strawberry Crunch Cheesecake or try making some Pumpkin Cheesecake Balls for a seasonal twist!
Strawberry Cheesecake Ice Cream Ingredients
For the Ice Cream Base
- Fresh Strawberries – For natural sweetness and vibrant flavor; substitute frozen strawberries if fresh aren’t available, but roasting won’t have the same effect.
- Granulated Sugar – Sweetens the ice cream; use less sugar depending on the sweetness of the strawberries.
- Balsamic Vinegar – Enhances the flavor profile of the strawberries with a tangy kick; optional for different kinds of berries.
- Cream Cheese – Provides that beloved cheesecake flavor and creamy texture; use low-fat options for a lighter version.
- Whole Milk – Ensures a smooth base; alternatives like almond milk may work, but will change the creaminess.
- Heavy Cream – Adds richness and creaminess; non-dairy whipped cream can be used for dairy-free options.
- Fresh Lemon Juice – Brightens the flavor; lime juice can be a tangy alternative.
- Light Corn Syrup – Improves creaminess and helps prevent ice crystals; honey or agave syrup can be used as substitutes.
- Fine Sea Salt – Enhances the overall flavor; table salt can be used, but avoid large crystals that won’t dissolve completely.
- Vanilla Extract – Adds depth and warmth to the flavor; use fresh vanilla beans for an elevated taste.
For the Crunch
- Graham Crackers – Provides the crunch and flavor reminiscent of cheesecake crust; use crushed cookies or gluten-free alternatives if needed.
Step‑by‑Step Instructions for Roasted Strawberry Cheesecake Ice Cream
Step 1: Prepare Strawberries
Preheat your oven to 300°F (150°C). In a mixing bowl, toss the fresh strawberries with 1/4 cup of granulated sugar and a splash of balsamic vinegar until evenly coated. Spread the strawberries out in a single layer on a baking sheet. Roast for about 30 minutes, or until softened and their juices are released. Once done, gently mash the strawberries and set aside to chill.
Step 2: Blend Ice Cream Base
While the strawberries are cooling, gather your blender and combine the cream cheese, remaining sugar, whole milk, heavy cream, fresh lemon juice, light corn syrup, fine sea salt, and vanilla extract. Blend the mixture on high speed until smooth and creamy, ensuring all ingredients are well incorporated. Place this blended ice cream base in the refrigerator for at least 30 minutes to chill.
Step 3: Churn Ice Cream
After chilling the ice cream base, pour it into your ice cream maker. Churn according to the manufacturer’s instructions, usually for about 20-25 minutes, until the mixture thickens and becomes creamy. It’s essential to keep an eye on the texture; it should be thick and have a soft-serve consistency.
Step 4: Mix in Strawberries
During the last five minutes of churning, add in the roasted strawberries along with the graham cracker pieces. This step combines the vibrant flavors of roasted strawberry and cheesecake crunch into your ice cream. Gently fold the ingredients into the mix to ensure you retain some lovely strawberry chunks.
Step 5: Freeze
Once the churning is complete and the strawberries are evenly distributed, transfer the strawberry cheesecake ice cream into an airtight container. Cover the ice cream with plastic wrap, which helps prevent ice crystals, and seal the lid tightly. Freeze the ice cream for at least 2 hours until it firms up beautifully and is ready to serve.
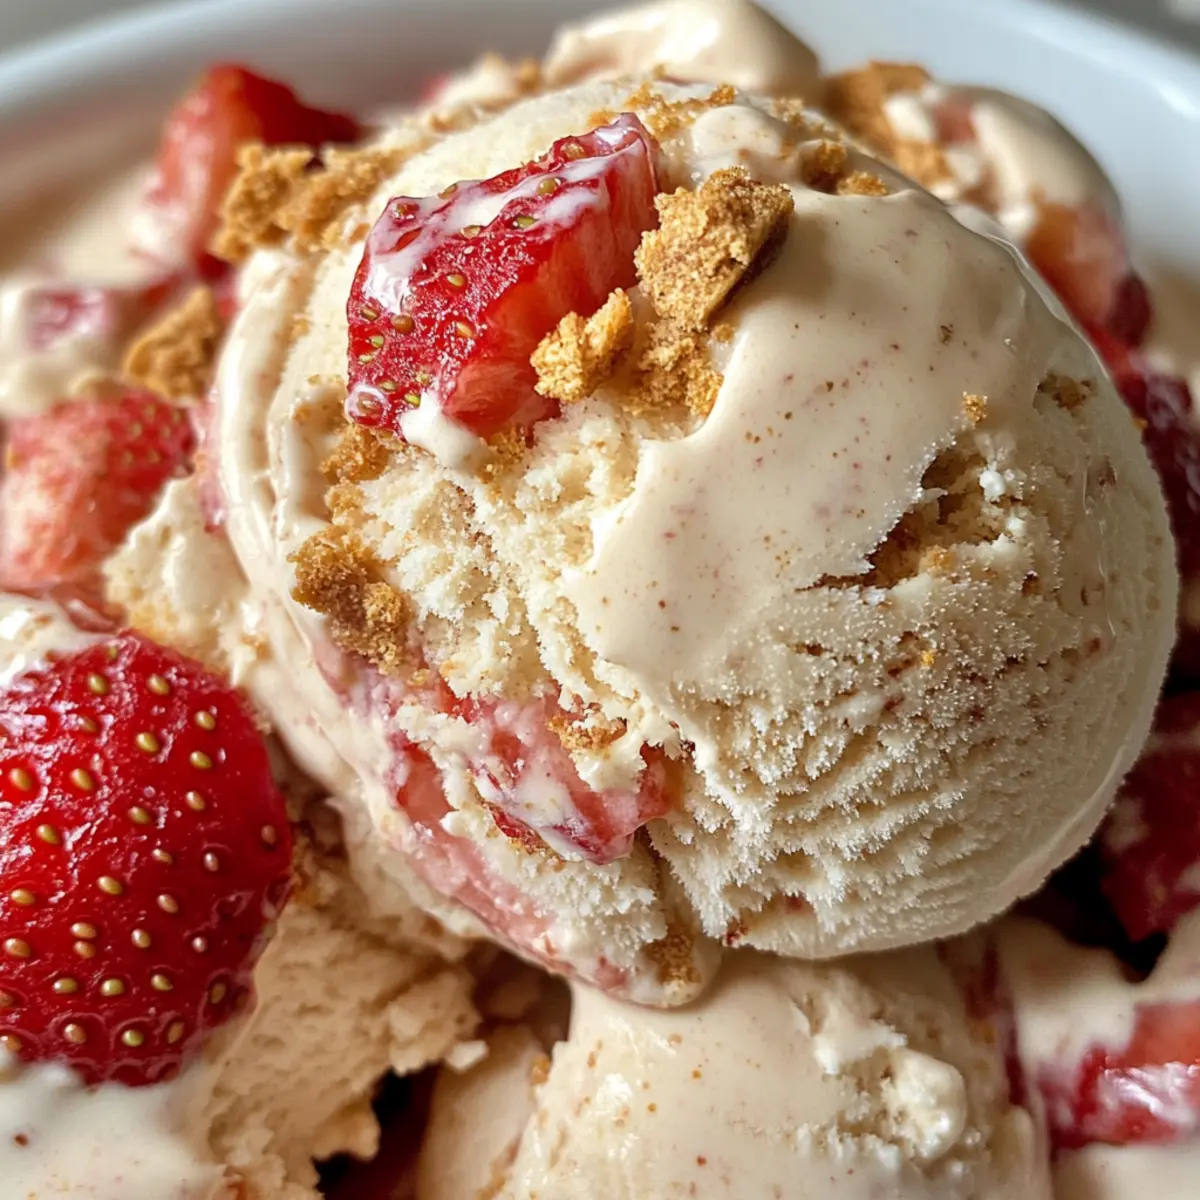
Expert Tips for Strawberry Cheesecake Ice Cream
-
Roast Wisely: Roasting strawberries intensifies their flavor, so ensure they achieve a jam-like consistency. Avoid under-roasting, as this can leave them too firm.
-
Chill Everything: To achieve the smoothest texture, chill all your ice cream base ingredients before blending. Room temperature ingredients can lead to a grainy texture.
-
Gentle Mixing: When incorporating the roasted strawberries and graham crackers, mix gently. This helps maintain the delightful texture and prevents them from getting crushed.
-
Adjust Sweetness: Taste the ice cream base before churning. Depending on the ripeness of your strawberries, you may want to adjust the sugar to achieve the perfect balance.
-
Storage Matters: Keep your Strawberry Cheesecake Ice Cream in an airtight container to prevent freezer burn. For best results, enjoy it within a month for optimal flavor and texture.
Make Ahead Options
Preparing Roasted Strawberry Cheesecake Ice Cream in advance is an excellent time-saver for busy cooks! You can roast the strawberries and store them in the refrigerator for up to 3 days, allowing their flavors to marinate beautifully. Additionally, the ice cream base can be blended and chilled for up to 24 hours before churning, ensuring that all ingredients are cold for the best texture. When you’re ready to finish your ice cream, simply churn the chilled base in your ice cream maker, mix in the roasted strawberries, and freeze for at least 2 hours. By following these steps, you’ll have delicious homemade ice cream ready to enjoy with minimal last-minute effort!
Storage Tips for Strawberry Cheesecake Ice Cream
Fridge: Store any leftover Strawberry Cheesecake Ice Cream in an airtight container in the refrigerator for up to 3 days, but for best flavor, it’s recommended to eat it fresh from the freezer.
Freezer: To preserve its delightful taste, transfer the ice cream to a well-sealed, airtight container. Properly stored, it can last in the freezer for up to 1 month before losing quality.
Reheating: If the ice cream becomes too hard, let it sit at room temperature for about 10-15 minutes before scooping to soften it slightly. This will help achieve that creamy texture again.
Wrapping: For added protection against freezer burn, layer a sheet of plastic wrap directly on the surface of the ice cream before sealing the container.
Strawberry Cheesecake Ice Cream Variations
Feel free to get creative and customize this delightful ice cream to suit your taste buds!
-
Dairy-Free: Replace cream cheese with coconut cream and use non-dairy milk for a luscious vegan option.
-
Berry Blast: Swap strawberries for blueberries or raspberries; their tartness pairs beautifully with creamy ice cream.
-
Caramel Swirl: Drizzle in homemade caramel during the last few minutes of churning for a delightful sweet twist.
-
Chocolate Lovers: Mix in crushed chocolate cookies for a cookies-and-cream delight or add chocolate chips for an extra indulgence.
-
Nutty Butter: Fold in a swirl of almond or peanut butter before freezing for a nutty flavor that complements the creaminess.
-
Zesty Lemon: Incorporate lemon zest for an added citrus kick that brightens the overall flavor profile.
-
Graham Cracker Crust: Layer graham cracker crumbs or pieces at the bottom of your container to mimic a cheesecake crust.
-
Spiced Variation: Introduce a hint of cinnamon or nutmeg for a unique flavor twist that warms up each scoop.
Discover even more inspiration with my recipe for Pistachio Ice Cream or try these Pumpkin Cream Cheese Muffins for delightful pairings!
What to Serve with Roasted Strawberry Cheesecake Ice Cream
Indulging in this delightful frozen treat opens up a world of perfect pairings that enhance its rich, creamy essence.
-
Classic Waffle Cones: Perfect for holding that creamy ice cream, they add a satisfying crunch and fun element to every scoop.
-
Fresh Strawberry Sauce: A drizzle of this homemade sauce complements the strawberry flavor, creating a delightful burst of freshness.
-
Chocolate Ganache: The rich warmth of chocolate sauce contrasts beautifully and adds a decadence that will elevate your dessert experience.
-
Crispy Meringues: Light and airy, meringues provide a textural contrast that allows you to savor each bite uniquely.
-
Shortbread Cookies: These buttery cookies offer a subtle sweetness that pairs well, allowing the ice cream flavors to shine.
-
Mint Sprigs: A garnish of fresh mint brings a fragrant note that brightens the palate, enhancing the whole dessert experience.
-
Sangria: A fruity sangria complements the sweetness of the dessert while providing a refreshing sip to balance the richness.
-
Lemon Sorbet: For those who love a tangy finish, a scoop of lemon sorbet adds a zesty touch that cleanses the palate beautifully.
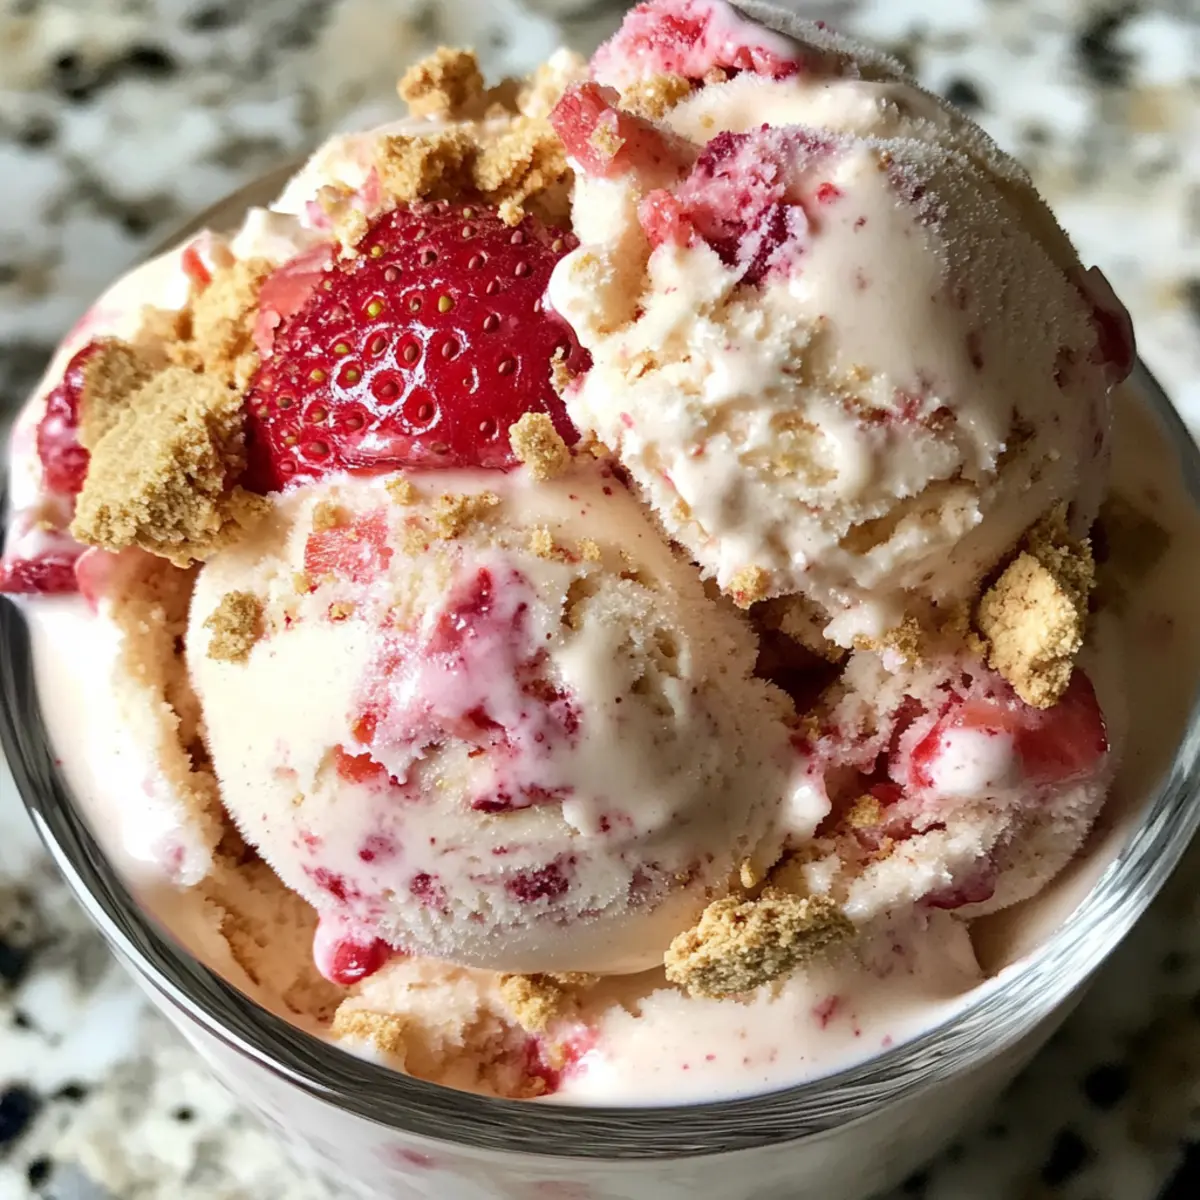
Roasted Strawberry Cheesecake Ice Cream Recipe FAQs
What should I look for when selecting fresh strawberries?
Absolutely! Choose strawberries that are bright red, firm, and free from dark spots or mold. Berries that are slightly fragrant indicate ripeness and sweetness. If you find some with a few blemishes, just make sure to cut those parts off before using!
How long can I store this ice cream in the freezer?
You can store your homemade Strawberry Cheesecake Ice Cream in an airtight container in the freezer for up to 1 month for the best quality. To prevent freezer burn, cover the surface of the ice cream with plastic wrap before sealing it with a lid.
Can I freeze the ice cream mixture before churning?
While you should avoid freezing the ice cream mixture before churning, you can prepare your ice cream base a day in advance and keep it in the fridge. Just ensure that it’s chilled well before pouring it into the ice cream maker for that creamy texture.
What if my ice cream turns out too hard after freezing?
Very! If your Strawberry Cheesecake Ice Cream is too hard to scoop after freezing, let it sit at room temperature for about 10-15 minutes. This will allow it to soften slightly and regain that creamy texture. If it’s still too hard, give it a gentle stir with a spoon to help aerate the mixture before scooping.
Are there any dietary considerations I should keep in mind?
Of course! This ice cream contains dairy, so be aware of lactose intolerance or dairy allergies when serving. For dairy-free options, substitute coconut cream for heavy cream and use a non-dairy cream cheese alternative. Always check ingredient labels to ensure safe use for everyone, especially if you’re serving guests with dietary restrictions.
Can I use frozen strawberries instead of fresh for this recipe?
It’s best to use fresh strawberries, especially since roasting them enriches the flavor. If you must use frozen strawberries, ensure they are thawed and thoroughly drained to avoid excess water, and keep in mind that the intensity of flavor will not be the same as roasted fresh strawberries.
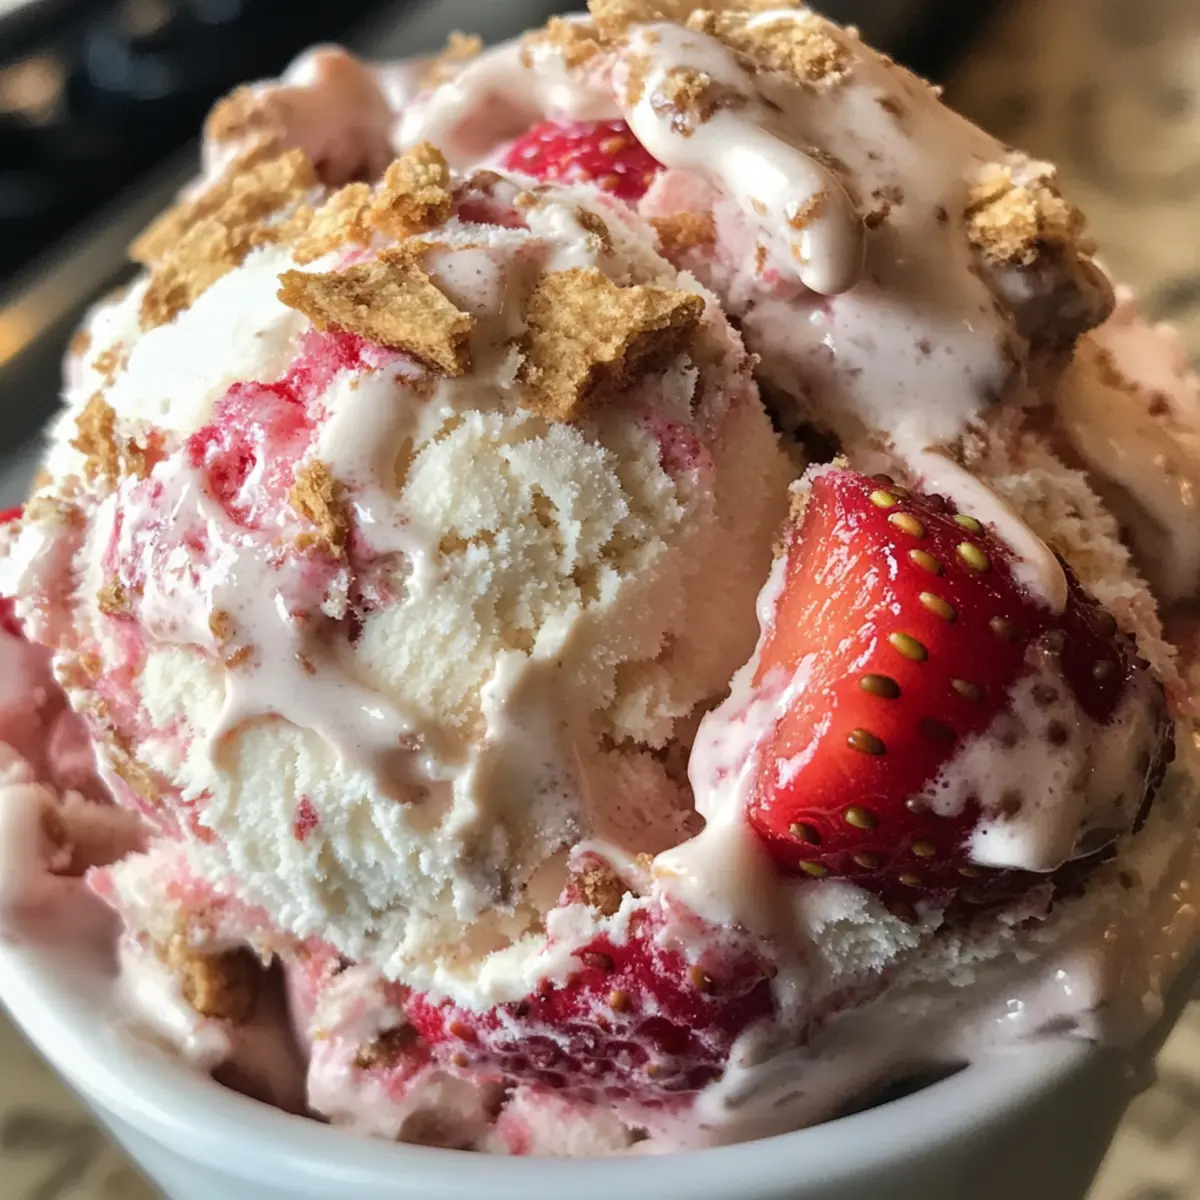
Indulge in Creamy Strawberry Cheesecake Ice Cream Delight
Ingredients
Equipment
Method
- Preheat your oven to 300°F (150°C). Toss fresh strawberries with 1/4 cup sugar and balsamic vinegar. Spread on a baking sheet and roast for 30 minutes until softened.
- Blend cream cheese, remaining sugar, whole milk, heavy cream, lemon juice, corn syrup, salt, and vanilla extract until smooth. Chill the mixture in the refrigerator for at least 30 minutes.
- Churn the chilled mixture in your ice cream maker for 20-25 minutes until thickened to a soft-serve consistency.
- In the last five minutes of churning, gently fold in the roasted strawberries and graham cracker pieces.
- Transfer the ice cream to an airtight container and freeze for at least 2 hours until firm.
Leave a Reply