
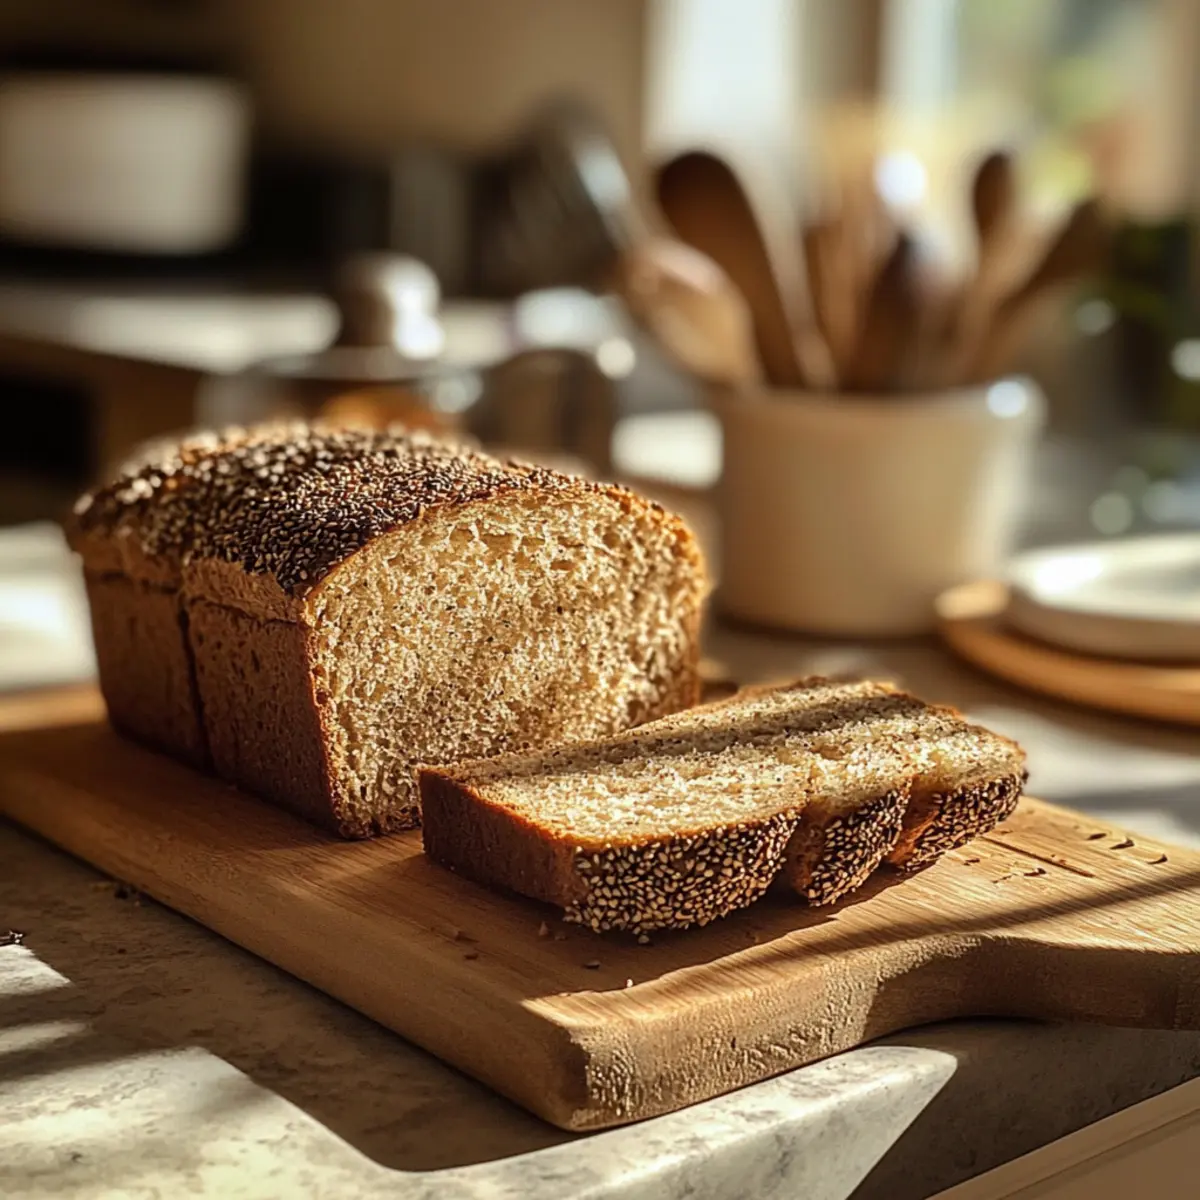
As I pulled my homemade rye bread from the oven, the kitchen was instantly transformed into a cozy haven filled with the warm, earthy aroma of caraway. Baking this Easy Homemade Rye Bread can feel like a mini victory, especially for those new to the world of yeast and dough. With its golden crust and soft, chewy interior, this recipe not only captivates the senses but also promises a hearty base for your favorite sandwiches or a delightful accompaniment to soups. Designed for both the seasoned baker and the novice, this quick and easy recipe allows anyone to create a delicious loaf in just a few hours. Have you ever thought about how satisfying it would be to enjoy your own homemade bread? Let’s dive into this wonderfully simple recipe that brings a touch of tradition into your kitchen!
Why Bake Homemade Rye Bread?
Simplicity: With just a handful of ingredients, this recipe is perfect for beginner bakers eager to create something special.
Fragrant Flavor: The combination of rye flour and aromatic caraway seeds delivers a distinctive taste that elevates any dish, making it ideal for sandwiches or as a side.
Time-Saving: Unlike traditional loaves, this quick recipe allows you to enjoy fresh bread in just a few hours—a rewarding endeavor without the long wait.
Nutritional Benefits: Packed with fiber and less processed than many commercial breads, homemade rye is a wholesome choice for health-conscious eaters.
Versatility: Enjoy it fresh with butter, pair it with hearty soups, or slice it for your favorite deli sandwiches—a true crowd-pleaser!
Start your baking adventure and feel inspired by also trying our Honey Butter Cornbread or the Olive Oil Bread for more delightful homemade options!
Rye Bread Ingredients
• Here’s everything you need to whip up your delicious homemade rye bread!
For the Dough
- Instant or Rapid-Rise Yeast – Creates the perfect lift for your rye bread; active dry yeast works too, just adjust the rising time.
- Lukewarm Water – Activates the yeast and is essential for proper fermentation; aim for a cozy 100°F.
- Honey – Adds a hint of sweetness while helping the yeast thrive; feel free to swap in maple syrup if needed.
- Salt – Enhances flavor and strengthens the dough; kosher salt is your best bet for uniform results.
- Bread Flour – Provides essential protein and gluten for a sturdy loaf; all-purpose flour can be used in a pinch, though textures may vary.
- Rye Flour – Delivers that characteristic nutty flavor and dense crumb in your rye bread; whole wheat flour can substitute but with different flavor notes.
- Caraway Seeds – Imparts that distinctive, aromatic flavor typical of rye bread; you can always omit or replace them with dill seeds if preferred.
- Unsalted Butter – Enriches the bread and enhances flavor; olive oil is a great dairy-free substitute.
- Egg White (mixed with water) – Creates a glossy crust when brushed on prior to baking; non-dairy milk can also do the trick if preferred.
For the Topping
- Kosher or Flaky Sea Salt – Sprinkling this on before baking elevates the crust’s flavor and texture.
Now that you have your ingredients ready, get excited to transform them into a warm, delicious loaf of homemade rye bread!
Step‑by‑Step Instructions for Easy Homemade Rye Bread with Caraway Seeds
Step 1: Dough Prep
In a stand mixer, combine 2 packets of instant yeast with 1½ cups lukewarm water (about 100°F) and 2 tablespoons of honey. Mix thoroughly to dissolve the yeast, then gradually add 1 teaspoon of kosher salt, 2 cups of bread flour, 1 cup of rye flour, 2 teaspoons of caraway seeds, and 2 tablespoons of softened unsalted butter. Knead the mixture on medium-low speed for about 8 minutes until the dough is smooth and elastic.
Step 2: First Rise
Once your dough is ready, transfer it to a lightly oiled bowl, turning it to coat the surface. Cover the bowl with a clean kitchen towel or plastic wrap to maintain warmth and moisture. Allow the dough to rise in a warm, draft-free area for 1½ to 2 hours, or until it has doubled in size—this is a crucial step for achieving that lovely texture in your homemade rye bread.
Step 3: Shaping
After the dough has risen, gently punch it down to release air, then turn it out onto a lightly floured surface. Flatten the dough into a rectangle, about 1-inch thick, and roll it tightly into a log. Pinch the seams to seal, and position the loaf seam-side down on a parchment-lined baking sheet. This shaping technique will help create a nice structure for your rye bread.
Step 4: Second Rise
Cover the shaped loaf with a towel and allow it to rise again in a warm spot for 45 minutes to 1 hour, or until it appears puffy and has increased in volume. This second rise is essential for developing the fluffy interior of your rye bread. You want to achieve a slightly domed top—just like a picture-perfect loaf!
Step 5: Baking Prep
While the dough is rising, preheat your oven to 425°F. In a small bowl, whisk together an egg white with 1 tablespoon of water to create an egg wash. Once the dough has risen, gently brush the top with this mixture, then sprinkle it with flaky sea salt and a few additional caraway seeds for that perfect finishing touch. Don’t forget to slash the top of the loaf with a sharp knife for steam venting.
Step 6: Bake
Place your baking sheet in the preheated oven and bake the rye bread for 25 minutes at 425°F. After that, reduce the oven temperature to 375°F and bake for an additional 10 to 15 minutes, or until the loaf is golden brown and sounds hollow when tapped on the bottom. The internal temperature should reach about 200°F for that ideal finish.
Step 7: Cooling
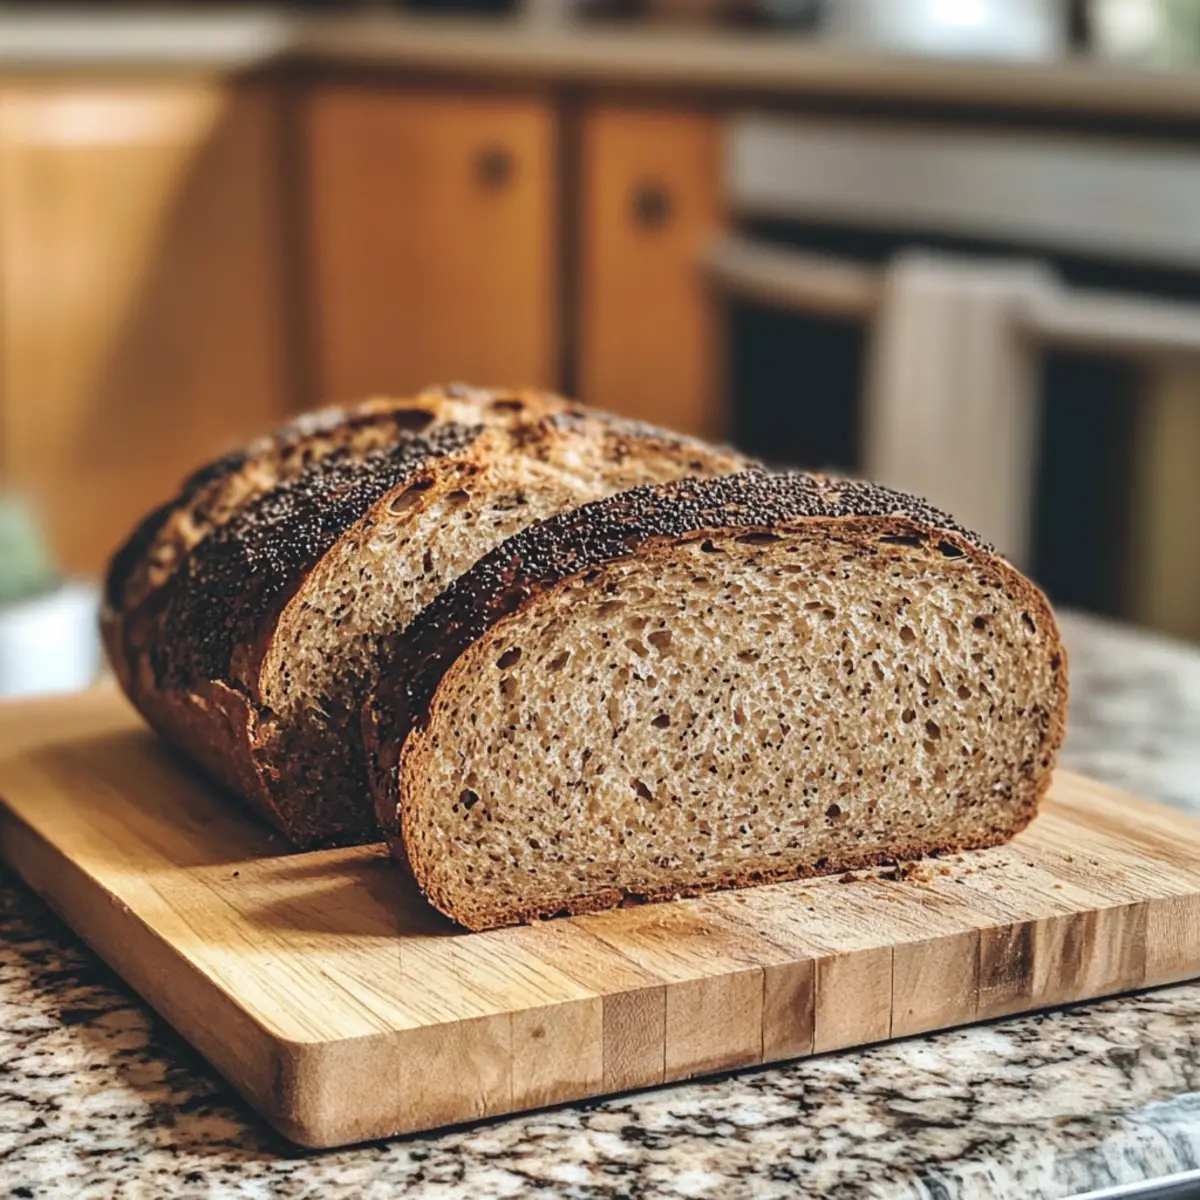
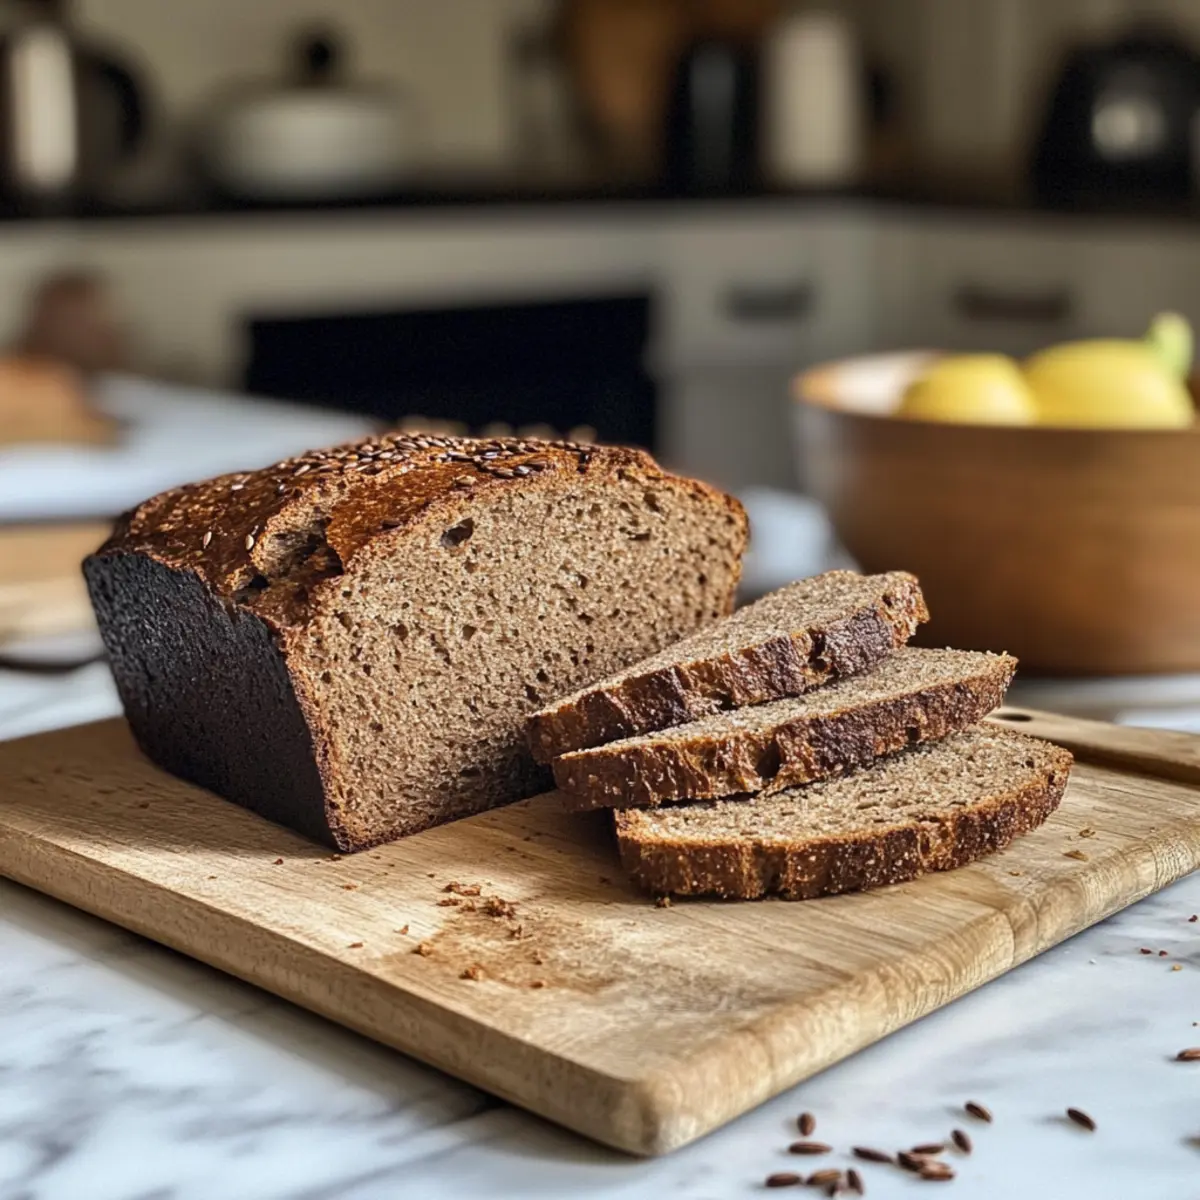
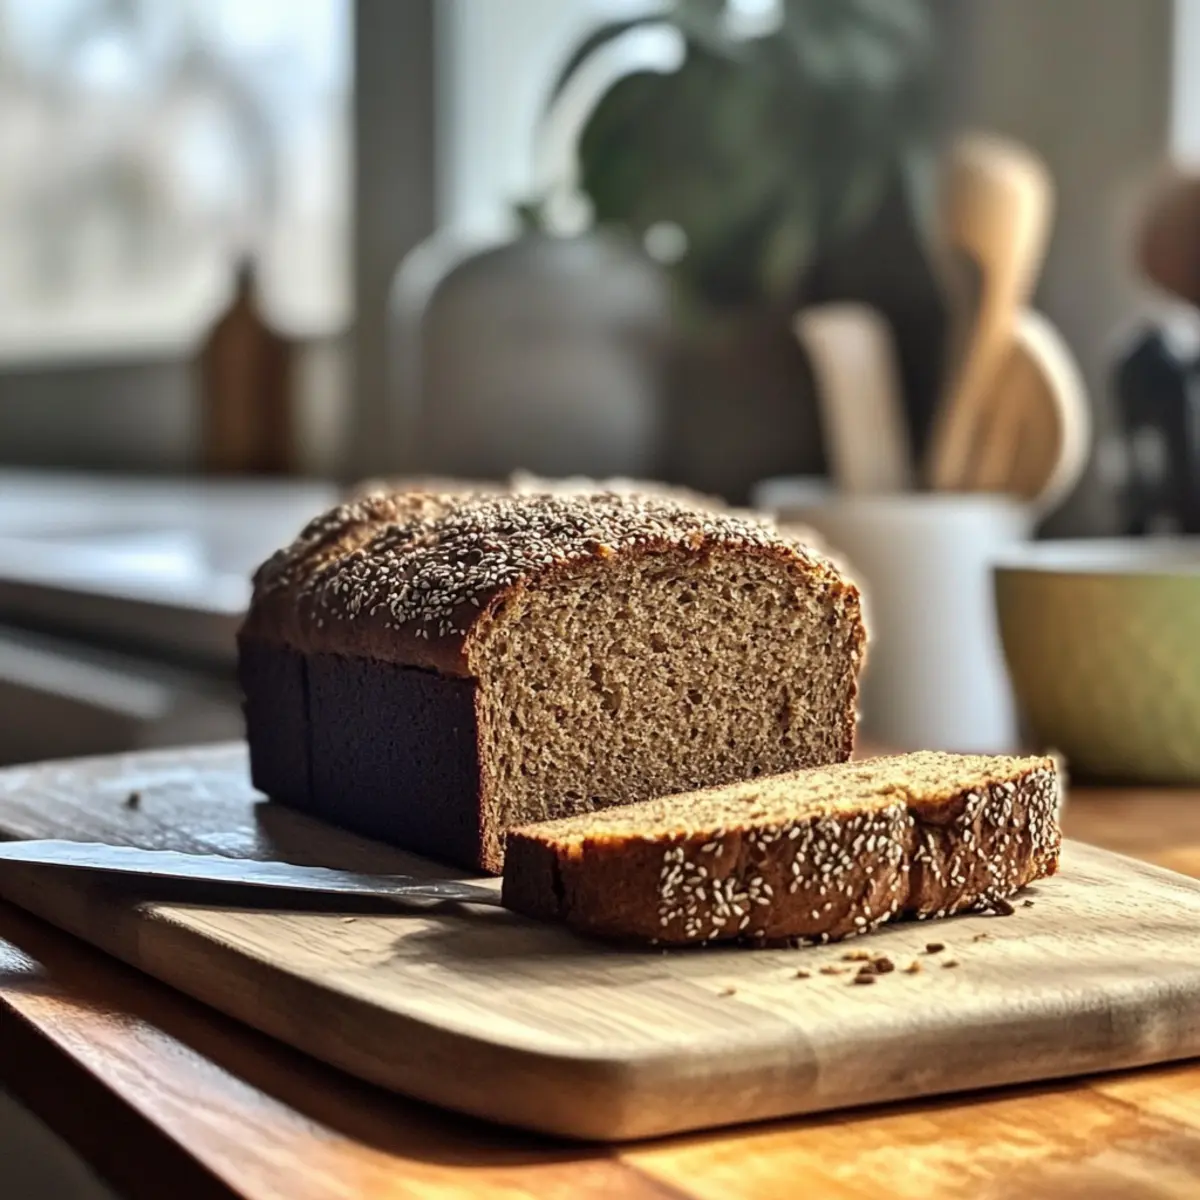
Once baked, carefully transfer the loaf onto a cooling rack. Let it cool completely before slicing, which will help prevent a gummy texture. Resist the temptation to slice your gorgeous homemade rye bread too soon—your patience will pay off with a beautiful, well-structured loaf that showcases that soft, chewy interior!
Make Ahead Options
These Easy Homemade Rye Bread rolls are perfect for meal prep enthusiasts! You can prepare the dough up to 24 hours in advance by following the recipe through the first rise. After the dough has doubled, punch it down, cover it tightly with plastic wrap or place it in an airtight container, and refrigerate. When you’re ready to bake, remove it from the fridge, let it come to room temperature (about 30 minutes), shape it, and proceed with the second rise before baking. This method ensures that your homemade rye bread is just as delicious with a fresh, warm crust while saving you time during busy weeknights!
Rye Bread Variations & Substitutions
Feel free to explore your creativity with this rye bread recipe, enhancing its flavor and texture in delightful ways!
-
Seeded Loaf: Add sunflower or sesame seeds to the dough or sprinkle them on top before baking for a crunchy texture and nutty flavor.
-
Flavor Twist: Substitute caraway seeds with fennel seeds for a subtly different aromatic profile that will surprise your taste buds.
-
Dairy-Free Option: Use olive oil instead of unsalted butter to create a lighter, dairy-free rye bread, perfect for vegan-friendly diets.
-
Gluten-Free Choice: Swap rye flour with a gluten-free blend to cater to those with gluten sensitivities, ensuring everyone can enjoy homemade bread.
-
Herb Infusion: Incorporate fresh herbs like rosemary or thyme into the dough for a fragrant touch that elevates your bread experience.
-
Sweetness Variation: Replace honey with molasses for a richer, deeper sweetness that complements the earthy taste of the rye.
-
Cheesy Delight: Mix in shredded cheese such as cheddar into the dough for a savory twist that turns your rye bread into a deliciously cheesy treat.
-
Heat Levels: Integrate a pinch of red pepper flakes to the dough if you love a bit of heat in your baked goods, adding a surprising kick to your slices.
These variations not only personalize your rye bread experience but also invite you to explore new flavors. While you’re enjoying this delightful baking journey, you might also want to check out our Knead Cheese Bread or the comforting Honey Butter Cornbread for even more homemade goodness!
Expert Tips for Homemade Rye Bread
-
Testing Dough: Conduct a “finger poke” test after the first rise; if the indentation springs back slowly, it’s ready to shape.
-
Kneading Knowledge: Knead until the dough is smooth and elastic—this may take around 8 minutes on medium-low speed. Under-kneading can lead to a dense texture in your rye bread.
-
Surface Tension: When shaping the loaf, build surface tension by pulling the dough toward you while shaping. This gives your rye bread a taller rise.
-
Cooling Time: Allow the bread to cool completely on a wire rack before slicing. Cutting too soon can result in a gummy texture.
-
Flavor Flexibility: Feel free to adjust caraway seed amounts based on your preference. You can replace them with dill seeds for a unique twist in your homemade rye bread.
What to Serve with Easy Homemade Rye Bread with Caraway Seeds
There’s nothing like complementing your freshly baked loaf with a few delightful accompaniments to create a warm, inviting meal.
- Rich Beef Stew: The hearty meat and rich flavors pair beautifully with the nutty notes of rye, making for a comforting dinner. Each sip of the stew, along with the bread, transports you to a cozy dining experience, where each bite unfolds a warm story.
- Creamy Potato Salad: This classic side brings a refreshing creaminess that balances the dense texture of the bread, perfect for summer picnics or barbecues. The blend of flavors creates a delightful contrast that keeps your palate intrigued.
- Cheese Platter: Include robust cheeses like aged cheddar or tangy blue cheese, complementing the earthy undertones of rye bread. Add some fruits and nuts, inviting variety to your table and tempting your guests to indulge.
- Smoked Salmon: Its velvety texture and vivid flavors pair elegantly with the rye, creating a sophisticated brunch delight. Serving this on toasted slices adds an unforgettable touch to your gathering.
- Hearty Vegetable Soup: The warmth of a chunky soup, rich in vegetables, provides a comforting and nutritious experience, making this pairing a healthy choice for your family. Each bite of soup alongside the bread builds a lovely harmony of flavors.
- Pickled Vegetables: The acidity of pickles cuts through the dense flavor of the grain, providing a crisp, vibrant contrast that keeps the meal exciting. They’re a fantastic, fresh addition to a traditional sandwich, enhancing your taste adventure.
- Dark Beer: A stout or porter accentuates the flavors of the rye, making for a rich pairing that feels indulgent. Cheers to a satisfying experience as you sip this robust drink while enjoying your homemade slice!
- Apple Crisp: For a sweet finish, this cozy dessert pairs perfectly with the bread, offering a delightful contrast of textures with its warm, cinnamon-spiced apples. Each spoonful of crisp creates a joyous ending to your meal.
How to Store and Freeze Rye Bread
Room Temperature: Keep your homemade rye bread in an airtight bag or wrapped in plastic wrap at room temperature for up to 3 days for optimal freshness.
Fridge: Storing in the fridge is not recommended as it can dry out the bread. However, if you must, use a sealed container and consume within 2 days.
Freezer: For longer storage, slice your rye bread and place in a freezer-safe bag. It will maintain quality for up to 3 months.
Reheating: For best results, reheat slices in a toaster or oven until warm and crusty. Enjoy that fresh-baked texture again!
Easy Homemade Rye Bread with Caraway Seeds Recipe FAQs
How do I select the right ingredients for rye bread?
Absolutely! For the best results, use fresh ingredients. Check the yeast’s expiration date and ensure it’s active. The perfect rye flour should be finely milled but coarse enough to give your bread a delightful texture. When choosing caraway seeds, look for whole seeds instead of ground for maximum flavor.
What’s the best way to store homemade rye bread?
To keep your delightful loaf fresh, store it in an airtight bag or wrapped in plastic at room temperature for up to 3 days. If you notice any dark spots or mold, it’s best to discard it. I often find that storing it in a paper bag prevents moisture buildup and maintains the crust’s crunchiness.
Can I freeze rye bread for later?
Yes, you can! For optimal freezing, slice your rye bread and place the slices in a freezer-safe bag. This method allows you to take out just what you need. It can last up to 3 months in the freezer. When you’re ready to enjoy, simply reheat slices in the toaster or oven until warm and crusty again.
What if my dough doesn’t rise properly?
Very! If your dough isn’t doubling in size during the first rise, check the temperature of your water; it should be around 100°F. Drafts can stall the yeast, so find a warm, cozy spot free of breezes. For your next loaf, ensure your yeast is fresh and actively bubbling when mixed.
Is there a way to make this rye bread recipe gluten-free?
While this recipe traditionally uses gluten-containing flours, you can experiment with gluten-free substitutes. A gluten-free flour blend may work, but adjustments in hydration and baking time might be needed. Unfortunately, the texture and flavor may differ, so it’s worth trying small batches first to find what works best for your preferences.
Are there any dietary considerations for this rye bread?
Of course! This recipe contains honey, which may not be suitable for strict vegans. For substitutions, maple syrup or agave nectar is an excellent vegan-friendly alternative. Additionally, always check for potential allergies when using alternatives like rye flour, as it may not suit those with gluten intolerance or celiac disease.
Deliciously Easy Rye Bread to Elevate Your Baking Game
Ingredients
Equipment
Method
- In a stand mixer, combine yeast, lukewarm water, and honey. Mix to dissolve, then add salt, bread flour, rye flour, caraway seeds, and butter. Knead for about 8 minutes.
- Transfer dough to an oiled bowl, cover, and let rise for 1½ to 2 hours, until doubled in size.
- Punch the dough down, turn onto a floured surface, flatten into a rectangle, roll tightly, and place seam-side down on a baking sheet.
- Cover shaped loaf and let rise for 45 minutes to 1 hour until puffy.
- Preheat oven to 425°F. Brush top with egg wash, sprinkle with salt and caraway seeds, and slash the top with a knife.
- Bake in preheated oven for 25 minutes at 425°F, then reduce to 375°F and bake for an additional 10 to 15 minutes until golden brown.
- Transfer the loaf to a cooling rack and let cool completely before slicing.
Leave a Reply