
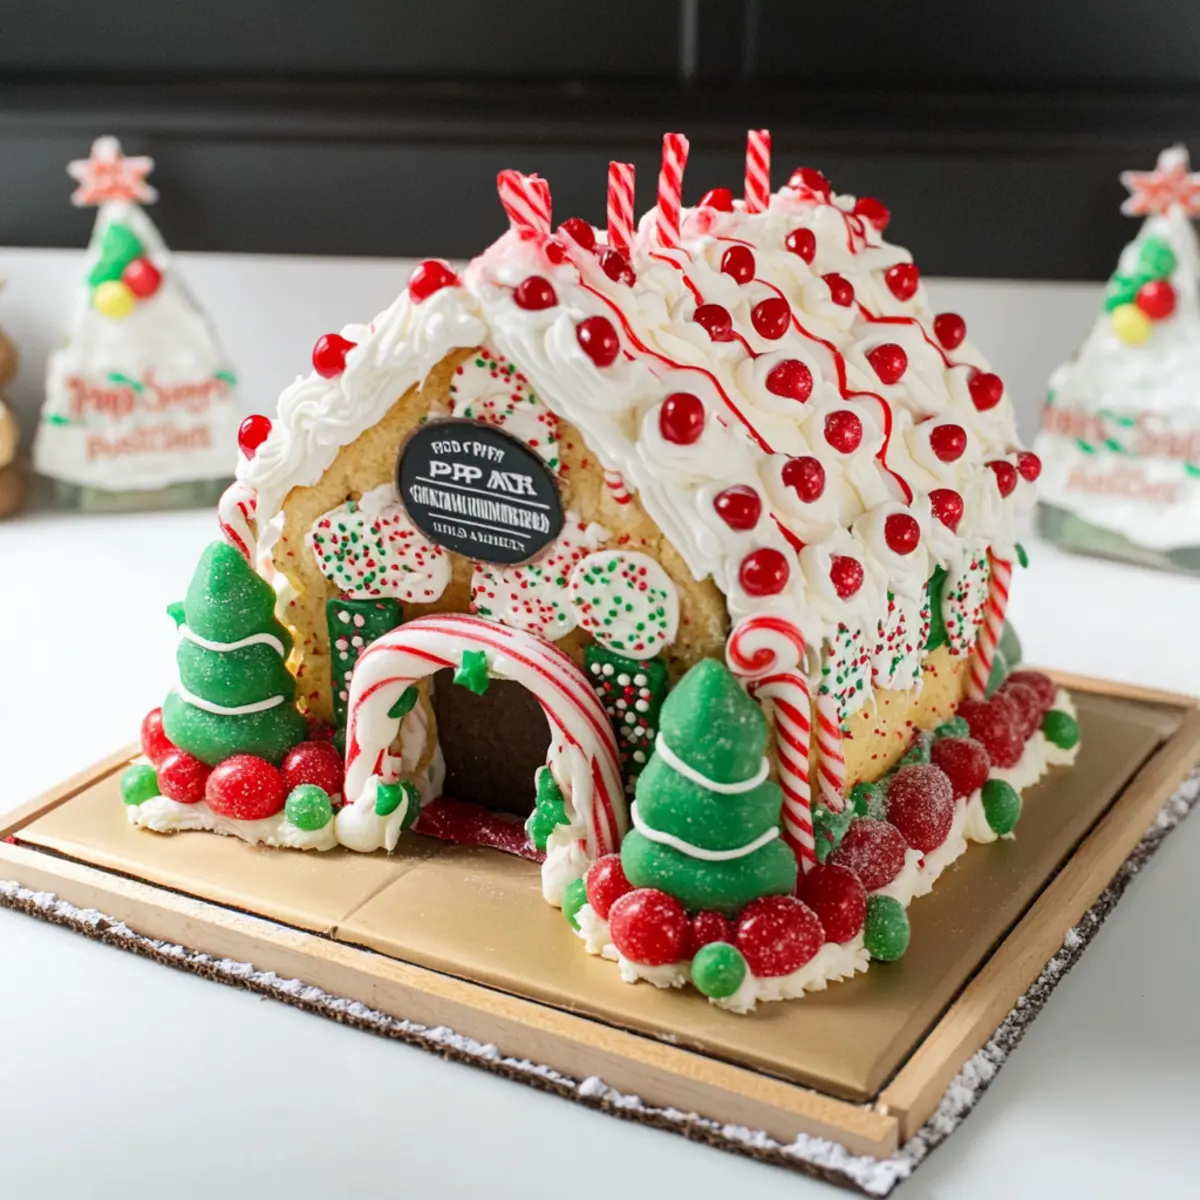
The sweet scent of holiday magic fills the air as I gather my supplies for a delightful Christmas tradition: crafting a Pop Tart Gingerbread House. This whimsical project turns store-bought Pop Tarts into a festive masterpiece adorned with colorful candies, making it a breeze to create lasting memories with loved ones. Assembling this playful treat is not just easy, but also a perfect opportunity for family bonding, encouraging creativity in kids and adults alike. With each bite delivering a satisfying crunch and sweet nostalgia, you’ll find that this fun holiday activity is a clever twist on traditional gingerbread house-making. Are you ready to unleash your inner architect and make a delicious sugary structure? Let’s dive into the festive fun!
Why Choose a Pop Tart Gingerbread House?
Fun and Creative: Turn store-bought treats into a festive masterpiece that sparks joy and imagination for all ages.
Quick to Assemble: With just a few simple steps, you can create this delightful project in under an hour—perfect for busy holiday schedules.
Kid-Friendly: Involve the little ones and watch their faces light up as they decorate their very own sugary structures!
Customizable Flavors: Swap out Pop Tart flavors to personalize your house, or get inspired by ideas from my Cavacas Portuguese Popovers to enhance the decoration and taste.
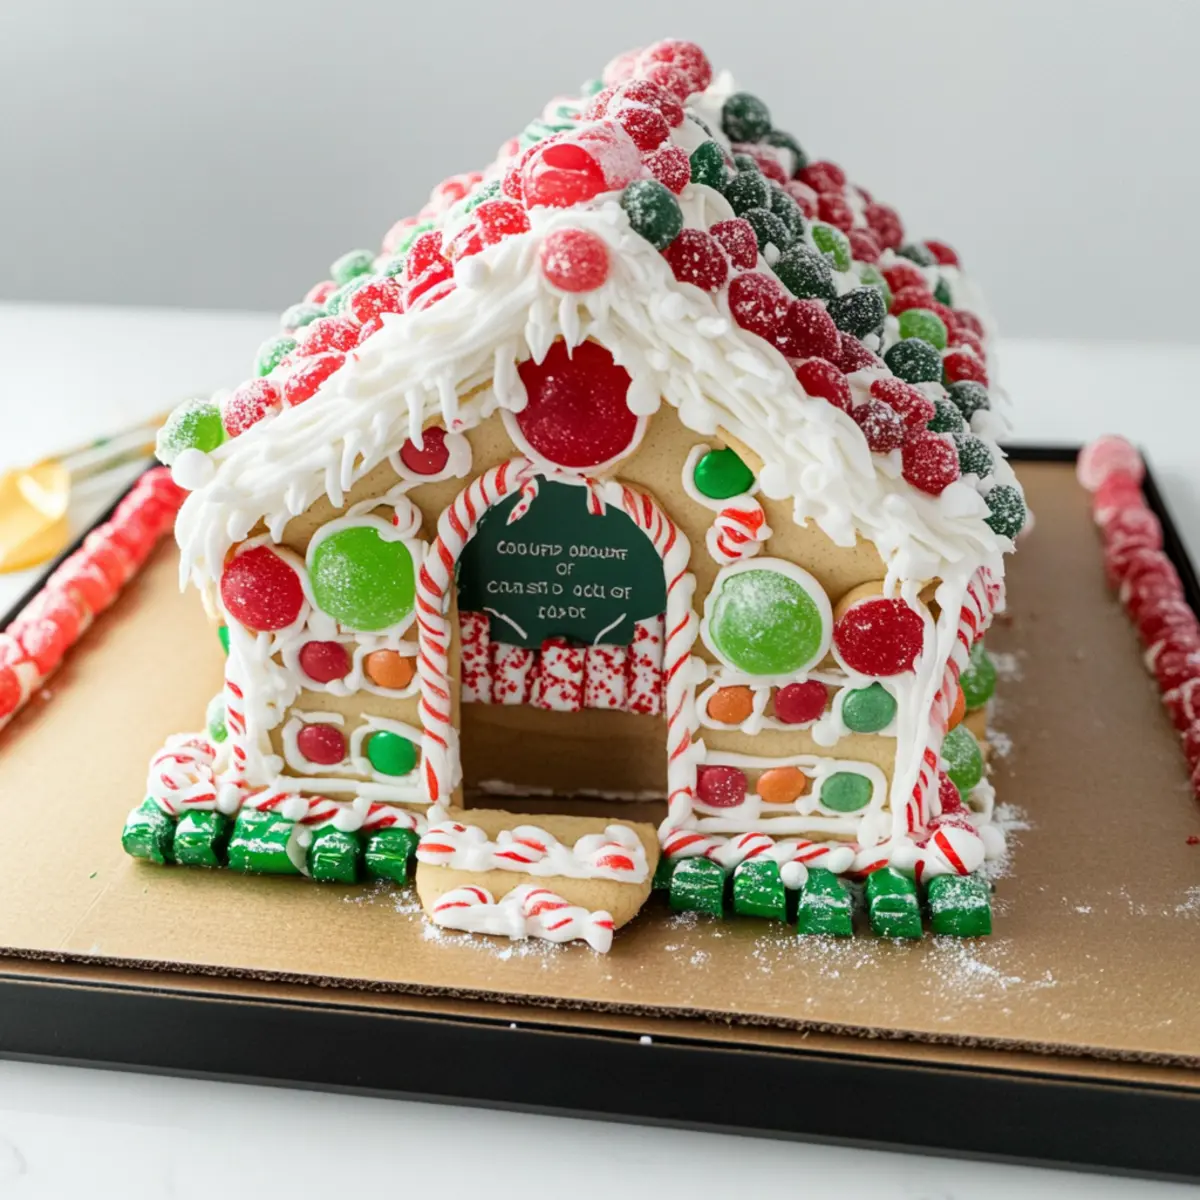
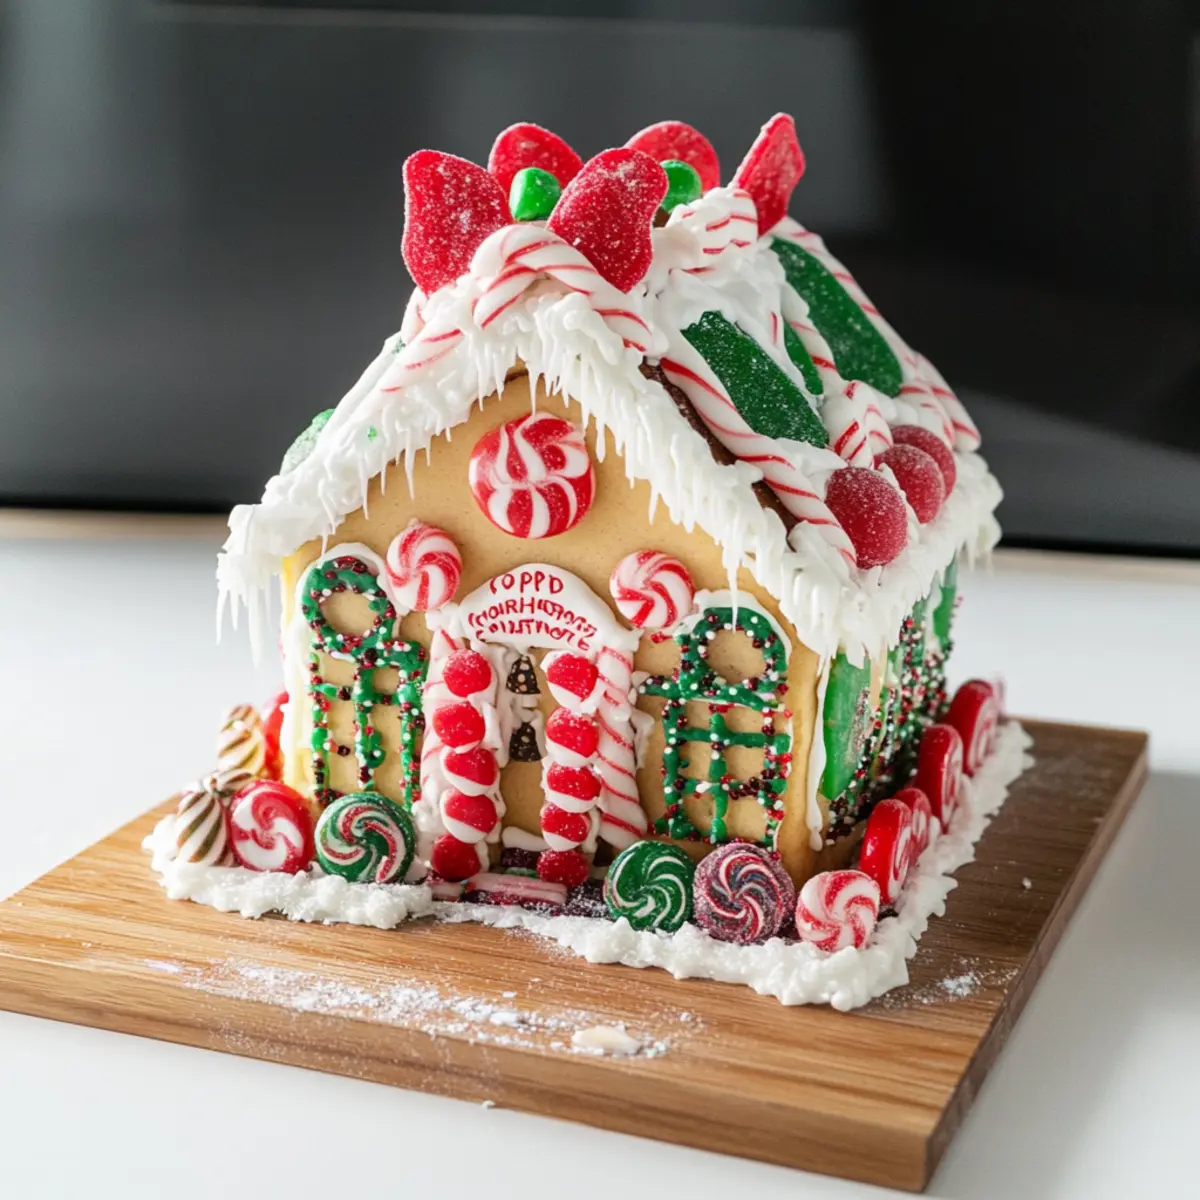
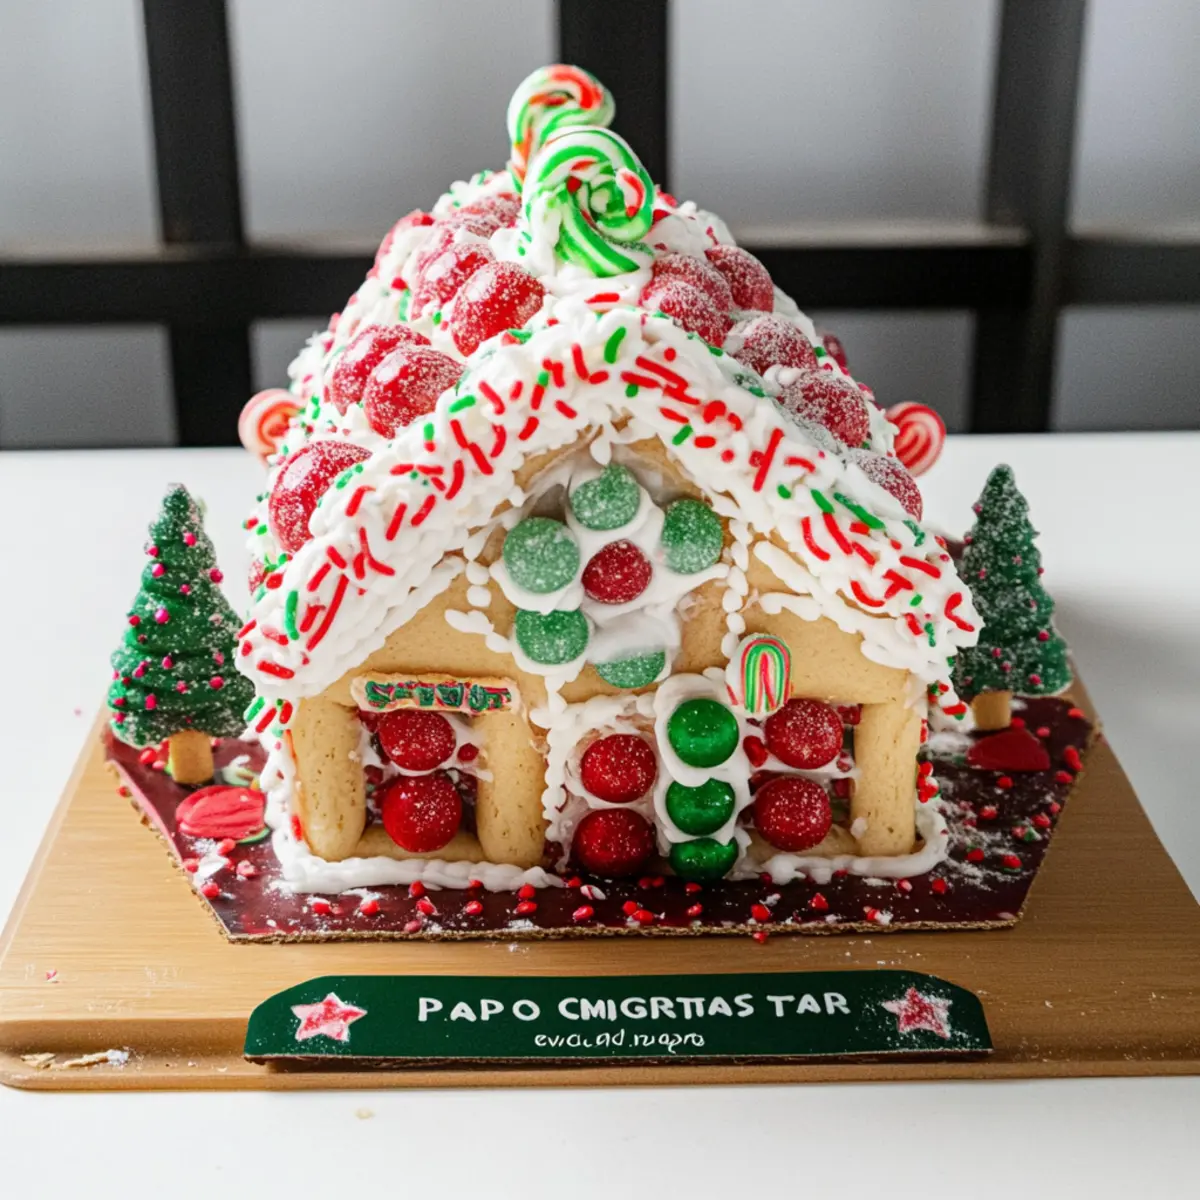
Impressive Decor: This vibrant, candy-adorned treat not only tastes great but also makes a stunning centerpiece for your holiday celebrations.
Memorable Tradition: Create lasting memories by making this charming gingerbread house a beloved annual activity!
Pop Tart Gingerbread House Ingredients
For the House
- Strawberry Pop Tarts – The base structure for your house; feel free to choose your favorite flavor to make it uniquely yours.
- Decorating Icing – Acts as the edible glue to assemble and embellish your house; make sure it’s thick enough to hold everything in place.
For the Decorations
- Christmas Candy – Select a variety like gumdrops, sprinkles, and chocolates to add splashes of color and texture to your sugary creation; these will really elevate your Pop Tart Gingerbread House visually and taste-wise.
- Edible Glitter (optional) – Add this for a sparkling finish that dazzles! Perfect for making your holiday treat extra special.
For Assembly
- Parchment Paper – A clean surface for assembly that makes for easy cleanup and prevents your masterpiece from sticking.
- Sharp Knife – Essential for cutting the Pop Tarts; precision is key to ensuring a well-structured house.
Get ready to assemble your Pop Tart Gingerbread House, a delightful and easy project that the whole family will love!
Step‑by‑Step Instructions for Pop Tart Gingerbread House
Step 1: Prepare Your Workspace
Begin by laying out a clean surface covered with parchment paper to avoid any sticky mess. This ensures easy assembly and cleanup, creating an ideal foundation for your Pop Tart Gingerbread House project. Gather all your ingredients and tools, including Strawberry Pop Tarts, decorating icing, and your candy selections, so everything is accessible for smooth progress.
Step 2: Assemble the Back Wall
Select a single Strawberry Pop Tart to serve as the back wall of your gingerbread house. Position it vertically on the parchment paper, ensuring it stands upright. Take your decorating icing and pipe a generous line along the edges of the Pop Tart to create a sturdy base that will hold everything together as you move forward with constructing your festive house.
Step 3: Add the Side Walls
Next, align two additional Pop Tarts vertically on either side of the back wall, securing them using the decorating icing you applied earlier. Let the icing sit for about 5-10 minutes, allowing it to harden slightly and stabilize the structure. This step is crucial for ensuring your Pop Tart Gingerbread House has a solid frame to support the roof and decorations.
Step 4: Create the Roof Peak
Now, it’s time to add character to your gingerbread house! Trim the top of the back Pop Tart, creating a peak that matches the height of the side walls. A sharp knife works best for precision. Measure carefully so that the front and back are symmetrical, which adds to the delightful charm of your Pop Tart Gingerbread House.
Step 5: Attach the Roof
Once your walls are secure and the peak is in place, it’s time to add the roof. Use two additional Pop Tarts, placing each one on top of the side walls at an angle. Apply decorating icing along the edges where the Pop Tarts meet to make a solid connection. Allow the roof to rest for about 10 minutes, ensuring it stays stable before you begin decorating.
Step 6: Decorate Your House
With your Pop Tart Gingerbread House structure securely assembled, it’s time to let your creativity shine! Use the decorating icing to attach an assortment of Christmas candies to the outer walls and roof. Apply icing generously in spots, and pile on gumdrops, chocolates, and sprinkles until your house bursts with festive cheer.
Step 7: Final Touches and Drying
After decorating, it’s essential to let your Pop Tart Gingerbread House dry completely for at least 30 minutes. This ensures that the icing sets and the additions remain intact. For an extra touch, consider adding edible glitter for a sparkling finish that dazzles. Display your charming creation proudly, capturing the essence of holiday fun and creativity!
Pop Tart Gingerbread House Variations
Feel free to explore delightful twists on this festive treat that will spark creativity and excitement!
-
Flavor Swap: Try using Cinnamon Pop Tarts instead of Strawberry for a warm spice kick. The cinnamon adds a cozy touch that’s perfect for the holiday season.
-
Chocolate Delight: Transition to Chocolate Pop Tarts for a rich, indulgent flavor. This variation is especially appealing to chocolate lovers and brings a new dimension to your dessert table.
-
Melted Chocolate: Enhance your structure with melted chocolate instead of decorating icing. This creates a delicious, rich flavor while providing excellent adhesion for the house’s components.
-
Royal Icing: For a more sturdy assembly, swap in royal icing which dries hard and keeps your house intact through the festivities. It’s a traditional choice that champions the festive spirit.
-
Edible Glitter: Sprinkle some edible glitter over your decorations for a magical touch! This extra shimmer will catch the light and bring a sparkle to your family gatherings.
-
Nutty Crunch: Add a handful of chopped nuts like almonds or pecans for a delightful crunch. This unexpected texture will surprise your guests while still keeping it festive.
-
Candy Variety: Use various themed candies; think holiday favorites like candy canes, chocolate peppermint bites, or seasonal gummies to elevate both flavor and visual appeal.
-
Layered Flavor: Try cutting the Pop Tarts into shapes and layering them for a more complex design. Intricate structure adds a fun challenge and allows for a festive display.
Each of these variations provides an opportunity to make this sweet project uniquely yours. And if you’re inspired by fun textures and flavors, you might also enjoy making some Butter Cornbread Poppers as a savory side or dessert! Happy decorating!
Make Ahead Options
These Pop Tart Gingerbread Houses are a wonderful choice for meal prep enthusiasts looking to save time during the busy holiday season! You can assemble the main structure of the house—completing the back wall, side walls, and roof—up to 24 hours in advance, making them a fantastic option for last-minute festive fun. Simply let the assembled house sit at room temperature, covered lightly with plastic wrap to prevent it from drying out. When you’re ready to decorate, gather your Christmas candies and apply the icing, creating your masterpiece. This way, you’ll enjoy a delightful activity with minimal stress, ensuring your Pop Tart Gingerbread House is just as festive and tasty as if you made it all in one go!
Storage Tips for Pop Tart Gingerbread House
- Room Temperature: Keep your Pop Tart Gingerbread House in a cool, dry place, ideally away from direct sunlight, to maintain its structure and taste for up to 3 days.
- Sealing: If you want to extend freshness, gently wrap it in plastic wrap or store it in an airtight container, but take care not to crush any decorations.
- Reheating: This festive masterpiece is best enjoyed fresh; however, if you like your Pop Tarts warm, remove decorations, briefly heat in the microwave, and then redecorate.
- Freezer: While it’s not recommended to freeze a decorated Pop Tart Gingerbread House, you can store unassembled Pop Tarts and icing separately in the freezer for future holiday fun!
What to Serve with Pop Tart Gingerbread House?
Create a festive feast that complements your sweet creation and makes holiday gatherings even more magical.
- Hot Chocolate Bar: A warm, cozy drink topped with whipped cream and marshmallows pairs perfectly with the sweetness of your house, warming hearts and hands alike.
- Sugary Churros: These sweet, crispy treats bring delightful crunch and additional sweetness, enhancing the holiday extravagance with their cinnamon sugar dusting.
- Fruit Salad: A refreshing burst of colors and flavors from seasonal fruits adds balance to your meal, enhancing the festive table with freshness.
- Gingerbread Cookies: Stick with the theme by serving traditional gingerbread cookies, enhancing the charm of your holiday gathering with classic flavors.
- Eggnog: Creamy and rich, this festive drink complements the Pop Tart Gingerbread House beautifully, providing a holiday indulgence to enjoy with family.
- Christmas Sugar Cookies: Decorate these festive cookies in holiday colors for a joyful addition that echoes the playful spirit of your gingerbread house, making it doubly sweet.
Think of these delightful pairings as the finishing touches to a splendid holiday gathering, creating a joyous atmosphere filled with laughter and togetherness!
Expert Tips for Pop Tart Gingerbread House
-
Precision Cutting: Use a sharp knife for clean edges; this helps your house maintain its shape and look professional.
-
Sturdy Icing: Ensure your decorating icing is thick enough to act as glue; watery icing won’t hold the structure together properly.
-
Drying Time: Don’t rush the drying process; letting your Pop Tart Gingerbread House set for at least 30 minutes is crucial for stability.
-
Engage Kids: Involve children in the decorating stage for a fun, interactive experience; it’s all about creating memories while crafting!
-
Candy Variety: Use an assortment of candies for decoration to add vibrant color and texture, making your Pop Tart Gingerbread House visually stunning.
Pop Tart Gingerbread House Recipe FAQs
What type of Pop Tarts should I use for the best results?
Absolutely, I recommend using Strawberry Pop Tarts as the brightest base for your gingerbread house, but feel free to swap in your favorites like Cinnamon or Chocolate for a delightful twist. Just remember, the flavor will influence the overall sweetness of your finished product, so choose wisely!
How should I store my Pop Tart Gingerbread House?
To keep your Pop Tart Gingerbread House fresh, store it in a cool, dry place, ideally away from direct sunlight, for up to 3 days. If you want to preserve its integrity, consider wrapping it gently in plastic wrap or placing it in an airtight container—but be cautious not to crush those lovely decorations!
Can I freeze a decorated Pop Tart Gingerbread House?
It’s best not to freeze the decorated Pop Tart Gingerbread House, as the icing and candy can lose their texture. However, if you want to prepare in advance, you can freeze unassembled Pop Tarts and your decorating icing separately for up to 3 months. Just ensure they’re well sealed, so they don’t get freezer burn.
What if my icing is too runny to hold the Pop Tarts together?
Very! If your decorating icing is too runny, it won’t provide the necessary “glue” to secure your Pop Tart Gingerbread House. To fix this, you can add more powdered sugar to your icing to thicken it. Aim for a consistency that can hold peaks when piped—this will ensure that your structure stays stable and doesn’t collapse!
Can my Pop Tart Gingerbread House be made gluten-free?
While traditional Pop Tarts contain gluten, you can create a gluten-free version by purchasing gluten-free Pop Tart alternatives or using other sweets and baked goods that fit your dietary needs. Just be sure to check the packaging to ensure those delicious decorations are also gluten-free!
How do I prevent my Pop Tart Gingerbread House from collapsing during assembly?
To ensure your gingerbread house remains standing, take your time with the drying process. Allow the icing to set for at least 10 minutes after attaching each wall and another 10 minutes after securing the roof. This added drying time solidifies the structure, making it sturdy and ready for all those festive decorations!
Festive Pop Tart Gingerbread House: A Fun Holiday Delight
Ingredients
Equipment
Method
- Prepare Your Workspace: Lay out a clean surface covered with parchment paper.
- Assemble the Back Wall: Position a Strawberry Pop Tart vertically. Pipe icing along the edges.
- Add the Side Walls: Align two Pop Tarts on either side of the back wall using icing.
- Create the Roof Peak: Trim the back Pop Tart to create a peak matching the side walls.
- Attach the Roof: Place two Pop Tarts on top of the side walls and seal with icing.
- Decorate Your House: Attach assorted Christmas candies using decorating icing.
- Final Touches and Drying: Let your house dry completely for at least 30 minutes.
Leave a Reply