
Walking into a bustling Tapas bar in Spain, the scent of perfectly fried fish wafting through the air instantly draws me in. If you’ve ever craved that authentic experience at home, this recipe for Quick & Crispy Pan-fried Sardines is your golden ticket. Not only is this dish a breeze to prepare, but it brings a delightful crunch and savory flavor that will impress your family and friends. Plus, it’s a wonderful way to elevate simple ingredients into something truly special. Picture these golden beauties sizzling in olive oil, served with a squeeze of fresh lemon, making for a joyful, relaxed meal. Ready to dive into this seafood delight and make your kitchen feel like a festive Spanish getaway?
Why should you try Pan-fried Sardines?
Authentic Flavor: This recipe captures the essence of Spanish Tapas, bringing rich, savory notes to your table.
Golden Crispiness: Each sardine is coated to perfection, delivering a satisfying crunch with every bite.
Quick and Easy: Minimal prep and cooking time mean you can enjoy this dish on any busy evening.
Versatile Pairings: Serve with a fresh green salad or a zesty garlic aioli to enhance the dining experience.
Crowd Favorite: Impress your guests with a dish that feels sophisticated yet homemade, perfect for gatherings or special occasions. Enjoy a taste of the Mediterranean without leaving your kitchen!
Pan-fried Sardines Ingredients
• Here are the key ingredients to make delightful Pan-fried Sardines at home!
For the Coating
- Plain Flour – A must for achieving the perfect crispy texture. Gluten-free flour is a great alternative if needed.
- Rock Salt – Enhances the flavor of the sardines and gives a well-rounded taste.
- Toasted Garlic Salt – Adds depth and a hint of garlic; regular salt can substitute if needed.
- Smoked Paprika – Provides a smoky richness; feel free to use regular paprika for a milder flavor.
- Pepper – Freshly cracked black pepper boosts the overall flavor; white pepper is a nice alternative.
For the Sardines
- Sardines (Split open, Butterflied) – The star ingredient, packed with umami; fresh or high-quality canned sardines work well.
For Frying
- Extra Virgin Olive Oil – Adds a rich flavor that’s hard to resist; substitute with another vegetable oil if desired.
For Garnishing
- Lemon Wedges – Brightens up the dish with freshness; no substitutes required!
- Parsley – Adds a pop of color and freshness; chop it for easy sprinkling.
Enjoy creating this delectable Pan-fried Sardines dish that captures the spirit of Spanish cuisine!
Step‑by‑Step Instructions for Quick & Crispy Pan-fried Sardines
Step 1: Prepare the Coating Mixture
In a sturdy plastic bag or a shallow dish, combine plain flour, rock salt, toasted garlic salt, smoked paprika, and freshly cracked pepper. Mix these dry ingredients well to ensure an even distribution of flavors. This seasoned flour will create that coveted crispy texture for your pan-fried sardines. Have the mixture ready as you’ll coat the sardines immediately after.
Step 2: Coat the Sardines
Take the cleaned, butterflied sardines and add them to the bag or dish, one or two at a time. Seal the bag or cover the dish, then shake gently to coat each sardine evenly with the flour mixture. After coating, remove any excess flour by gently shaking off the sardines and set them aside on a clean plate. This ensures the best crunch when frying.
Step 3: Heat the Olive Oil
In a large frying pan, add a generous amount of extra virgin olive oil and place it over medium heat. Allow the oil to warm for about 2–3 minutes until it shimmers slightly, indicating it’s hot enough for frying. Be careful not to let it smoke, as this can result in a burnt flavor. Properly heated oil is essential for achieving that perfect golden color and crispiness in your pan-fried sardines.
Step 4: Fry the Sardines
Once the oil is ready, carefully place the coated sardines in the pan, skin-side down, and do not overcrowd them. Fry for 1-2 minutes, until the skin is golden and crisp, then gently flip each sardine using a spatula. Continue frying for another 1-2 minutes until both sides are equally golden and crunchy. Keep an eye on them to avoid burning.
Step 5: Drain Excess Oil
When the sardines are beautifully fried to a rich golden brown, use a slotted spatula to transfer them to a plate lined with paper towels. This will help absorb any excess oil, keeping your pan-fried sardines crispy. Allow them to cool slightly, as they’ll continue to crisp up after being removed from the heat.
Step 6: Garnish and Serve
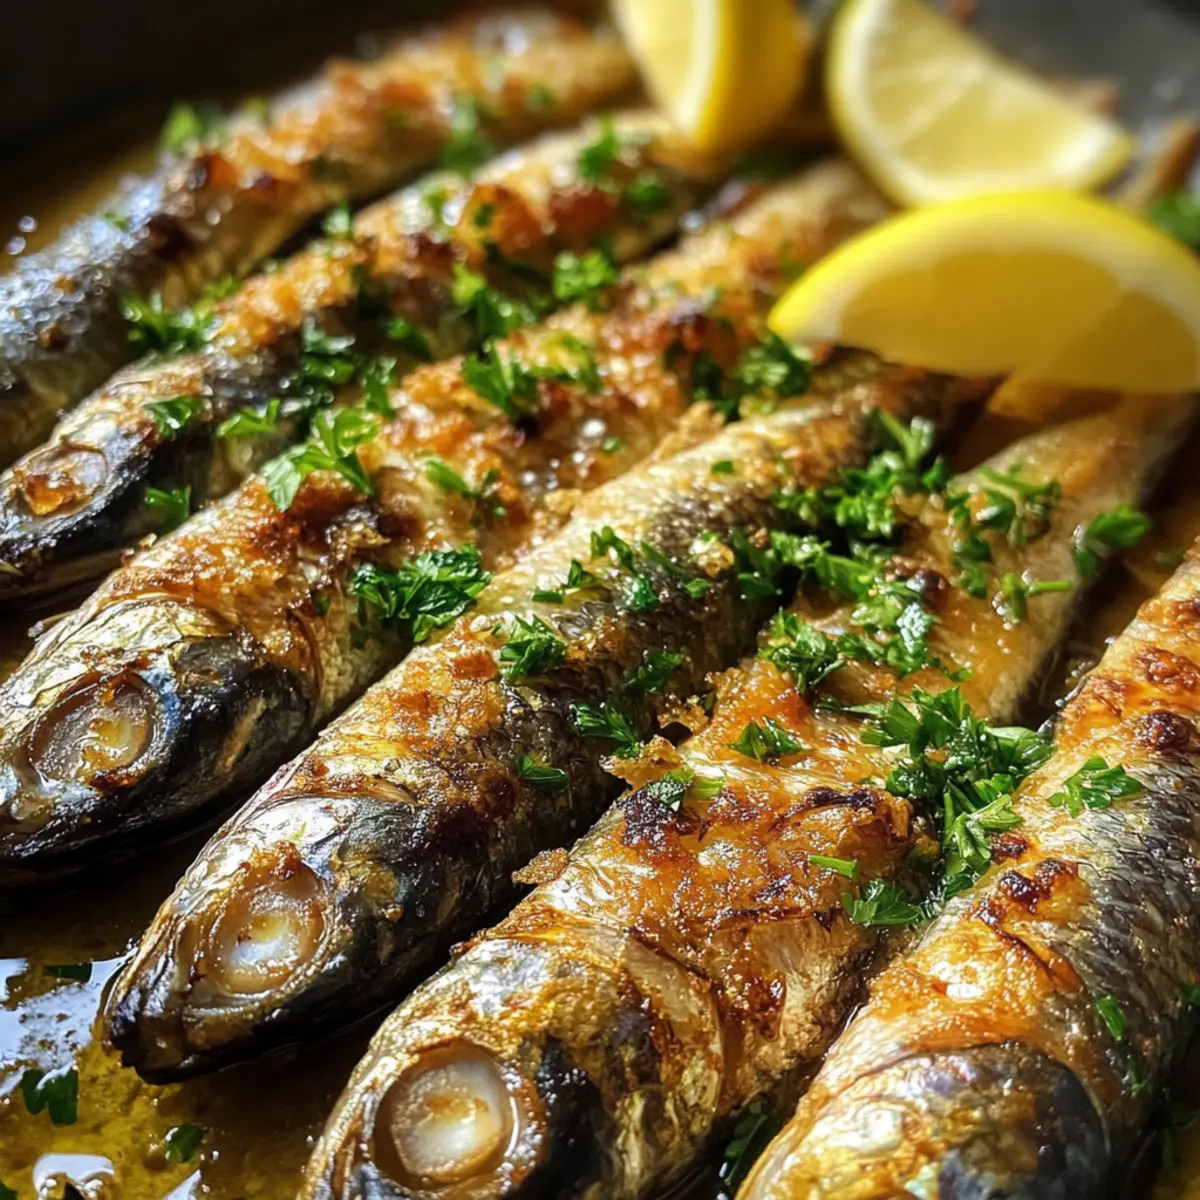
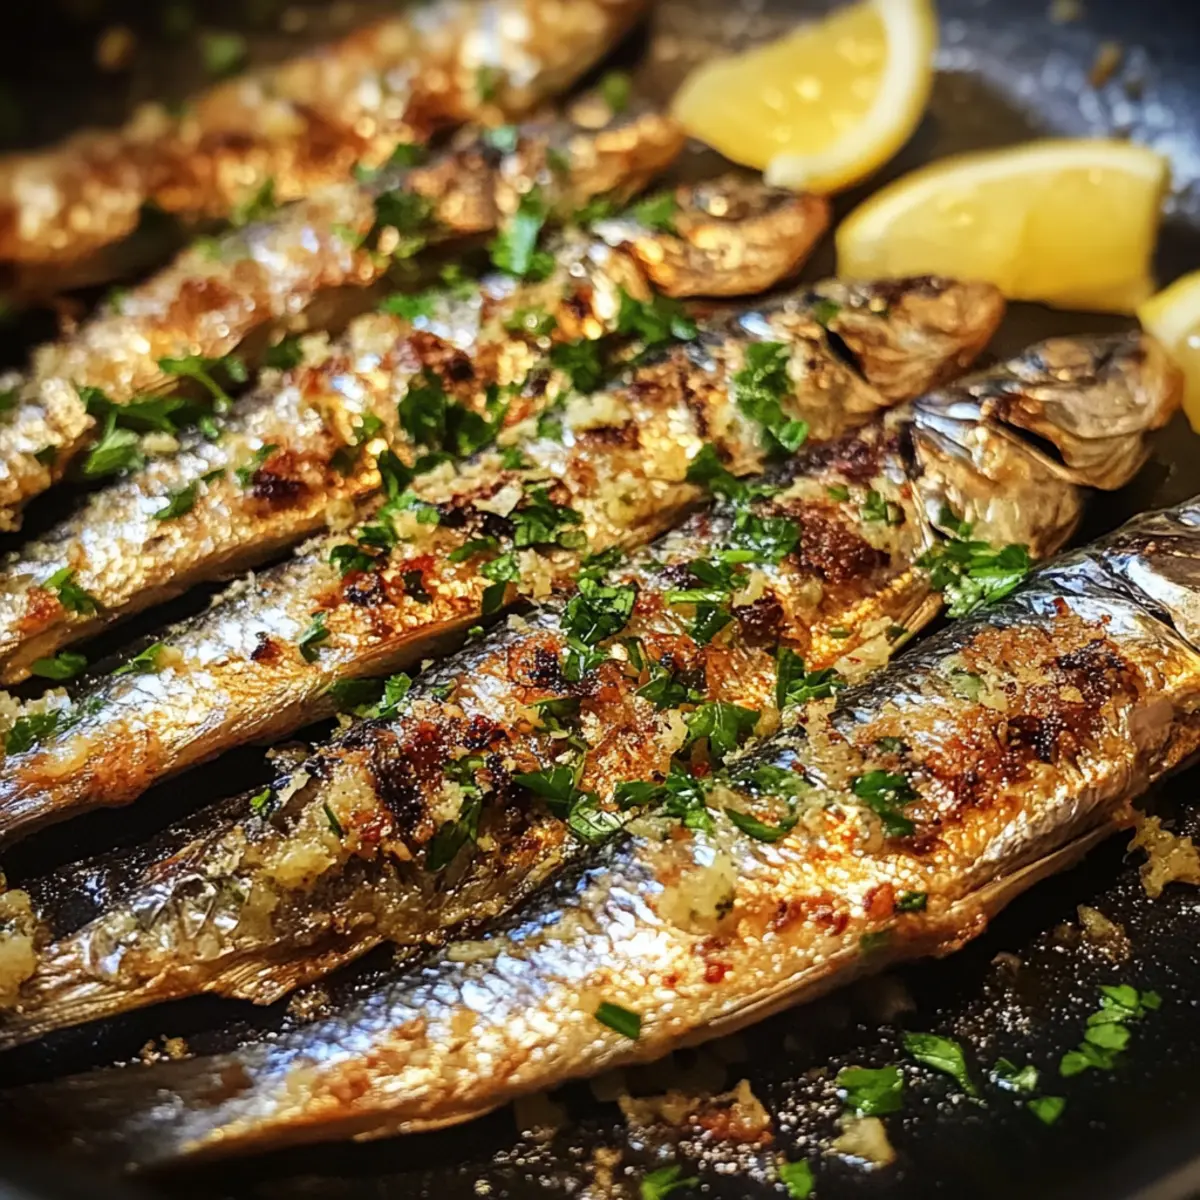
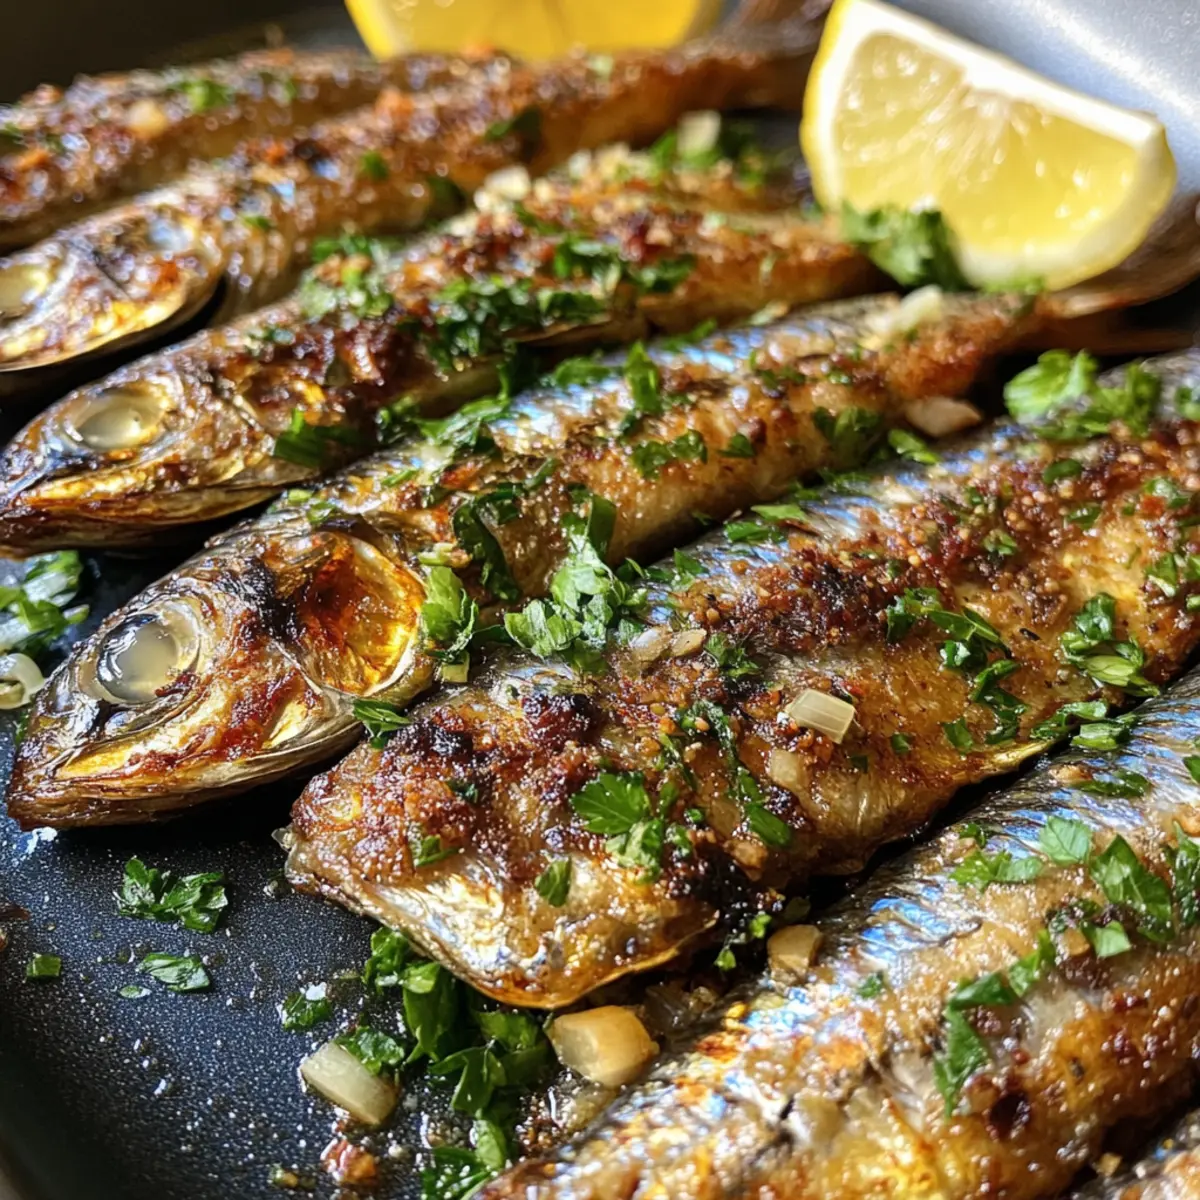
Finally, arrange the crispy pan-fried sardines on a serving platter and garnish with freshly chopped parsley and lemon wedges. The vibrant green of the parsley and the bright yellow of the lemon will enhance the dish’s appearance and flavors. Serve your sardines immediately for the best texture and enjoyment, paired with a chilled drink for an authentic experience.
What to Serve with Pan-fried Sardines
Elevate your dining experience with complementary dishes that enhance the flavors of these crispy treasures.
-
Creamy Garlic Mashed Potatoes: Their smooth, buttery texture brings a comforting contrast to the crispy sardines, creating a lovely balance on the plate.
-
Fresh Arugula Salad: Bright and peppery, this salad adds a refreshing crunch and cuts through the richness of the fish, making every bite delightful.
-
Zesty Lemon Aioli: A creamy garlic dip that pairs perfectly with the sardines, providing a tangy zip that elevates the entire meal.
-
Crisp White Wine: A chilled glass of Sauvignon Blanc or a light, dry rosé accentuates the flavors of the sardines while refreshing your palate.
-
Grilled Vegetables: Seasonal veggies like zucchini and bell peppers offer a smoky char that complements the sardines’ flavor, adding a vibrant and healthy touch to your spread.
-
Tomato Salsa: Bright and zesty with a bit of heat, this fresh accompaniment enhances the savory aspects of the sardines and brings a burst of color to your table.
-
Lemon Sorbet: Close your meal on a light note with this refreshing dessert, cleansing your palate while echoing the citrus notes of the main dish.
Enjoy mixing and matching these delightful pairings to create a signature meal that celebrates the flavors of your pan-fried sardines!
Make Ahead Options
These Quick & Crispy Pan-fried Sardines are an excellent choice for meal prep, allowing you to savor authentic flavors even on busy nights! You can coat the sardines in the flour mixture up to 24 hours in advance—just place them in an airtight container after coating to maintain texture. Additionally, if using canned sardines, you can prepare them by seasoning the flour and setting everything out ahead of time. When you’re ready to serve, simply heat the olive oil and fry until golden and crispy, ensuring each batch is just as delicious as if made fresh. Following these make-ahead tips guarantees your Ars are not only time-saving but also packed with flavor!
Expert Tips for Pan-fried Sardines
- Oil Temperature Check: Always heat your olive oil until it shimmers before adding the sardines; a hot oil guarantees a golden, crispy crust.
- Batch Frying: Avoid overcrowding the pan as it can lower the oil temperature; fry in smaller batches for consistent results.
- Excess Flour Removal: Shake off excess flour from your sardines before frying; too much flour can result in a gummy texture instead of crisp.
- Serving Hot: Serve the pan-fried sardines immediately for the best crunch and flavor; they tend to lose their crispness when left to sit.
- Flavor Enhancements: Experiment with spices like cayenne or lemon zest in the coating for added depth; the basic pan-fried sardines recipe is versatile and open to creative twists.
Storage Tips for Pan-fried Sardines
- Fridge: Store any leftover pan-fried sardines in an airtight container in the refrigerator for up to 1 day. This helps maintain their flavor without compromising too much on texture.
- Reheating: For the best results, reheat sardines in a preheated oven at 350°F (175°C) for about 10 minutes. This restores their crispiness, making them enjoyable again.
- Freezer: If you need to store the sardines for a longer period, freeze them in a single layer on a baking sheet before transferring to a freezer-safe container. They can be frozen for up to 2 months.
- Thawing: To enjoy previously frozen pan-fried sardines, thaw them overnight in the fridge before reheating. This ensures they heat evenly without losing quality.
Pan-fried Sardines Variations & Substitutions
Feel free to personalize your pan-fried sardines with these delightful twists that will add a unique flair to your kitchen experience!
-
Gluten-Free: Replace plain flour with a gluten-free flour blend to cater to gluten sensitivities. This way, everyone can enjoy this delicious dish!
-
Spicy Kick: Add cayenne pepper to the flour mixture for those who enjoy a little heat. Just a pinch can transform your sardines into a spicy sensation that excites the palate.
-
Different Fish: Swap sardines for fresh mackerel or anchovies to discover new flavors. Both fish bring their own character to the plate, adding a wonderful variation that seafood lovers will appreciate.
-
Herbed Crust: Sprinkle dried oregano or thyme into the coating mixture for a fresh twist. These herbs will not only enhance the flavor but also evoke the essence of the Mediterranean in every bite!
-
Zesty Lemon Zing: Grate lemon zest into the flour mixture for added brightness. This simple addition will elevate the flavors, making your sardines even more refreshing and vibrant.
-
Crispier Texture: For extra crunch, add breadcrumbs to the coating mixture. The breadcrumbs will create a delightful texture contrast with the tender sardines inside, ensuring every bite is an irresistible experience.
-
Smoky Flavor Boost: Try using smoked sea salt instead of regular salt to intensify the smoky notes. This small change can make a big impact, giving your sardines an extra layer of deliciousness.
-
Sautéed Onions: Serve your sardines alongside sautéed onions and bell peppers to transform your meal into a more robust dish. This warm vegetable side adds a sweetness that complements the fish beautifully.
You might also enjoy pairing these variations with a flavorful garlic aioli or serving them alongside a refreshing green salad to round out your meal!
Pan-fried Sardines Recipe FAQs
What should I look for when selecting sardines?
Absolutely! When choosing sardines, look for fresh ones that are shiny, moist, and have firm flesh. Their eyes should be bright and clear, and avoid any that have dark spots all over, as this indicates they are past their prime. If you’re using canned sardines, opt for those packed in olive oil or water for better flavor.
How can I store leftover pan-fried sardines?
Very simply! After cooking, let the sardines cool down to room temperature. Place any leftovers in an airtight container and refrigerate them for up to 1 day. This helps keep their flavor intact. When you’re ready to enjoy them again, just reheat in a preheated oven at 350°F (175°C) for about 10 minutes to revive their crispy texture.
Can you freeze pan-fried sardines?
Yes, you can! For optimal preservation, freeze the pan-fried sardines in a single layer on a baking sheet until hard. Then, transfer them to a freezer-safe container or bag; they can be stored for up to 2 months. When you’re ready to enjoy them, thaw overnight in the fridge before reheating in the oven to get them crispy again.
What if my sardines come out soggy?
Don’t fret! If your sardines end up soggy, it could be due to excess flour or not frying in hot enough oil. To avoid this, make sure to shake off any excess coating and always wait for the oil to shimmer before adding the sardines. If they still turn out softer, pop them back in the oven for a few minutes; this will help restore some crunch.
Are there any dietary considerations with sardines?
Certainly! Sardines are a fantastic source of omega-3 fatty acids and protein, making them great for a balanced diet. However, be cautious if you have shellfish allergies, as they may react to similar proteins. If you’re serving these to pets, remember that oily fish can be safe in small amounts, but it’s always best to consult your vet first.
Can I use different spices in the coating?
The more the merrier! Feel free to experiment with spices like cayenne pepper for a kick or even lemon zest for a brighter flavor. The basic flour and seasoning combination is a canvas for your creativity, so don’t hesitate to make it your own!

Crispy Pan-fried Sardines: Quick and Flavorful Delight
Ingredients
Equipment
Method
- Prepare the Coating Mixture by combining plain flour, rock salt, toasted garlic salt, smoked paprika, and freshly cracked pepper in a bag or dish.
- Coat the Sardines by adding them to the mixture, sealing, and shaking gently to coat evenly.
- Heat the Olive Oil in a large frying pan over medium heat until it shimmers.
- Fry the Sardines skin-side down for 1-2 minutes, then flip and fry for another 1-2 minutes.
- Drain Excess Oil by transferring the sardines to a plate lined with paper towels.
- Garnish and Serve by arranging sardines on a platter with chopped parsley and lemon wedges.
Leave a Reply