
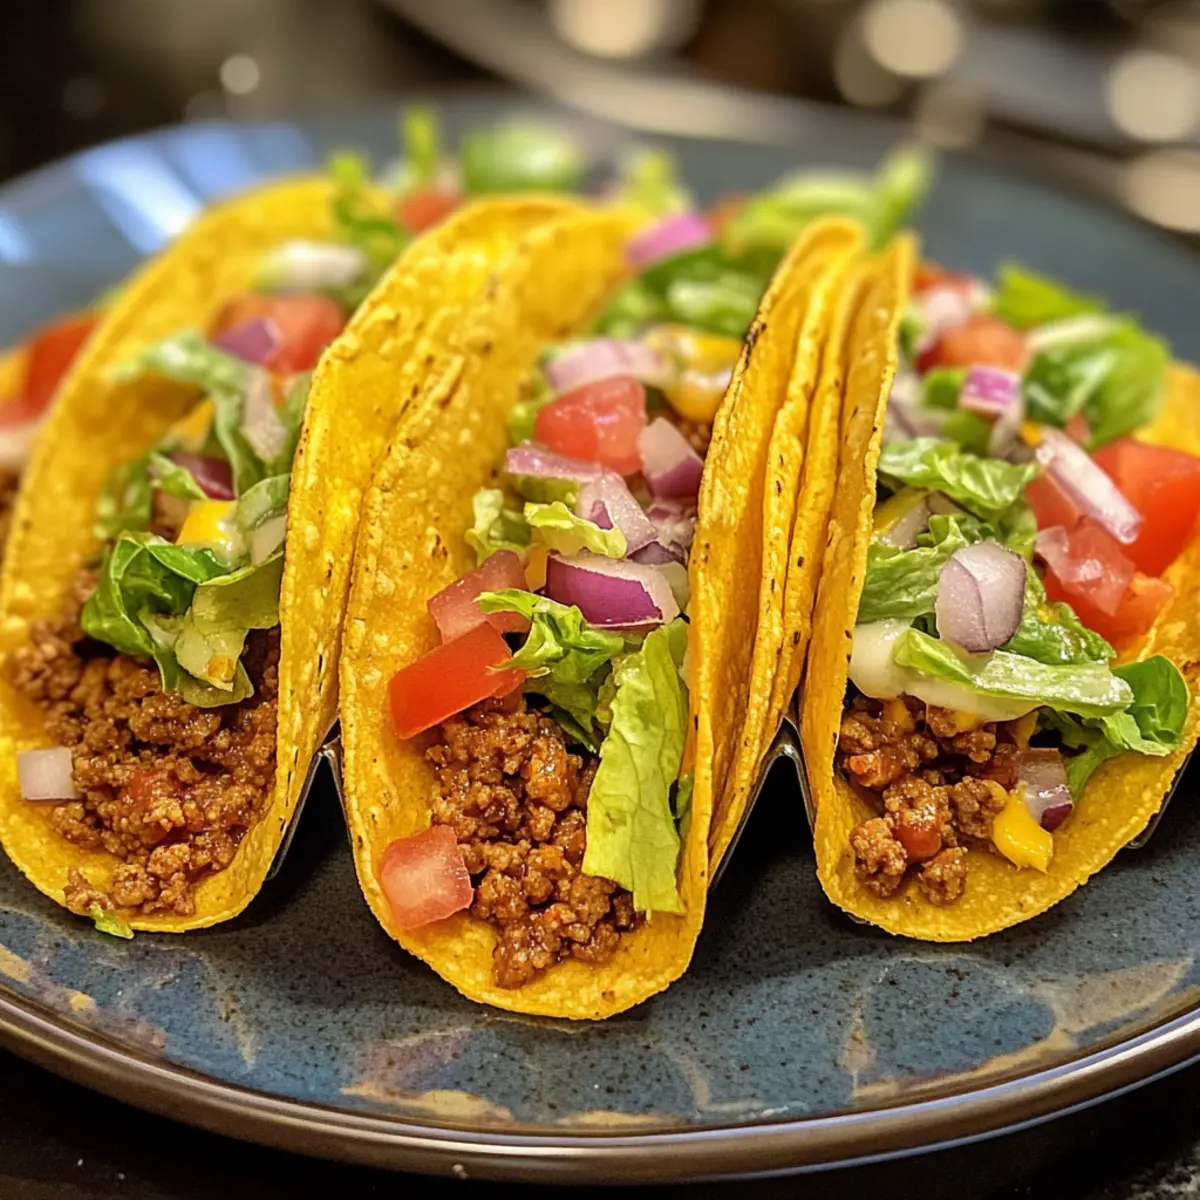
As I pulled open the oven door, a wave of warmth and tantalizing aromas rushed towards me, instantly conjuring memories of family dinners filled with laughter and delicious food. These Oven-Baked Cheesy Tacos are my go-to weeknight meal, combining crispy shells with seasoned beef and gooey melted cheese to create a dish that feels both comforting and exciting. With just 30 minutes of prep time, this quick meal is perfect for busy schedules, and the best part? It’s fully customizable, allowing everyone to add their favorite toppings. Whether you stick with the classic lettuce and tomato or experiment with zesty salsa and fresh cilantro, these tacos invite you to unleash your culinary creativity! Ready to dig in? Let’s get cooking!
Why are Oven-Baked Cheesy Tacos a Must-Try?
Simplicity at Its Best: With just a few ingredients and a quick 30-minute prep time, these tacos are perfect for any home cook looking to streamline their dinner routine.
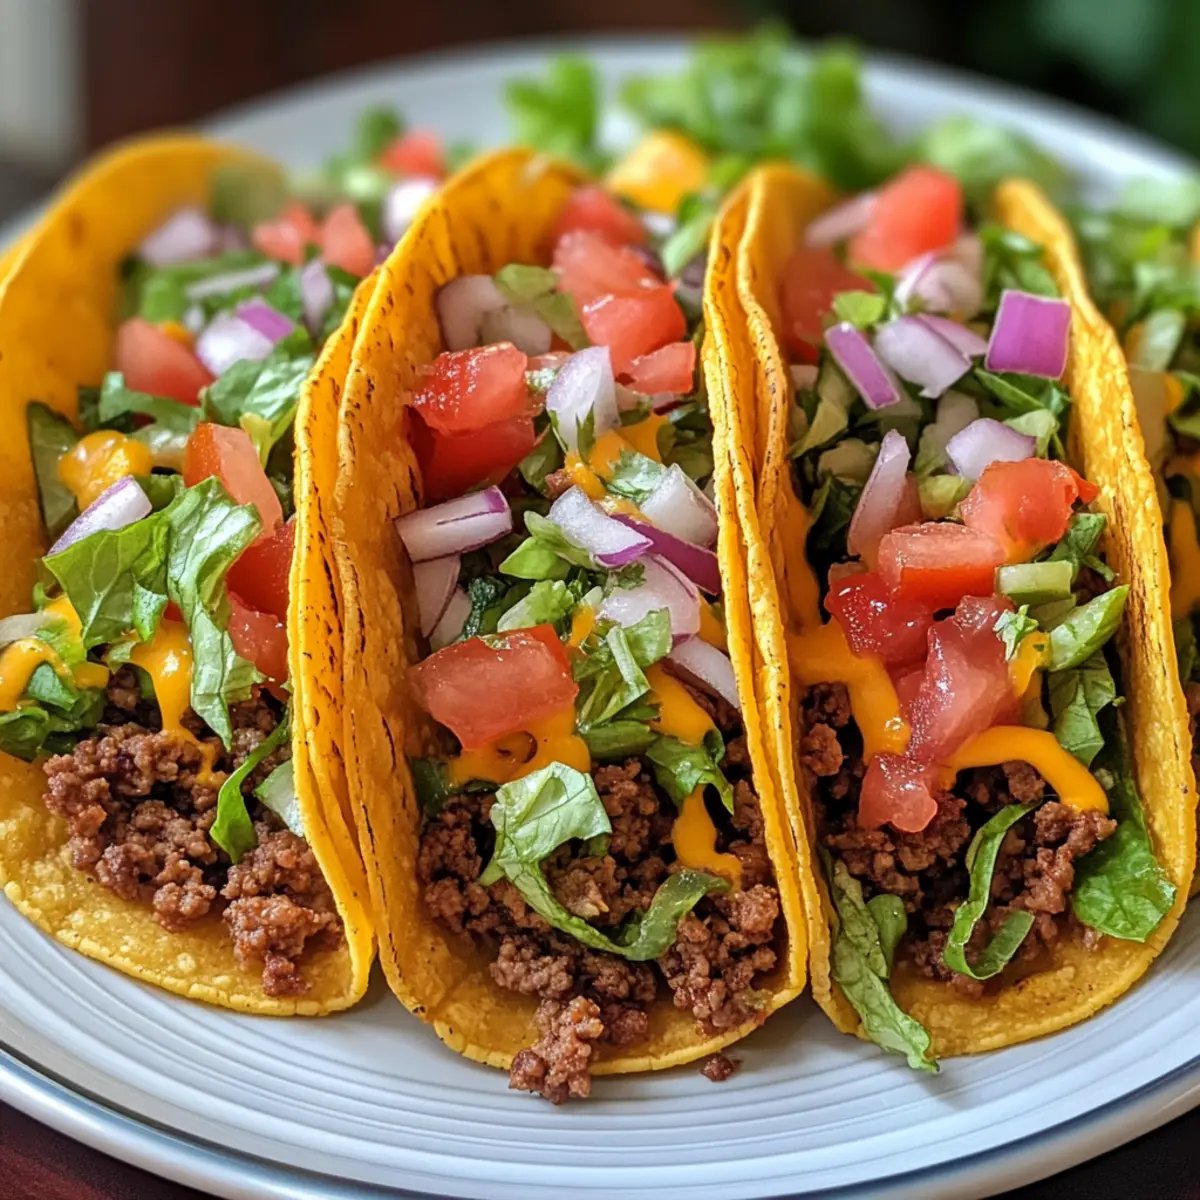
Flavor Explosion: The combination of seasoned beef, melty cheese, and fresh toppings creates an irresistible taste sensation that’ll leave everyone asking for seconds.
Customization Galore: Whether you want traditional fillings or a vegetarian twist with lentils or black beans, the options are endless to suit every palate.
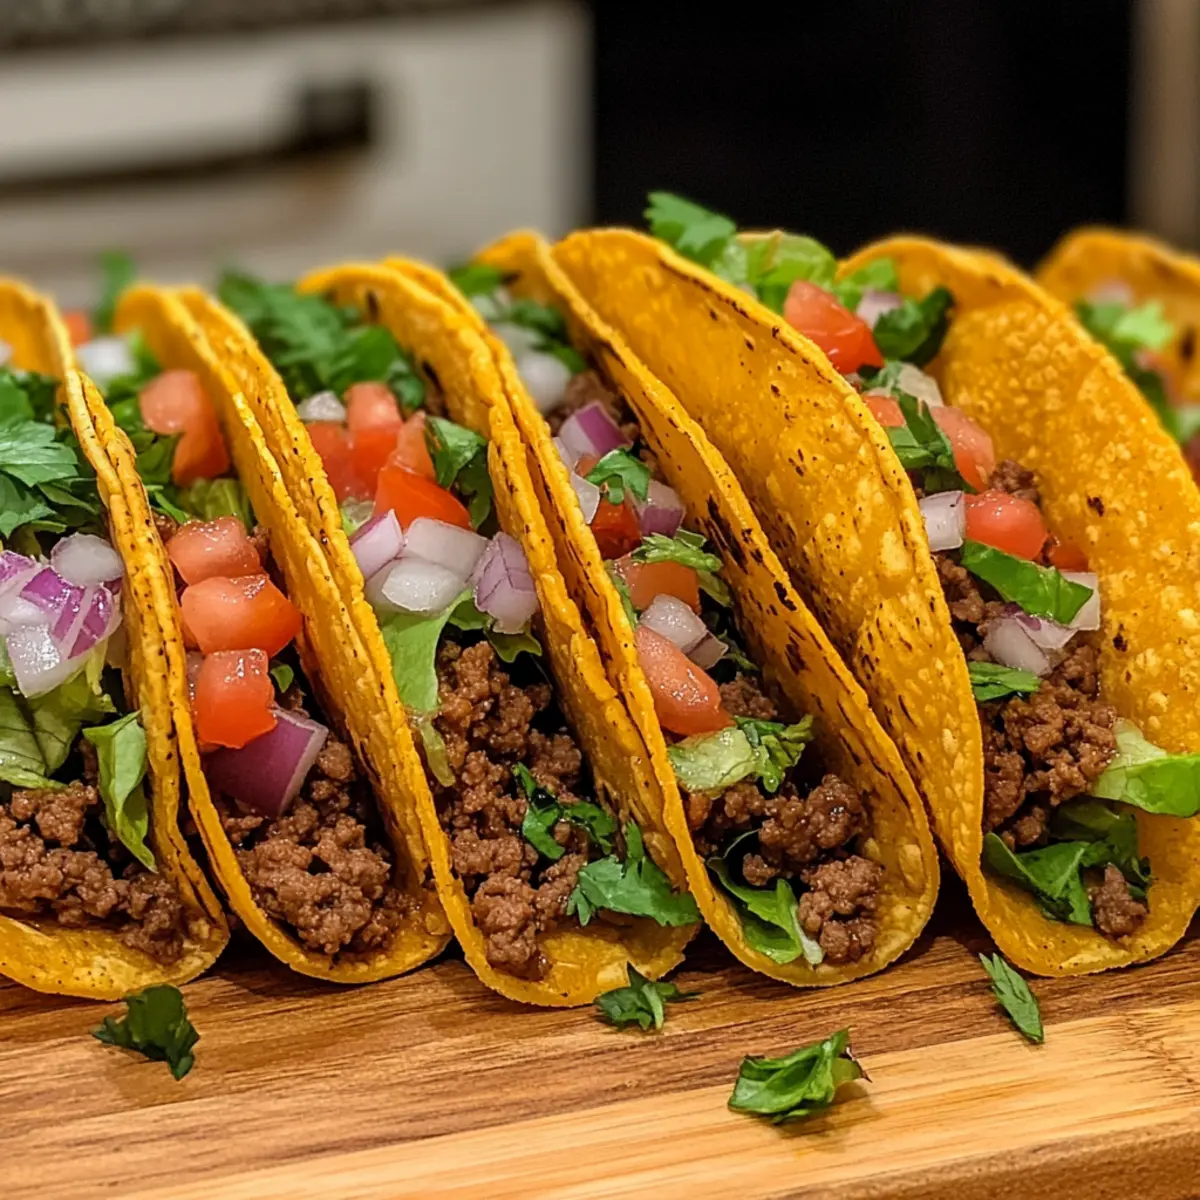
Crispy Perfection: Baked until golden brown, each taco shell delivers that delightful crunch that complements the savory filling beautifully.
Family-Friendly Fun: These tacos bring everyone together for a fun and interactive meal; let your loved ones choose their favorite toppings! Spice up your taco night by pairing it with Crunch Cheesecake Tacos for a sweet conclusion!
Oven-Baked Cheesy Tacos Ingredients
Dive into the flavorful world of Oven-Baked Cheesy Tacos with this simple ingredient list!
For the Filling
• Ground Beef – Adds protein and flavor; substitute with ground turkey, chicken, or plant-based options like lentils or black beans.
• Onion – Adds sweetness and depth; use finely diced yellow or white onion for the best taste.
• Garlic – Enhances flavor in the beef mixture; freshly minced garlic provides the freshest kick.
• Taco Seasoning – This seasoning blend adds authentic taco flavor; go for store-bought or whip up your homemade mix.
• Tomato Sauce/Salsa – Adds moisture and tang; use this for a spicier twist if you like heat!
For the Shells
• Hard Taco Shells – Provides structure and crunch; ensure they’re arranged upright for even filling and baking.
For the Toppings
• Shredded Cheese – Melts beautifully to bind the filling; cheddar is classic, but consider a cheese blend for added flavor.
• Shredded Lettuce – Adds freshness and crunch; plump up your tacos with crisp greens!
• Diced Tomatoes – Brightens up your tacos with juicy flavor; perfect for freshness.
• Red Onion – Offers a mild bite; great for enhancing taste with a lovely color contrast.
• Cilantro – Brings a burst of freshness; use sparingly for those who love it or opt out if it’s not your favorite!
Now that you have the ingredients, it’s time to bring your Oven-Baked Cheesy Tacos to life!
Step‑by‑Step Instructions for Oven-Baked Cheesy Tacos
Step 1: Preheat the Oven
Begin by preheating your oven to 400°F (200°C) to ensure it reaches the perfect temperature for baking. This step is crucial as it creates that delightful crispy texture for your Oven-Baked Cheesy Tacos. While the oven heats up, you can focus on preparing the taco fillings.
Step 2: Arrange Taco Shells
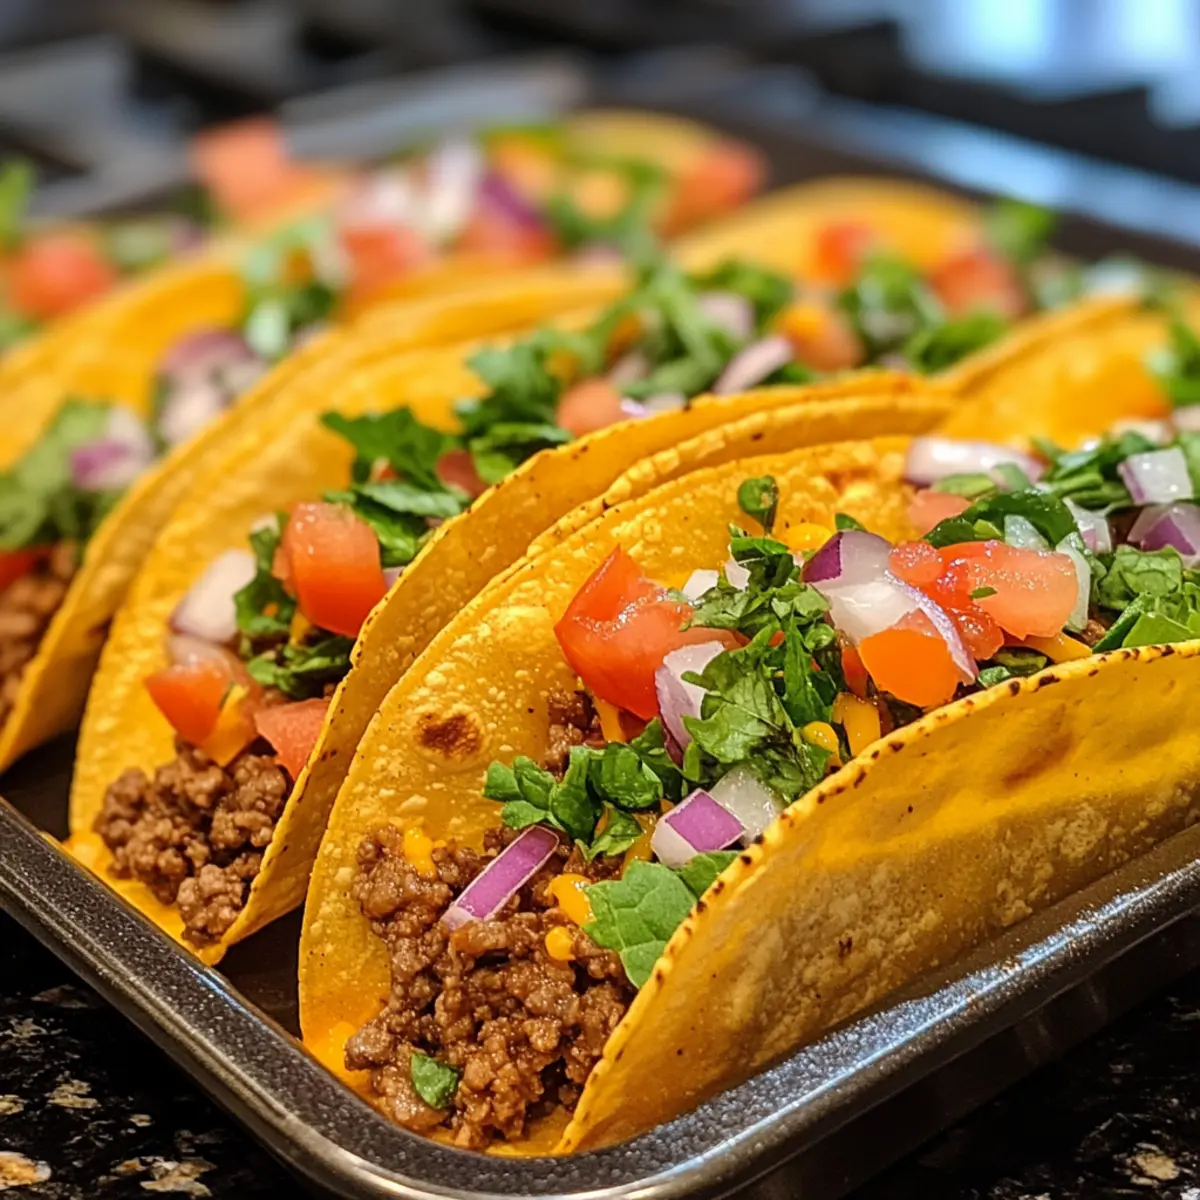
Once the oven is preheated, take a baking dish and carefully arrange hard taco shells upright. Position them closely but ensure they aren’t touching to allow for even baking and filling. This setup not only helps hold the fillings but also ensures that each shell gets beautifully crispy while baking.
Step 3: Cook the Beef Mixture
In a skillet over medium heat, add your ground beef, finely diced onion, and sauté until the beef is browned and the onion is soft, approximately 5-7 minutes. Stir occasionally to break the meat apart and ensure even cooking. Once cooked through, drain any excess fat from the skillet for a healthier filling.
Step 4: Add Flavor
Toss in the minced garlic and taco seasoning to the beef mixture in the skillet. Cook for an additional minute, stirring constantly to combine the flavors. The aromatic garlic combined with the zesty seasoning will elevate your Oven-Baked Cheesy Tacos, creating a mouthwatering filling.
Step 5: Incorporate Sauce
Next, incorporate tomato sauce or salsa into the beef mixture. Stir well and let it simmer for about 5 minutes to allow the flavors to meld and the mixture to thicken slightly. This step adds moisture and a zesty kick, ensuring every taco is packed with flavor.
Step 6: Fill Taco Shells
Remove the skillet from the heat, and it’s time to fill each taco shell with the savory beef mixture. Don’t skimp on the filling but be cautious to avoid overfilling, as this could lead to messy tacos! Once filled, generously sprinkle shredded cheese on top of each taco for that irresistible melty goodness.
Step 7: Bake the Tacos
Carefully place the filled taco shells in the preheated oven and bake for about 10-15 minutes. You’ll know they are ready when the cheese is bubbling and the taco shells are beautifully golden. This baking time helps achieve the perfect crunch while melding the flavors beautifully.
Step 8: Add Fresh Toppings
After removing the baking dish from the oven, let your Oven-Baked Cheesy Tacos cool slightly. Add your favorite fresh toppings such as shredded lettuce, diced tomatoes, red onion, and cilantro. This not only enhances the flavor but also brings a refreshing crunch that balances the melted cheese and savory filling.
What to Serve with Oven-Baked Cheesy Tacos
Elevate your taco night by complementing your crispy, loaded delights with these flavorful sides and beverages.
-
Creamy Guacamole: Adds a rich, buttery texture that balances the crunch of the tacos, enhancing each bite. Whip up a batch with ripe avocados and a splash of lime for freshness!
-
Zesty Mexican Rice: Flavorful and aromatic, this side dish of seasoned rice pairs beautifully, soaking up the taco’s savory juices. The warmth and spices will round out your meal perfectly.
-
Crisp Corn Salad: A refreshing counterpoint with sweet kernels, red onion, and zesty lime, this salad adds freshness and color to your table. It invites a delightful crunch that complements the tacos beautifully.
-
Refried Beans: Creamy and hearty, this classic dish ensures every bite is rich and satisfying. Spread it alongside for added protein and a delightful texture contrast against the tacos.
-
Tropical Mango Salsa: Sweet mango, diced jalapeños, and lime come together in this vibrant salsa, adding a fruity kick. The sweetness will contrast with the savory tacos for a perfect balance.
-
Chilled Horchata: A creamy, cinnamon-infused rice milk drink that’s a refreshing accompaniment alongside your spicy meal. Its coolness makes every bite of those cheesy tacos even better!
-
Sour Cream: A dollop of this tangy cream provides a luscious, cool contrast to the rich filling. This classic addition enhances the flavor and creaminess, making every bite comforting.
-
Crispy Tortilla Chips: Serve with a side of salsa or cheese dip, these crunchy chips offer the ideal appetizer, ensuring everyone has something to munch on as they wait for tacos.
-
Chocolate Flan: For dessert, indulge in this rich and creamy treat that melts in your mouth, rounding off the meal on a sweet note. The smooth texture will leave everyone satisfied after the savory tacos.
Expert Tips for Oven-Baked Cheesy Tacos
• Preheat Properly: Ensuring your oven is at 400°F (200°C) before baking is key to achieving that crispy taco shell texture.
• Don’t Overfill: Avoid stuffing taco shells to prevent them from cracking or becoming soggy. A little filling goes a long way!
• Customize Your Fillings: Feel free to swap ground beef with ground turkey, chicken, or even lentils for a delicious twist on your Oven-Baked Cheesy Tacos.
• Make-Ahead Option: Assemble your tacos ahead of time, refrigerate, and then pop them in the oven when you’re ready to enjoy!
• Baking Dish Choices: Utilize a sturdy baking dish to keep taco shells upright, ensuring they cook evenly and hold their shape beautifully.
Make Ahead Options
These Oven-Baked Cheesy Tacos are a fantastic option for meal prep, saving you time on hectic weeknights! You can prepare the beef mixture up to 3 days in advance; simply cook and cool it before refrigerated in an airtight container. To maintain quality, avoid filling the taco shells until you’re ready to bake them. You can assemble unbaked tacos in the dish, cover them tightly, and refrigerate for up to 24 hours. When you’re ready to enjoy your cheesy tacos, just bake from the refrigerator, adding a few minutes to the cooking time for perfectly crispy shells. With this make-ahead strategy, you’ll enjoy a hearty homemade meal with minimal effort!
Storage Tips for Oven-Baked Cheesy Tacos
Fridge: Store leftover Oven-Baked Cheesy Tacos in an airtight container for up to 3 days. Reheat in the oven at 350°F (175°C) for 10-15 minutes for the best crispiness.
Freezer: Assembled but unbaked tacos can be frozen. Wrap tightly in foil or plastic wrap, and store for up to 2 months. Bake directly from the freezer, adding extra cooking time as needed.
Reheating: For reheating baked tacos, place them on a baking sheet in a preheated oven until warmed through and crisp, ensuring the cheese remains gooey.
Serving Freshness: Add fresh toppings like lettuce and tomatoes just before serving to maintain their crispness and flavor.
Oven-Baked Cheesy Tacos Variations
Feel free to customize these Oven-Baked Cheesy Tacos to suit your taste buds and dietary preferences!
-
Ground Turkey: Swap ground beef for lean ground turkey for a lighter option that’s just as tasty. The flavor is mild, making it a great base for your favorite taco seasonings.
-
Vegetarian Delight: Use lentils or black beans instead of meat for a hearty vegetarian version. These plant-based proteins are not only filling but also packed with nutrients.
-
Cheese Variations: Try different cheese types like pepper jack for a spicy kick or mozzarella for a creamy texture. Cheese blends can also add depth to your cooking experience.
-
Flavor Boost: Add diced jalapeños or green chilies to the beef mixture for a bit of heat. This fiery twist can take your tacos to the next level, especially if you love a little spiciness!
-
Crunchy Toppings: For added texture, consider topping your tacos with crushed tortilla chips for an extra crunch. The contrasting textures elevate your meal to something special.
-
Saucy Twist: Incorporate a splash of barbecue sauce or sriracha into the beef mixture for a tangy, unique flavor. This unexpected twist makes for a delightful sweet and spicy combination.
-
Dairy-Free: Use a vegan cheese alternative to enjoy these tacos without dairy. From almond-based to cashew cheese, there’s a wide variety to choose from to suit your needs.
Enjoy this recipe with a side of Tennessee Onions Cheesy for a heartwarming meal that brings everyone together! And for dessert, don’t forget to check out Crunch Cheesecake Tacos for a sweet finishing touch!
Oven-Baked Cheesy Tacos Recipe FAQs
How do I select the best ground beef for my tacos?
Absolutely! When choosing ground beef, look for an 80/20 mix for a good balance of flavor and fat. If you prefer a leaner option, ground turkey or chicken are excellent substitutes, while lentils or black beans offer a meatless twist.
What is the best way to store leftovers?
For optimal freshness, store leftover Oven-Baked Cheesy Tacos in an airtight container in the fridge for up to 3 days. When reheating, pop them in the oven at 350°F (175°C) for 10-15 minutes. This method keeps the taco shells crispy and the cheese delightfully gooey!
Can I freeze assembled but unbaked tacos?
Yes! To freeze your Oven-Baked Cheesy Tacos, wrap them tightly in foil or plastic wrap and store in the freezer for up to 2 months. When you’re ready to enjoy, bake them directly from the freezer at 400°F (200°C) for 20-25 minutes, adding extra time if needed, until fully heated.
What should I do if my tacos crack or fall apart?
Very! If you’re experiencing cracked taco shells, it could be due to overfilling. Ensure you balance the filling and gently pack it inside the shells. If you find they’re still fragile, try warming the shells in the oven beforehand, which will make them more pliable and less prone to cracking.
Can my pets enjoy any of the leftover ingredients?
While ground beef and many taco fillings can be safe for pets, avoid ingredients such as onions, garlic, and cheese, which can be harmful to them. Offer plain, cooked ground meat or some plain lettuce, but always check with your veterinarian before introducing new foods to pets!
What are some alternatives to traditional taco toppings?
Customize! Alongside the classics like lettuce and tomatoes, consider avocados for creaminess, pickled jalapeños for heat, or even a zesty lime crema for added flavor. If you have dietary restrictions, explore options like vegan cheese, shredded carrots, or diced cucumbers for a fresh crunch without sacrificing taste.
Crispy Oven-Baked Cheesy Tacos: Comfort Food Delight
Ingredients
Equipment
Method
- Preheat your oven to 400°F (200°C).
- Arrange hard taco shells upright in a baking dish.
- Cook ground beef with diced onion in a skillet over medium heat until browned, about 5-7 minutes.
- Add minced garlic and taco seasoning; cook for another minute.
- Incorporate tomato sauce or salsa and simmer for about 5 minutes.
- Fill each taco shell with the beef mixture and top with shredded cheese.
- Bake the filled taco shells for 10-15 minutes until cheese is bubbling and shells are golden.
- Let cool slightly, then add fresh toppings like lettuce, tomatoes, red onion, and cilantro.
Leave a Reply