
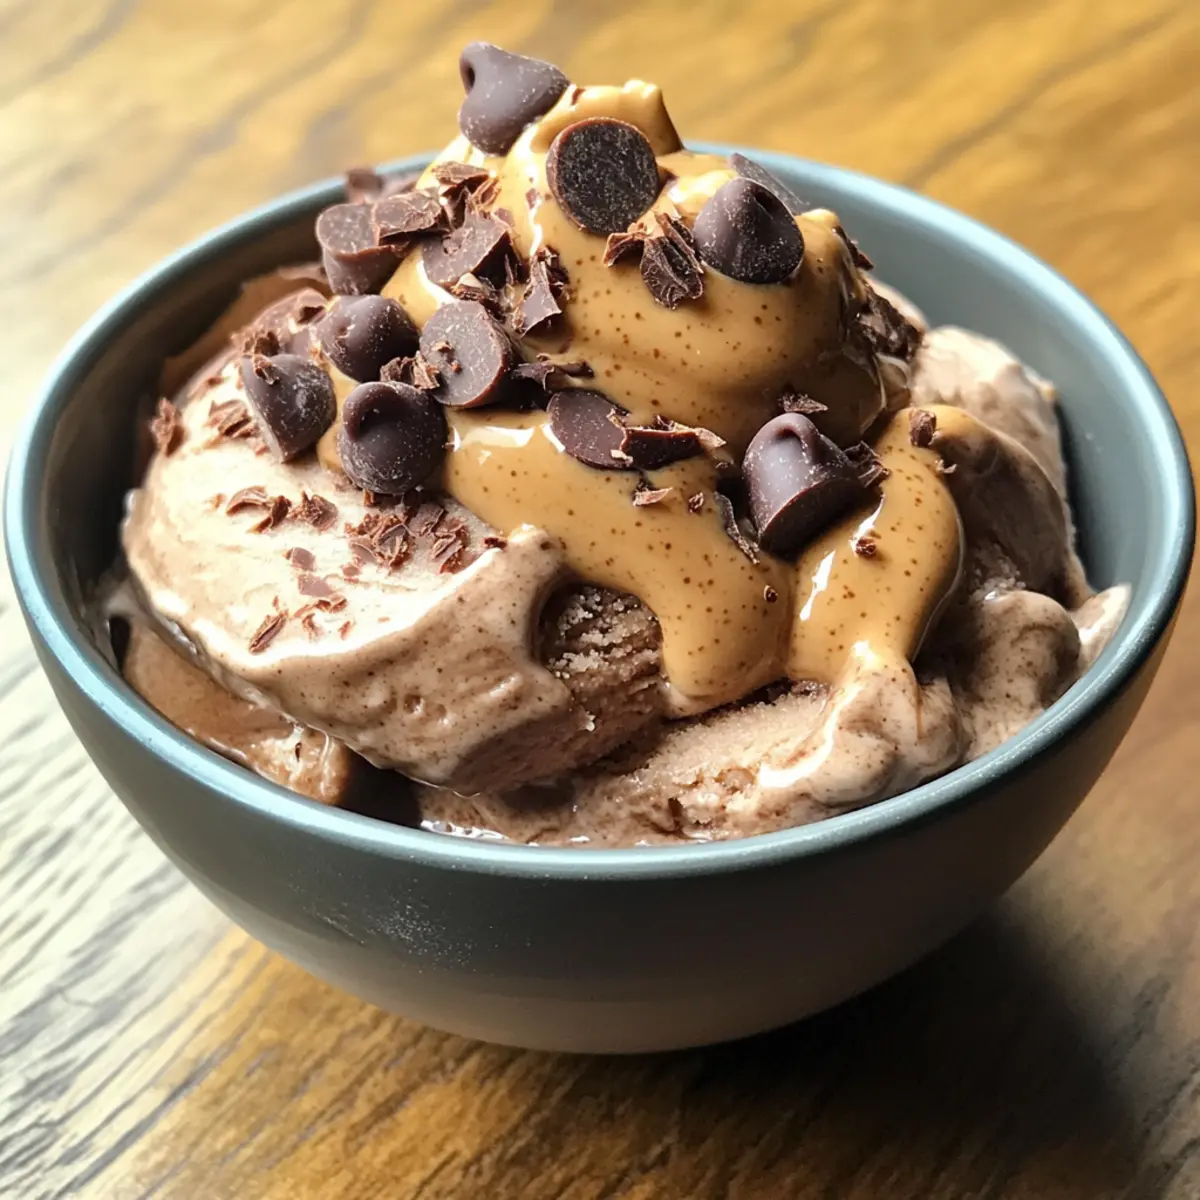
As I was experimenting one afternoon, the tantalizing aroma of espresso and creamy chocolate intertwined in the air, and I knew I was onto something special. This Ninja Creami Mocha Espresso Ice Cream is a revelation for anyone craving a guilt-free dessert packed with protein. It’s like enjoying restaurant-quality ice cream at home—smooth and velvety while aligning perfectly with your health goals. With just a few easy steps, you can whip up this quick treat and customize it to your heart’s desire, whether that means adding a scoop of nut butter or sprinkling in some chocolate chips. It’s the ultimate way to elevate your dessert game without abandoning your healthy lifestyle. What mix-ins will you choose to personalize your delightful frozen creation?
Why Is This Ice Cream a Must-Try?
Guilt-Free Indulgence: With high protein and low calories, this Mocha Espresso Ice Cream allows you to satisfy your sweet tooth without any guilt.
Customizable Fun: Tailor this dessert to your liking! Whether you add chocolate chips or a swirl of nut butter, every scoop can be unique.
Simplicity in Preparation: Just a few simple steps using your Ninja Creami and your frozen treat is ready!
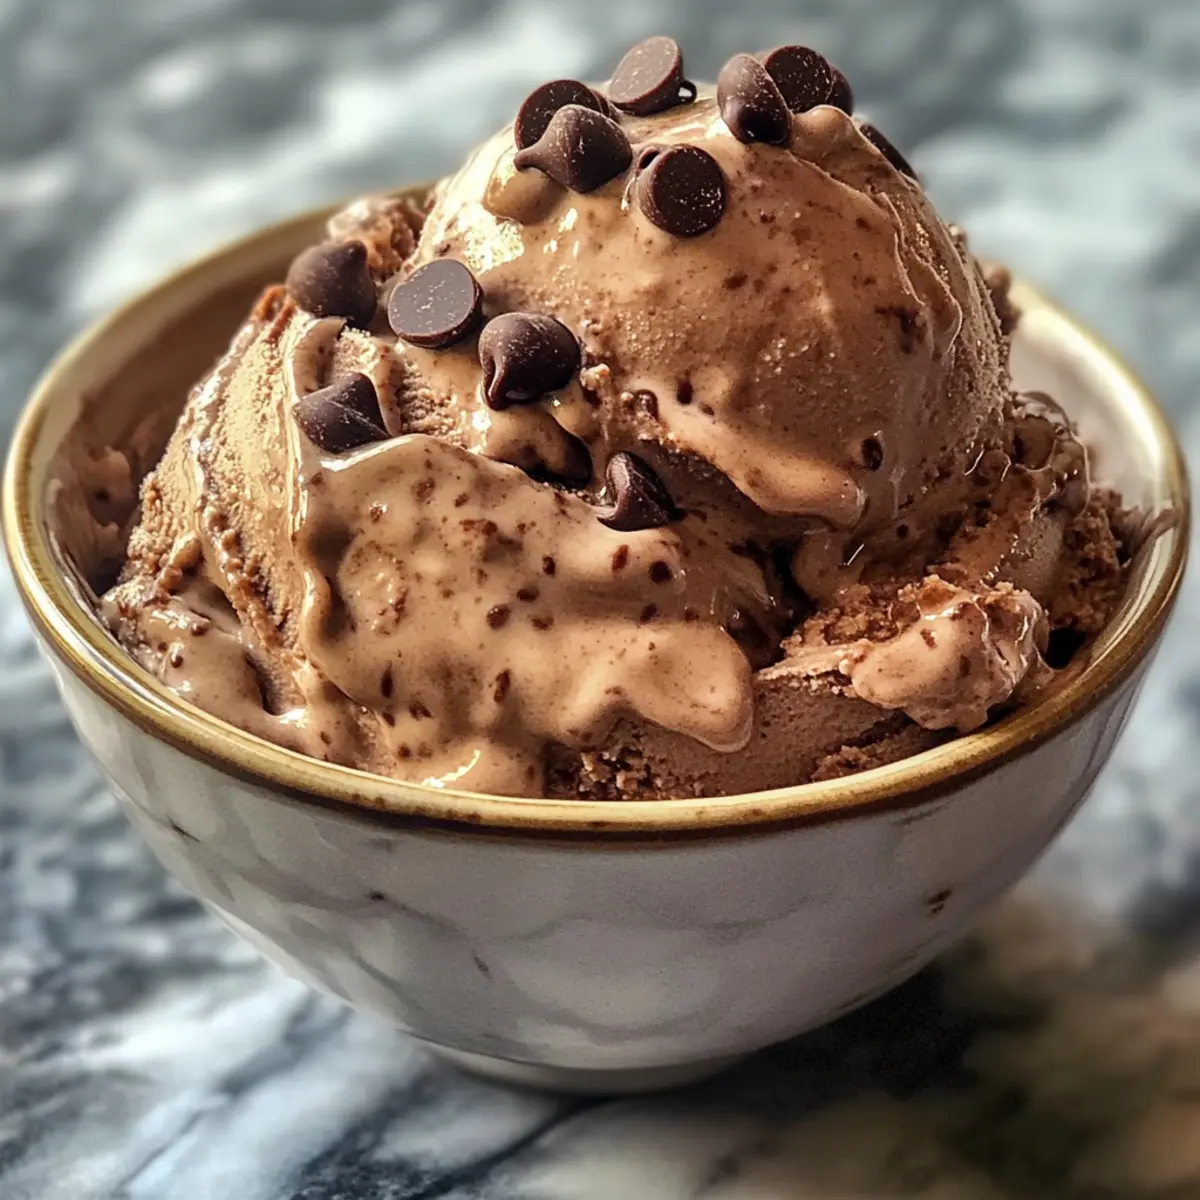
Perfect Texture: Enjoy a smooth and creamy texture reminiscent of your favorite gelato, minus the guilt.
Health-Conscious Delight: Each serving includes around 15 grams of protein, making this ice cream a smart choice for any health-focused individual.
Crowd-Pleaser Appeal: Great for family gatherings or as a special treat on a weeknight, everyone will love this healthier alternative to traditional ice cream!
Mocha Espresso Ice Cream Ingredients
-
For the Base
• Chocolate Protein Powder – Adds robust flavor while boosting protein content; substitute with vanilla powder if you prefer a sweeter taste.
• Cocoa Powder – Delivers a rich chocolate essence; use unsweetened cocoa to keep it healthy.
• Chilled Espresso or Cold Brew Coffee – Infuses a delightful coffee kick; consider decaf if you’re avoiding caffeine.
• Milk of Choice – Enhances creaminess; options include whole, almond, or oat milk based on your dietary preferences. -
For Optional Add-ins
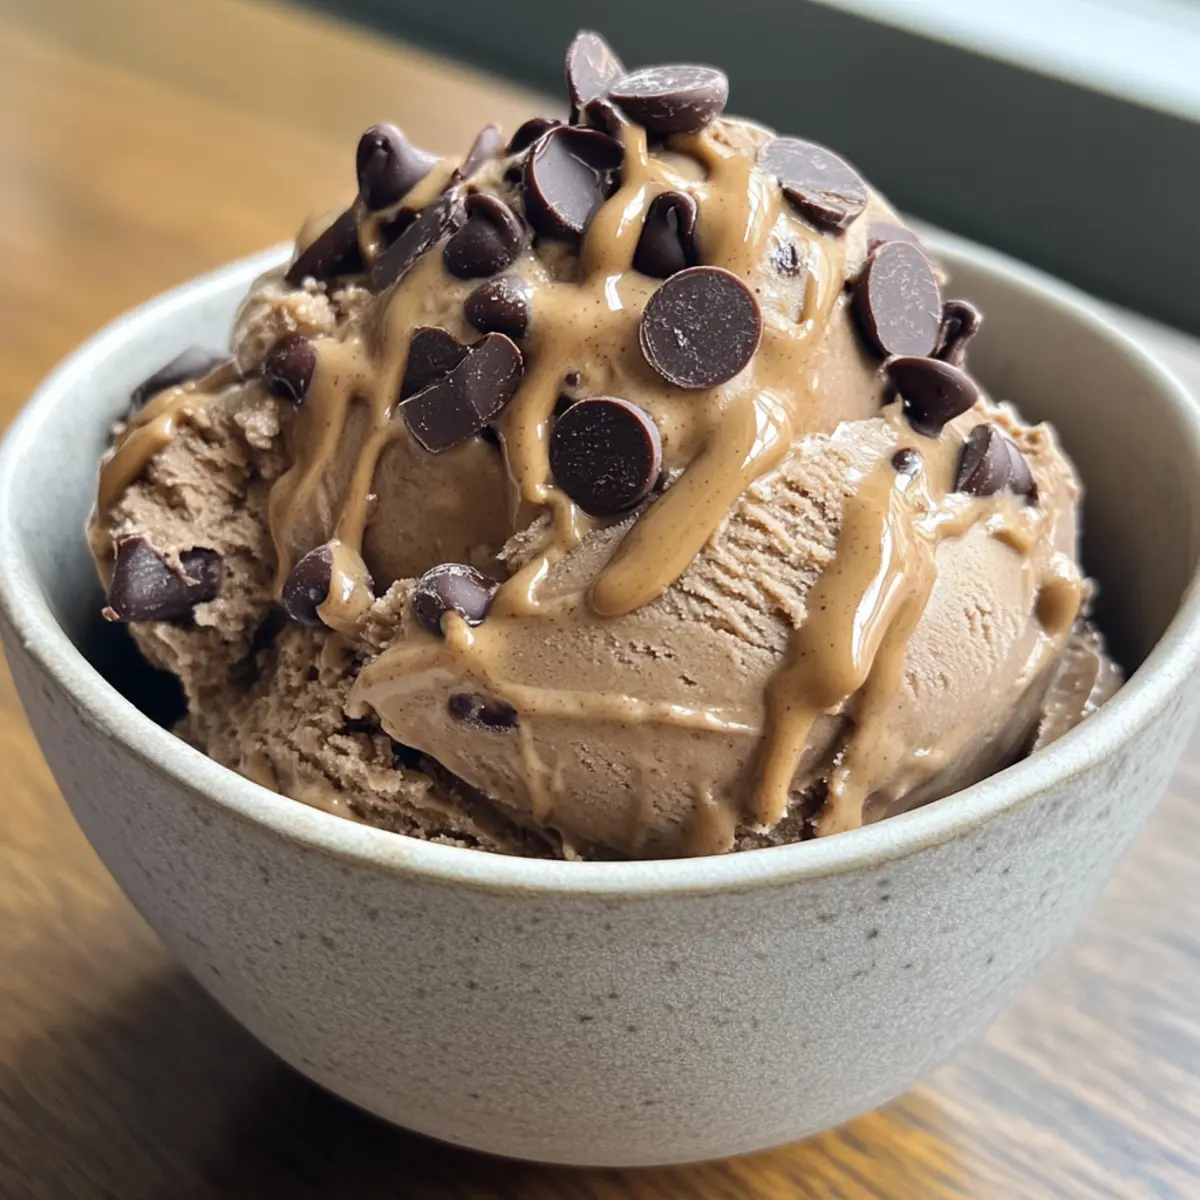
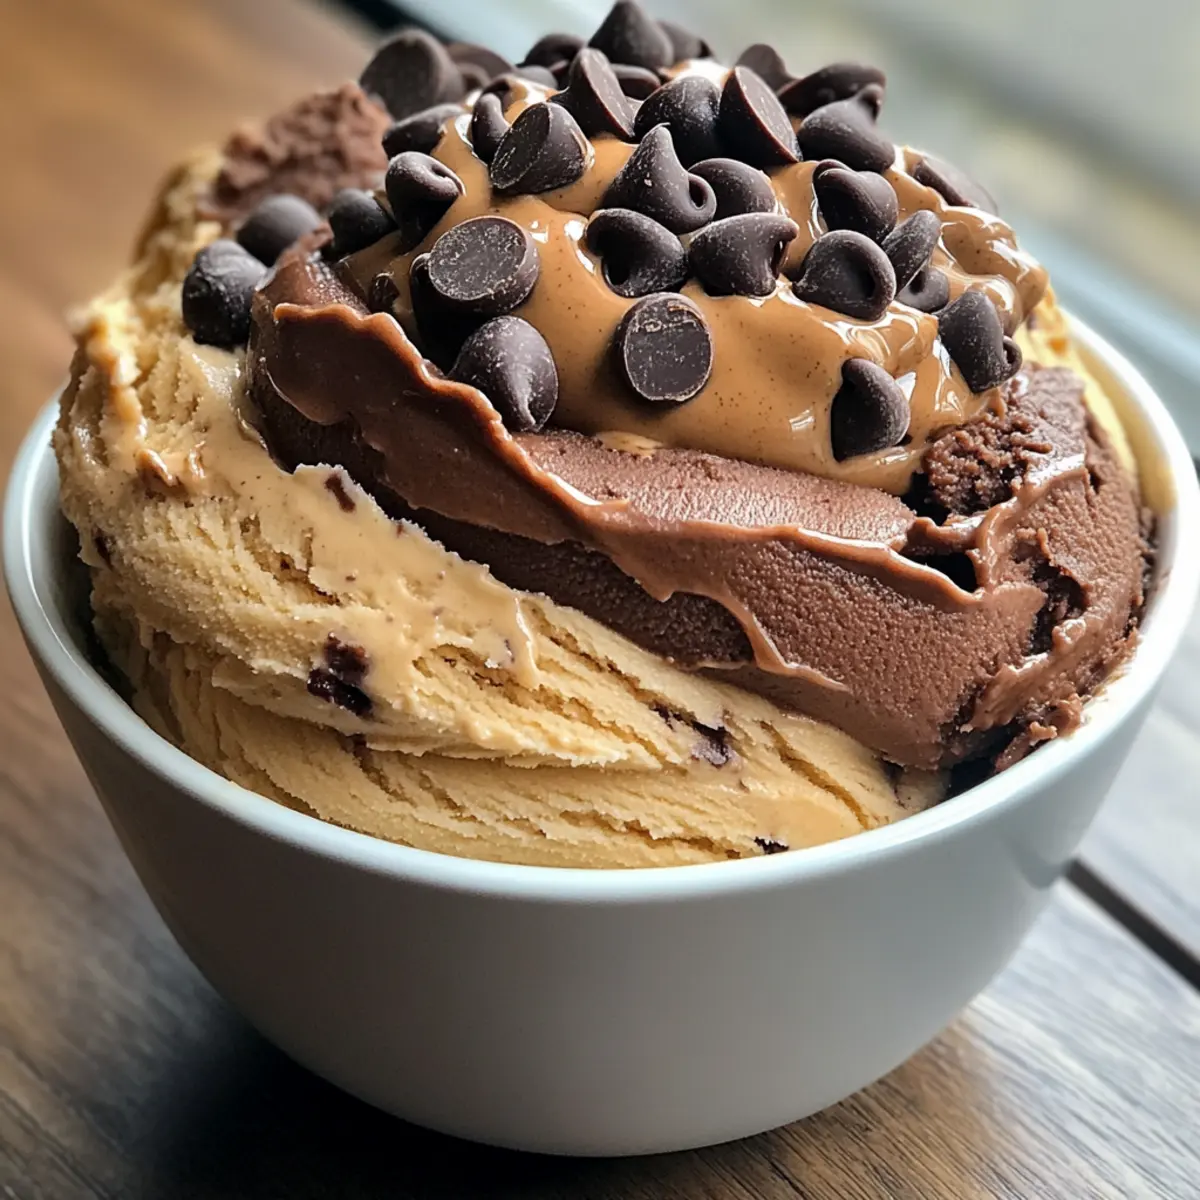
• Chocolate Chips – Heightens the chocolate flavor; adjust quantity based on your cravings for extra sweetness.
• Peanut Butter – Adds creaminess and a nutty depth; mix in for an extra layer of richness in your Mocha Espresso Ice Cream.
Step‑by‑Step Instructions for Mocha Espresso Ice Cream
Step 1: Prepare Base
In a Ninja Creami pint, combine 1 scoop of chocolate protein powder and 2 tablespoons of cocoa powder. Whisk them together until completely smooth and lump-free, ensuring an even mixture for your Mocha Espresso Ice Cream base. This step sets the foundation for a rich, chocolatey flavor that will shine through once frozen.
Step 2: Incorporate Espresso
Next, pour in 1 cup of chilled espresso or cold brew coffee into the mixture. Stir gently with a whisk or spoon until the espresso is fully integrated, creating a luscious dark chocolate coffee blend. The vibrant aroma of coffee should fill the air, signaling that you’re one step closer to your delicious treat.
Step 3: Add Milk
Gradually blend in ½ cup of your choice of milk, whisking continuously to achieve a smooth, thick batter-like consistency. This milk not only enhances creaminess but also melds all the flavors together beautifully in your Mocha Espresso Ice Cream. Aim for a mixture that is well combined and free of any dry pockets of protein powder or cocoa.
Step 4: Freeze Mixture
Once your base is ready, pour it back into the Ninja Creami pint, sealing it tight to avoid ice crystal formation. Place the pint in the freezer for a minimum of 8 hours, or until your ice cream mixture is completely solid. You’ll know it’s ready when it feels firm to the touch; this time is essential for achieving that creamy, scoopable texture.
Step 5: Process Ice Cream
After the freezing time, set your Ninja Creami to the “Lite Ice Cream” or “Ice Cream” setting. Process for about 2-3 minutes, watching as the mixture transforms into a smooth, velvety ice cream. If the texture seems too crumbly or coarse, don’t worry; it just needs a little more attention to reach that perfect creamy consistency.
Step 6: Re-spin if Necessary
If you find that your Mocha Espresso Ice Cream is still not as smooth as desired, simply re-spin the mixture for an additional 1-2 minutes. This step ensures that every scoop is flawlessly creamy, capturing the rich chocolate and coffee flavors you’ve crafted. The result should be a luscious, cohesive dessert ready for delightful garnishes.
Step 7: Add Mix-ins
Before serving, gently fold in any desirable mix-ins like chocolate chips or peanut butter. This is where you can customize your Mocha Espresso Ice Cream and add bursts of flavor and texture. Simply use a spatula to mix them in carefully, preserving the creamy texture you’ve worked hard to achieve.
Step 8: Serve
Finally, scoop your sumptuous Mocha Espresso Ice Cream into bowls and serve immediately. For an extra touch, consider drizzling with chocolate syrup or sprinkling a pinch of sea salt on top. This is your time to indulge in a guilt-free dessert that bursts with flavor while aligning perfectly with your health-conscious lifestyle.
What to Serve with Ninja Creami Mocha Espresso Protein Ice Cream?
As you prepare to savor the rich flavors of your homemade treat, consider these delightful pairings that will enhance your dessert experience.
-
Fresh Berries: The tartness of strawberries or raspberries perfectly balances the sweetness of the mocha, adding a refreshing burst of flavor. Top your ice cream with a sprinkle of these gems for an inviting contrast.
-
Nutty Granola: The crunch of nutty granola offers a satisfying texture that complements the creaminess of the ice cream, making each bite even more enjoyable. A handful on top adds both nutrition and a delightful crunch.
-
Espresso Martini: For an adult twist, pair your dessert with this velvety cocktail, enhancing the mocha flavor and espresso notes in your ice cream. It’s the perfect ending to a cozy dinner or a fun gathering.
-
Chocolate Drizzle: Drizzling a rich chocolate sauce over your Mocha Espresso Ice Cream will elevate its decadence, while deepening the chocolate experience. It’s an indulgent finishing touch that no chocolate lover can resist.
-
Coconut Whipped Cream: Light and airy, this vegan option adds creaminess and tropical flavors, giving a refreshing contrast to the bold mocha. It’s the perfect way to lighten up this delightful treat!
-
Roasted Almonds: The nuttiness of roasted almonds not only adds texture but also a warm, toasty flavor that pairs beautifully with chocolate and coffee. A sprinkle over your ice cream makes for a gourmet touch.
-
Oatmeal Cookies: Crispy on the outside and chewy on the inside, these cookies are perfect for dipping into your ice cream. The flavors of cinnamon and oats will enhance the richness of the mocha, making for an unforgettable pairing.
Expert Tips for Mocha Espresso Ice Cream
- Blend Well: Ensure all dry ingredients mix thoroughly with the wet to avoid pesky lumps that can ruin the smooth texture of your Mocha Espresso Ice Cream.
- Use Quality Ingredients: Opt for high-quality chocolate protein powder to enhance flavor. It makes a significant difference in achieving that rich, velvety taste.
- Freeze Flat: Store your mixture in a flat container to facilitate even freezing; this helps in achieving a creamier consistency when processing in the Ninja Creami.
- Time It Right: Allow a full 8 hours of freeze time; anything less may result in ice crystals that affect the final texture of your ice cream.
- Re-Spin for Perfection: If your ice cream isn’t as creamy as expected after the first spin, don’t hesitate to re-spin it; this small step ensures you get that silky finish.
- Experiment with Mix-ins: Be creative with your add-ins! Try alternative ingredients to discover new flavor combinations and personalize your Mocha Espresso Ice Cream to your taste buds.
How to Store and Freeze Mocha Espresso Ice Cream
Freezer: Store your Mocha Espresso Ice Cream in an airtight container for up to 2 weeks. For optimal freshness, freeze for up to 3 months, ensuring no ice crystals form.
Thawing: When ready to indulge, let the ice cream sit at room temperature for 5-10 minutes to soften before scooping. This will enhance the creamy texture.
Reheating: If you wish to mix in additional ingredients post-freeze, microwave a small portion for a few seconds just to soften, then stir gently to combine without melting completely.
Make Ahead Options
These Mocha Espresso Ice Cream treats are a dream for busy home cooks looking to streamline their meal prep! You can combine the dry ingredients and espresso mixture up to 24 hours in advance, just make sure to seal them well in the Ninja Creami pint to maintain freshness. Simply whisk the milk in before freezing the mixture for a time-saving twist. When you’re ready to indulge, pour your blended base into the Ninja Creami and freeze overnight for an ultra-smooth texture. This way, you’ll have a delicious, protein-packed dessert ready to enjoy in a jiffy, ensuring you get the best of both worlds—convenience and flavor!
Mocha Espresso Ice Cream Variations
Feel free to unleash your creativity and personalize this delectable ice cream to suit your cravings!
- Vanilla Swap: Substitute chocolate protein powder with vanilla for a lighter flavor profile. It adds a lovely sweetness!
- Fruity Addition: Toss in diced bananas or strawberries just before serving for a refreshing burst of natural sweetness.
- Nutty Delight: Add a splash of almond or hazelnut milk to enrich the ice cream’s texture even further. Your taste buds will dance!
- Spicy Kick: Sprinkle a pinch of cinnamon or cayenne pepper for an unexpected warmth that perfectly complements the coffee flavor.
- Chocolate Drizzle: Serve your ice cream with a drizzle of homemade chocolate sauce for that extra layer of indulgence. Pure bliss!
- Dairy-Free Option: Swap all dairy components with plant-based alternatives to cater to vegan diets, ensuring everyone can enjoy this treat.
- Caramel Bliss: Swirl in some caramel sauce during the mix-in stage for a luscious contrast to the bold chocolate and espresso.
- Crunchy Texture: Mix in some crushed nuts or granola for a delightful crunch that elevates each bite. It’s all about that texture!
As you explore these variations, why not pair your Mocha Espresso Ice Cream with some chocolate chip cookies or a warm mug of coffee? Each option is a delightful way to create a sweet experience that you and your loved ones will cherish. Enjoy customizing your own healthy indulgence!
Mocha Espresso Ice Cream Recipe FAQs
What kind of espresso should I use for this recipe?
Absolutely! You can use any chilled espresso or cold brew coffee that you enjoy. Opt for high-quality espresso for a richer flavor. If you’re sensitive to caffeine, decaffeinated options work perfectly as well.
How should I store the Mocha Espresso Ice Cream?
Store your Mocha Espresso Ice Cream in an airtight container in the freezer for up to 2 weeks. For longer-lasting freshness, you can freeze it for up to 3 months. Make sure to seal it tightly to prevent ice crystals from forming, which can affect the creamy texture.
Can I freeze this ice cream for later use?
Very much so! After preparing the ice cream, ensure it is stored in an airtight container. You can freeze it for up to 3 months; just remember to store it flat to encourage even freezing. Thaw for 5-10 minutes at room temperature before scooping for the best texture!
What if my ice cream turns out crumbly or icy?
If you find that your Mocha Espresso Ice Cream is crumbly or not as creamy as you’d like, don’t stress. This can happen if it hasn’t been mixed well or allowed to freeze too long. Just re-spin it in your Ninja Creami for an additional 1-2 minutes, and it should smooth out beautifully!
Are there any dietary considerations for this dessert?
If you’re watching allergens, you can easily adapt this recipe! Use dairy-free milk like almond or oat milk for lactose intolerance. For nut allergies, skip the peanut butter and try sunflower seed butter instead. Always check your protein powder for potential allergens, especially if serving to others.
Guilt-Free Mocha Espresso Ice Cream for Your Sweet Cravings
Ingredients
Equipment
Method
- In a Ninja Creami pint, combine 1 scoop of chocolate protein powder and 2 tablespoons of cocoa powder. Whisk them together until completely smooth and lump-free.
- Next, pour in 1 cup of chilled espresso or cold brew coffee into the mixture. Stir gently until fully integrated.
- Gradually blend in ½ cup of your choice of milk, whisking continuously for a smooth consistency.
- Once your base is ready, pour it back into the Ninja Creami pint, sealing tight and freeze for a minimum of 8 hours.
- After freezing, set your Ninja Creami to the 'Lite Ice Cream' or 'Ice Cream' setting. Process for about 2-3 minutes.
- If needed, re-spin the mixture for an additional 1-2 minutes for achieving a smoother texture.
- Before serving, gently fold in any desirable mix-ins like chocolate chips or peanut butter.
- Finally, scoop the ice cream into bowls and serve immediately. Consider drizzling with chocolate syrup.
Leave a Reply