
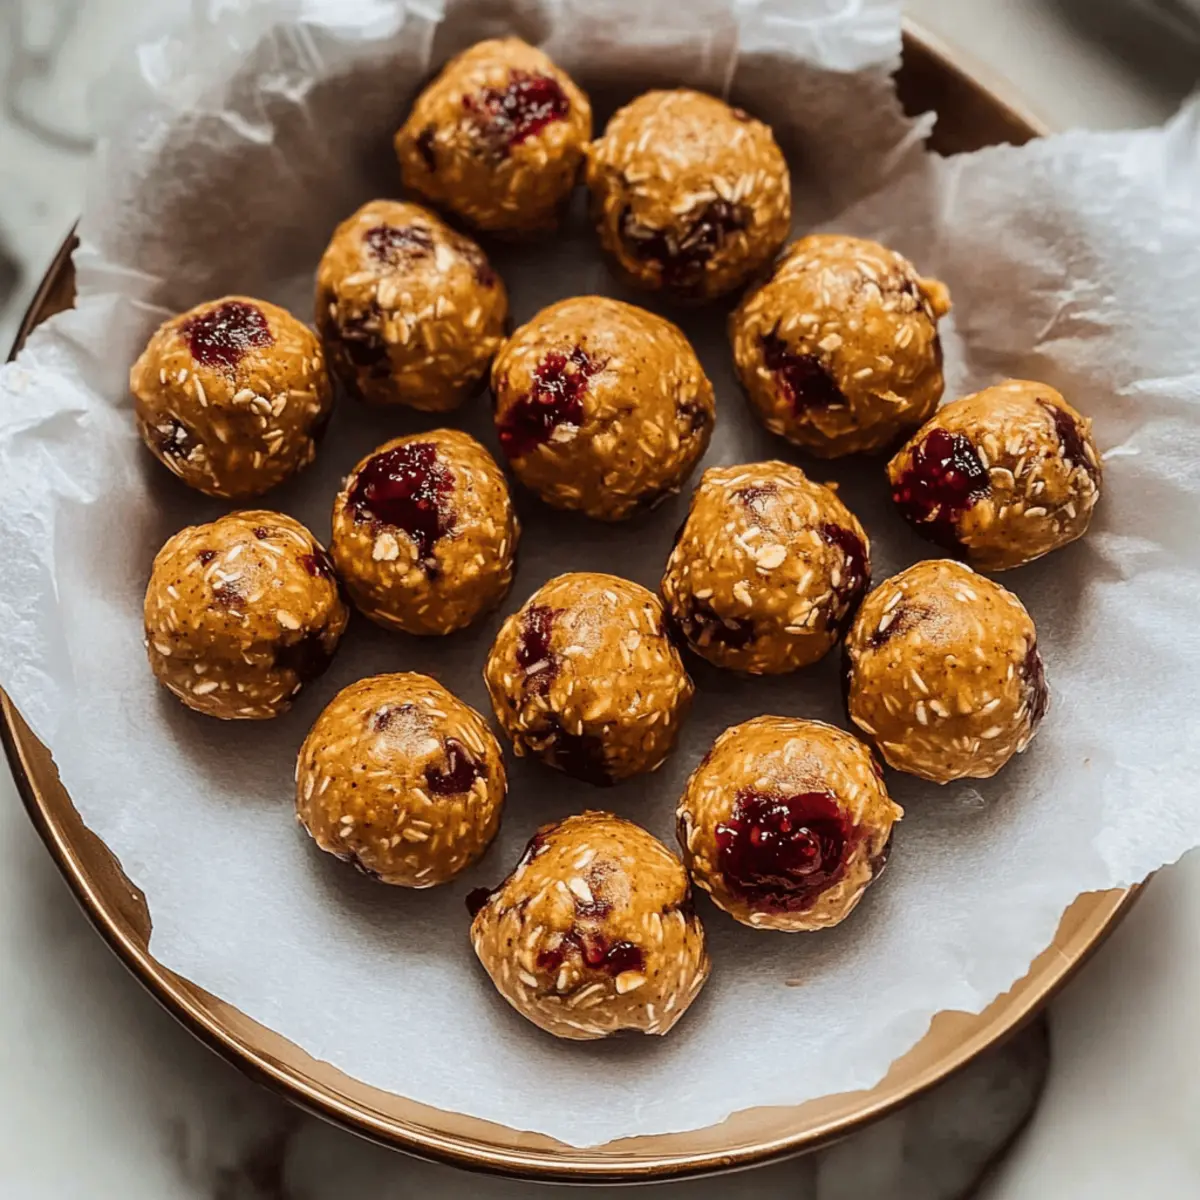
You wouldn’t believe how easy it is to capture the nostalgic taste of a Peanut Butter & Jelly sandwich in a healthy snack. This recipe for No-Bake Peanut Butter & Jelly Protein Balls offers a delightful twist on a childhood classic, perfectly portioned into bite-sized balls. Not only are they packed with protein to fuel your day, but they also come together in a flash, making them an ideal choice for that mid-afternoon slump or pre-workout pick-me-up. These little gems provide a satisfying crunch alongside creamy peanut butter and sweet jam goodness that won’t leave you missing your fast-food fix. Curious about how to whip these up in no time? Let’s dive in!
Why are Jelly Protein Balls so amazing?
Convenience: These no-bake Peanut Butter & Jelly Protein Balls come together in just minutes, making them a fantastic option for busy days.
Protein-Packed: With the addition of vanilla protein powder, they deliver a nutritious boost—perfect for active lifestyles!
Nostalgic Flavor: Enjoy all the classic PB&J goodness without the carbs of bread. They hit the sweet spot while keeping your health in mind.
Versatile Snacks: Customize them with your favorite jams or nut butters, like an almond twist or a creamy chocolate spread for a gluten-free delight!
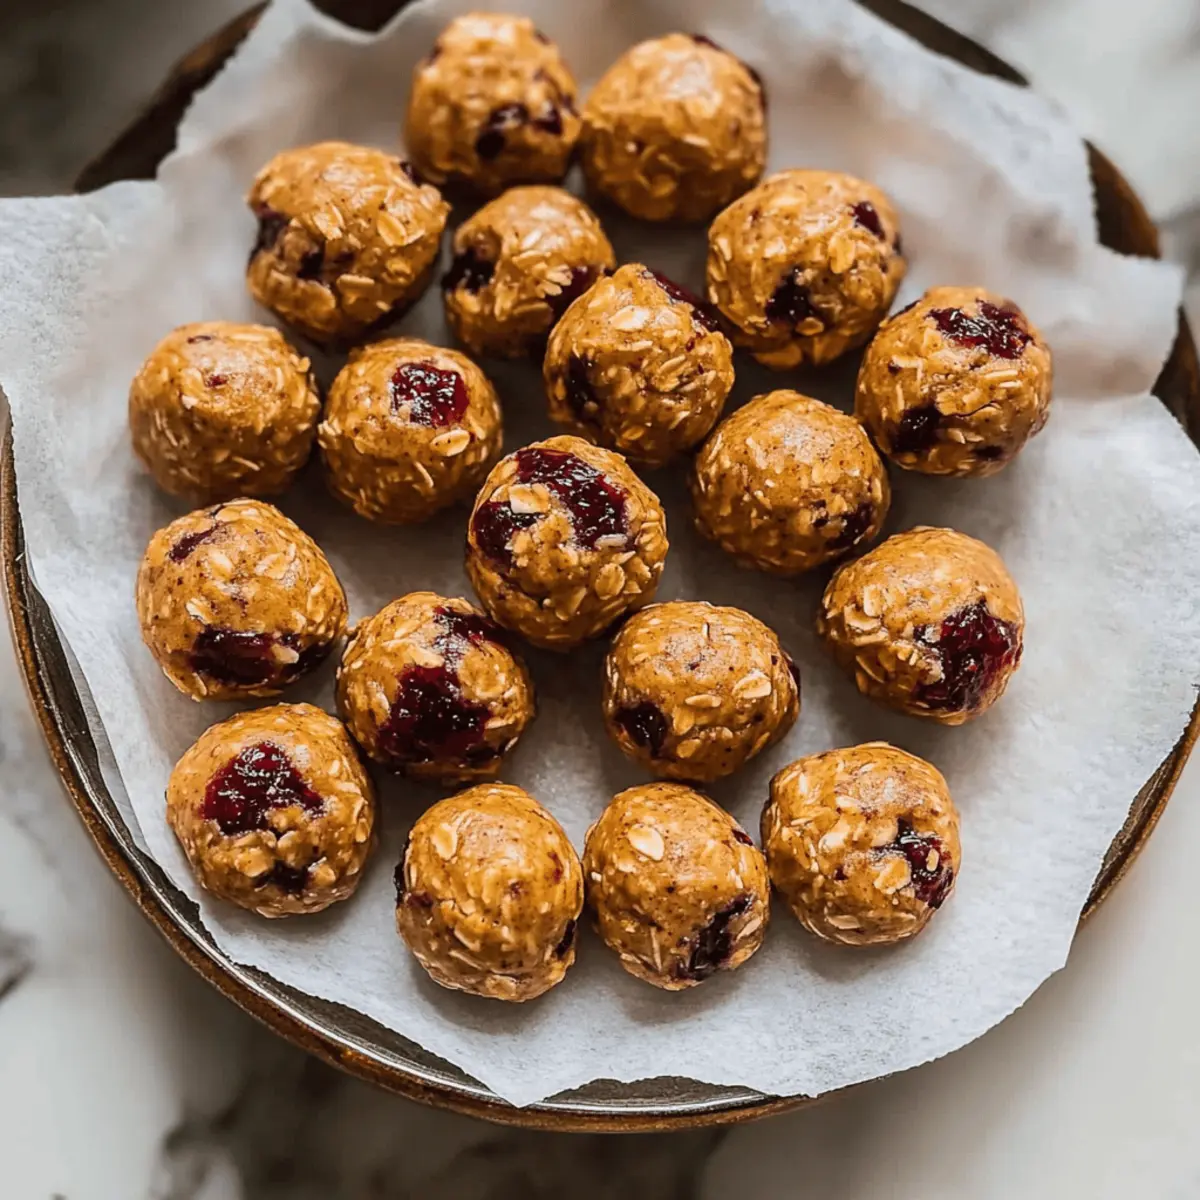
Satisfying Crunch: The chewy oats mixed with creamy peanut butter and the sweetness of the jam creates a texture that’s hard to resist.
Crowd-Pleaser: Kids and adults alike will adore these, making them a great addition to lunchboxes or as a post-meal treat. Grab a batch, and you won’t be reaching for the fast food again!
Jelly Protein Balls Ingredients
• Dive into this easy, no-bake recipe to make your very own Jelly Protein Balls!
For the Base
- Old-Fashioned Rolled Oats – The chewy foundation; quick oats can be used for a different texture.
- Natural Peanut Butter (Creamy) – Provides needed creaminess and binding; consider chunky for more texture.
- Vanilla Protein Powder – Boosts the protein content; can be replaced with extra oats and a drizzle of maple syrup if needed.
For the Bindings
- Chia Seeds – Nutritional powerhouse that helps hold everything together; optional but highly recommended for added health benefits.
- Vanilla Extract – Intensifies the flavor; avoid substitutes for the best result.
- Maple Syrup – Natural sweetener that also aids in binding; agave syrup makes a good alternative.
For the Sweetness
- Raspberry Jam (or Strawberry) – Adds that classic PB&J flavor; swap with any jam you love for a personalized touch!
Now you have everything to whip up your delicious Jelly Protein Balls, perfect for shaking off those snack cravings!
Step‑by‑Step Instructions for Jelly Protein Balls
Step 1: Prepare the Dry Ingredients
In a large mixing bowl, combine 2 cups of old-fashioned rolled oats, 1 scoop of vanilla protein powder, and 2 tablespoons of chia seeds. Stir well to ensure all the dry ingredients are mixed evenly. This will create a solid base for your Jelly Protein Balls. Be sure to break up any clumps in the oats for a smoother texture.
Step 2: Add the Wet Ingredients
Next, mix in ½ cup of creamy natural peanut butter, ¼ cup of maple syrup, and 1 teaspoon of vanilla extract. Use a sturdy spatula to combine everything until a thick dough begins to form. This step may take a few minutes as you want to ensure all ingredients are well-incorporated without any dry bits remaining.
Step 3: Incorporate the Jam
Gently fold in ½ cup of raspberry jam, aiming for pockets of sweetness throughout the mixture rather than fully incorporating it. This will create delightful bursts of flavor in the Jelly Protein Balls. Use a light touch to maintain the texture while evenly distributing the jam.
Step 4: Shape the Protein Balls
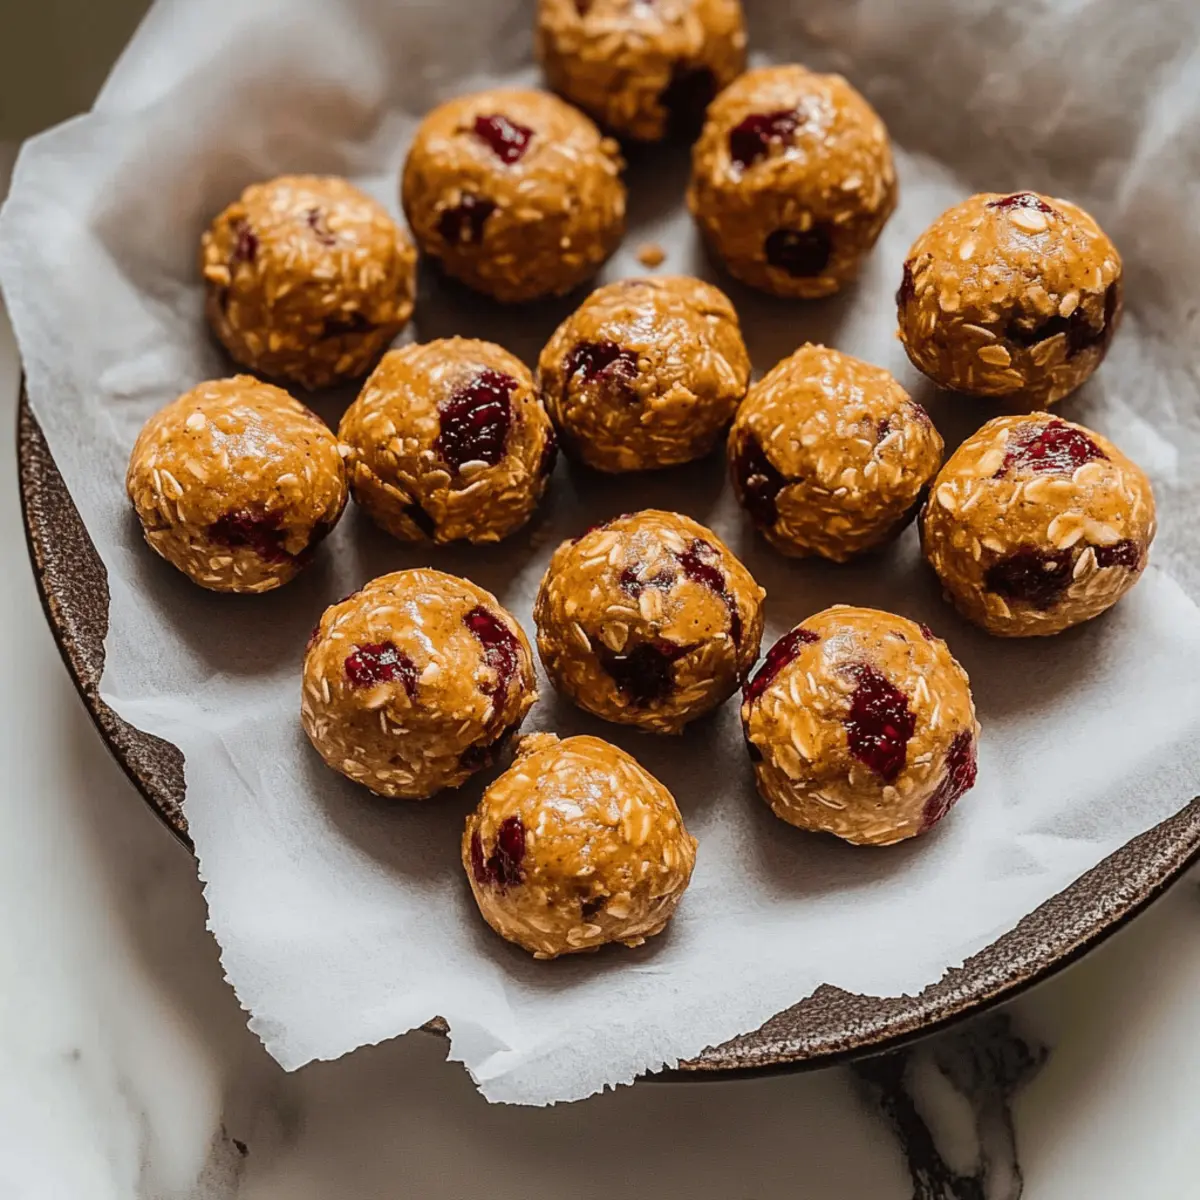
Scoop about 1 tablespoon of the mixture and roll it into a ball between your palms. Repeat this process until all the dough is shaped into balls; you should get about 12-15 protein balls. If your hands feel sticky, consider lightly dampening them to make this process easier.
Step 5: Chill to Firm Up
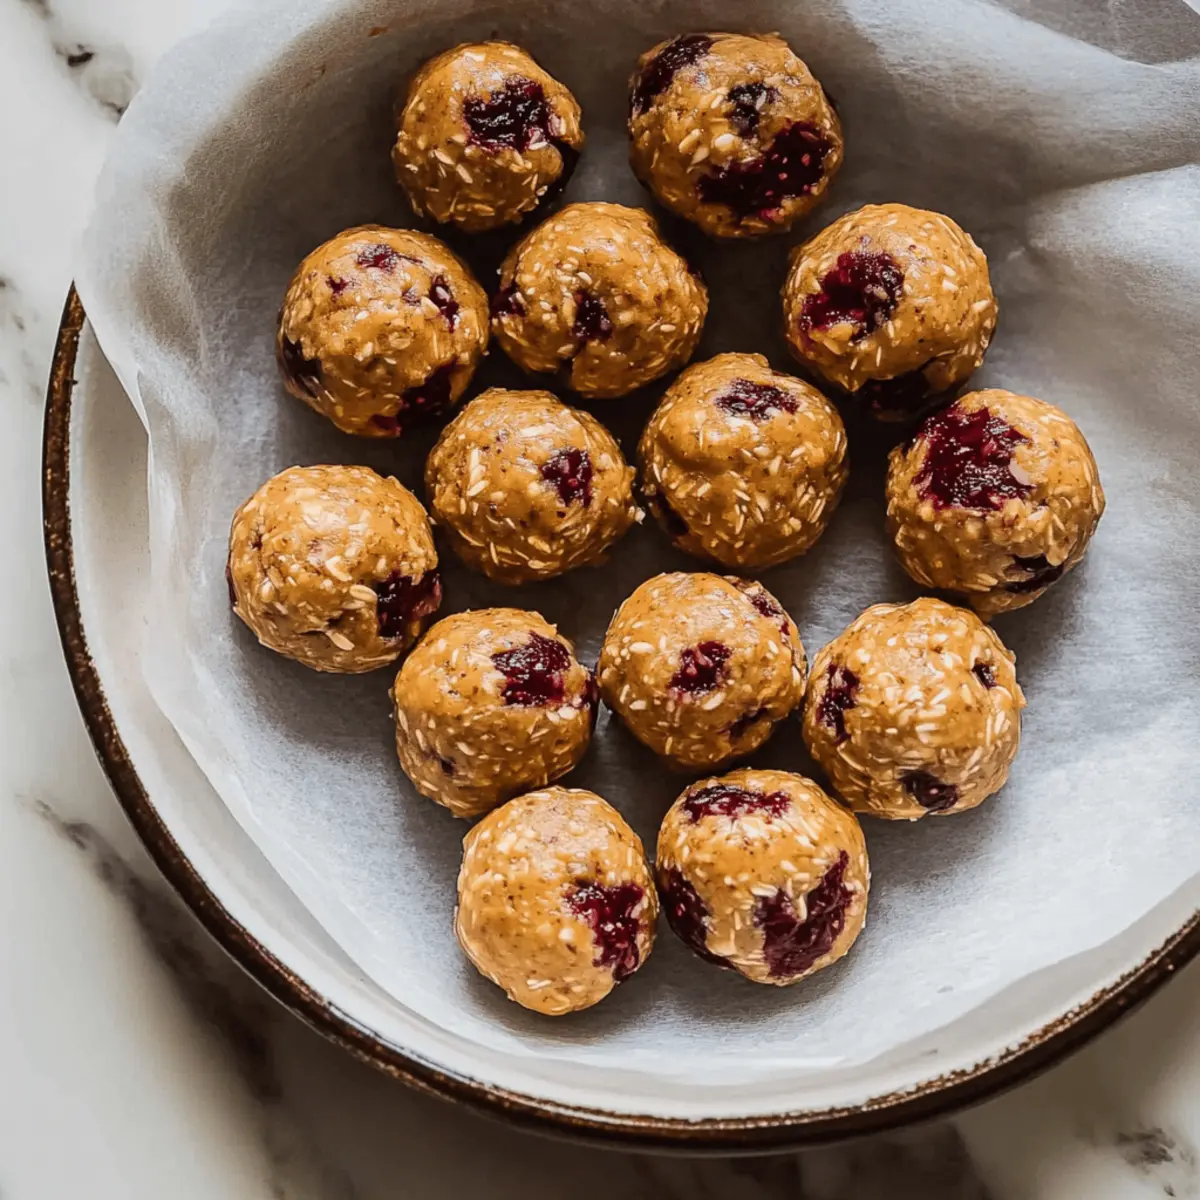
Place the rolled Jelly Protein Balls on a parchment-lined tray, ensuring they are spaced apart. Refrigerate for at least 30 minutes to allow them to firm up properly. This cooling step helps the flavors meld and gives the protein balls their ideal chewy texture.
Step 6: Store or Serve
Once chilled, you can either enjoy your delicious Jelly Protein Balls right away or store them in an airtight container in the refrigerator for up to a week. For longer storage, feel free to freeze them, so you always have a quick snack on hand when those cravings hit!
What to Serve with Easy No-Bake Peanut Butter & Jelly Protein Balls
Looking to elevate your snack experience with delightful pairings that complement the flavors of your protein balls?
- Greek Yogurt with Honey: The creamy tang of yogurt adds a luscious contrast to the nutty richness, making for a satisfying snack combo.
- Apple Slices with Cinnamon: Crisp, sweet apples bring a refreshing crunch that perfectly balances the chewy texture of the protein balls.
- Banana Smoothie: A creamy banana smoothie offers a delicious, fruity twist, boosting your energy further and keeping you refreshed.
- Nut Mix: A variety of crunchy nuts provides a satisfying contrast, adding healthy fats and an extra protein kick to your snacking session.
- Fresh Berries Salad: A berry medley tossed with a splash of citrus creates a zesty side that brightens up the sweetness of the protein balls.
- Carrot Sticks with Hummus: The earthy flavor of hummus paired with crunchy carrot sticks forms a wholesome dip and additional nutritional value to your snack time.
- Chocolate Almond Milk: Enjoy this decadent treat alongside your protein balls for a delightful blend of flavors, capturing everyone’s sweet tooth in a healthy format.
- Dark Chocolate Dipped Coconut Chips: These indulgent bites add a tropical flair, creating a balance of sweetness and texture that enhances the overall experience.
Tips for the Best Jelly Protein Balls
Consistency Check: Ensure your dough isn’t too dry by adding a bit of warm water or extra maple syrup as needed—this step is crucial for perfect Jelly Protein Balls.
Jam Control: When adding the jam, gently fold it in until you have delicious pockets of sweetness rather than fully mixing it in. This enhances the flavor and keeps texture.
Hand Happy: If the mixture sticks to your hands, lightly dampen them or use a cookie scoop to make rolling easier and mess-free!
Chill Time: Don’t skip the refrigeration step! It firms up your Jelly Protein Balls and allows flavors to marry, resulting in the ultimate chewy snack.
Storage Secrets: Store your Jelly Protein Balls in an airtight container in the fridge for up to a week, or freeze them for longer-lasting enjoyment!
Jelly Protein Balls Variations & Substitutions
Feel free to experiment with these variations and make the recipe truly yours!
- Nut Butters: Swap peanut butter for almond or sunbutter to cater to nut allergies or for a different flavor.
- Protein Powder: Replace vanilla protein powder with chocolate or plant-based protein for a unique taste twist.
- Maple Sweetness: Use honey or agave syrup instead of maple syrup for different levels of sweetness and flavor.
- Flavor Fun: Experiment with different fruit jams like blueberry or peach to create exciting new flavor profiles.
- Texture Boost: Add chopped nuts or seeds for a satisfying crunch alongside the chewiness of the oats.
- Extra Nutrition: Toss in a scoop of ground flaxseed or hemp seeds for an added nutritional punch.
- Cocoa Delight: Mix in unsweetened cocoa powder for a chocolatey kick that complements the sweetness of the jam.
- Spice It Up: Add a touch of cinnamon or nutmeg for warm, cozy flavors, elevating these protein balls even more.
With these delightful variations, you can keep snack time vibrant and exciting! Looking for more healthy, no-bake options? Check out my Pumpkin Protein Balls or indulge in Healthy Protein Crepes for a wholesome twist on sweet treats!
How to Store and Freeze Jelly Protein Balls
Fridge: Store your Jelly Protein Balls in an airtight container in the refrigerator for up to one week. This keeps them fresh and ready to grab for a quick snack.
Freezer: For extended storage, freeze the protein balls in a single layer on a baking sheet until solid, then transfer to a freezer-safe container. They’ll last for up to 3 months!
Reheating: There’s no need to heat them up, but if you prefer them slightly softened, let them sit at room temperature for about 10 minutes before enjoying.
Thawing: When frozen, simply take out the desired amount and thaw in the fridge overnight, or for about 30 minutes at room temperature.
Make Ahead Options
These Peanut Butter & Jelly Protein Balls are ideal for meal prep, helping you kick those snack cravings to the curb with ease! You can prepare the dough up to 24 hours in advance—just mix the dry ingredients and store them in an airtight container in the refrigerator. For added convenience, you can also roll the balls and refrigerate them, allowing the flavors to meld beautifully overnight. Just remember, to maintain their delightful texture, give them a quick chill for at least 30 minutes after rolling. When you’re ready to enjoy, simply grab one (or two!) from the fridge, and relish a nutritious snack that’s just as delicious as freshly made!
Jelly Protein Balls Recipe FAQs
What type of oats is best for making Jelly Protein Balls?
For Jelly Protein Balls, old-fashioned rolled oats are recommended as they provide the best texture. However, if you prefer a different texture, quick oats can also be used as a substitute.
How long do Jelly Protein Balls last in the fridge?
These delicious Jelly Protein Balls can be stored in an airtight container in the refrigerator for up to one week. This makes them a fantastic option for a quick and healthy snack throughout the week!
Can I freeze Jelly Protein Balls?
Absolutely! To freeze your Jelly Protein Balls, place them on a parchment-lined baking sheet in a single layer and freeze until solid. Once frozen, transfer them to a freezer-safe container where they can last for up to 3 months. Just remember to thaw them in the fridge overnight before enjoying!
What should I do if the protein ball mixture is too dry?
If you find that your mixture is too dry, start by adding 1-2 teaspoons of warm water or an extra drizzle of maple syrup and mix well until everything comes together. It’s important to get that perfect dough consistency for the best Jelly Protein Balls!
Are Jelly Protein Balls suitable for those with nut allergies?
No problem! If you or a loved one has a nut allergy, feel free to substitute the peanut butter with sunflower seed butter or a similar nut-free alternative. This allows everyone to enjoy these snacks safely!
How can I customize the flavor of my Jelly Protein Balls?
The beauty of Jelly Protein Balls lays in their versatility! You can replace traditional raspberry jam with any fruit jam you enjoy, such as blueberry, apricot, or even a chocolate hazelnut spread for a different twist. Let your creativity shine!
Delicious Jelly Protein Balls for a Sweet, Energizing Snack
Ingredients
Equipment
Method
- In a large mixing bowl, combine 2 cups of old-fashioned rolled oats, 1 scoop of vanilla protein powder, and 2 tablespoons of chia seeds. Stir well to ensure all the dry ingredients are mixed evenly.
- Next, mix in ½ cup of creamy natural peanut butter, ¼ cup of maple syrup, and 1 teaspoon of vanilla extract. Use a sturdy spatula to combine everything until a thick dough begins to form.
- Gently fold in ½ cup of raspberry jam, aiming for pockets of sweetness throughout the mixture rather than fully incorporating it.
- Scoop about 1 tablespoon of the mixture and roll it into a ball between your palms. Repeat until all the dough is shaped into balls.
- Place the rolled Jelly Protein Balls on a parchment-lined tray, refrigerate for at least 30 minutes to allow them to firm up properly.
- Once chilled, you can either enjoy them right away or store them in an airtight container in the refrigerator for up to a week.
Leave a Reply