
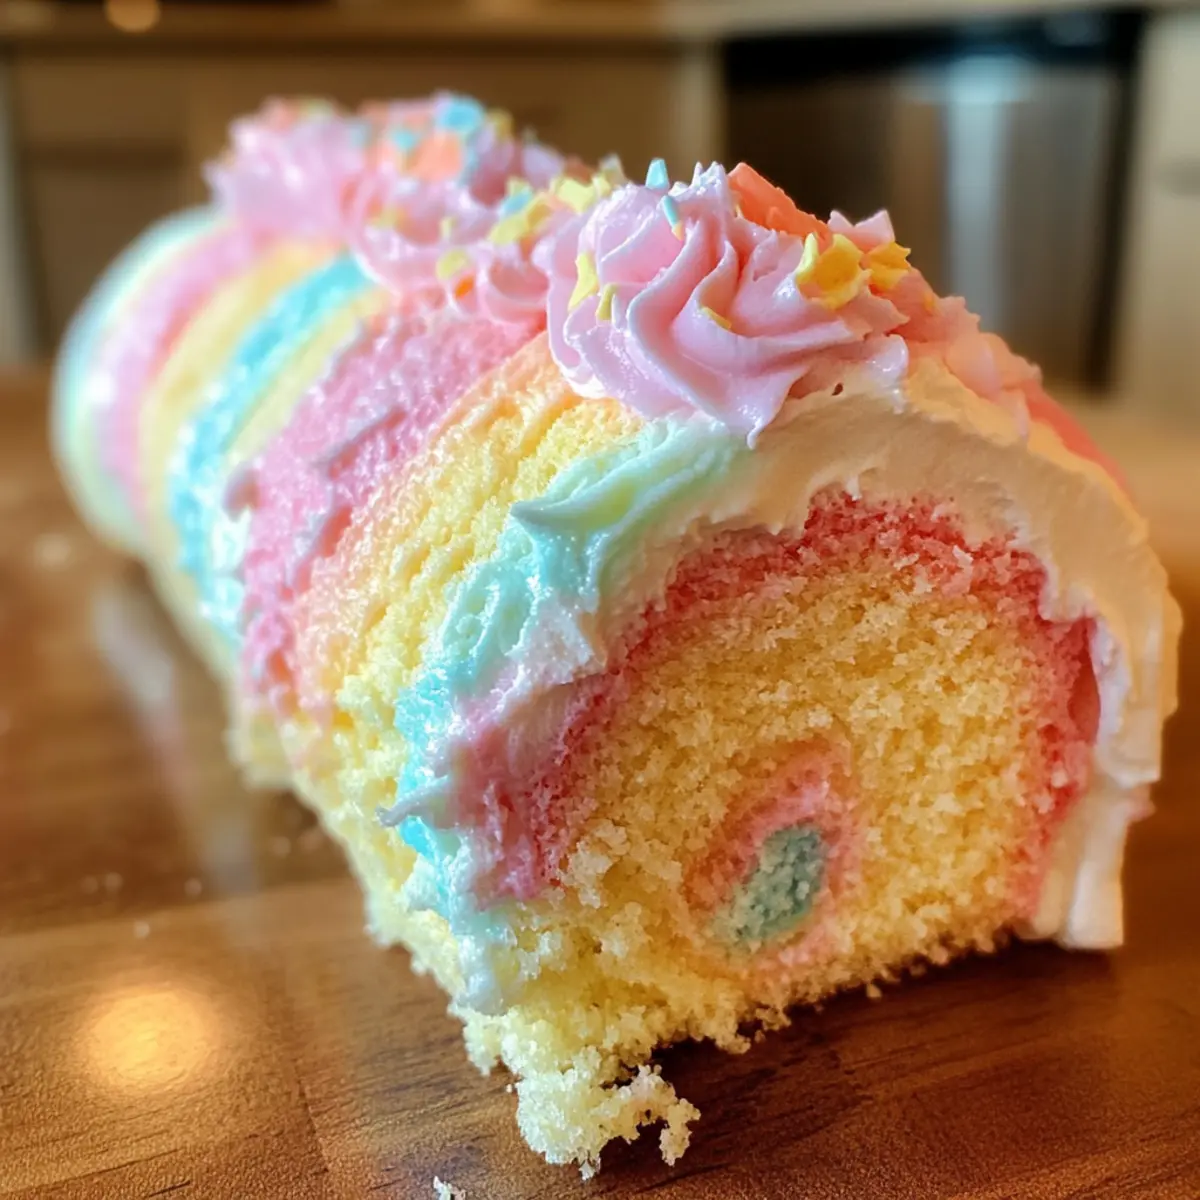
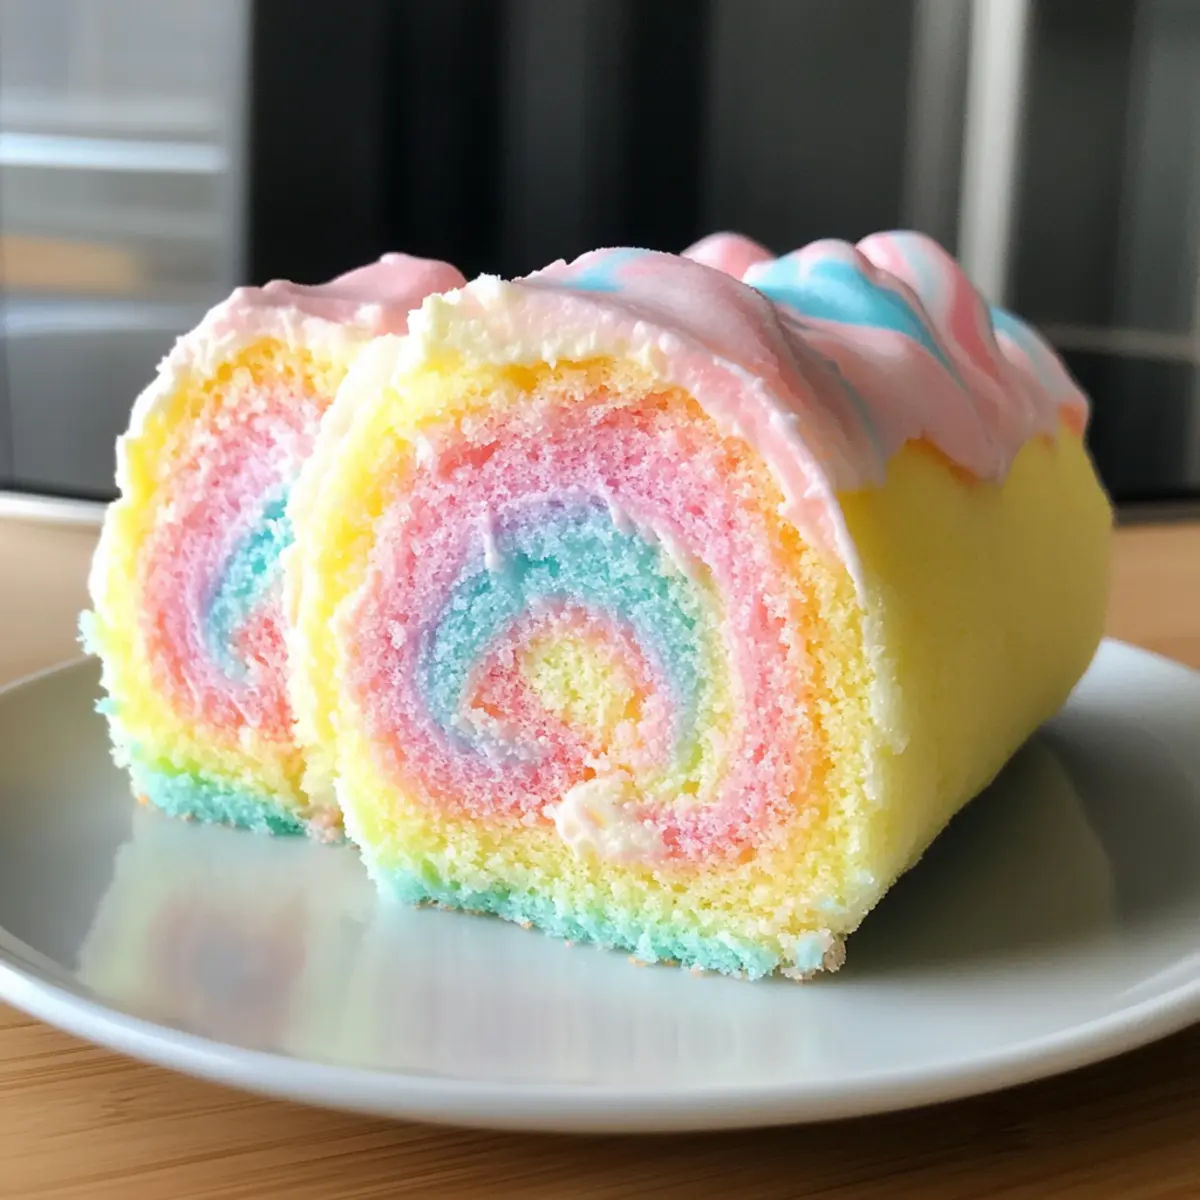
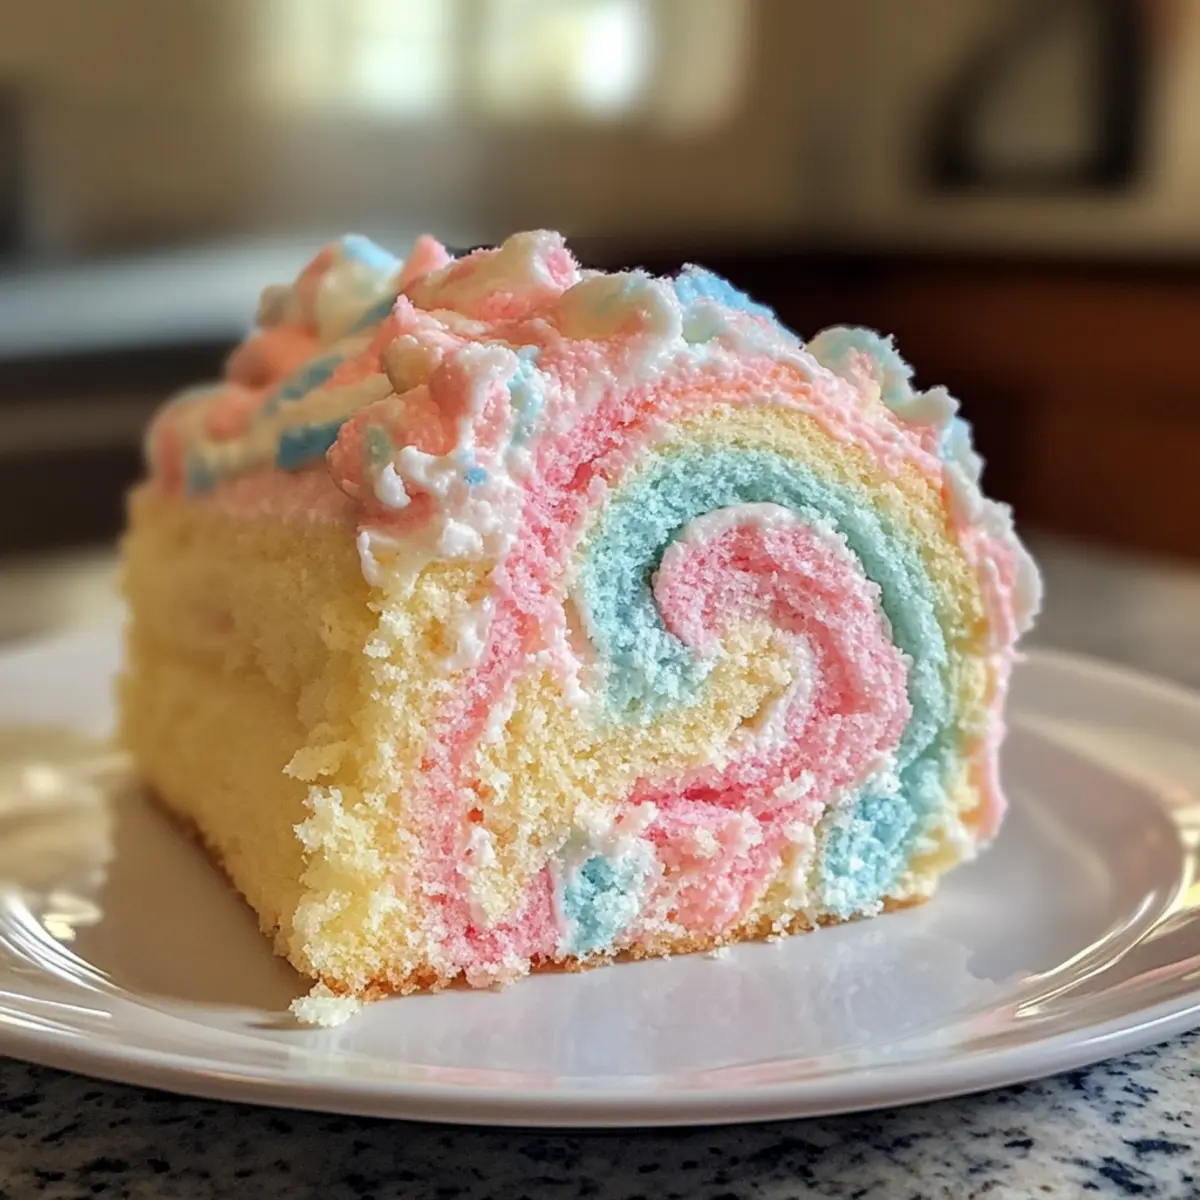
As I watched the cotton candy swirl in the summer breeze, a sense of nostalgia washed over me. This Japanese Cotton Candy Cake Roll captures that same whimsical spirit, transforming the joy of a carnival into a delightful dessert. With its soft, fluffy chiffon cake layers and a light-as-air cotton candy cream filling, this charming treat is not only a feast for the eyes but surprisingly beginner-friendly to make. Perfect for family gatherings or as a sweet surprise on an ordinary day, this cake roll offers both cheerful vibes and delightful flavor without the fuss. Curious about how to bring a bit of magic into your kitchen? Let’s dive into this enchanting recipe!
Why is this cake roll so special?
Whimsical Charm: This Japanese Cotton Candy Cake Roll brings the joy of a summer carnival right into your kitchen, making it an instant mood lifter.
Beginner-Friendly: You don’t have to be a baking pro to master this recipe; it’s designed for all skill levels!
Unique Flavor Experience: The cotton candy extract infuses each bite with nostalgia, while the airy cream filling takes it to another level.
Stunning Presentation: Those pastel swirls create a show-stopping dessert that’s perfect for celebrations or sharing with friends. Pair it with some jasmine tea for an elegant touch!
Make-Ahead Magic: Assemble it the night before and you’ll have a delicious dessert ready to impress with minimal effort! If you love unique desserts, you might also enjoy my Strawberry Crunch Cheesecake Tacos or the delightful Hawaiian Roll French Toast.
Japanese Cotton Candy Cake Roll Ingredients
To create this whimsical dessert that captures the joy of a carnival, here’s what you’ll need:
For the Cake Base
- Cake Flour – Provides structure and tenderness to the cake; note that all-purpose flour may yield a different texture.
- Sea Salt – Enhances flavor by balancing sweetness; you can use either fine or coarse salt.
- Whole Milk – Adds moisture and richness; non-dairy milk is a great substitution if needed.
- Vegetable Oil – Keeps the cake moist; melted butter can offer a richer flavor if you prefer.
- Granulated Sugar – Sweetens the cake and stabilizes the meringue; feel free to adjust the sweetness to your liking.
- Cotton Candy Extract – Delivers a unique flavor reminiscent of cotton candy; vanilla or almond extract works as a substitute, though the taste will differ.
- Egg Whites – Incorporate air for an airy meringue structure; make sure they’re at room temperature for optimal results.
- Cream of Tartar – Stabilizes the meringue; lemon juice can be used as a substitute in equal amounts.
- Gel Food Coloring – Creates those beautiful pastel shades; stick with gel colors to maintain thickness in the batter.
For the Whipped Cream Filling
- Heavy Cream – Forms the luxurious whipped cream filling; chilling it prior to whipping is crucial for success.
- Unflavored Gelatin – Stabilizes the whipped cream to prevent deflation; always bloom the gelatin in cold water first.
- Water – Used to bloom the gelatin; cool to lukewarm water is ideal for best results.
This delightful Japanese Cotton Candy Cake Roll is sure to bring a sprinkle of magic to your kitchen adventures!
Step‑by‑Step Instructions for Japanese Cotton Candy Cake Roll
Step 1: Preheat & Prep
Begin by preheating your oven to 325°F (165°C). While the oven warms, prepare an 8×12-inch baking pan by lining it with parchment paper, ensuring the paper hangs over the edges for easy removal later. This step sets the foundation for creating your delightful Japanese Cotton Candy Cake Roll, so don’t skip it!
Step 2: Mix Cake Base
In a small mixing bowl, whisk together the whole milk, vegetable oil, and granulated sugar until fully combined. In a separate bowl, sift the cake flour and sea salt together. Create a well in the dry ingredients, gently mixing in the wet ingredients until just combined; take care not to overmix, as this will ensure a tender cake texture.
Step 3: Prepare Meringue
In a clean bowl, beat the egg whites with cream of tartar using a hand mixer or stand mixer on medium speed. Gradually add sugar until glossy and stiff peaks form—about 5–7 minutes. You should see a shiny texture in your meringue. Add the gel food coloring gradually until you achieve your desired pastel hue, creating a beautiful base for your cake roll.
Step 4: Fold & Bake
Carefully fold the prepared meringue into your batter in three additions, maintaining the fluffiness of the meringue. Once combined, pour the mixture into the prepared baking pan, using a spatula to spread it evenly. Tap the pan gently on the counter to release any air bubbles, then bake for 10-12 minutes until lightly golden and springy to the touch. Allow it to cool for about 5 minutes before flipping it onto a wire rack.
Step 5: Make Whipped Cream
To make the cotton candy cream filling, bloom the unflavored gelatin in cool water for 5 minutes. Meanwhile, whip the chilled heavy cream with sugar in a mixing bowl until soft peaks are achieved. Gently stream in the melted gelatin and add the cotton candy extract, continuing to whip until you reach stiff peaks. Your whipped cream should now be light and extremely airy!
Step 6: Assemble Cake Roll
Once the baked cake is completely cool, spread the whipped cream evenly over the surface, concentrating a bit more at one edge to assist with rolling. Using the parchment paper as a guide, carefully roll the cake tightly from the edge with the extra filling, ensuring it stays intact. Wrap the rolled cake in plastic wrap tightly and chill it in the refrigerator for at least 1 hour to set before slicing into this whimsical Japanese Cotton Candy Cake Roll.

Make Ahead Options
These Japanese Cotton Candy Cake Rolls are perfect for meal prep enthusiasts and busy weeknights! You can prepare the cake base up to 24 hours in advance, allowing it to cool completely before wrapping it tightly in plastic and refrigerating. The meringue can also be made ahead, but it’s best to prepare the whipped cream filling no more than 3 days prior to serving to ensure it stays airy and fresh. Simply assemble the roll when you’re ready to serve; spread the whipped cream over the chilled cake, roll it up, and allow it to chill for an hour for easy slicing. This make-ahead approach ensures you can bring this whimsical dessert to life with minimal effort!
Expert Tips for Japanese Cotton Candy Cake Roll
-
Prep Your Ingredients: Make sure your egg whites are at room temperature before starting. This helps achieve that magical consistency for airy meringue.
-
Gentle Folding: When incorporating the meringue into the batter, use a gentle folding motion. Overmixing can deflate the airiness, making your cake roll dense.
-
Watch Your Bake Time: Keep an eye on your cake while it bakes! A few extra minutes can turn a fluffy delight into a dry cake. It should spring back when gently touched.
-
Cool Properly: Allow the cake to cool completely before spreading the whipped cream filling. If it’s warm, the filling can melt and create a gooey mess!
-
Stabilize Your Cream: Ensure your heavy cream is well-chilled before whipping. This is essential for achieving light and fluffy cotton candy cream that won’t squish out while rolling.
-
Creative Twists: Feel free to experiment with different gel food colors or cotton candy extracts. Customizing your cake roll will make it uniquely yours!
Japanese Cotton Candy Cake Roll Variations
Get ready to sprinkle a bit of your own magic on this whimsical cake roll!
- Dairy-Free: Substitute heavy cream with coconut cream for a tropical twist that keeps it light and fluffy.
- Fruit Infusion: Add pureed strawberries or raspberries to the whipped cream filling for a delicious berry flavor. This adds a new layer of freshness and delightful color!
- Chocolate Delight: Fold in cocoa powder into the cake batter for a chocolatey version that pairs wonderfully with cotton candy cream. The chocolate and cotton candy flavors create a fascinating balance!
- Nutty Addition: Incorporate almond or hazelnut extract into the whipped cream for a nutty essence that complements the cake beautifully.
- Vegan-Friendly: Replace egg whites with aquafaba, the liquid from canned chickpeas, and whip until foamy for a plant-based miracle!
- Heat It Up: Add a pinch of cinnamon to the batter or whipped cream for a delightful spice kick that’ll awaken your taste buds.
- Layer It Up: Turn this roll into a layered cake by slicing the roll into rounds and stacking them with additional whipped cream. Decorate with sprinkles for an eye-catching presentation!
- Festive Colors: Use vibrant gel food coloring to create a rainbow effect when baking your cake. This visual treat will surely wow your guests!
Feel inspired? Try pairing your creation with a cup of jasmine tea or serve it alongside a slice of my delightful Pistachio Milk Cake for an added flair!
What to Serve with Japanese Cotton Candy Cake Roll?
This playful dessert is a delightful way to bring joy to your table, and finding the perfect companions can elevate your dessert experience even more.
-
Fresh Fruit Platter: A vibrant array of berries and melons adds a refreshing touch, balancing the sweetness of the cake roll. The juicy textures contrast beautifully against the soft, airy layers.
-
Jasmine Tea: The delicate floral notes of jasmine tea offer a soothing pairing. Enjoying a warm cup alongside your cake roll creates a comforting moment of indulgence.
-
Sparkling Lemonade: This refreshing beverage’s zesty kick not only quenches thirst but also complements the cotton candy flavor. The bright bubbles add a fun, festive vibe to your dessert experience.
-
Pastel Macarons: These delicate cookies echo the whimsical pastel colors of the cake roll. Their crisp exterior and creamy filling provide a delightful textural contrast while harmonizing with the cotton candy theme.
-
Vanilla Ice Cream: A scoop of creamy vanilla ice cream adds richness and melts into the fluffy cake roll, enhancing every bite for an indulgent treat. This classic pairing brings comfort to a whimsical dessert.
-
Chocolate Drizzle: A light drizzle of chocolate sauce not only enhances the aesthetic appeal but adds a deep, rich flavor that contrasts well with the cake’s sweetness.
-
Mini Cupcakes: A selection of mini cupcakes can create a cheerful dessert spread. Choose flavors like vanilla or berry to keep the whimsical theme going, inviting everyone to sample a bit of everything.
-
Cotton Candy Fluff: For a truly whimsical presentation, serve additional cotton candy on the side. This fun element not only mirrors the cake’s flavor but also adds a joyful touch to your dessert table.
How to Store and Freeze Japanese Cotton Candy Cake Roll
Refrigerator: Keep the assembled cake roll wrapped tightly in plastic wrap and stored in an airtight container for up to 2-3 days to maintain its freshness and flavor.
Freezer: For longer storage, slice the cake roll and wrap individual portions in plastic wrap before placing them in a freezer-safe container. It can be frozen for up to 2 months.
Thawing: When ready to enjoy, simply transfer the frozen slices to the refrigerator and let them thaw overnight, ensuring the cake remains moist and the whipped cream filling stays light.
Reheating: Avoid reheating the cake roll, as it’s best enjoyed chilled. If desired, serve with a drizzle of whipped cream or some additional cotton candy for extra whimsy.
Japanese Cotton Candy Cake Roll Recipe FAQs
How do I choose the right cake flour?
Absolutely! Look for cake flour that is light and finely milled to ensure your cake roll is airy and soft. If you don’t have cake flour on hand, you can substitute it with all-purpose flour, but remember it might alter the texture slightly. For a simple homemade alternative, measure out 1 cup of all-purpose flour, remove 2 tablespoons, and replace them with 2 tablespoons of cornstarch. This helps mimic the lighter texture of cake flour!
How should I store the Japanese Cotton Candy Cake Roll?
Very simple! Once assembled, wrap the cake roll tightly in plastic wrap and store it in an airtight container in the refrigerator for up to 2-3 days. This keeps it fresh and prevents it from drying out. You can also place wax paper between the cake and the container wall to avoid sticking.
Can I freeze the Japanese Cotton Candy Cake Roll?
Absolutely! To freeze, slice the cake roll into individual portions and wrap each one tightly in plastic wrap. Then, place them in a freezer-safe container or a resealable plastic bag. You can freeze them for up to 2 months. To thaw, simply transfer the desired portions from the freezer to the refrigerator, allowing them to thaw overnight for the best texture and flavor.
What should I do if my meringue doesn’t form stiff peaks?
Don’t worry, it happens! Make sure your mixing bowl and beaters are completely clean and free from any grease. If your egg whites aren’t whipping up as expected, they may be too cold or there’s a bit of yolk mixed in. Ensure your egg whites are at room temperature for the best results. If it’s taking too long, give the mixer a break, and scrape down the sides of the bowl. This can sometimes help incorporate air more efficiently.
Is this cake roll safe for people with gluten sensitivities?
Not quite as it stands! The original recipe contains cake flour, which is not gluten-free. However, you can make this cake roll gluten-free by substituting the cake flour with a gluten-free blend specifically designed for baking. Make sure to check that all other ingredients, especially the cotton candy extract, are gluten-free. This allows everyone to enjoy this delightful treat!
Can I add different flavors to the cotton candy filling?
The more the merrier! You can absolutely mix it up by incorporating fruit purees like strawberry, raspberry, or mango into the whipped cream. Just be sure to adjust the sugar to maintain sweetness. Adding a bit of citrus zest, such as lemon or orange, can also brighten the flavor if you’re feeling adventurous!
Japanese Cotton Candy Cake Roll: A Magical Dessert Experience
Ingredients
Equipment
Method
- Preheat your oven to 325°F (165°C) and prepare an 8x12-inch baking pan with parchment paper.
- In a mixing bowl, whisk together whole milk, vegetable oil, and granulated sugar until fully combined. In another bowl, sift cake flour and sea salt together.
- Beat the egg whites with cream of tartar until glossy peaks form. Gradually add sugar until stiff peaks are achieved. Add gel food coloring to desired hue.
- Carefully fold the meringue into the batter in three additions. Pour into the prepared pan and bake for 10-12 minutes until golden and springy.
- Bloom the unflavored gelatin in cool water. Whip heavy cream with sugar until soft peaks form, then add gelatin and cotton candy extract until stiff peaks form.
- Once the cake is cool, spread whipped cream over the surface and roll tightly using parchment paper as a guide. Wrap tightly and chill for at least 1 hour.
Leave a Reply