
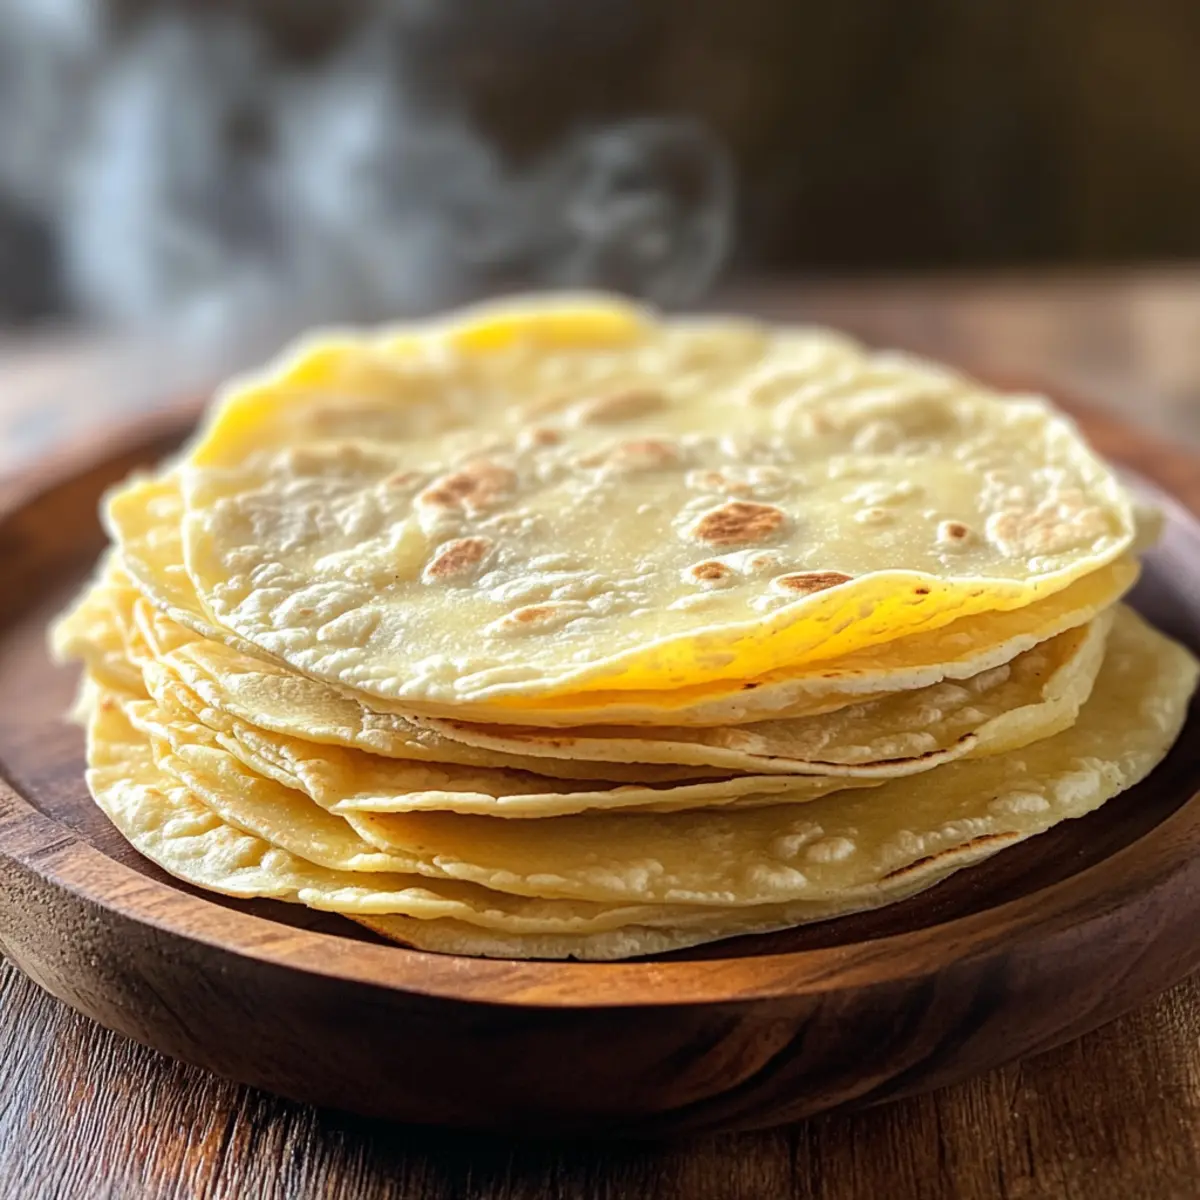
There’s a magic in the air when you savor a warm corn tortilla fresh from the skillet; it’s a simple indulgence that transports you to the heart of Mexico. In crafting these perfect homemade corn tortillas from scratch, you’ll unlock a world of authentic flavors and textures that store-bought alternatives simply can’t match. With just three basic ingredients, you can enjoy the joy of making something truly special for tacos, enchiladas, or just as they are, warmed up on their own. This recipe is not only quick and easy but also serves as a delightful way to connect with your culinary roots, all while being a gluten-free option for everyone at the table. Ready to take your homemade meal game to the next level? Let’s get started!
Why Make Homemade Corn Tortillas?
Unmatched Freshness: There’s nothing like the aroma of fresh corn tortillas wafting through your kitchen. Authentic Taste: Crafted with just masa harina, warm water, and a pinch of salt, they deliver bold flavors that enhance any dish. Versatile Delight: Perfect for tacos, enchiladas, or enjoying solo, they adapt to your culinary cravings. Quick Prep: You’ll have these soft tortillas ready in under an hour, giving you more time to savor your meal with loved ones. Plus, they’re a great gluten-free alternative, making them suitable for everyone at the table. Want to explore more homemade delights? Check out our Homemade Thin Mints for a sweet treat!
Homemade Corn Tortilla Ingredients
For the Dough
- Masa Harina – This is the key ingredient that provides the authentic flavor and texture essential for homemade corn tortillas; don’t substitute with cornmeal or flour.
- Warm Water – Adding comfortably warm water to the masa harina hydrates it, ensuring a smooth, pliable dough. Adjust the temperature based on your kitchen humidity for best results.
- Salt – A half teaspoon is all you need to bring out the natural corn flavor; you can omit it for a purer taste if you prefer.
Optional Additions
- Oil (neutral, e.g., vegetable) – Incorporating a bit of oil can make the tortillas even more pliable; however, traditionalists often skip this for a true homemade experience.
Dive into the joy of crafting your own homemade corn tortillas!
Step‑by‑Step Instructions for Homemade Corn Tortillas
Step 1: Combine Ingredients
In a mixing bowl, combine 2 cups of masa harina and ½ teaspoon of salt, stirring well to evenly distribute. Next, gradually pour in approximately 1¼ cups of warm water, mixing with your hands or a fork until a cohesive dough begins to form. The mixture should feel slightly sticky and hold together without crumbling, indicating the right moisture balance.
Step 2: Knead the Dough
Once the dough comes together, knead it gently on a clean surface for about 2-3 minutes. You want the dough to be smooth and pliable, not dry or crumbly. If it cracks at the edges, add a few drops of warm water and knead again. It’s important to let the dough rest, so wrap it in a damp cloth and let it sit for 15 minutes to allow the masa harina to fully hydrate.
Step 3: Divide the Dough
After resting, divide the dough into small balls, roughly the size of a golf ball. This should yield about 12 balls, depending on your preferred tortilla size. Keep the dough balls covered with a towel to prevent them from drying out while you work with them. Each ball will become a delightful homemade corn tortilla full of authentic flavor.
Step 4: Flatten the Dough Balls
To shape your tortillas, use a tortilla press or a rolling pin. Place a dough ball between two pieces of plastic wrap or parchment paper to prevent sticking. If using a tortilla press, apply firm, even pressure for about 3-5 seconds until you have a round, flat tortilla roughly 6-8 inches in diameter. If you’re rolling, aim for a uniform thickness that’s not too thin, ensuring they hold together while cooking.
Step 5: Cook the Tortillas
Heat a non-stick skillet or griddle over medium-high heat for about 5 minutes until hot. Carefully place one tortilla onto the skillet, cooking for approximately 30 seconds or until it starts to puff and develop light brown spots. Flip the tortilla and cook for another 30 seconds, allowing it to puff slightly again. The ideal texture should be soft with a slight chewiness, perfect for your homemade corn tortillas.
Step 6: Keep Warm for Serving
As each tortilla finishes cooking, transfer it to a clean kitchen towel or a tortilla warmer to keep them warm and steamy until you’re ready to serve. This step is essential to maintain their perfect texture and warmth. Your homemade corn tortillas are now ready to be filled with delicious ingredients like succulent meats, fresh vegetables, or enjoyed on their own!
Make Ahead Options
These homemade corn tortillas are perfect for meal prep enthusiasts! You can prepare the dough up to 24 hours in advance by mixing the masa harina, warm water, and salt, then storing it in an airtight container in the refrigerator. This way, the flavors can meld while keeping the dough fresh. When you’re ready to cook, simply let the dough come to room temperature for about 30 minutes before dividing it into balls and pressing them into tortillas. Alternatively, you can cook the tortillas in advance and refrigerate them for up to 3 days. Just reheat them on a skillet for a few seconds before serving, ensuring they’re just as delicious as when they were freshly made.
What to Serve With Perfect Homemade Corn Tortillas?
Experience a delightful culinary adventure as you explore the flavors that beautifully enhance these tender corn tortillas, bringing your meal to life.
-
Slow-Cooked Carnitas: Juicy, savory pork complements the soft, warm tortillas, making each bite a comforting classic that feels like home.
-
Zesty Guacamole: Creamy and vibrant, the fresh flavors of avocado contrast perfectly with the tortillas and elevate the overall taste experience.
-
Spicy Salsa Verde: This zesty sauce adds a delicious kick, enhancing the earthy corn flavor while providing a refreshing burst of brightness.
-
Roasted Vegetables: Colorful veggies like bell peppers and zucchini offer a delightful crunch, creating a beautiful balance with the buttery softness of each tortilla.
-
Cilantro Lime Rice: The bright citrus and herb notes lend a fresh, tangy element that ties together the flavors in any dish, enhancing the whole meal.
-
Grilled Shrimp Tacos: Tender shrimp wrapped in warm tortillas create a marriage of textures and flavors, perfect topped with crunchy cabbage and a drizzle of crema.
-
Black Bean Salad: Protein-packed and full of flavor, this colorful salad adds a nutritious touch that pairs harmoniously with your homemade tortillas.
-
Chilled Horchata: This creamy, sweet rice drink refreshes your palate and adds a wonderful contrast to the savory flavors on your plate, perfect for any gathering.
-
Chocolate Flan: End your meal on a sweet note with this smooth, rich dessert that provides a luscious finish to the hearty flavors of the main course.
Homemade Corn Tortillas Variations
Feel free to unleash your creativity and customize these homemade corn tortillas to suit your taste buds.
-
Spicy Kick: Add 1 teaspoon of chili powder or minced jalapeños to the dough for a flavorful heat that excites the palate. The result is a warm tortilla that carries a delightful punch.
-
Herb-Infused: Mix in fresh herbs like cilantro or oregano to the dough for a refreshing twist. This adds a fragrant note that complements various fillings for tacos and enchiladas beautifully.
-
Cheesy Delight: Blend in a bit of shredded cheese, such as queso fresco or cheddar, for a rich and gooey texture. These cheesy tortillas are perfect for holding onto fillings like spicy beef or roasted vegetables.
-
Vegan-Friendly: Substitute the neutral oil with avocado or coconut oil to make these tortillas entirely plant-based. They’ll remain soft and pliable, ready to cradle your favorite vegan toppings such as grilled vegetables or hearty beans.
-
Cornmeal Crunch: Combine masa harina with a bit of fine cornmeal for added texture. The small granules give your tortillas a delightful crunch that’s wonderful for serving with dips or salsas.
-
Sweet Twist: Try adding a teaspoon of sugar or a pinch of cinnamon for a slightly sweet tortilla, perfect for breakfast burritos or dessert wraps. Pair them with fresh fruit or a drizzle of honey for a special treat.
-
Flavorful Fusions: Incorporate other flours like chickpea or quinoa flour mixed with masa harina for a unique flavor profile. Changing it up will make each bite an exciting experience!
As you find your favorite combinations, consider pairing these tortillas with sides like our flavorful Grilled Corn Salad or delightful Honey Butter Cornbread for a robust meal!
Storage Tips for Homemade Corn Tortillas
-
Room Temperature: Keep tortillas in a basket wrapped in a kitchen towel for up to 2 hours to maintain warmth and flexibility. Avoid stacking them too tightly to prevent sticking.
-
Fridge: Store leftover homemade corn tortillas in an airtight container in the fridge for up to 1 week. Layer them with parchment paper to prevent sticking and keep them fresh.
-
Freezer: For longer storage, freeze tortillas in a freezer-safe bag with parchment paper between each tortilla. They can last up to 3 months and will maintain their quality!
-
Reheating: To enjoy frozen homemade corn tortillas, thaw them overnight in the fridge, then warm on a skillet over medium heat for about 30 seconds per side, or microwave them wrapped in a damp paper towel for quick heating.
Expert Tips for Homemade Corn Tortillas
-
Perfect Dough Consistency: Ensure your dough is just right; it should be slightly sticky but hold together. If too dry, add a pinch of warm water while kneading.
-
Resting Time Matters: Letting the dough rest for at least 15 minutes is key to achieving that pliable texture, so don’t skip this step!
-
Preventing Sticking: Use plastic wrap or parchment paper when flattening your dough balls. This will help prevent sticking and make the process smoother.
-
Watch the Heat: Cook your tortillas over medium-high heat, allowing them to puff up and develop light brown spots; too high heat can burn them.
-
Serve Warm: Enjoy your homemade corn tortillas fresh off the skillet. If you have leftovers, keep them warm wrapped in a towel until ready to serve.
Perfect Homemade Corn Tortillas Recipe FAQs
What is the best type of masa harina to use for homemade corn tortillas?
Absolutely! For the best results, look for masa harina specifically labeled for making tortillas, such as Maseca. Avoid regular cornmeal or all-purpose flour, as they will not produce the same authentic texture and flavor.
How should I store leftover homemade corn tortillas?
I recommend placing any leftover homemade corn tortillas in an airtight container in the fridge for up to one week. Make sure to layer them with parchment paper to prevent sticking, which keeps them fresh and ready to enjoy again!
Can I freeze my homemade corn tortillas?
Yes, you can freeze homemade corn tortillas! Allow them to cool completely, then stack them with parchment paper between each tortilla. Place them in a freezer-safe bag, squeezing out as much air as possible. They can be stored in the freezer for up to 3 months. When ready to use, thaw them overnight in the fridge or warm them straight from the freezer!
What if my tortilla dough is too dry?
If your dough cracks when rolling, it may be too dry. In this case, add a few drops of warm water and knead again until the dough is smooth and pliable. The perfect dough should be slightly sticky but hold together nicely.
Can I use oil in my tortilla dough?
Yes, you can add a neutral oil, like vegetable oil, to your dough for added pliability. Just a tablespoon or so works wonders, but traditionalists often prefer to skip the oil for a more authentic taste. Both options yield delicious tortillas—you can choose based on personal preference!
Are homemade corn tortillas gluten-free?
Very! Typically made from masa harina, which is derived from corn, homemade corn tortillas are a great gluten-free alternative, making them suitable for those with gluten sensitivities or celiac disease. Just be sure to check your masa harina packaging for any possible contamination warnings.
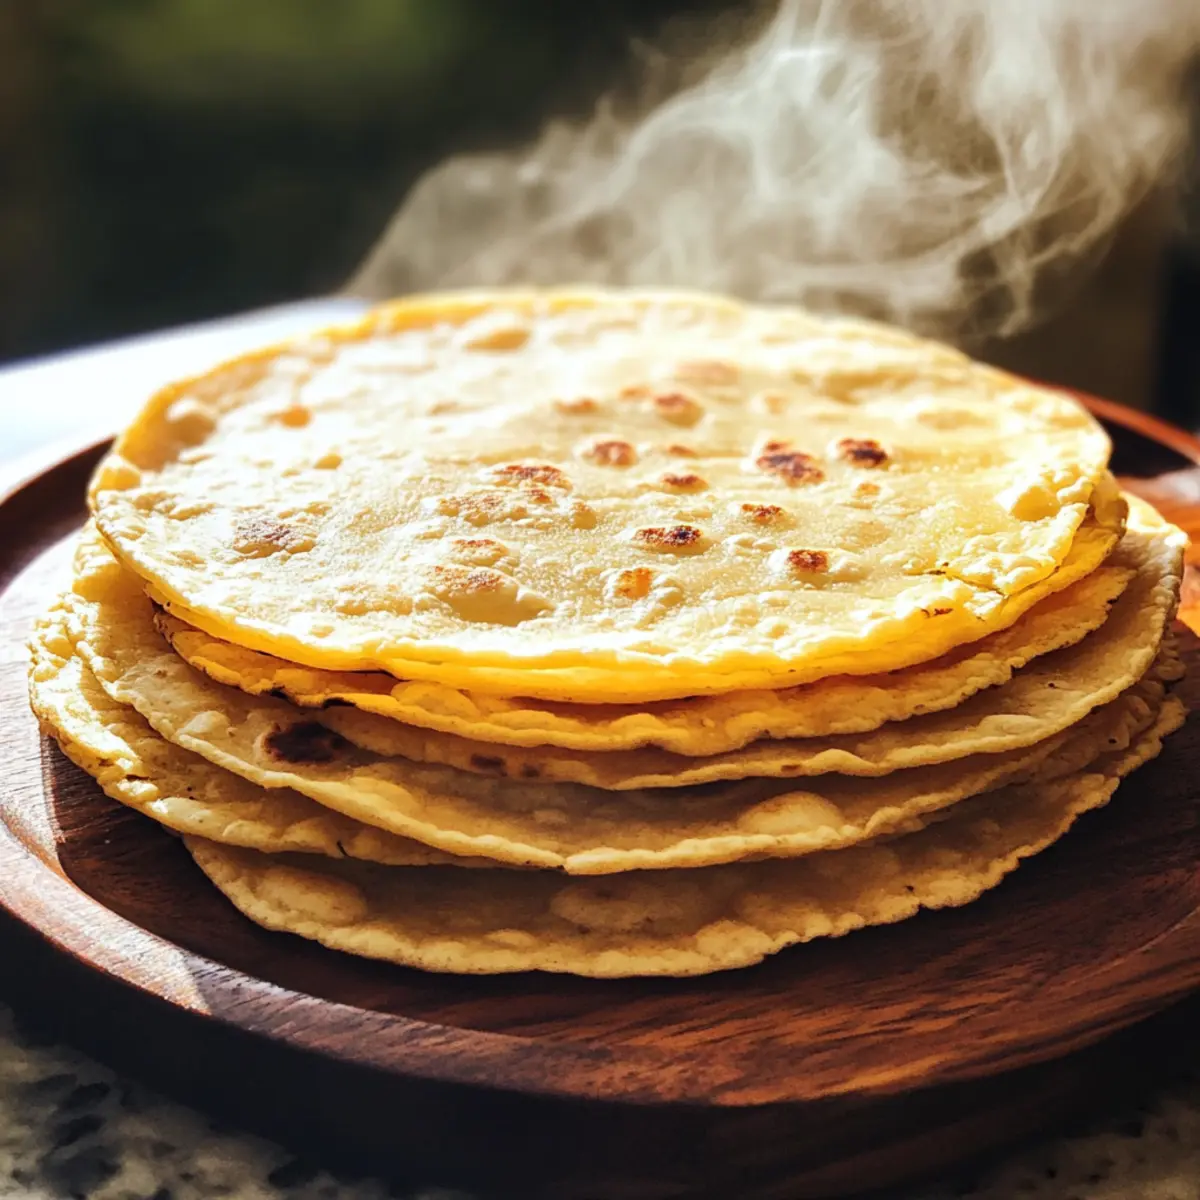
Homemade Corn Tortillas: Fresh, Soft, and So Easy to Make
Ingredients
Equipment
Method
- Combine 2 cups of masa harina and 1/2 teaspoon of salt in a mixing bowl. Gradually add 1 1/4 cups of warm water until a cohesive dough forms.
- Knead the dough gently on a clean surface for 2-3 minutes until smooth and pliable. Let it rest wrapped in a damp cloth for 15 minutes.
- Divide the dough into small balls, roughly the size of a golf ball, yielding about 12 balls. Keep them covered with a towel.
- Flatten each ball using a tortilla press or rolling pin, ensuring a round, flat tortilla about 6-8 inches in diameter.
- Cook each tortilla in a hot skillet for 30 seconds on each side until puffed and lightly browned.
- Transfer cooked tortillas to a kitchen towel or tortilla warmer to keep them warm until serving.
Leave a Reply