
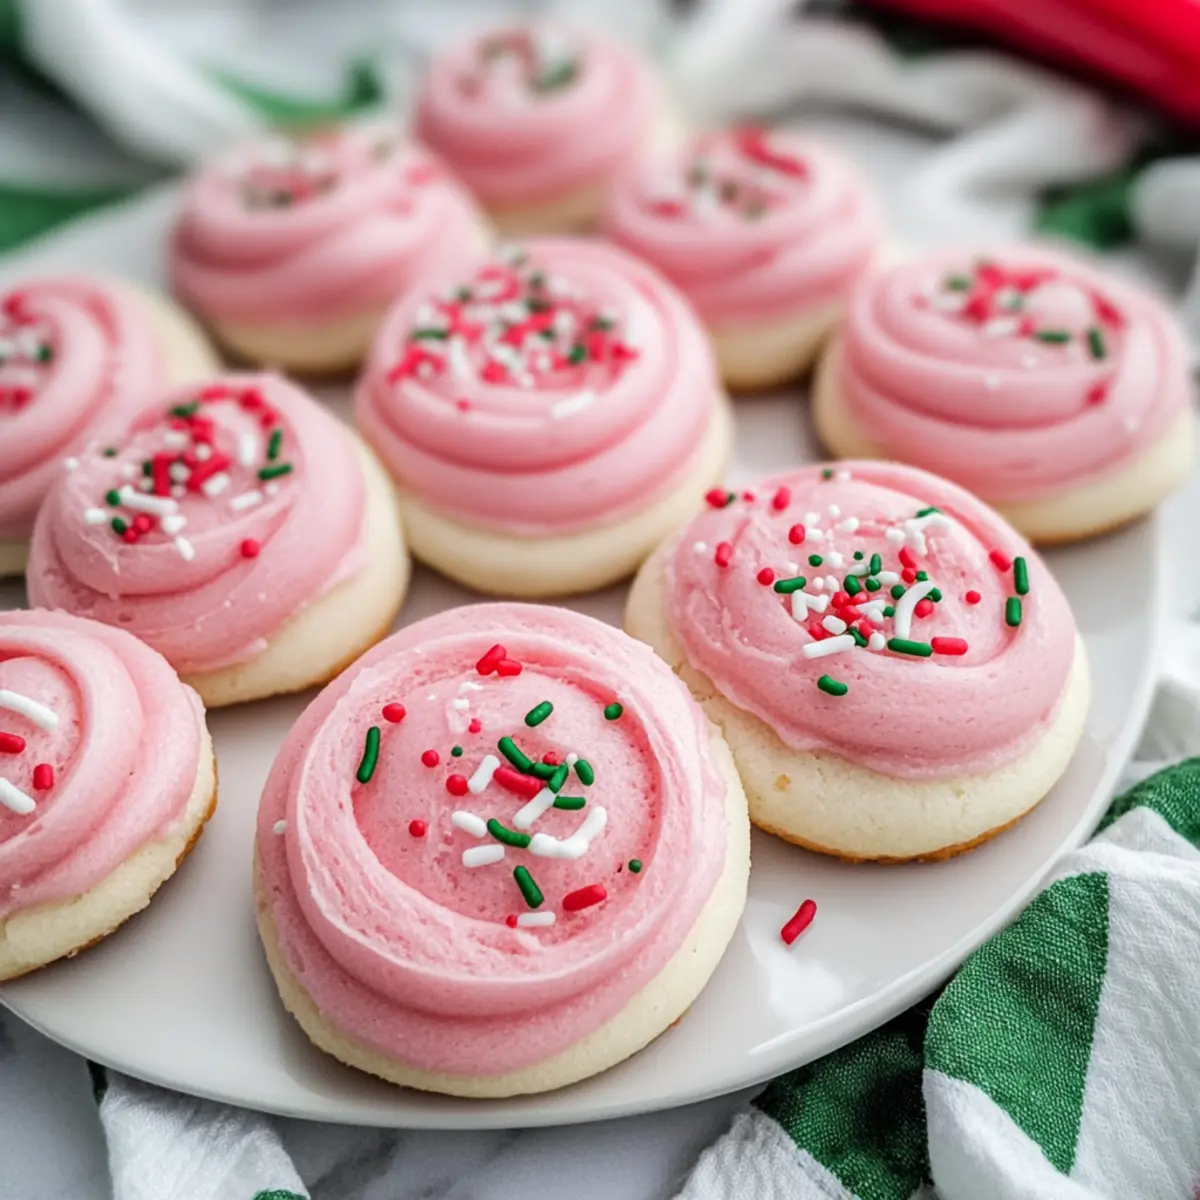
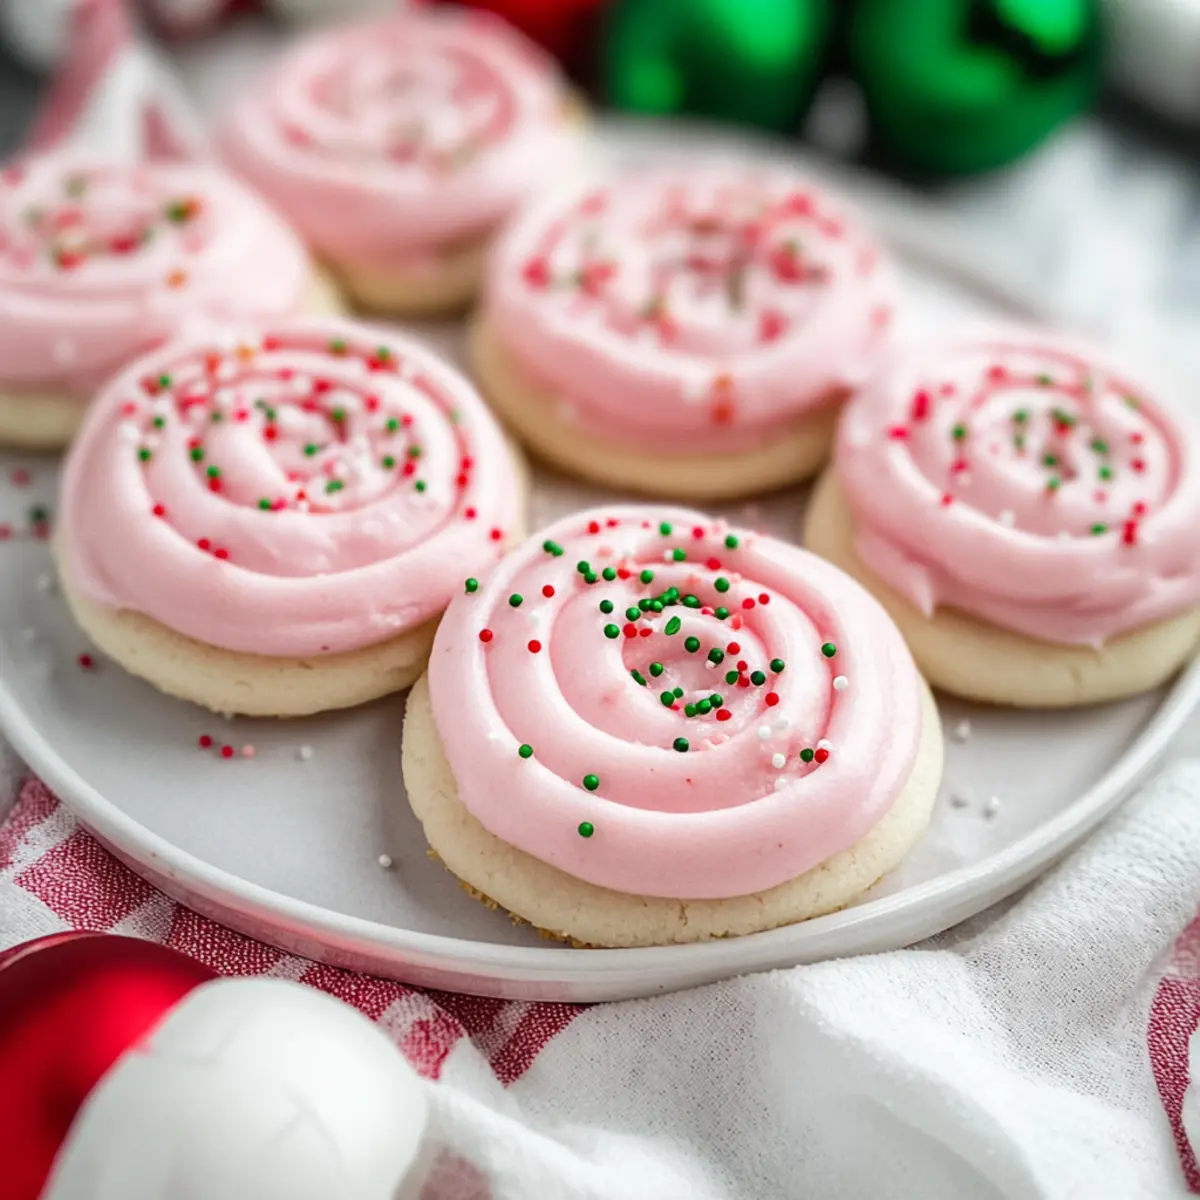
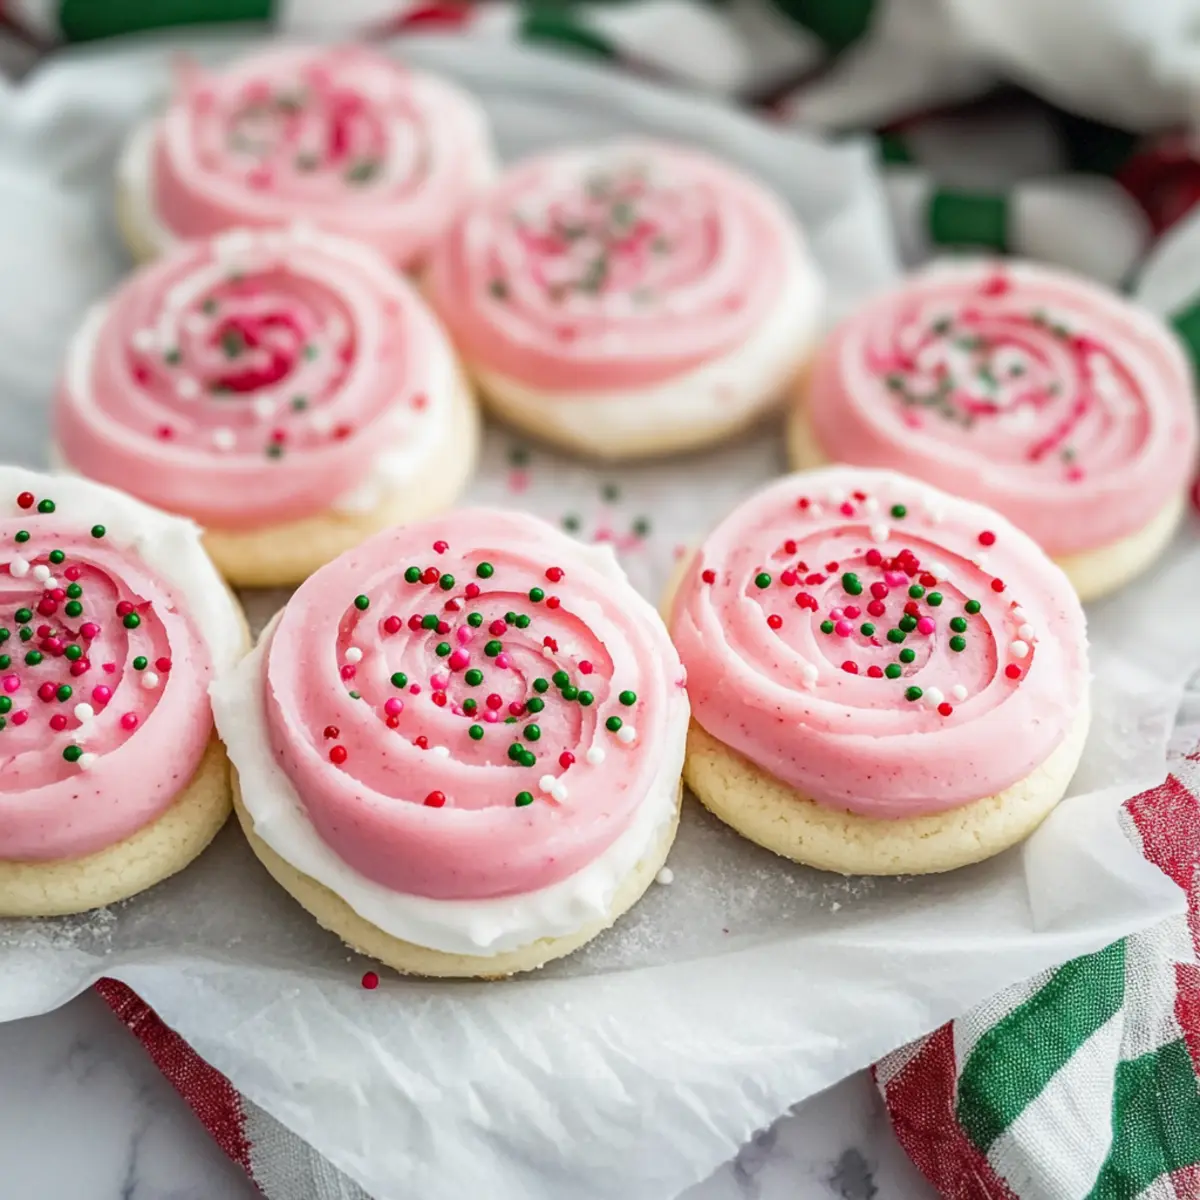
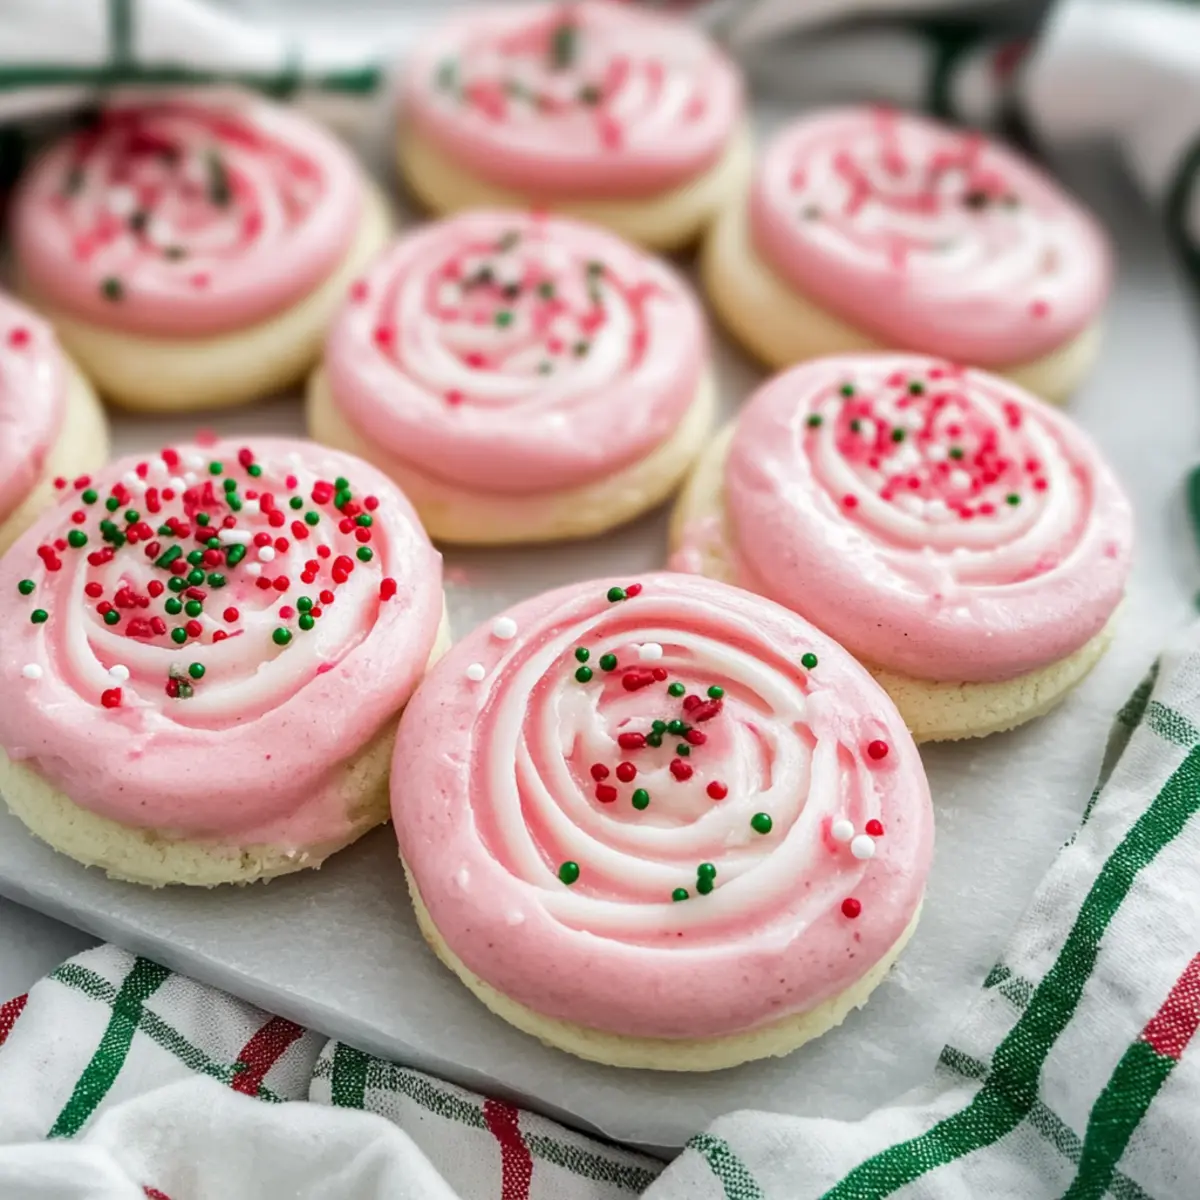
The aroma of freshly baked cookies has a magical way of weaving itself into the fabric of our cherished holiday memories. This Christmas, I’m inviting you to create a new favorite: Christmas Pink Velvet Cookies with Cream Cheese Frosting. These delightful treats boast a soft, cake batter-like texture that melts in your mouth, making them not only a visual delight but also a sweet indulgence, perfect for festive gatherings. With fun and vibrant colors topped with creamy frosting, they are sure to bring joy to everyone at your holiday table. Plus, their quick prep time means you can whip these up and be ready for spontaneous cookie exchanges or cozy baking sessions. Ready to sprinkle a little holiday cheer into your kitchen? Let’s dive into this festive baking adventure!
Why Are You Going to Love These Cookies?
Irresistibly Festive: These Christmas Pink Velvet Cookies not only look gorgeous, but their vibrant color and appealing sprinkles bring the holiday spirit alive!
Decadent Flavor: Enjoy the soft texture and cake batter essence that takes you straight to dessert paradise with every bite.
Easier than You Think: With only a few simple steps, you’ll be baking like a pro in no time!
Perfect for Sharing: Great for cookie exchanges or as gifts, they’re guaranteed to impress family and friends alike, just like my Christmas Cookies or Milk Chocolate Cookies.
Make Ahead & Store: Whip up a batch, store them in an airtight container, and enjoy them throughout the holiday season! These cookies are a sweet slice of nostalgia waiting to happen.
Christmas Pink Velvet Cookies Ingredients
For the Cookie Dough
- Salted Butter – Provides richness and moisture; if you only have unsalted, just add a pinch of salt.
- Granulated Sugar – Acts as the primary sweetener; avoid substituting for best flavor balance.
- Eggs – Binds the ingredients and adds moisture; for a vegan option, feel free to swap in a flax egg.
- Cake Batter Flavoring – Enhances the delightful cake-like flavor; vanilla extract is a decent alternative if needed.
- Pink Food Coloring – Contributes to the visually stunning appearance; omit for a classic look or use beet powder for natural coloring.
- All-Purpose Flour – Provides the necessary structure; gluten-free flour works well as a substitute.
- Baking Powder – Ensures your cookies rise; always check freshness for best results.
For the Cream Cheese Frosting
- Butter (for frosting) – Softened for optimal blending with the other ingredients.
- Cream Cheese – Delivers a creamy texture and delightful tanginess.
- Vanilla Extract – Enhances the frosting’s flavor profile; feel free to skip it if desired.
- Powdered Sugar – Sweetens the frosting and yields a smooth texture; substitutions aren’t ideal here.
- Pinch of Salt – Balances the sweetness of the frosting for a perfect finish.
- Milk/Heavy Cream – Used to thin the frosting to your preferred consistency; non-dairy options can be utilized if needed.
- Christmas Sprinkles – For that festive touch, these are optional but highly encouraged for decoration!
Dive into this delightful blend of ingredients and get ready to create your own batch of Christmas Pink Velvet Cookies that brings sweet joy to your holiday celebrations!
Step‑by‑Step Instructions for Christmas Pink Velvet Cookies
Step 1: Preheat the Oven
Begin by preheating your oven to 350°F (180°C). This step is crucial for ensuring that your Christmas Pink Velvet Cookies bake evenly and achieve that perfect soft texture. While the oven warms up, prepare your baking sheets by lining them with parchment paper for easy cookie release.
Step 2: Cream Butter and Sugar
In a large mixing bowl, cream together ½ cup of softened salted butter and 1 cup of granulated sugar using an electric mixer on medium speed. Mix for about 2 minutes until the mixture is light and fluffy, with a pale yellow color. This process creates air pockets that will help your cookies rise as they bake.
Step 3: Add Wet Ingredients
Next, incorporate 2 large eggs, 1 teaspoon of cake batter flavoring, and several drops of pink food coloring into the butter and sugar mixture. Mix on low speed until all ingredients are well combined and the color is evenly distributed. The batter should be smooth and slightly thick at this stage, with a delightful cake batter aroma.
Step 4: Combine Dry Ingredients
Gradually add 2 ½ cups of all-purpose flour and 2 teaspoons of baking powder to the wet mixture. Mix on low speed until a soft dough forms, being careful not to overmix. Once combined, the dough should be slightly sticky but manageable, ready for shaping into cookies.
Step 5: Shape the Cookies
Scoop out 3-tablespoon portions of the cookie dough and roll them into balls using your hands. Place them on the prepared baking sheets, spacing them 2 inches apart. Using your palm, gently flatten each ball slightly to create an even surface for baking.
Step 6: Bake
Insert the baking sheets into the preheated oven and bake for 9-11 minutes. Keep an eye on them; the cookies are ready when the edges are set, and the centers puff slightly without a glossy finish. Once done, remove the baking sheets from the oven and let the cookies cool for a few minutes on the sheets before transferring them to a wire rack.
Step 7: Prepare the Frosting
While the cookies are cooling, prepare the cream cheese frosting. In a mixing bowl, whip together ½ cup of softened butter, 8 ounces of cream cheese, and 1 teaspoon of vanilla extract until smooth and creamy. Gradually add 3-4 cups of powdered sugar, mixing until well combined, and adjust with a splash of milk or heavy cream to achieve your desired consistency.
Step 8: Frost the Cookies
Once the cookies have cooled completely, it’s time to decorate! Use a piping bag or a simple knife to spread or pipe the cream cheese frosting onto each cookie. Don’t forget to add Christmas sprinkles immediately after frosting for that festive touch. Enjoy these delightful Christmas Pink Velvet Cookies as a treat or gift this holiday season!
Storage Tips for Christmas Pink Velvet Cookies
Room Temperature: Store in an airtight container at room temperature for up to 3 days for optimal freshness. Avoid exposure to heat or humidity.
Fridge: If you prefer a longer shelf-life, keep the cookies in an airtight container in the fridge for up to a week. This helps maintain their softness.
Freezer: Freeze unfrosted Christmas Pink Velvet Cookies in a single layer on a baking sheet for about 1 hour, then transfer to a freezer bag for up to 3 months. Frost before serving.
Reheating: For a warm treat, microwave individual cookies for about 5-10 seconds before frosting. Enjoy the delightful flavors that bring holiday joy!
What to Serve with Christmas Pink Velvet Cookies?
Delightful treats like these cookies deserve a spread that complements their festive charm and sweetness.
- Hot Cocoa: A rich, creamy cocoa wash makes for the perfect warming sip alongside these cookies, enhancing their sweetness.
- Peppermint Ice Cream: The coolness of peppermint ice cream contrasts beautifully with the warm cookie texture, creating a delightful flavor balance.
- Fresh Fruit Salad: A refreshing medley of seasonal fruits adds brightness and acidity, perfectly cutting through the richness of the cookies.
- Milk: Classic and simple, a glass of cold milk is the ultimate pairing that satisfies the sweet tooth while soothing the palate.
- Christmas Spritz Cookies: Serve alongside these to create a delightful cookie platter, offering variety and texture in your festive spread.
- Cheese Platter: Soft cheeses like brie or cream cheese with crackers present a savory counterpoint that beautifully complements the cookies’ sweetness.
Mix and match these delightful options for a festively arranged holiday treat that’s sure to please any crowd!
Make Ahead Options
These Christmas Pink Velvet Cookies are perfect for busy home cooks looking to save time during the festive season! You can prepare the dough up to 24 hours in advance by mixing all the ingredients and storing it in an airtight container in the fridge. Alternatively, shape the cookies into balls and refrigerate for up to 3 days before baking. To maintain that delightful soft texture, ensure the dough is wrapped tightly to prevent drying out. When you’re ready to enjoy these festive treats, simply bake from chilled, adding an extra minute or two to the baking time, and then top them with cream cheese frosting for a gorgeous, fresh-from-the-oven taste!
Expert Tips for Christmas Pink Velvet Cookies
-
Cool Before Frosting: Allow cookies to cool fully before frosting; warm cookies can cause frosting to melt and slide off.
-
Check Freshness: Ensure baking powder is fresh to help your cookies rise properly. Old baking powder can lead to flat cookies!
-
Perfect Cookie Size: Use a cookie scoop for uniformity; this ensures even baking and presents a beautiful batch of Christmas Pink Velvet Cookies.
-
Adjust Frosting Consistency: If your frosting is too thick, add milk a teaspoon at a time until you reach the desired spreading consistency.
-
Customize Your Sprinkles: Get creative with sprinkles! Use themed holiday sprinkles or even crushed candy canes for a festive twist.
Christmas Pink Velvet Cookies Variations
Feel free to add your personal touch to these delightful cookies, amplifying their festive appeal!
-
Green Velvet: Swap the pink food coloring for green for a vibrant alternative that’s just as fun!
-
Vegan Version: Replace eggs with flax eggs (1 tablespoon flaxseed meal + 2.5 tablespoons water per egg) for a plant-based delight.
-
Gluten-Free: Use a 1:1 gluten-free flour blend to make these cookies suitable for gluten-sensitive friends.
-
Peppermint Frosting: Add ½ teaspoon of peppermint extract to the cream cheese frosting for a festive twist that screams holiday cheer!
-
Nutty Crunch: Fold in chopped nuts like pecans or walnuts into the cookie dough for extra texture and flavor with each bite.
-
Citrus Zing: Add the zest of one orange or lemon to the dough for a refreshing and delightful citrus note that brightens the cookies.
-
Chocolate Drizzle: Drizzle melted chocolate over the frosted cookies for an added layer of decadence and visual appeal.
-
Crushed Candy Canes: Top the frosting with crushed candy canes for that quintessential Christmas flavor and crunchy surprise with every bite.
Whether you choose to add a hint of citrus or go bold with a chocolate drizzle, these variations will let you play around and create your very own festive masterpiece! If you’re in the mood for exploring more sweet inspirations, check out my delightful Red Velvet Oreo or Green Tea Cookies.
Christmas Pink Velvet Cookies Recipe FAQs
How do I choose the right foods for my Christmas Pink Velvet Cookies?
Absolutely! For the best results, use fresh ingredients. Look for salted butter that’s soft for easy creaming, and check your eggs for freshness by placing them in water—if they sink, they’re good! Your pink food coloring should be vibrant, and make sure your baking powder isn’t expired—freshness ensures your cookies rise beautifully.
What’s the best way to store Christmas Pink Velvet Cookies?
You can keep your cookies in an airtight container at room temperature for up to 3 days. However, for longer storage, place them in the fridge, where they can last up to a week. Just make sure they’re in a sealed container to maintain their softness and prevent them from drying out!
Can I freeze my Christmas Pink Velvet Cookies?
Yes, you can freeze the unfrosted cookies for up to 3 months! To do this, first, place the shaped cookie dough balls on a baking sheet and freeze for 1 hour. Once frozen, transfer them to a freezer bag or airtight container. When you’re ready to enjoy, bake them straight from the freezer—just add a couple of extra minutes to the baking time.
What if my cookie dough is too sticky?
Very! If you find your dough is overly sticky, you can add a little more flour—start with a tablespoon at a time until you reach a manageable texture. Sometimes, letting the dough chill in the fridge for about 30 minutes can help firm it up, making it easier to handle without ruining that wonderful soft texture.
Are there any dietary concerns I should consider for Christmas Pink Velvet Cookies?
Great question! If you’re baking for friends with dietary restrictions, remember that these cookies contain gluten, dairy, and eggs. For a vegan version, substitute the eggs with flax eggs (1 tablespoon of flaxseed meal mixed with 2.5 tablespoons of water per egg) and use non-dairy butter and cream cheese alternatives. Also, to accommodate gluten-free needs, simply swap out the all-purpose flour for a gluten-free flour blend designed for baking.
Delightful Christmas Pink Velvet Cookies to Sweeten Your Holidays
Ingredients
Equipment
Method
- Preheat your oven to 350°F (180°C) and line baking sheets with parchment paper.
- Cream together ½ cup of salted butter and 1 cup of granulated sugar until light and fluffy.
- Add 2 large eggs, 1 teaspoon of cake batter flavoring, and several drops of pink food coloring; mix until combined.
- Gradually mix in 2 ½ cups of all-purpose flour and 2 teaspoons of baking powder until a soft dough forms.
- Scoop 3-tablespoon portions of dough and roll into balls; flatten slightly on baking sheets spaced 2 inches apart.
- Bake for 9-11 minutes until edges are set and centers puff slightly; let cool on sheets for a few minutes.
- Prepare frosting by mixing together ½ cup of butter, 8 ounces of cream cheese, and 1 teaspoon of vanilla.
- Blend in 3-4 cups of powdered sugar, adding milk to reach desired consistency.
- Frost cookies once cooled and add Christmas sprinkles immediately after.
Leave a Reply