
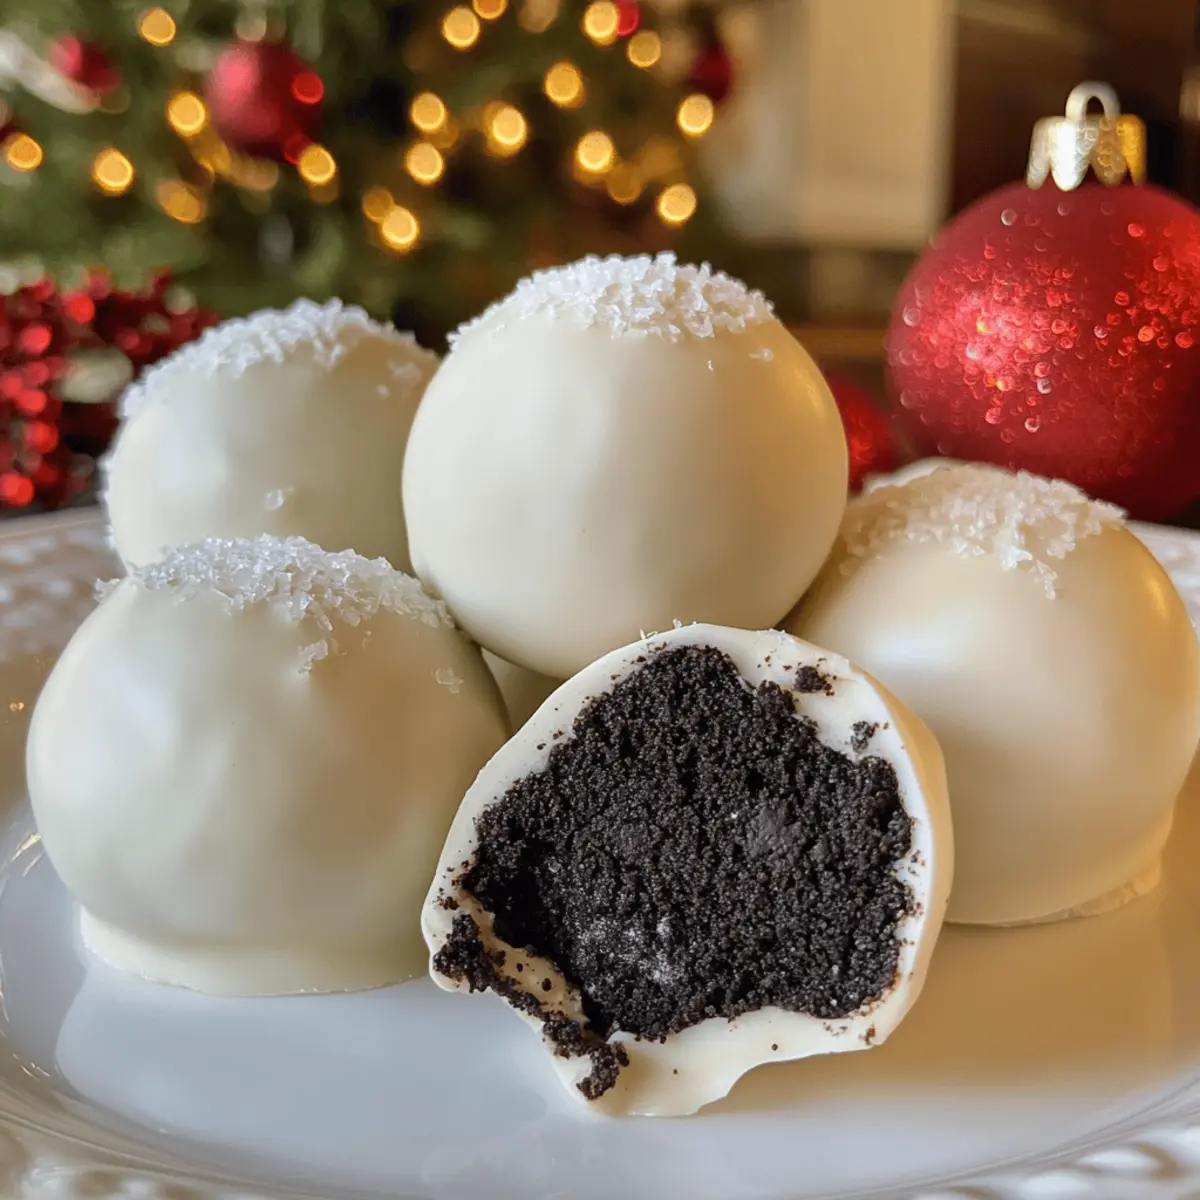
As I unwrapped the latest holiday treats from my kitchen, the aroma of rich chocolate wafted through the air, instantly igniting my festive spirit. This year, I’m excited to share my beloved recipe for Christmas Oreo Balls—easy no-bake delights that transform classic Oreo cookies into creamy, chocolate-coated bites of joy. Not only are they a breeze to whip up, requiring just a few simple ingredients, but they also make for a crowd-pleasing addition to any holiday gathering. Perfectly suited for gifting or sharing at parties, these treats are sure to become a staple in your festive repertoire. So, are you ready to dive into a world of chocolatey goodness this holiday season?
Why are Christmas Oreo Balls a must-try?
Easy to Make: With minimal ingredients and zero baking time, these treats are incredibly simple to whip up, saving you precious holiday hours.
Crowd-Pleaser: Their rich, chocolatey flavor and creamy texture make them a favorite for guests of all ages, no one can resist a second (or third) bite!
Versatile Twist: Experiment with various cookie flavors for unique variations—think mint Oreos for a fresh twist or festive candy-coated chocolate for a holiday mood. If you’re looking for other fun ideas, check out my delicious Pumpkin Protein Balls for a seasonal snack!
Perfect for Gifting: Pack them in cute boxes for neighbor gifts or holiday parties; they are sure to bring smiles and cheer wherever they go.
Make Ahead: Whip up these delights a few days in advance, so you’re always ready for last-minute gatherings!
Christmas Oreo Balls Ingredients
For the Oreo Mixture
• Oreo Cookies – These provide sweetness and structure; feel free to substitute with any chocolate or cream-filled cookie for varied flavors.
• Cream Cheese (8 oz) – Adds richness and creaminess; alternatives like mascarpone or Greek yogurt can be used, but will alter the flavor and texture.
For the Chocolate Coating
• Chocolate (12 oz, melting chocolate or candy melts) – Forms a delicious outer coating; using high-quality chocolate will enhance the overall flavor, or opt for colored chocolate to match holiday themes.
With just these few ingredients, you’re on your way to creating delightful Christmas Oreo Balls that will wow your friends and family this festive season!
Step‑by‑Step Instructions for Christmas Oreo Balls
Step 1: Crush Cookies
Begin by placing about 24 Oreo cookies into a food processor. Pulse them until they turn into fine crumbs, resembling sand, which should take about 30 seconds. Alternatively, you can place the cookies in a zip-top bag and crush them with a rolling pin if you don’t have a food processor. This crumbly base forms the delicious foundation for your Christmas Oreo Balls.
Step 2: Mix Ingredients
In a mixing bowl, combine the crushed Oreo cookies with 8 oz of softened cream cheese. Use a spatula or your hands to mix until the mixture is completely blended and holds together, about 2-3 minutes. The color should appear uniform and dark, with no visible cream cheese lumps. This decadent filling is the heart of your Christmas Oreo Balls.
Step 3: Form Balls
Once the mixture is well combined, scoop out small portions and roll them into balls, aiming for 1-inch in diameter. Line a baking sheet with parchment paper and place the balls on it as you go. You should have about 20-25 Oreo balls when finished. Make sure they are evenly shaped for balanced coating later.
Step 4: Chill
Transfer the baking sheet of rolled Oreo balls to the refrigerator and chill them for at least 30 minutes. This step is crucial as it helps the balls firm up, making them easier to coat later. They should feel slightly sturdy to the touch before proceeding. Meanwhile, prepare your workspace for the chocolate coating.
Step 5: Coat in Chocolate
While the Oreo balls chill, melt 12 oz of chocolate using a double boiler or in a microwave-safe bowl at low power for 30-second intervals, stirring well after each. Once the chocolate is smooth and fluid, remove the chilled balls from the refrigerator. Dip each ball into the melted chocolate using a fork, allowing excess chocolate to drip off.
Step 6: Cool
Place the coated Christmas Oreo Balls back on the lined baking sheet. If desired, you can sprinkle crushed candy canes or festive sprinkles over them before the chocolate sets. Allow the chocolate to cool and harden completely, which should take about 15-30 minutes at room temperature or faster if you place them in the refrigerator.
Step 7: Serve or Store
Once the chocolate has fully set, your Christmas Oreo Balls are ready to be enjoyed! Serve them on a decorative platter for holiday gatherings or pack them into airtight containers to gift to friends and family. These treats can be enjoyed fresh or stored in the fridge for up to a week. Indulge in the merry flavor and joy they bring!

What to Serve with Christmas Oreo Balls
As you prepare to indulge in these delightful treats, consider what other flavors can elevate your holiday spread!
- Festive Fruit Salad: A refreshing mix of seasonal fruits like pomegranates, oranges, and grapes balances the sweetness of the Oreo Balls beautifully.
- Chocolate Mint Hot Cocoa: This rich, warm drink with a hint of mint brings cozy vibes and pairs perfectly with the chocolatey bites.
- Spiced Gingerbread Cookies: The warm spices in these cookies complement the creamy Oreo flavor and add a holiday-inspired crunch.
- Mini Cheesecakes: Their creamy texture mirrors that of the Oreo Balls, while a fruity topping provides a lovely contrast.
- Nutty Caramel Apples: Sweet and crunchy, these apples add a fresh, tart element alongside the rich, decadent treats.
- Peppermint Bark: The coolness of peppermint creates a refreshing bite to cleanse the palate after the creamy indulgence.
Diving into a plate of Christmas Oreo Balls alongside these tasty companions will surely make your holiday gatherings memorable!
Expert Tips for Christmas Oreo Balls
-
Temperature Matters: Make sure the cream cheese is at room temperature; this ensures a smoother blend with the cookie crumbs for your Christmas Oreo Balls.
-
Chill Time: Don’t skip the chilling step! It firms up the mixture, helping to create perfectly round and sturdy balls that coat smoothly in chocolate.
-
Smooth Coating: Melt chocolate slowly and stir frequently to avoid seizing; this way, you achieve a glossy finish on your Christmas Oreo Balls.
-
Creative Coatings: Try rolling your coated treats in crushed nuts or holiday-themed sprinkles for added texture and visual appeal.
-
Storage Savvy: Keep leftovers in an airtight container in the fridge for up to a week, or freeze for up to three months—perfect for a last-minute sweet treat!
Christmas Oreo Balls Variations & Substitutions
Explore the delightful ways to customize your Christmas Oreo Balls for an even more festive experience! These variations will bring an extra layer of joy to your holiday treats.
-
Flavorful Oreos: Try Mint Oreos for a refreshing twist or Pumpkin Spice Oreos for a taste of fall. The holidays are all about surprises, and these flavors will keep everyone guessing!
-
Cheesecake Twist: Substitute cream cheese with mascarpone for an ultra-rich and creamy filling that elevates your dessert game. This smooth swap will sweep your guests off their feet!
-
Nutty Crunch: Add chopped nuts like almonds or hazelnuts to the coating for a delightful crunch in each bite. The texture contrast will pleasantly surprise you as you savor each ball.
-
Gingerbread Delight: Incorporate crushed gingerbread cookies into the Oreo mixture. This variation adds a cozy spice that perfectly embodies the warm vibes of the season—pure bliss!
-
Candy Coating: Use colored chocolate or candy melts to coat your Oreo Balls for a festive look. Personalizing them can turn these treats into a centerpiece for your holiday spread.
-
Chili Chocolate: For the brave at heart, mix in a pinch of cayenne pepper to the melted chocolate for a spicy kick that contrasts beautifully with the sweetness of the filling.
-
Shape Shift: Instead of rolling into balls, press the mixture into a mini muffin tray for cute, bite-sized squares that are perfect for sharing. It’s a festive alternative that adds a fun presentation!
For more inspiration, consider serving these alongside my irresistible Pumpkin Pie Balls or indulge in some Pumpkin Cheesecake Balls to create a delightful dessert table!
How to Store and Freeze Christmas Oreo Balls
Fridge: Keep your Christmas Oreo Balls in an airtight container in the refrigerator for up to one week. This maintains their freshness and creamy texture, making them ready to enjoy at a moment’s notice.
Freezer: For longer storage, freeze the Oreo Balls in a single layer on a baking sheet. Once frozen, transfer them to a freezer-safe bag or container, where they’ll last for up to three months.
Thawing: To enjoy frozen Christmas Oreo Balls, simply transfer them to the fridge overnight to thaw. This gentle method helps preserve their delicious flavor and texture.
Reheating: There’s no need to reheat these goodies; they are best served chilled, straight from the fridge, offering a delightful cold treat that complements any festive gathering!
Make Ahead Options
These Christmas Oreo Balls are perfect for busy home cooks looking to save time during the holiday rush! You can prepare the Oreo mixture—combining the crushed cookies and cream cheese—up to 24 hours in advance and store it in the fridge. Form the balls and chill them for about 30 minutes, then coat them in chocolate just before serving for the best results. If you want to go even further, fully prepare the chocolate-coated Oreo Balls and refrigerate them for up to 3 days—simply remove them from the fridge about 15 minutes before serving to let them come to room temperature. By prepping ahead, you’ll enjoy delicious, stress-free holiday gatherings!
Christmas Oreo Balls Recipe FAQs
What type of Oreo cookies should I use for Christmas Oreo Balls?
You can use regular Oreos for a classic flavor, but don’t hesitate to get creative! Flavored Oreos like mint or pumpkin spice can add a unique twist to your treats. Any chocolate or cream-filled cookie will work beautifully as a substitute, giving your Christmas Oreo Balls a personal touch!
How long can I store Christmas Oreo Balls?
Store your Christmas Oreo Balls in an airtight container in the refrigerator for up to one week. This method keeps them fresh, creamy, and ready to indulge at any moment. For a longer option, you can freeze them for up to three months—just make sure to thaw them in the fridge overnight before enjoying!
Can I freeze Christmas Oreo Balls? How do I do it?
Absolutely! To freeze your Christmas Oreo Balls, first, lay them out in a single layer on a baking sheet. Freeze them until solid—about 1 to 2 hours. After they’re frozen, transfer the balls to a freezer-safe bag or container. This technique prevents them from sticking together, allowing you to enjoy them whenever you want!
What should I do if my chocolate coating is too thick?
If your chocolate isn’t coating smoothly, try adding a tiny bit of coconut oil or shortening while melting. This will help thin it out for a smoother consistency. Also, make sure you’re melting it at low power and stirring frequently to avoid seizing, which can also contribute to a thick coating!
Are Christmas Oreo Balls suitable for making ahead of time?
Yes! In fact, they’re perfect for making ahead. You can prepare them 2-3 days in advance and keep them stored in the refrigerator until you’re ready to serve. This way, you’ll have one less thing to worry about when hosting holiday gatherings. Just be sure not to skip the chilling step to maintain their firmness!
Can pets eat Christmas Oreo Balls?
Unfortunately, no. Chocolate is toxic to dogs and some other pets, so it’s crucial to keep these sweet treats out of their reach. If you want to share a special treat with your furry friends, consider making some pet-friendly snacks specifically designed for them, ensuring their safety while you enjoy your homemade Christmas Oreo Balls!
Delicious Christmas Oreo Balls: No-Bake Holiday Bliss
Ingredients
Equipment
Method
- Begin by placing about 24 Oreo cookies into a food processor. Pulse them until they turn into fine crumbs, resembling sand, which should take about 30 seconds.
- In a mixing bowl, combine the crushed Oreo cookies with 8 oz of softened cream cheese. Use a spatula or your hands to mix until blended, about 2-3 minutes.
- Scoop out small portions and roll them into balls, aiming for 1-inch in diameter. Line a baking sheet with parchment paper and place the balls on it.
- Transfer the baking sheet of rolled Oreo balls to the refrigerator and chill for at least 30 minutes.
- Melt 12 oz of chocolate using a double boiler or microwave, stirring until smooth. Dip each ball into the melted chocolate.
- Place the coated balls back on the lined baking sheet. Allow the chocolate to cool and harden completely, about 15-30 minutes.
- Once chocolate has set, serve them on a decorative platter or pack them into airtight containers.
Leave a Reply