
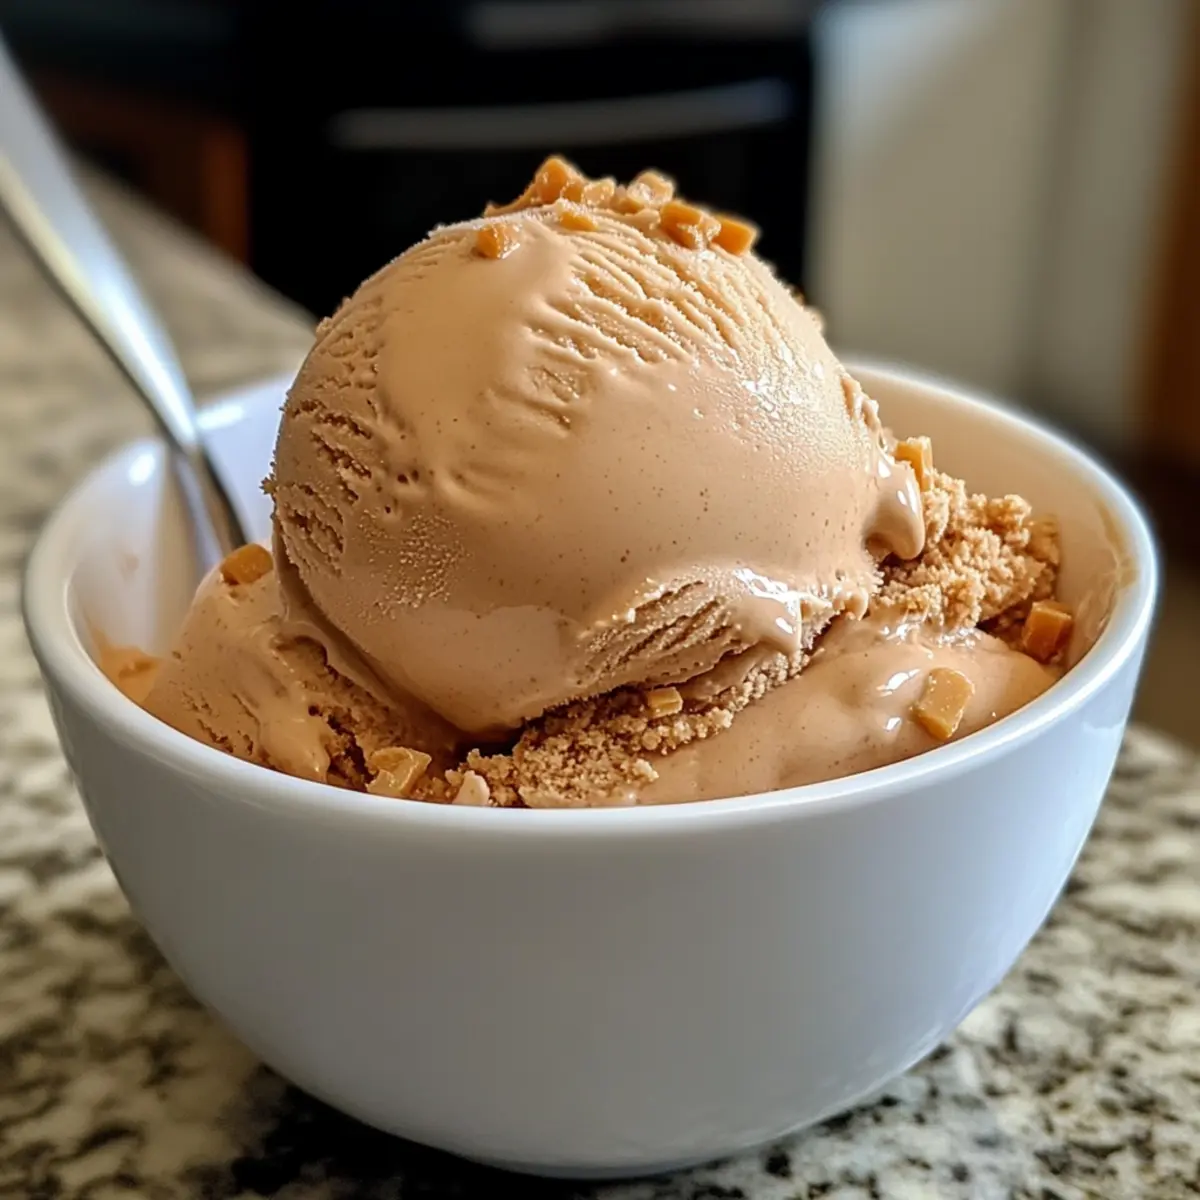
As I stood in my kitchen, the warm scent of melting butter and dark brown sugar brought back memories of cozy summer evenings. This Homemade Butterscotch Ice Cream is my go-to dessert for gatherings, offering both a rich, creamy texture and a delightful twist that makes it stand out. With just a handful of comforting ingredients, this custard-based creation becomes a highlight of any meal, making it perfect for those who crave homemade indulgence without the fuss. Plus, it’s a breeze to make with a KitchenAid ice cream attachment—so easy that you’ll skip the store-bought stuff altogether! Ready to impress your friends and family with a treat that’s as delicious as it is nostalgic? Let’s dive into this delightful recipe!
Why Is Butterscotch Ice Cream Irresistible?
Irresistible Flavor: Each scoop of this ice cream is a heavenly blend of buttery richness and caramel undertones, making it an absolute delight for any dessert lover.
Easy to Make: With minimal effort, you can create a sophisticated, custard-based treat that rivals any gourmet ice cream shop.
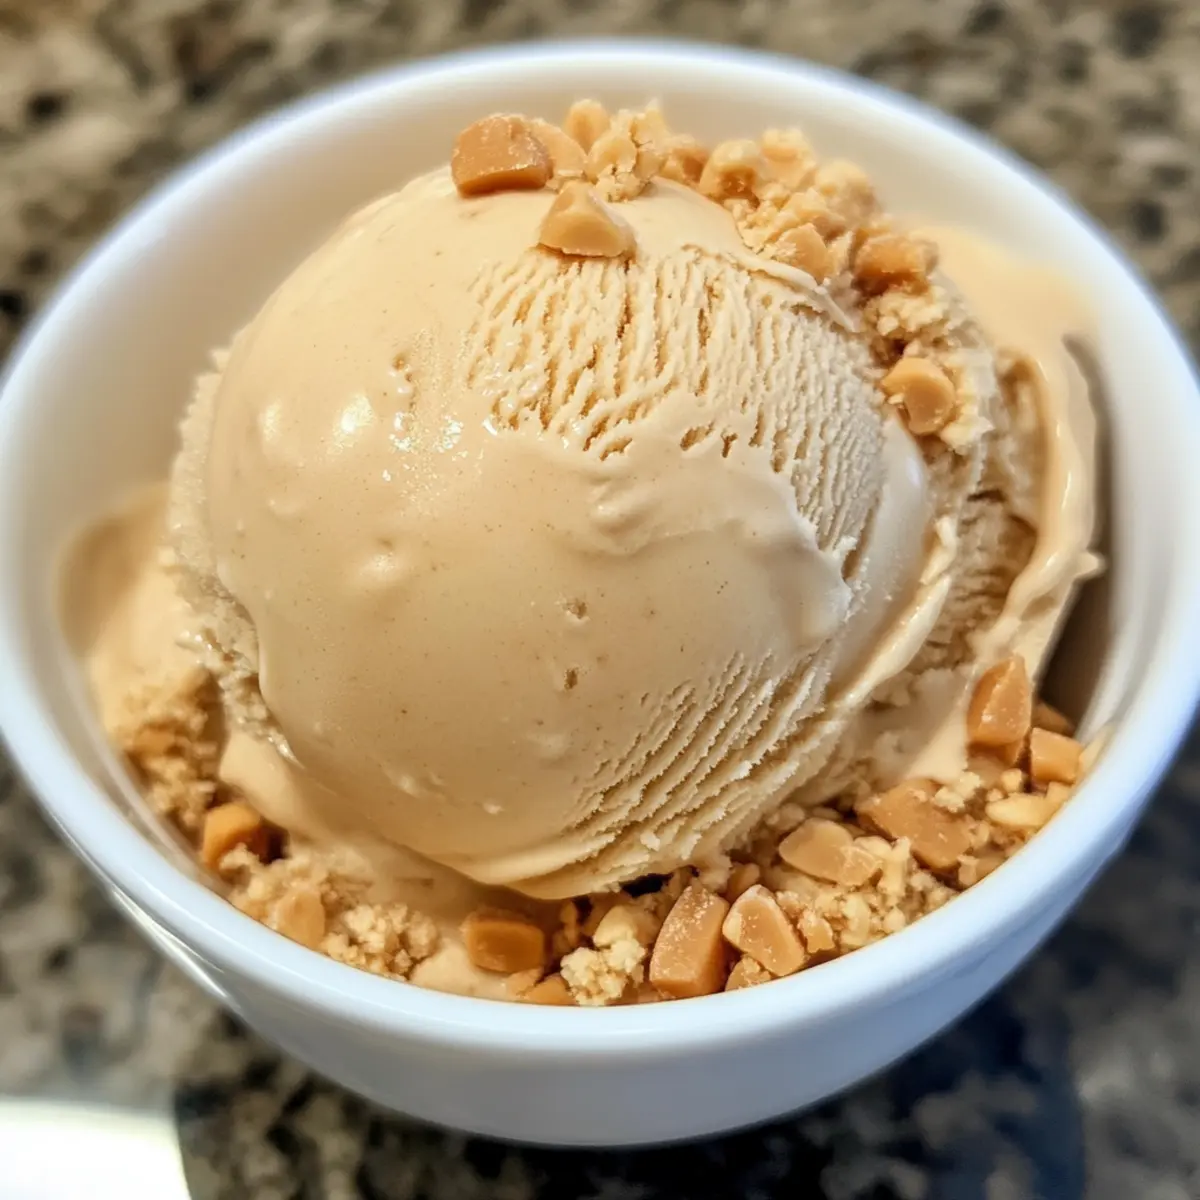
Versatile Options: Add in your favorite mix-ins like crushed butterscotch candies or pecans to customize flavors and textures. Check out my tips for adding a twist, similar to my Pumpkin Cream Cheese or Cajun Cream Sauce.
Perfect for Gatherings: This butterscotch ice cream elevates any get-together, sure to have your friends and family asking for seconds.
Homemade Goodness: Say goodbye to store-bought varieties; this ice cream brings warmth, nostalgia, and a sense of accomplishment to your kitchen!
Butterscotch Ice Cream Ingredients
• Prepare to indulge in the creamy richness of homemade butterscotch ice cream with these essential ingredients!
For the Custard Base
- Unsalted Butter – Adds a rich, buttery flavor; if you prefer, you can substitute salted butter for a touch of extra saltiness.
- Dark Brown Sugar – Contributes sweetness and depth; light brown sugar works in a pinch for a milder taste.
- Heavy Cream – Creates a luxurious, creamy texture; half-and-half can be a lighter replacement, but it will be less rich.
- Whole Milk – Helps achieve a creamy base; low-fat milk can substitute, but expect a lighter flavor and texture.
- Egg Yolks – Essential for thickening the custard; ensure they are cooked properly for safety.
- Granulated Sugar – Sweetens the mixture perfectly; no substitutions are recommended for best results.
- Vanilla Extract – Enhances the flavor profile; consider using vanilla bean paste for an intensified taste.
- Kosher Salt – Balances the sweetness; adjust to your personal preference.
For Added Flavor
- Bourbon (optional) – Introduces complex caramel and oak notes; feel free to swap with vanilla extract if you’re looking for a non-alcoholic option.
With these ingredients, you’re all set to create the stunning butterscotch ice cream that will become a family favorite!
Step‑by‑Step Instructions for Butterscotch Ice Cream
Step 1: Melt Butter and Brown Sugar
In a medium saucepan over medium heat, melt 1/2 cup of unsalted butter until bubbly and fragrant. Stir in 1 cup of dark brown sugar, continuing to simmer for 3-4 minutes until the mixture thickens and bubbles. Carefully add 1/4 cup of heavy cream, and bring it to a gentle boil while stirring constantly for another 3-4 minutes until it’s smooth and glossy.
Step 2: Combine Remaining Ingredients
Once the butterscotch mixture is ready, remove it from heat and slowly stir in 1 cup of heavy cream and 1 cup of whole milk. If you’re adding bourbon for an extra flavor punch, mix that in now. Bring the mixture back to gentle heat until it reaches 165°F, ensuring everything is well combined and warm but not boiling.
Step 3: Prepare Egg Mixture
In a separate large bowl, whisk together 5 egg yolks and 3/4 cup of granulated sugar until the mixture is pale and slightly thickened. This will create a rich custard base for your butterscotch ice cream. Ensure it’s well combined, as a smooth mixture will provide the best texture in the final product.
Step 4: Temper Eggs
To prevent scrambling, slowly drizzle about 1 cup of the hot butterscotch mixture into the egg yolk mixture while whisking continuously. This gradual warming helps to temper the eggs. Once incorporated, pour the entire egg mixture back into the saucepan with the remaining warm mixture, stirring constantly until it reaches 165°F again.
Step 5: Combine and Chill
Remove the saucepan from heat and stir in 2 teaspoons of vanilla extract and a pinch of kosher salt. Pour the butterscotch ice cream mixture into a bowl, covering it with plastic wrap directly on the surface to prevent a skin from forming. Chill in the refrigerator for at least 4 hours or overnight until completely cold.
Step 6: Churn
After chilling, set up your ice cream maker according to the manufacturer’s instructions. Pour the cold butterscotch ice cream mixture into the machine’s bowl and churn it for about 25-30 minutes. Watch as it thickens and doubles in volume, creating that lovely creamy texture you’re looking for in homemade butterscotch ice cream.
Step 7: Transfer and Freeze
Once churned to a soft-serve consistency, use a rubber scraper to transfer the ice cream into a freezer-safe container. Press down firmly to eliminate air pockets, and smooth the top. Freeze for at least 2 hours to allow it to firm up to the perfect scoopable texture.
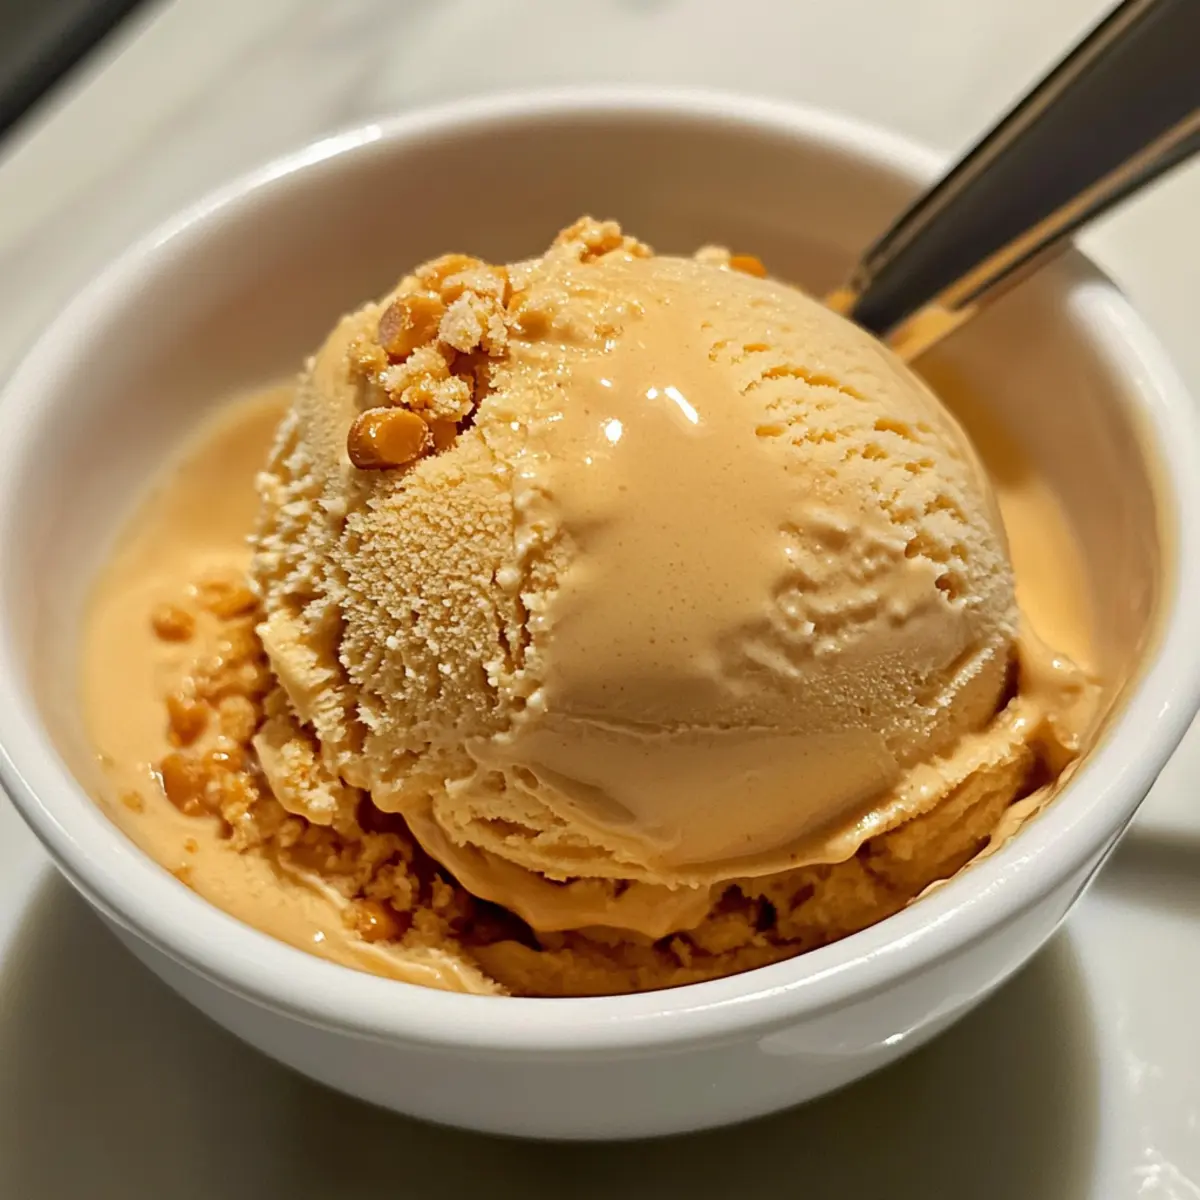
Step 8: Serve
When ready to serve, let the butterscotch ice cream sit at room temperature for about 5-10 minutes. This will make scooping easier. Enjoy your homemade butterscotch ice cream in small bowls, cones, or alongside your favorite desserts—it’s a delightful treat that everyone will love!
Storage Tips for Butterscotch Ice Cream
- Freezer: Store homemade butterscotch ice cream in a freezer-safe container for up to 1 week. Be sure to press down to eliminate air pockets for maximum freshness.
- Airtight Seal: Cover the surface of the ice cream with plastic wrap before sealing the container to prevent ice crystals from forming, preserving that creamy texture.
- Softening: When ready to enjoy, allow the ice cream to sit at room temperature for about 5–10 minutes before scooping. This will make serving the buttery delight much easier!
- Reheating (for Mix-ins): If you’ve added mix-ins like butterscotch candies, gently warm the ice cream in the microwave for 5-10 seconds to soften it further before serving.
What to Serve with Homemade Butterscotch Ice Cream
A velvety bowl of butterscotch ice cream deserves delightful companions to elevate your dessert experience.
-
Warm Chocolate Brownies: Rich, fudgy brownies provide a decadent contrast that pairs wonderfully with the creamy sweetness of butterscotch. The warmth of the brownies melts the ice cream just a bit, creating a luscious mix with every scoop.
-
Fresh Berries: Juicy strawberries, raspberries, or blueberries add a burst of tartness, enhancing the richness of the ice cream. Their bright flavors and contrasting textures bring a refreshing balance to every bite.
-
Caramel Sauce: Drizzling warm caramel over your ice cream amplifies its buttery essence and adds an extra touch of sweetness. This indulgent pairing is perfect for those who appreciate layered flavors.
-
Chocolate Chip Cookies: The classic crunch of a homemade cookie complements the smoothness of butterscotch ice cream beautifully. Enjoy them together for a nostalgic dessert reminiscent of childhood treats.
-
Roasted Nuts: A sprinkle of toasted pecans or walnuts introduces a delightful crunch and nutty flavor. This textural contrast truly enhances each creamy scoop.
-
Irish Coffee: For an adult twist, serve your butterscotch ice cream alongside a smooth Irish coffee. The rich coffee contrasts nicely with the sweet ice cream, creating a perfect after-dinner treat.
-
Crispy Waffle Cones: Present your ice cream in freshly made waffle cones for an irresistible, crunchy experience. The warm, crispy exterior and the sweet creaminess of butterscotch make for a delightful combination.
-
Frozen Chocolate-Covered Bananas: These treat-filled bites offer a fun, fruity addition that balances out the richness of the ice cream while keeping your dessert light and refreshing.
Explore these delightful pairings to make your homemade butterscotch ice cream experience even more memorable!
Make Ahead Options
These Butterscotch Ice Cream layers of flavor make it an excellent choice for meal prep enthusiasts! You can prepare the custard base up to 24 hours in advance by following all the initial steps—just remember to chill the mixture overnight until it’s very cold. Be sure to cover it tightly with plastic wrap to maintain its velvety texture and prevent any skin from forming. On the day you plan to serve it, simply churn the well-chilled mixture in your ice cream maker, transfer it to a container, and freeze for at least 2 hours before enjoying. With this make-ahead method, your homemade butterscotch ice cream will be just as delicious without any last-minute fuss!
Expert Tips for Butterscotch Ice Cream
- Chill Better: Ensure the mixture is very cold before churning—overnight chilling provides the best texture for butterscotch ice cream.
- Egg Tempering: Take your time while tempering the eggs; pouring too quickly can result in scrambled eggs—no one wants that!
- Attachment Ready: Don’t forget to freeze the ice cream attachment for at least 15 hours ahead of time for smooth churning.
- Taste Test: Adjust sweetness as needed; before chilling, taste the mixture to ensure it satisfies your sweet tooth—remember, it should be slightly sweeter than desired before freezing!
- Scoop Smart: Allow the ice cream to sit out at room temperature for a few minutes before serving—this makes scooping a breeze while enjoying that creamy butterscotch ice cream!
Butterscotch Ice Cream Variations
Feel free to let your creativity shine by customizing this luscious ice cream to suit your taste buds and occasions!
- Bourbon-Free: Skip the bourbon and use a splash of vanilla extract instead for a delightful, non-alcoholic version. The vanilla will add its own warmth and sweetness!
- Nutty Crunch: Stir in crushed pecans or walnuts during the churning process for a delightful textural contrast. Each bite will be a creamy mix of smooth ice cream and nutty bites, enhancing the overall richness.
- Chocolate Swirls: Marbling in some chocolate fudge or caramel sauce at the end adds an extra layer of indulgence. Imagine that swirl of fudge bringing a beautiful visual and flavor contrast to the creamy butterscotch base!
- Maple Flavor: For a unique twist, replace vanilla extract with maple extract to introduce a warm, earthy sweetness. It’s like a cozy hug in ice cream form—perfect for chilly evenings!
- Spicy Surprise: Add a pinch of cayenne pepper or ground cinnamon to the mixture for a subtle heat and warmth. This unexpected kick will elevate your dessert and make it intriguingly delicious.
- Mix-in Madness: Incorporate crushed butterscotch candies or even a sprinkle of toffee bits into the ice cream for your very own sweet crunch. Every scoop will be packed with those delightful flavors and textures!
- Seasonal Twist: Adapt the base by blending in pumpkin puree and spices for a fall-inspired treat that marries well with a scoop of your favorite pie! Now that’s what I call a celebration of flavors worthy of any gathering.
- Fruity Fusion: Blend in pureed fruit like ripe bananas or fresh strawberries before churning. This will add a fresh burst of flavor and a lovely color that pops!
Ready to whip up your own masterpiece? Explore more delightful ideas, like my Tenderloin Dijon Cream or a decadent scoop alongside my irresistible Bacon Cream Cheese. Dive into these delightful options that will surely inspire your next homemade ice cream adventure!
Butterscotch Ice Cream Recipe FAQs
How do I choose ripe ingredients for my Butterscotch Ice Cream?
Absolutely! While butter and sugar don’t ripen, make sure to use fresh heavy cream and milk for the best flavor and texture. For eggs, check for freshness by placing them in a bowl of water; if they sink, they’re good to go. Additionally, ensure your vanilla extract is pure and not imitation for an authentic taste.
What’s the best way to store homemade Butterscotch Ice Cream?
You should store your butterscotch ice cream in a freezer-safe container for up to 1 week. Make sure to cover the surface with plastic wrap to prevent freezer burn and ice crystals. To keep it fresher, always press down on it to eliminate any air pockets before sealing the container!
Can I freeze Butterscotch Ice Cream for longer?
Very! If you want to store your homemade ice cream for a longer period, you can keep it in the freezer for up to 3 months. Just ensure it’s in an airtight container, and consider placing a piece of parchment paper on top before sealing for extra protection against ice crystals.
What should I do if my Ice Cream turns out too icy?
If your butterscotch ice cream ends up icy, it could be due to not enough fat in the mixture or excess air. To fix this for future batches, make sure to use full-fat heavy cream and avoid over-churning. If it’s already made, let it sit at room temperature for 10 minutes to soften, and stir to break the ice crystals before serving!
Can I make a dairy-free version of Butterscotch Ice Cream?
Absolutely! You can substitute heavy cream with coconut cream or a blend of almond milk and coconut milk for a luscious texture. Just make sure to adjust the sweetness as dairy-free milk can be less sweet. This way, you’ll enjoy a delightful treat without compromising on flavor!
Is this recipe safe for people with egg allergies?
Very! Unfortunately, since this butterscotch ice cream relies on egg yolks for its custard base, it may not be suitable for those with egg allergies. You might explore egg substitute options, such as using a custard powder or a commercial egg replacer, but the texture might differ. Always check and adjust to your taste!
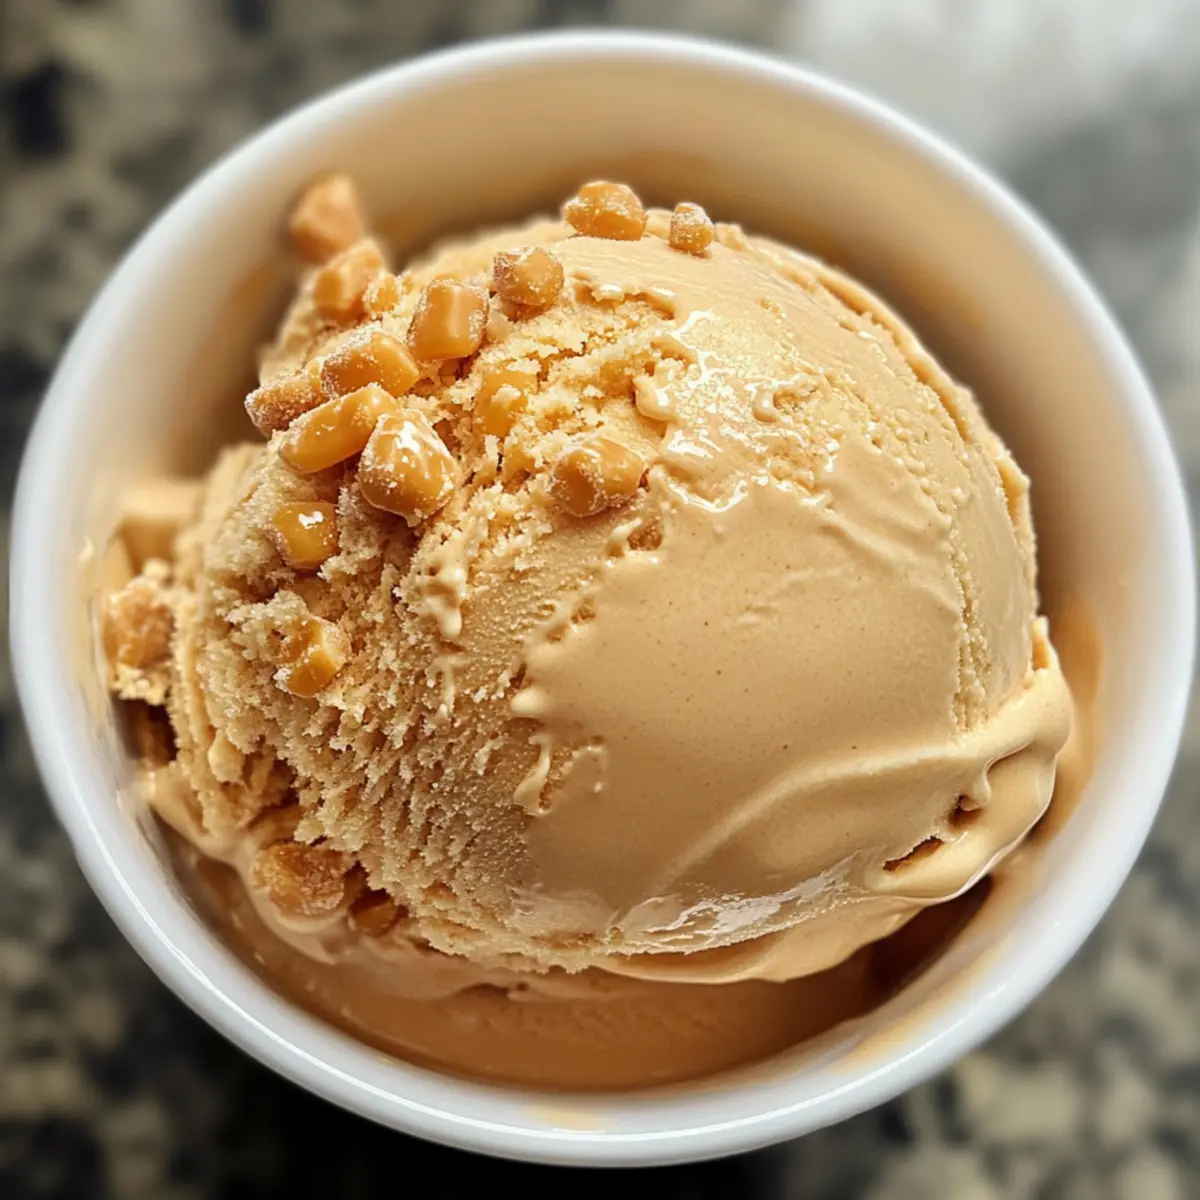
Creamy Butterscotch Ice Cream: A Sweet Summer Indulgence
Ingredients
Equipment
Method
- Melt 1/2 cup of unsalted butter in a medium saucepan over medium heat. Stir in 1 cup of dark brown sugar, simmer for 3-4 minutes until thickened. Add 1/4 cup of heavy cream, bring to a gentle boil, stirring constantly for another 3-4 minutes until smooth.
- Remove from heat and stir in 1 cup of heavy cream and 1 cup of whole milk. If using bourbon, add it now. Gently heat until it reaches 165°F, ensuring everything is combined but not boiling.
- In a large bowl, whisk together 5 egg yolks and 3/4 cup of granulated sugar until pale and thickened.
- Slowly drizzle about 1 cup of the hot mixture into the egg yolk mixture while whisking continuously to temper the eggs. Once incorporated, pour it back into the saucepan, stirring until it reaches 165°F.
- Stir in 2 teaspoons of vanilla extract and a pinch of kosher salt. Pour into a bowl, cover, and chill for at least 4 hours or overnight until completely cold.
- Set up your ice cream maker and churn the mixture for about 25-30 minutes until thickened.
- Transfer to a freezer-safe container, press down to remove air pockets, and freeze for at least 2 hours to firm up.
- Let sit at room temperature for 5-10 minutes before serving for easier scooping. Enjoy!
Leave a Reply