
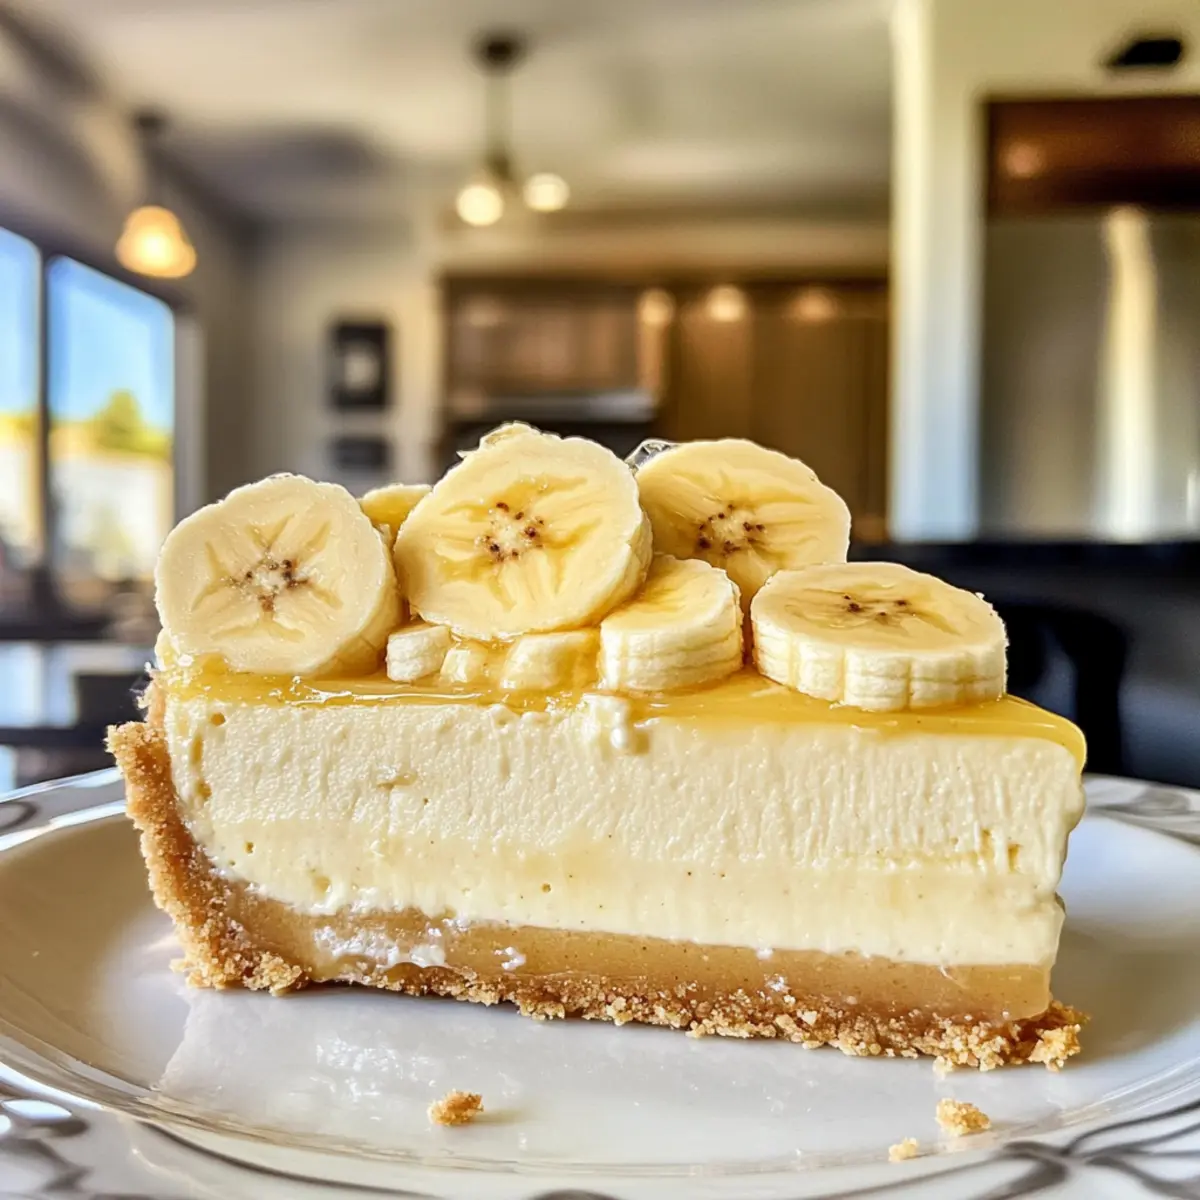
The rich aroma of freshly baked treats always pulls me in, and this Creamy Banana Pudding Cheesecake is no exception. Imagine the delightful combination of velvety cheesecake harmonizing with the sweet nostalgia of banana pudding, all nestled in a buttery Nilla Wafer crust. What makes this dessert truly special is that it’s surprisingly easy to whip up, perfect for both novice bakers and seasoned pros alike. And the best part? It’s a crowd-pleaser that’s ready to impress at any gathering, requiring just a little bit of patience while it chills. If you’re craving a sweet escape from everyday fast food, this Banana Pudding Cheesecake is calling your name. Want to discover how to elevate a classic dessert into something unforgettable? Let’s dive in!
Why is Banana Pudding Cheesecake a Must-Try?
Irresistible Flavor: This cheesecake melds the richness of creamy cheesecake with the nostalgic sweetness of banana pudding, making every bite a delightful surprise.
Showstopper Dessert: It’s not just a dessert; it’s a centerpiece for gatherings that will leave everyone asking for seconds.
Easy Preparation: With a straightforward recipe, you’ll impress friends and family without the stress of complicated baking techniques.
Versatile Twists: From chocolate variations to strawberry swaps, you can customize this recipe based on your tastes.
Perfect for Any Occasion: Whether for a birthday celebration or a cozy family dinner, this Banana Pudding Cheesecake fits right in.
If you love classic flavors, you might also enjoy our Pumpkin Cheesecake Muffins or indulge in a slice of our delectable Carrot Cake Cheesecake.
Banana Pudding Cheesecake Ingredients
For the Crust
- Nilla Wafers – Perfect for a buttery base, but graham crackers can be a tasty substitute.
- Brown Sugar – This sweetener adds depth; granulated sugar works too if you’re in a pinch.
- Unsalted Butter – Used to bind your crust; margarine can be an alternative if needed.
For the Cheesecake Filling
- Cream Cheese – This is key for a creamy texture; let it sit at room temperature for easy mixing.
- White Granulated Sugar – It sweetens the cheesecake; feel free to use alternative sweeteners if preferred.
- Pure Vanilla Extract – Enhances the flavor; almond extract can be a lovely twist.
- Bananas – Use ripe bananas for optimal sweetness; ripe avocados can be a creative texture substitute.
- Sour Cream – Adds tanginess and moisture; Greek yogurt works well in its place.
- Heavy Cream – This elevates richness; coconut cream is a great non-dairy option.
- Large Eggs – They provide structure; consider flax eggs for an egg-free version.
For the Topping
- Instant Vanilla Pudding – Creates a light, fluffy topping; regular pudding mix can substitute in a pinch.
- Milk – Needed for the pudding; any non-dairy milk can be an easy swap.
- Crushed Nilla Wafers (for decorating) – They add texture and flair; optional for a simpler look.
Dive into this delightful Banana Pudding Cheesecake experience, and enjoy treating yourself and your loved ones to something truly special!
Step‑by‑Step Instructions for Banana Pudding Cheesecake
Step 1: Preheat and Prepare the Pan
Begin by preheating your oven to 325°F (160°C). Take a 9-inch springform pan and spray it with nonstick spray to ensure an easy release later. For added security, line the bottom with parchment paper so the crust stays intact. This will help keep your Banana Pudding Cheesecake from sticking during baking!
Step 2: Make the Crust
In a food processor, combine Nilla Wafers and pulse until you have fine crumbs. Add brown sugar and melted unsalted butter to the crumbs and blend until the mixture resembles wet sand. Firmly press this crumb mixture into the bottom and up the sides of the springform pan, creating an even layer for your crust. Bake in the preheated oven for 11 minutes until golden.
Step 3: Prepare the Cheesecake Filling
While your crust is baking, grab a large mixing bowl and use a mixer to beat together softened cream cheese and white granulated sugar until the mixture is smooth and creamy. Incorporate the mashed ripe bananas, pure vanilla extract, sour cream, and heavy cream, beating until everything is well-combined. This mixture will form a luscious filling for your Banana Pudding Cheesecake.
Step 4: Add the Eggs
Next, add the large eggs to the mixing bowl one at a time, mixing on low speed after each addition just until combined. Be careful not to overmix; you want a smooth mixture without excess air, which could lead to cracks in your cheesecake. Once combined, pour half of this batter into your prepared crust.
Step 5: Create the Banana Layer
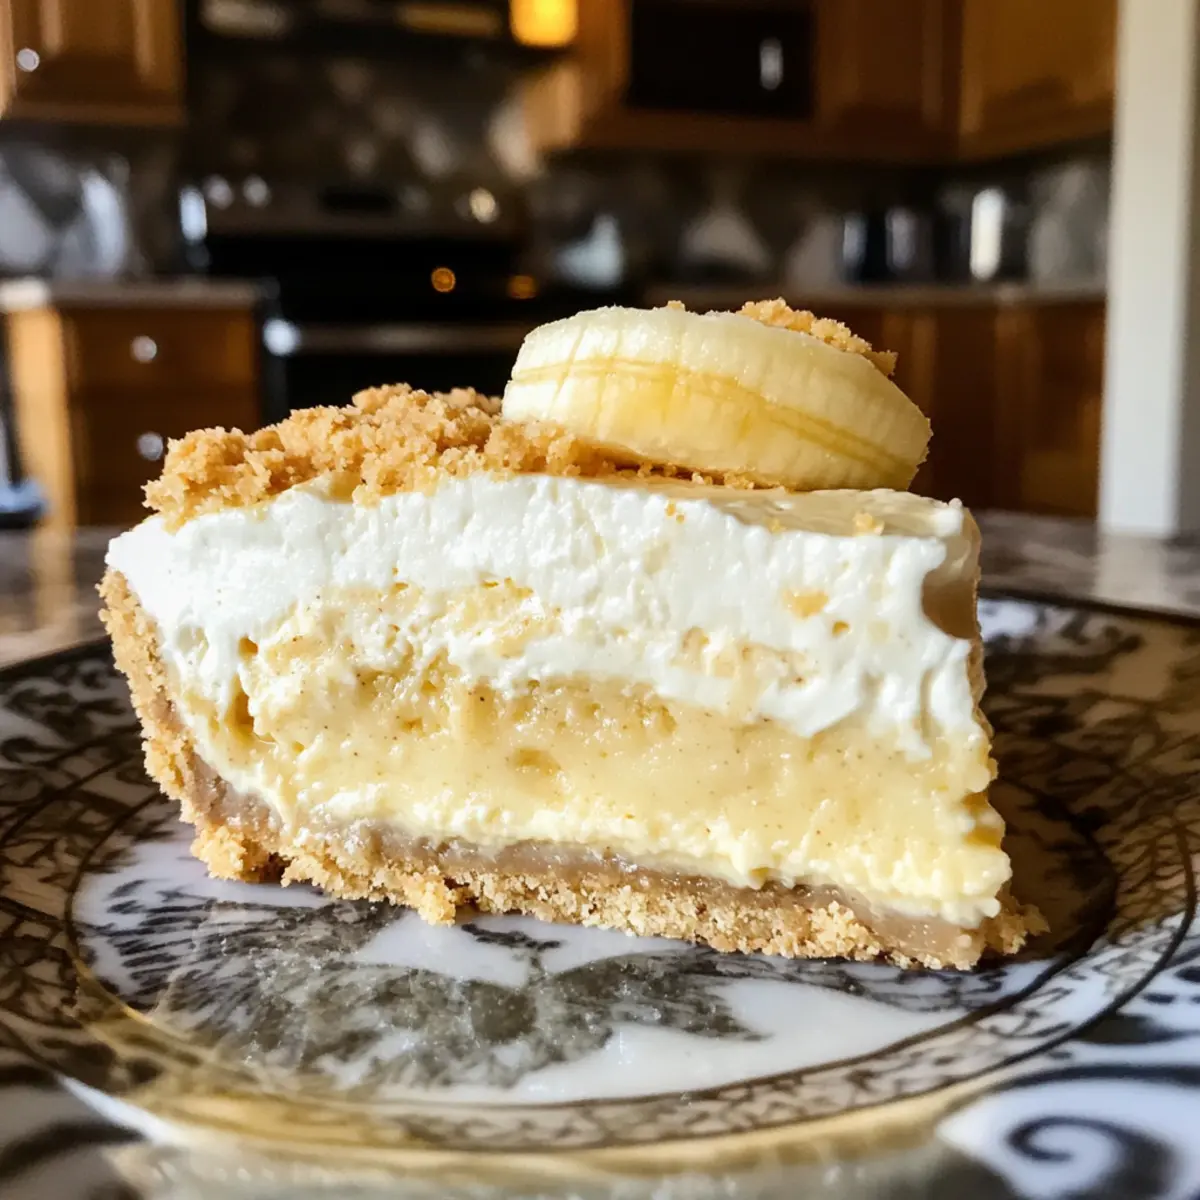
Slice fresh bananas and arrange them evenly over the batter in the springform pan. Then, sprinkle a layer of crushed Nilla Wafers on top for added texture. Finally, pour the remaining batter over the banana and wafer layers, smoothing the top gently. This will create a delightful surprise in your Banana Pudding Cheesecake.
Step 6: Bake with a Water Bath
Prepare a water bath by placing a large roasting pan on the bottom rack of your oven and filling it with hot water to create steam. Place the cheesecake on the middle rack and bake for 80-90 minutes. Look for the center of the cheesecake to jiggle slightly when finished. This method helps prevent cracks and results in a beautifully baked dessert.
Step 7: Cool in the Oven
When the baking time is up, turn off the oven and slightly crack the door, allowing the cheesecake to cool inside for 30 minutes. This gradual cooling process helps maintain its structure. Afterward, carefully remove your Banana Pudding Cheesecake from the oven and let it chill in the refrigerator for at least 6 hours, or overnight for best results.
Step 8: Prepare the Topping
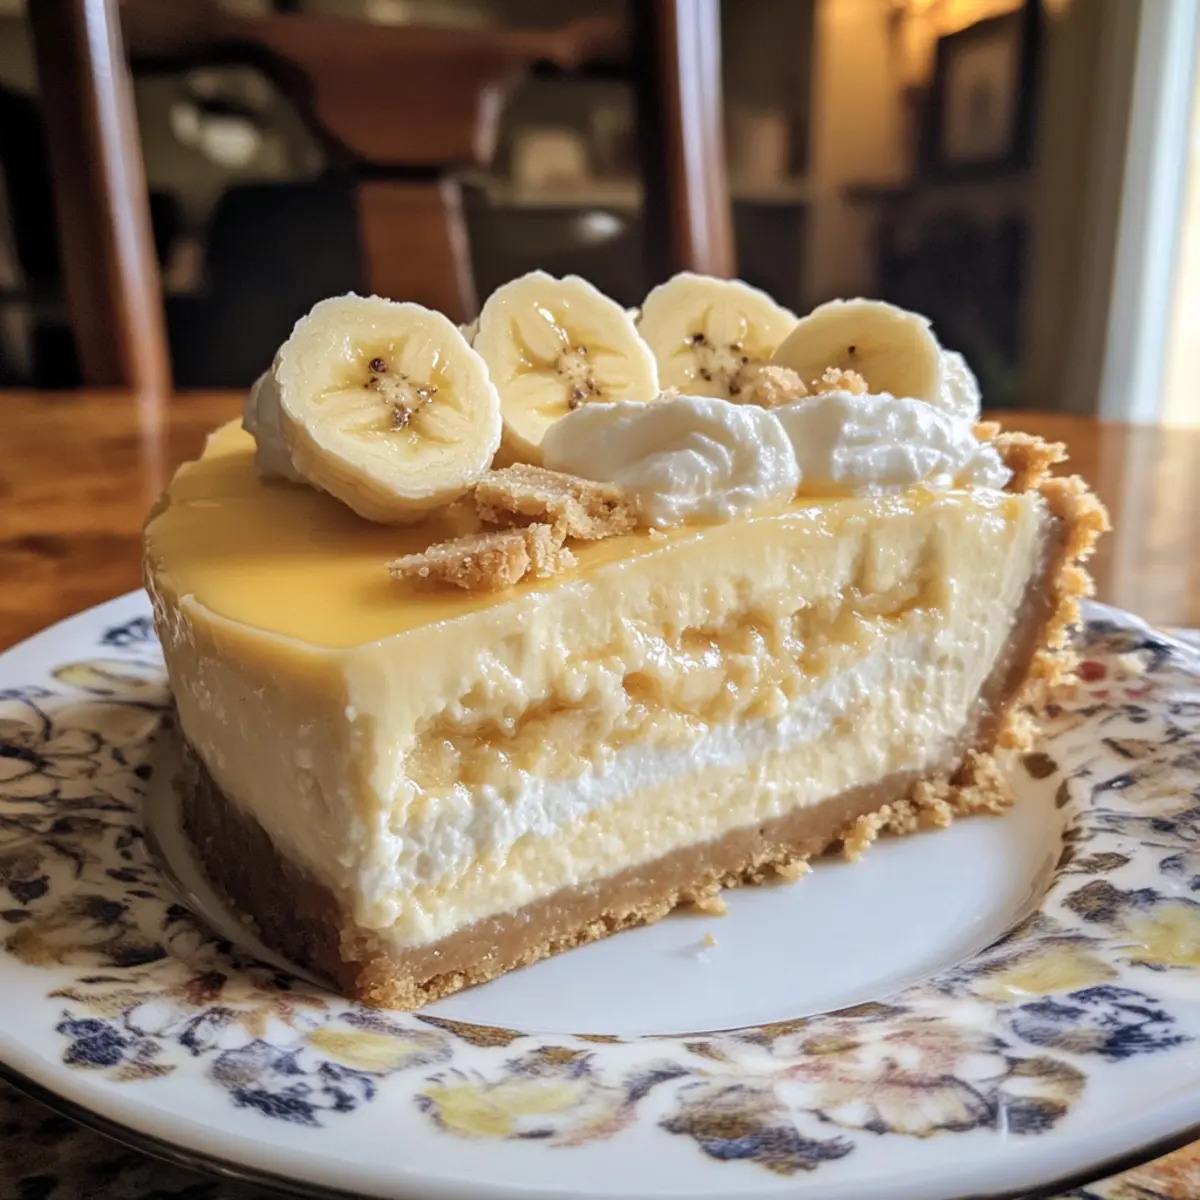
Once your cheesecake is fully chilled and set, it’s time to prepare the whipped vanilla pudding layer. In a medium bowl, whisk together instant vanilla pudding and milk until thickened. Then, gently fold in whipped cream to create a light, airy topping. Spread this mixture evenly over the chilled cheesecake to add a delightful finishing touch.
Step 9: Decorate and Serve
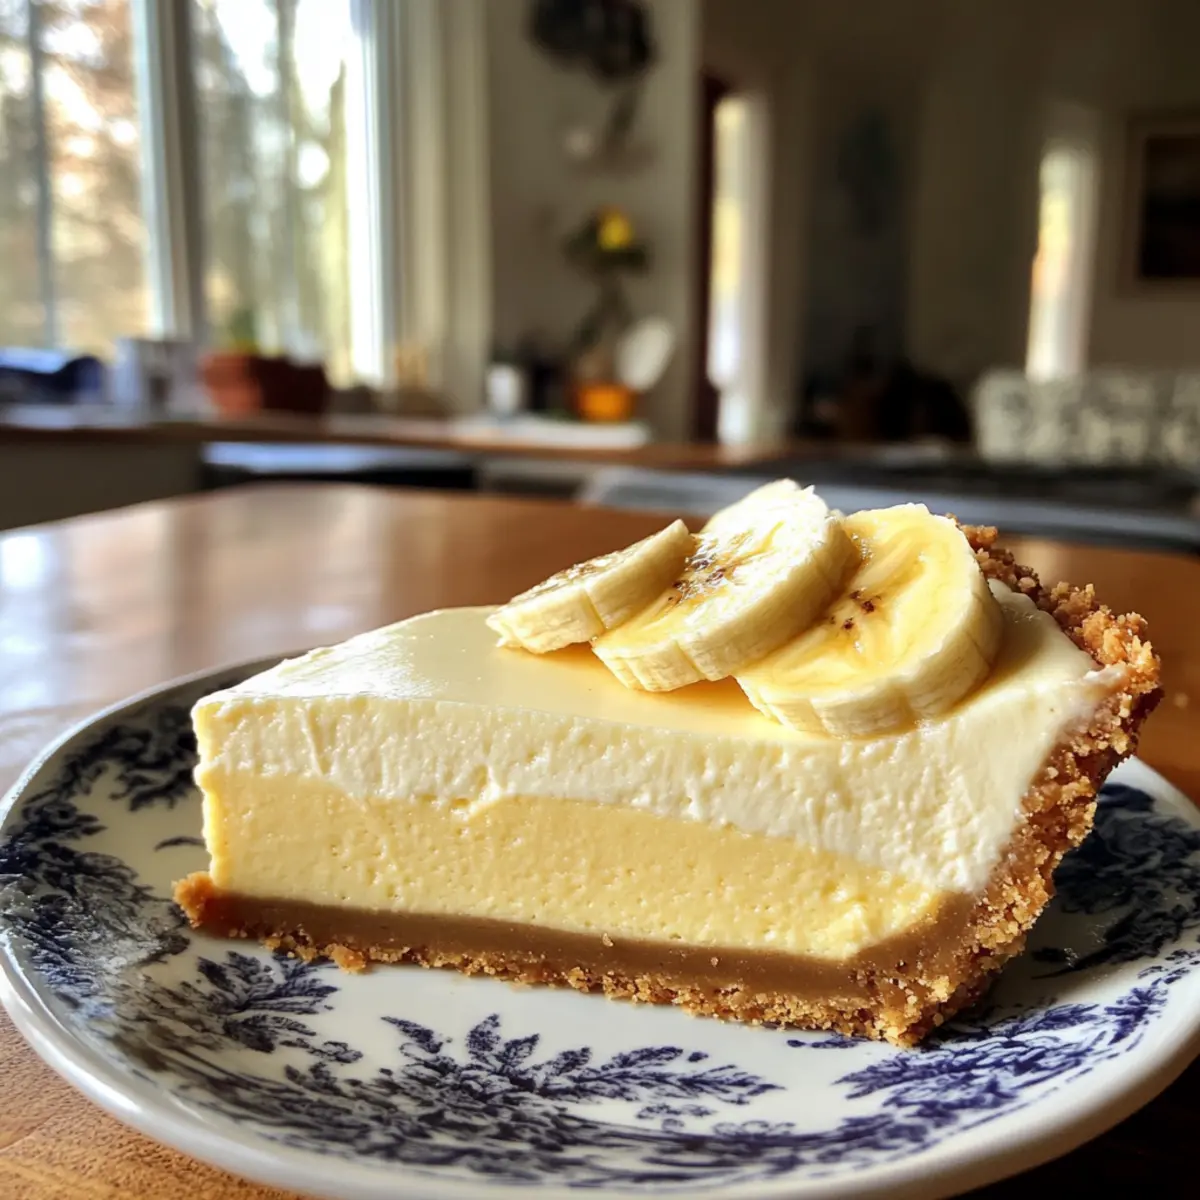
To complete your Banana Pudding Cheesecake, garnish the top with additional crushed Nilla Wafers for a beautiful presentation. You may also layer fresh banana slices or drizzle caramel for added flair. Your delicious, creamy dessert is now ready to wow your guests at any gathering!
Expert Tips for Banana Pudding Cheesecake
-
Room Temperature Ingredients: Always let your dairy products come to room temperature before mixing. This ensures a smooth batter and prevents lumps in your delicious Banana Pudding Cheesecake.
-
Water Bath Magic: Don’t skip the water bath! It keeps the cheesecake moist during baking and significantly reduces the chances of cracks forming, giving you a beautiful presentation.
-
Gentle Folding: When preparing your whipped topping, fold the whipped cream gently into the pudding mixture. Overmixing can deflate the light and airy texture that makes this dessert delightful.
-
Watch the Timing: Keep an eye on the baking time, as overbaking can lead to a dry cheesecake. The center should jiggle slightly but still be mostly set when you remove it from the oven.
-
Chill for Perfection: Allow it to chill for at least 6 hours, or overnight if possible. This helps the flavors meld beautifully and makes for easier slicing of your creamy Banana Pudding Cheesecake.
Make Ahead Options
These Banana Pudding Cheesecake make-ahead options are a lifesaver for busy home cooks! You can prepare the crust and filling up to 24 hours in advance to save precious time. Simply make the crust and layer it in the springform pan, followed by the cheesecake filling; cover tightly with plastic wrap and refrigerate until you’re ready to bake. For maintaining quality, avoid adding the topping until the day you plan to serve; this keeps it fresh and prevents sogginess. When you’re ready, simply bake the cheesecake as directed, cool, and top with the whipped vanilla pudding before serving. Enjoy effortless planning and impress your guests with this delightful dessert!
What to Serve with Banana Pudding Cheesecake?
The perfect meal deserves equally delightful companions to create harmony on your table.
-
Creamy Mashed Potatoes: The rich, buttery texture of mashed potatoes provides a comforting contrast that pairs beautifully with the cheesecake’s sweetness.
-
Fresh Fruit Salad: Crisp, refreshing fruits like strawberries and blueberries elevate the dessert experience and balance the richness of the cheesecake.
-
Warm Caramel Sauce: Drizzling caramel over the cheesecake adds a luscious richness, enhancing the indulgent flavors of banana and cream.
-
Vanilla Ice Cream: A scoop of creamy vanilla ice cream brings a delightful chill that perfectly complements the warming flavors of banana pudding.
-
Chocolate Drizzle: Whether you opt for dark or milk chocolate, a drizzle adds a touch of luxury, intensifying the dessert without overwhelming it.
-
Coffee or Espresso: The deep, bold flavors of coffee contrast nicely, enhancing the dessert’s sweetness while providing a warm, inviting experience.
-
Chocolate Chip Cookies: For a fun twist, serve a side of chocolate chip cookies; the chewy texture complements the cheesecake beautifully.
-
Caramelized Bananas: Sautéed bananas with a hint of brown sugar can elevate your dessert platter, celebrating the banana theme in a new way.
-
Whipped Cream Topping: Light and fluffy whipped cream adds an airy element to each bite, making the experience feel indulgently decadent.
How to Store and Freeze Banana Pudding Cheesecake
Fridge: Store your Banana Pudding Cheesecake in an airtight container in the refrigerator for up to 5 days. For optimal freshness, enjoy it within the first 3 days.
Freezer: If you need to keep it longer, freeze slices wrapped tightly in plastic wrap and then in aluminum foil for up to 2 months. Thaw in the fridge overnight before serving.
Reheating: If you prefer it slightly warmed, pop a slice in the microwave for about 10-15 seconds. Be careful not to heat it too long to avoid altering the creamy texture.
Serving Tips: Always garnish freshly before serving for the best presentation; avoid adding toppings if you plan to store leftovers.
Banana Pudding Cheesecake Variations
Feel free to get creative with this banana pudding cheesecake recipe and make it your own!
-
Chocolate Twist: Add cocoa powder to the cheesecake mixture or chocolate pudding for a rich chocolate flavor; a heavenly twist to the classic. Everyone loves chocolate, and this iteration will satisfy the sweetest tooth!
-
Strawberry Surprise: Substitute diced strawberries for bananas for a fresh, fruity flair. Consider layering them between the cheesecake for a vibrant and colorful presentation.
-
Gluten-Free: Swap Nilla Wafers with gluten-free cookies to make a gluten-free delight. This version ensures everyone can enjoy the creamy goodness without worry.
-
Dairy-Free: Use coconut cream and dairy-free cream cheese for a deliciously creamy dairy-free version. You’ll love how it still retains all the lusciousness of the original recipe.
-
Mini Cheesecakes: Bake individual cheesecakes in muffin tins for perfect portion sizes. These bite-sized delights are ideal for gatherings and beautiful plated presentations.
-
Nutty Crunch: Add crushed nuts like pecans or almonds in the crust for an exciting texture. This will also give a warm, nutty flavor that complements the bananas beautifully.
-
Spicy Kick: Add a pinch of cinnamon or nutmeg into the batter for a warm spice that brings depth. Imagine biting into a slice and getting that cozy warmth!
-
Passion Fruit Topping: For a tropical twist, top with passion fruit puree instead of the usual pudding. The tartness will beautifully balance the rich creaminess.
If you love flavor-packed creations, don’t forget to check out our indulgent Chocolate Espresso Banana or our divine Red Velvet Oreo Cheesecake for more delightful desserts to try!
Banana Pudding Cheesecake Recipe FAQs
What ripeness of bananas should I use for the cheesecake?
Absolutely! Choose ripe bananas for your Banana Pudding Cheesecake, as they provide the best sweetness and flavor. Look for bananas that are golden with a few brown spots; they should feel slightly soft to the touch. If you only have overly ripe bananas with dark spots all over, they can still work well, just ensure they’re free of any bad spots.
How should I store my Banana Pudding Cheesecake?
Store your Banana Pudding Cheesecake in an airtight container in the refrigerator. It will stay fresh for up to 5 days, but for the best quality, aim to consume it within 3 days. Keeping it covered will help prevent any absorption of odors from other foods in the fridge.
Can I freeze the Banana Pudding Cheesecake?
Yes, you can! To freeze your Banana Pudding Cheesecake, first slice it and individually wrap each piece tightly in plastic wrap. Then, place the wrapped slices in a freezer-safe container or wrap the whole cheesecake in aluminum foil. It can be frozen for up to 2 months. When you’re ready to enjoy, simply thaw it in the refrigerator overnight.
What can I do if my cheesecake cracks during baking?
Very! If your cheesecake cracks, don’t worry; it can still taste scrumptious! To prevent cracks, make sure to bake your cheesecake in a water bath, which keeps it nice and moist. If it does crack, simply cover it with the whipped pudding layer; it adds a lovely touch and hides any imperfections beautifully.
Are there any dietary considerations for this recipe?
Definitely! If you have guests with dietary restrictions, you can make adjustments to the Banana Pudding Cheesecake recipe. Swap out heavy cream for coconut cream for a dairy-free option, and use non-dairy milk for the pudding. Ensure the pudding mix is suitable for your guests if they’re avoiding certain ingredients, like gluten. Always double-check for potential allergies, especially with eggs and dairy components.
How long should I let the cheesecake cool before serving?
To achieve the best results, follow these steps: After baking, turn off the over, slightly crack the door, and allow the cheesecake to cool for 30 minutes. This gradual cooling process helps reduce the chances of cracks. Then, refrigerate for at least 6 hours, or overnight for optimal firmness and flavor. The waiting is worth it for that perfect slice!
Irresistibly Creamy Banana Pudding Cheesecake to Wow Your Guests
Ingredients
Equipment
Method
- Preheat your oven to 325°F (160°C) and prepare a 9-inch springform pan with nonstick spray and parchment paper.
- Combine Nilla Wafers in a food processor and pulse to fine crumbs. Blend in brown sugar and melted butter until mixed like wet sand. Press into the bottom and sides of the springform pan. Bake for 11 minutes.
- In a large bowl, mix softened cream cheese and sugar until smooth. Add mashed bananas, vanilla extract, sour cream, and heavy cream. Beat until well-combined.
- Add the eggs one at a time, mixing on low after each. Pour half of the batter into the crust.
- Slice and layer fresh bananas on the batter, then sprinkle with crushed Nilla Wafers. Pour remaining batter over the layers.
- Place a roasting pan with hot water in the oven’s bottom rack to create steam. Bake cheesecake for 80-90 minutes until the center jiggles slightly.
- After baking, turn off the oven, crack the door, and let the cheesecake cool for 30 minutes. Then chill in the refrigerator for at least 6 hours.
- Whisk instant vanilla pudding and milk in a medium bowl until thickened. Gently fold in whipped cream and layer on top of the chilled cheesecake.
- Garnish with crushed Nilla Wafers and optionally with fresh banana slices or caramel before serving.
Leave a Reply