
As I stood in my kitchen amidst the sweet aroma of baking cookies, a wave of nostalgia washed over me. The holiday season always meant gathering around the table, sharing laughter, and indulging in scrumptious homemade treats. This year, my heart is set on crafting Twisted Christmas Cookies with Almond & Citrus Icing. These delightful cookies do more than just please the palate—they bring families together, infusing your home with joy and festive cheer. With their vibrant decorations and unique flavor profile that harmonizes buttery sweetness with zesty orange, they’re perfect for both gifting and holiday parties. Plus, they’re quick to prepare, allowing you to spend more time enjoying the season with loved ones. Are you ready to create some festive magic in your kitchen? Let’s dive in!

Why are Twisted Christmas Cookies a must-try?
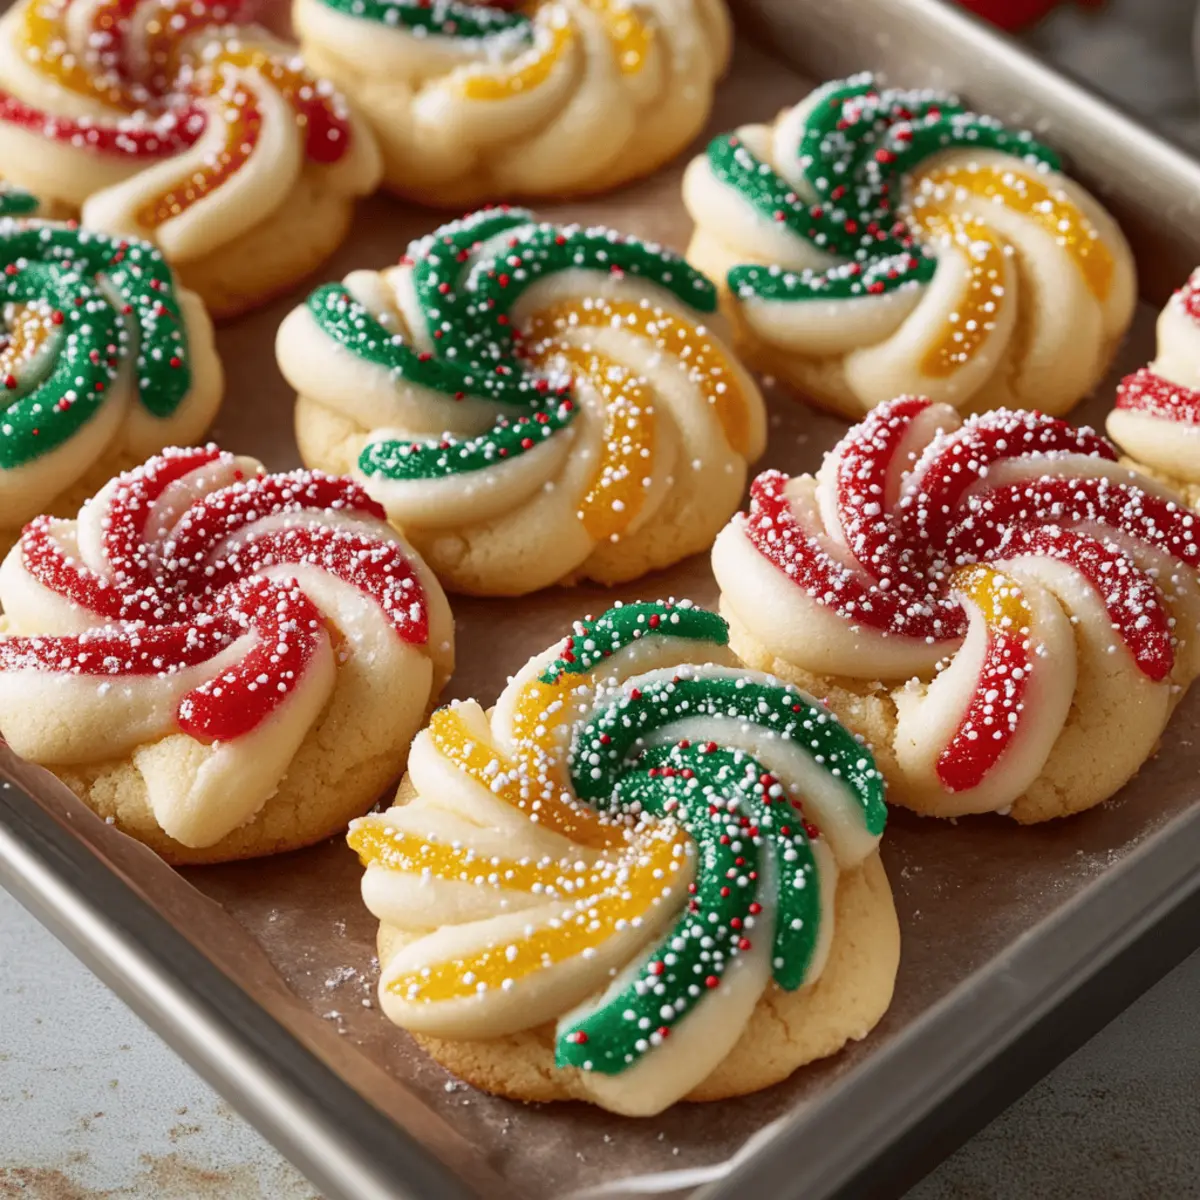
Holiday Spirit: These cookies capture the essence of the festive season, with their colorful icing and delightful almond-orange flavor that will make each bite a sweet celebration.
Quick Preparation: Save time in the kitchen! The simple process lets you whip up a batch in no time, leaving you free to enjoy festivities with family.
Versatile Decorations: Get creative! Whether you sprinkle edible glitter or candy canes, the decorating options are endless, allowing each cookie to be a unique masterpiece.
Sharing Joy: Perfect as gifts, these cookies invite warmth and happiness, adding an extra touch of love to holiday gatherings and celebrations.
Crowd Favorite: With their melt-in-your-mouth texture, everyone will adore these Twisted Christmas Cookies, making them a staple at any holiday party. Check out more festive ideas like Homemade Thin Cookies or Apple Cider Cookies to elevate your baking game this season!
Twisted Christmas Cookies Ingredients
For the Cookie Dough
- White Sugar – Sweetness is key; you can use brown sugar for a deeper flavor.
- Butter – Provides moisture and richness; make sure it’s softened but not melted for the best texture.
- Eggs – Acts as a binding agent; use room temperature eggs for better mixing.
- Vanilla Extract – Enhances flavor; try substituting it with bourbon for a unique twist.
- Almond Extract – Adds a festive flavor lift; omit if nut-free or replace with coconut extract.
- Orange Zest – Brightens the flavor profile; lemon zest works as a great alternative if needed.
- Plain Flour – Provides structure; you can swap it with a gluten-free flour blend if desired.
For the Icing
- Meringue Powder – Stabilizes the icing; fresh egg whites can be used as an alternative.
- Water – Essential for icing consistency; adjust based on your desired thickness.
- Lemon Juice – Adds tang to the icing; feel free to substitute with vinegar if that’s handy.
- Powdered Sugar – Sweetens the icing; always sift to prevent lumps for a smooth finish.
- Gel Food Coloring – Essential for those vibrant icing shades; liquid dyes can work but may not be as bright.
For Decoration
- Sprinkles/Edible Glitter/Candy Canes – These toppings enhance visual appeal; you can skip them for a minimalist look.
Step‑by‑Step Instructions for Twisted Christmas Cookies
Step 1: Preheat the Oven
Begin by preheating your oven to 350°F (175°C). While it’s heating up, line your baking sheets with parchment paper. This will prevent the cookies from sticking and help them bake evenly. Make sure to have your mixing bowl and other ingredients ready to start creating your delightful Twisted Christmas Cookies.
Step 2: Cream the Butter and Sugar
In a large mixing bowl, combine the softened butter and white sugar. Use an electric mixer on medium speed to cream the mixture until it becomes light and fluffy, about 3-5 minutes. The color will change to a pale yellow, signaling that your base for the Twisted Christmas Cookies is ready for the next delicious ingredients.
Step 3: Incorporate Wet Ingredients
Now, add the eggs, vanilla extract, almond extract, and orange zest to your creamed mixture. Mix everything together on low speed until the ingredients are fully combined and smooth, about 2 minutes. The batter should have a creamy texture that fills your kitchen with the scent of the holiday season.
Step 4: Mix in the Dry Ingredients
Gradually add the plain flour to the mixture, mixing on low speed until everything is incorporated and forms a soft dough. If the dough feels too sticky, feel free to add a little milk, a teaspoon at a time, until you achieve the right consistency. This step is essential for ensuring your Twisted Christmas Cookies hold their shape.
Step 5: Shape the Cookies
On a lightly floured surface, roll out the dough to about ¼-inch thickness. Use your favorite cookie cutters to create festive shapes—stars, hearts, or Christmas trees. Place the cut-out cookies onto the prepared baking sheets, ensuring they’re spaced apart to allow for spreading during baking.
Step 6: Chill the Cookies
To help the cookies keep their shape, chill the cut cookies in the refrigerator for 10-15 minutes. This quick chill will prevent them from spreading too much. Take this time to clean up your workspace or prepare your icing supplies for the next step in crafting these delightful Twisted Christmas Cookies.
Step 7: Bake the Cookies
Once chilled, place the baking sheets in the preheated oven and bake for 10-12 minutes. Keep an eye on the edges; they should turn lightly golden, indicating that your cookies are perfectly baked. Once done, take them out and let them cool completely on a wire rack before decorating.
Step 8: Prepare the Icing
While your cookies are cooling, prepare the icing by whisking together meringue powder, lemon juice, and water in a medium bowl. Gradually sift in the powdered sugar, mixing until the icing is glossy and smooth. The right consistency should be thick enough to hold its shape but thin enough to easily pipe.
Step 9: Decorate the Cookies
Divide the icing into small bowls and add gel food coloring to achieve vibrant shades. Use piping bags or a simple plastic bag with a corner cut off to decorate your Twisted Christmas Cookies. Get creative by adding sprinkles, edible glitter, or crushed candy canes for that festive touch, then allow the icing to set completely before serving.
Expert Tips for Twisted Christmas Cookies
- Butter Temperature: Ensure your butter is softened, not melted; this will prevent overly spreadable cookies that lose shape.
- Chill for Success: Chilling the dough after cutting shapes is crucial; it ensures your Twisted Christmas Cookies retain their delightful form during baking.
- Flour Adjustment: If your dough feels sticky, add flour gradually until it holds its shape; this will make shaping your cookies easier.
- Icing Consistency: Measure meringue powder and powdered sugar accurately to achieve smooth royal icing; the right consistency is key for decorating.
- Creative Additions: Don’t hesitate to incorporate spices or different citrus zests to give your Twisted Christmas Cookies a unique flair!
What to Serve with Twisted Christmas Cookies
The perfect meal for celebrating the holiday spirit deserves delightful companions to complement your festive treats.
- Warm Spiced Apple Cider: The aromatic spices enhance the cookies’ almond and citrus notes, creating a cozy holiday drink that warms the heart.
- Creamy Mashed Potatoes: Silky and fluffy, they offer a comforting contrast to the sweet cookies, perfect for balancing flavors on your plate.
- Homemade Eggnog: This rich, creamy beverage adds a touch of indulgence, making it a classic choice for pairing with your festive cookies.
- Fresh Fruit Salad: A light, refreshing option, the citrusy and berry flavors cleanse the palate and brighten the holiday spread.
- Chewy Ginger Snaps: These spiced cookies bring warmth and a hint of spice that harmonizes beautifully with the holiday flavors of your twisted treats.
- Chocolate Fondue: An interactive dessert that invites guests to dip the cookies into warm chocolate—a decadent twist to the festivities!
- Decorated Gingerbread Men: Not just visually delightful, the rich ginger flavor makes for a nostalgic pair that screams holiday cheer.
- Sweet Hot Chocolate: Top with whipped cream and a sprinkle of orange zest to echo the cookies’ flavors, creating a nostalgic holiday experience.
- Festive Cheddar Board: A mix of sharp and mild cheeses with nuts and dried fruit provides a savory contrast to your sweet cookies, appealing to all tastes.
- Honey-Glazed Carrots: Their sweetness and bright color add a vibrant touch to your meal, making every bite a reason to celebrate.
How to Store and Freeze Twisted Christmas Cookies
Room Temperature: Store un-iced cookies in an airtight container at room temperature for up to 3 days to keep them fresh and tasty.
Fridge: If you prefer, you can refrigerate iced cookies in a single layer in an airtight container for about 5 days, ensuring they stay vibrant and chewy.
Freezer: Freeze baked, un-iced cookies for up to 1 month; simply layer them between parchment paper in an airtight container. Thaw before icing for your festive gatherings.
Cookie Dough: For even more convenience, freeze the cookie dough for up to 3 months. When ready to bake, simply thaw in the fridge overnight before rolling and cutting into your favorite shapes.
Make Ahead Options
These Twisted Christmas Cookies are a wonderful option for meal prep that will save you time during the busy holiday season! You can prepare the cookie dough and refrigerate it for up to 24 hours before baking, ensuring that you have one less task to tackle when it’s time to celebrate. Simply wrap the dough tightly in plastic wrap to prevent it from drying out or absorbing odors. Another option is to freeze the unbaked cut cookies; they can stay in the freezer for up to 3 months. When you’re ready to enjoy them, bake straight from the freezer, adding a few extra minutes to the baking time. Whether you choose to prep ahead or not, these delectable Twisted Christmas Cookies will remain just as delicious and festive!
Twisted Christmas Cookies Variations & Substitutions
Feel free to let your imagination run wild and customize these festive cookies to suit your family’s taste buds!
- Nut-Free: Replace almond extract with coconut extract for a delightful, nut-free option that still sings with flavor. Think creamy tropical vibes!
- Flavor Boost: Add a pinch of ground cinnamon or nutmeg to the dough for a warm, spicy twist that will greet you with cozy aromas as they bake.
- Citrus Swap: Swap orange zest for lemon or lime zest to give your cookies a refreshing flair. Each citrus offers a unique brightness to delight your palate.
- Sugar Alternatives: Use coconut sugar instead of white sugar for a healthier, caramel-like flavor. It’s a tasty way to enjoy your cookies guilt-free!
- Gluten-Free: Substitute plain flour with a gluten-free flour blend to make these cookies suitable for those avoiding gluten. Everyone should join in the festive fun!
- Chocolate Lovers: Blend in mini chocolate chips to the cookie dough for an extra layer of decadence that will have chocolate enthusiasts cheering for joy.
- Icing Variations: For a different icing experience, consider using royal icing flavored with lemon extract instead of lemon juice for a fun twist on the traditional.
- Decorative Fun: Use crushed peppermint, colorful sprinkles, or themed candy cane pieces as toppings for a whimsical touch. Each cookie can be a unique masterpiece!
Let the joy of baking inspire your creativity! If you’re in the mood for more delightful recipes, don’t miss our Green Tea Cookies and Crispy Chocolate Oat Cookies to spread more festive cheer in your kitchen.

Twisted Christmas Cookies Recipe FAQs
How do I choose ripe ingredients for Twisted Christmas Cookies?
Absolutely! When selecting ingredients like oranges for zest, look for firm ones with vibrant, smooth skin. Avoid those with dark spots or blemishes. Fresh, high-quality ingredients enhance the flavor of your Twisted Christmas Cookies, making them even more delightful!
What’s the best way to store Twisted Christmas Cookies?
I recommend storing un-iced cookies in an airtight container at room temperature for up to 3 days. If you’ve decorated them, seal them in a single layer in an airtight container in the fridge for about 5 days. This helps maintain their vivid colors and chewy texture.
Can I freeze Twisted Christmas Cookies?
Yes, you can! For best results, freeze the baked, un-iced cookies for up to 1 month. Ensure to layer them with parchment paper in an airtight container to prevent sticking. When you’re ready to enjoy, simply thaw them at room temperature before decorating to keep them fresh and tasty.
What if my cookie dough is too sticky?
No worries! If you find that your dough is sticking to your hands or the surface, gradually add additional flour, about a tablespoon at a time, until the dough holds its shape and is no longer tacky. Remember, it’s better to add flour little by little, so you don’t dry out the dough!
Are these cookies safe for those with allergies?
I’ve got you covered! Twisted Christmas Cookies contain common allergens such as eggs, butter, and almond extract. If you’re making them for someone with nut allergies, simply omit the almond extract and consider using coconut extract for a beautiful flavor substitute. Always double-check the labels of your ingredients to ensure they’re safe for your loved ones!
How long can I keep cookie dough in the freezer?
You can freeze the cookie dough for up to 3 months! When you’re ready to bake, transfer it from the freezer to the fridge and allow it to thaw overnight. Once thawed, it’s ready for rolling and cutting into festive shapes for your Twisted Christmas Cookies!

Twisted Christmas Cookies: Festive Delights Your Family Will Love
Ingredients
Equipment
Method
- Preheat your oven to 350°F (175°C) and line your baking sheets with parchment paper.
- Cream the softened butter and white sugar together until light and fluffy, about 3-5 minutes.
- Add the eggs, vanilla extract, almond extract, and orange zest, mixing on low speed until smooth.
- Gradually incorporate the plain flour until the dough forms. Adjust with milk if sticky.
- Roll out the dough to ¼-inch thickness and cut into festive shapes.
- Chill the cut cookies in the refrigerator for 10-15 minutes to help retain their shape.
- Bake in the preheated oven for 10-12 minutes until lightly golden at the edges.
- Prepare the icing by whisking meringue powder, lemon juice, and water, then adding sifted powdered sugar.
- Decorate the cookies with the icing and additional toppings as desired. Allow icing to set completely before serving.
Leave a Reply