
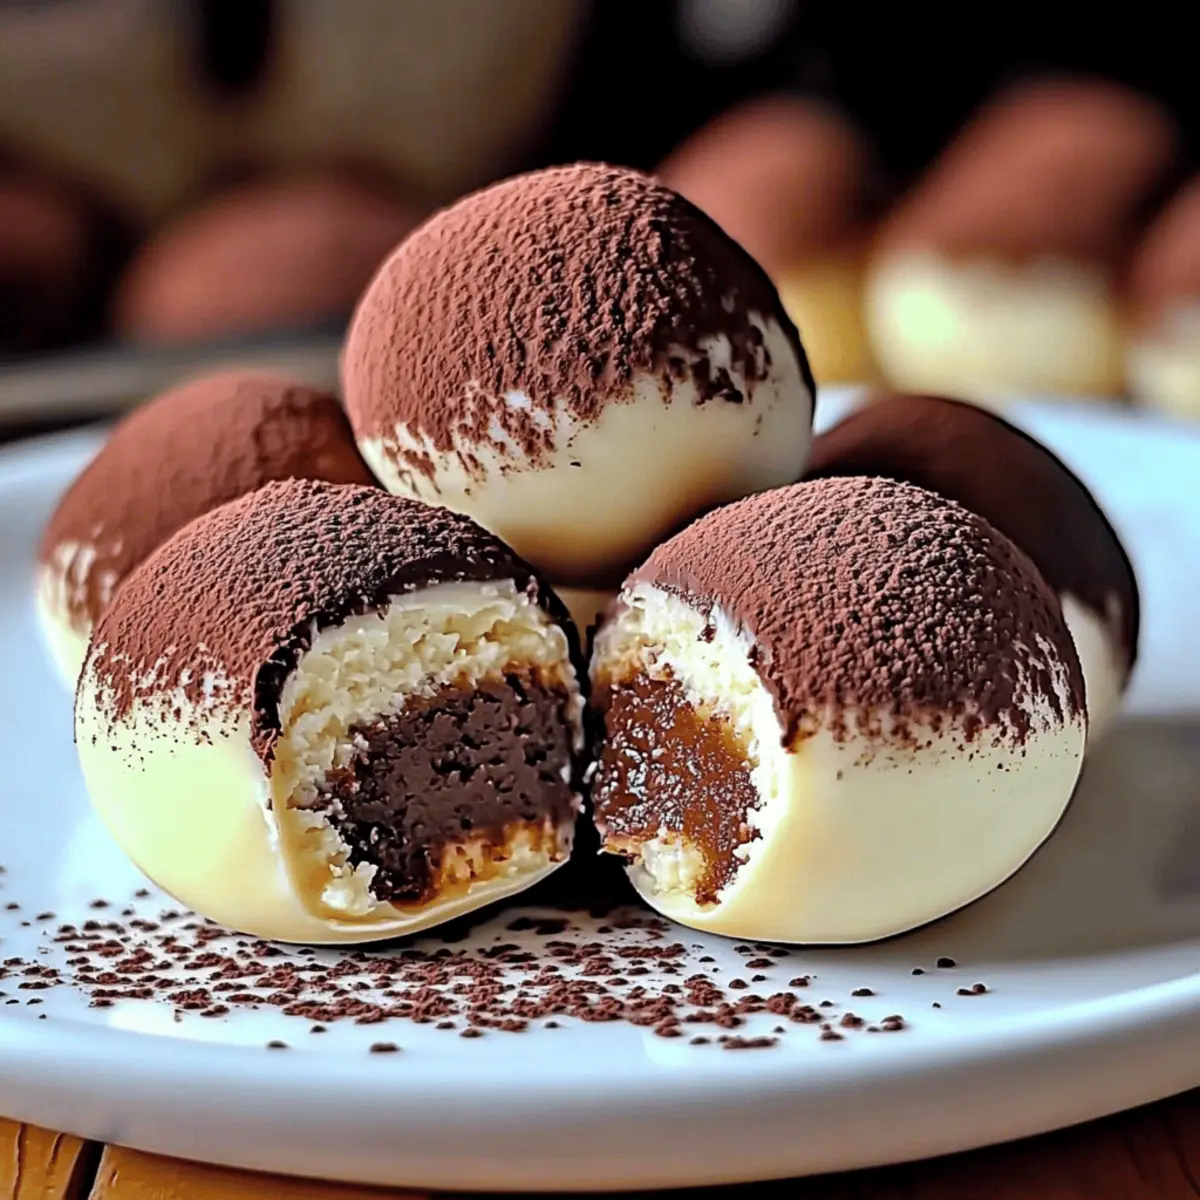
As the aroma of freshly brewed coffee fills the kitchen, I can’t help but smile at the thought of indulging in something special. If you’re craving a delightful twist on a classic, my Tiramisu Truffles Recipe will whisk you away to dessert heaven. These no-bake, bite-sized wonders combine a silky mascarpone center with rich chocolate and espresso, making every bite a perfect mix of creamy and bold flavors. Not only are they incredibly easy to whip up, but they also require no oven—ideal for those carefree days when you want a touch of elegance without the fuss. Whether you’re planning a gathering, looking for a thoughtful gift, or simply treating yourself, these truffles will certainly impress. Ready to learn how to make these irresistible morsels? Let’s dive in!
Why are Tiramisu Truffles a must-try?
Irresistible Flavor: These truffles marry rich chocolate and bold espresso for an unforgettable taste.
No-Bake Ease: Perfect for busy home cooks, this recipe requires no baking—just mix and chill!
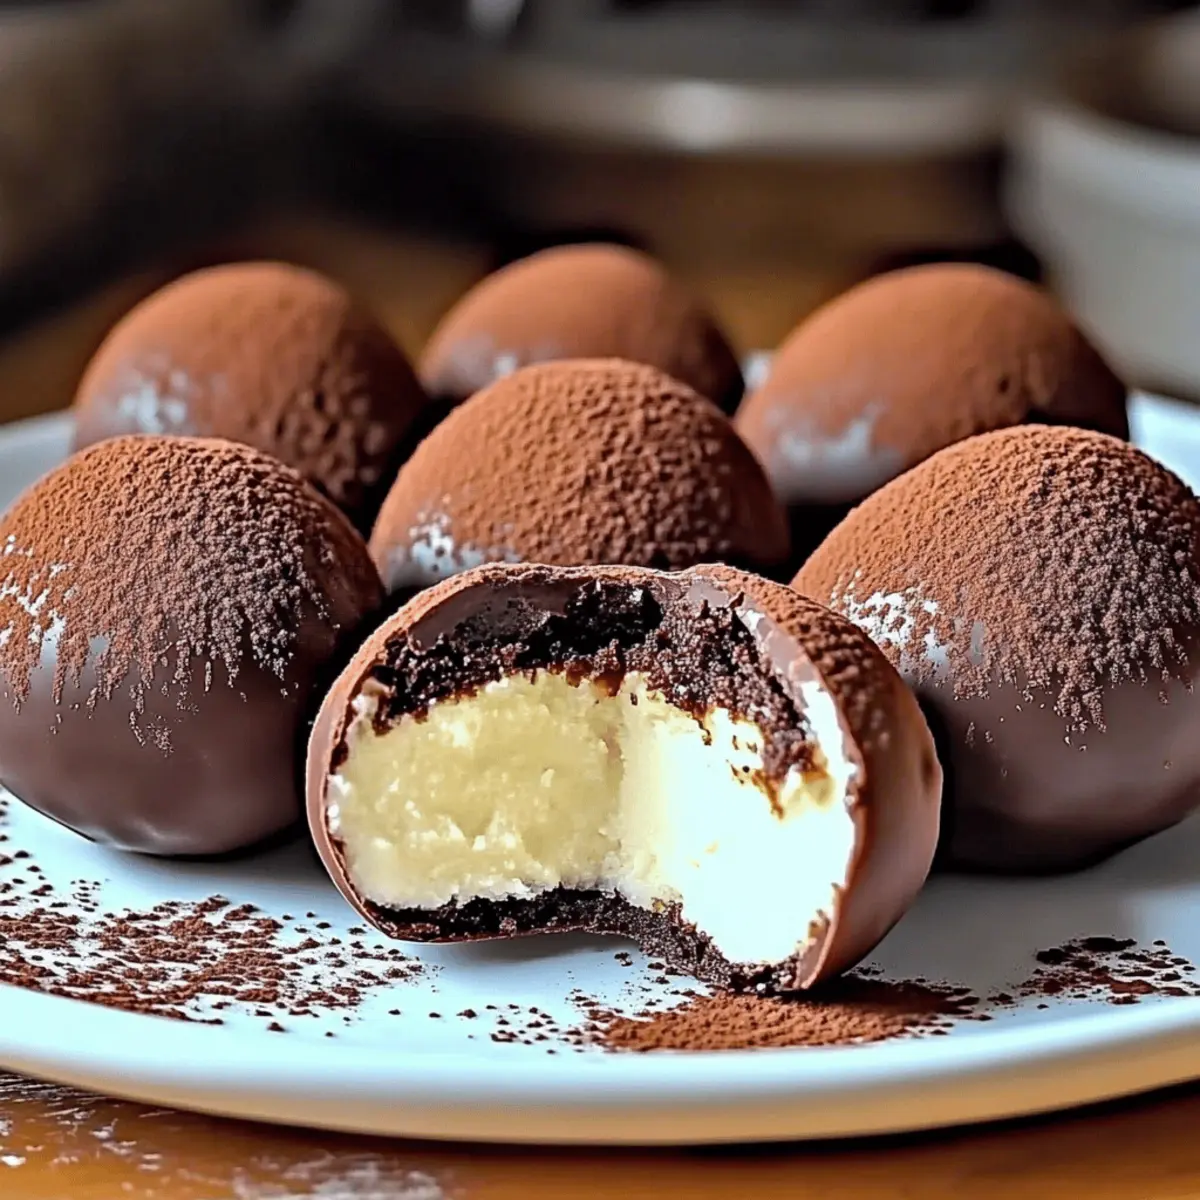
Elegant Presentation: Dusted with cocoa, these treats look as sophisticated as they taste, making them ideal for gatherings.
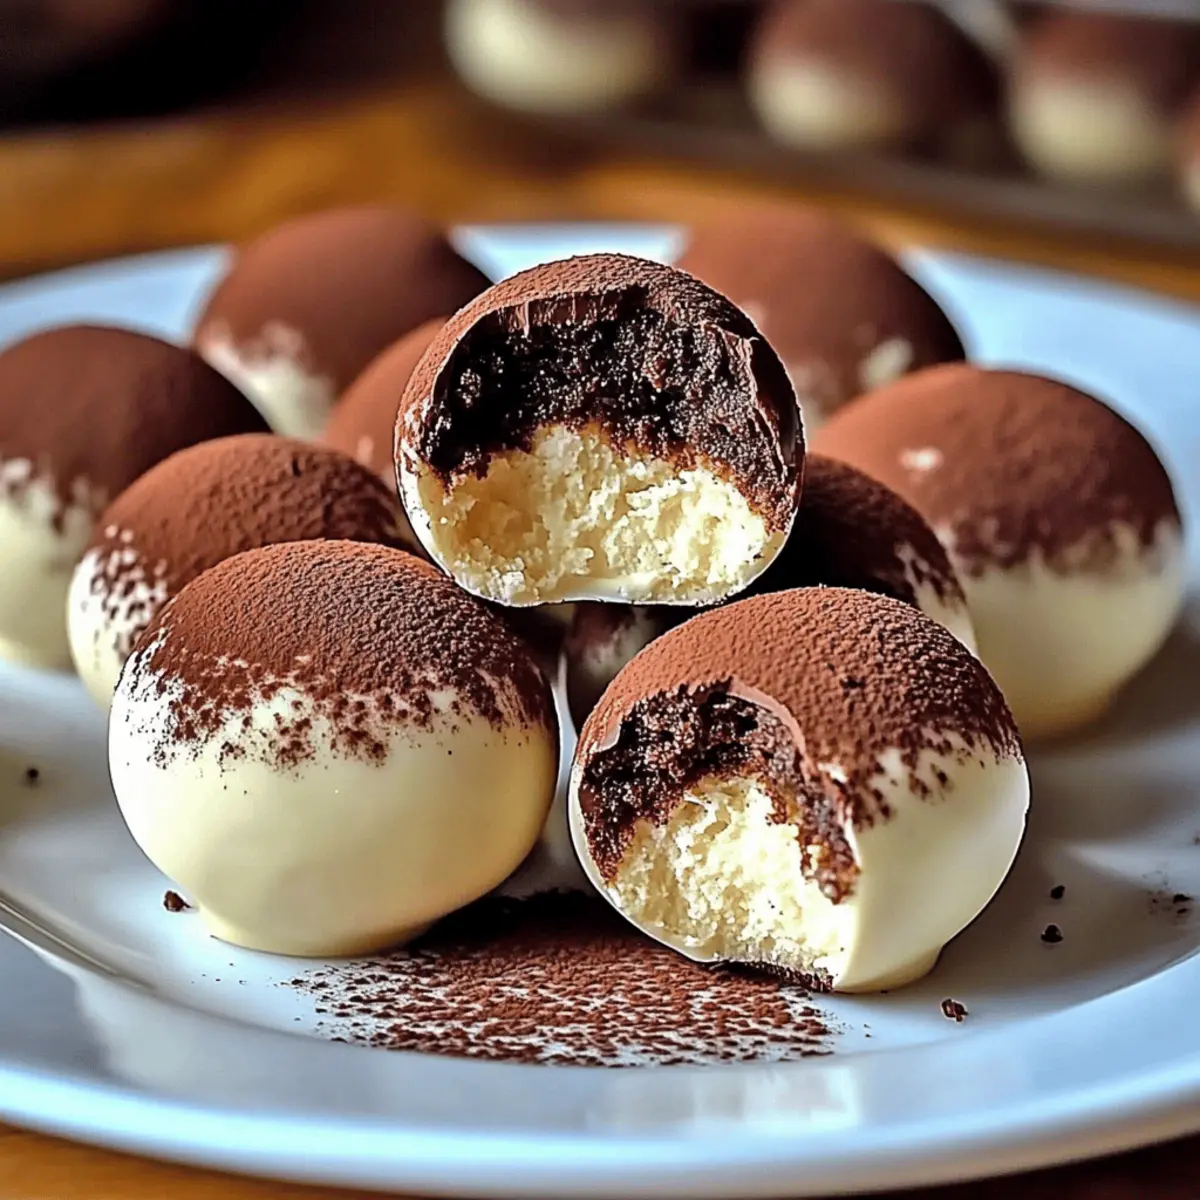
Versatile Variations: Customize by swapping ingredients, like using cream cheese instead of mascarpone or even drizzling with white chocolate for extra sweetness. If you’re seeking something unique, check out my Pumpkin Cream Cheese Muffins for a different flavor adventure.
Crowd-Pleasing Delight: Whether you serve them at a party or gift them to friends, they’re sure to impress with their elegance and flavor.
Tiramisu Truffles Recipe Ingredients
For the Truffle Base
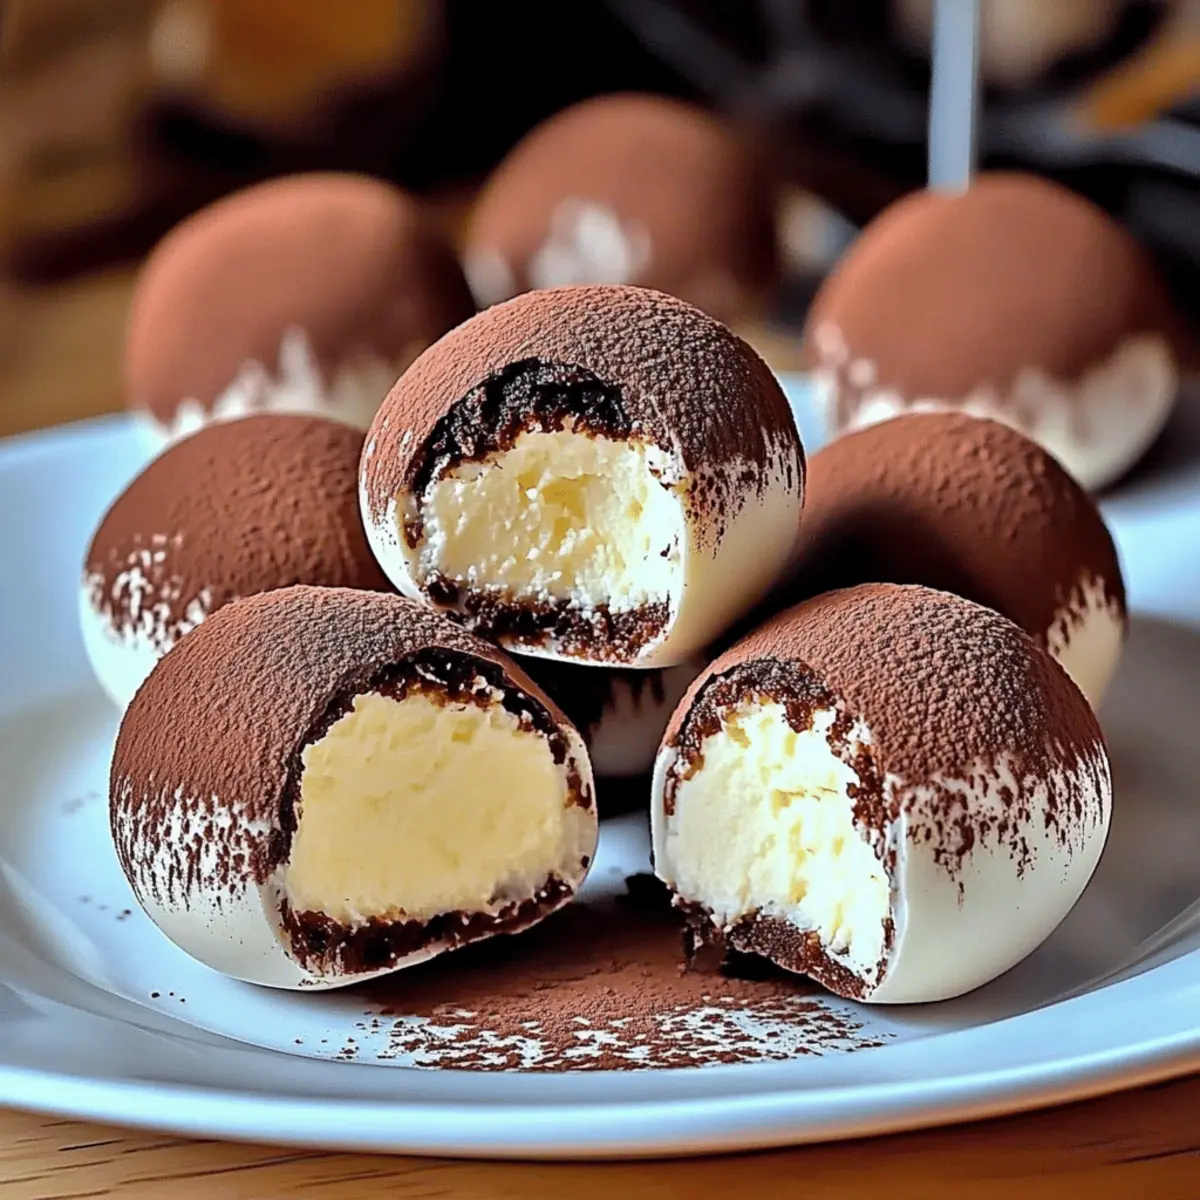
- Mascarpone Cheese – Provides a creamy and rich base for the truffles. Substitution: Cream cheese can be used but will alter flavor and texture.
- Powdered Sugar – Adds sweetness and helps create a smooth filling. Note: Best for texture; granulated sugar may result in graininess.
- Vanilla Extract – Enhances overall flavor. No substitutions necessary; optional for a different flavor profile.
- Espresso (or strong coffee) – Infuses the truffles with a bold, classic coffee flavor. Substitution: Decaf coffee for a kid-friendly version.
- Cocoa Powder – Adds a hint of chocolate bitterness and dusting for presentation. Extra for dusting.
- Ladyfinger Crumbs (or graham crackers) – Offers structural integrity and authentic tiramisu flavor. Must be crushed finely; ladyfingers are recommended for best flavor.
For the Chocolate Coating
- Semi-Sweet or Dark Chocolate – Coating that provides a rich chocolate shell. Milk chocolate can be used for a sweeter alternative.
- White Chocolate (optional) – Used for drizzling over the truffles for decoration. Optional for added sweetness and visual appeal.
For Garnishing
- Mini Chocolate Chips (optional) – Can be used as a garnish on the truffles. Add just before the chocolate sets for decoration.
With these delightful ingredients, you’ll be on your way to crafting the most indulgent Tiramisu Truffles you’ve ever tasted!
Step‑by‑Step Instructions for Tiramisu Truffles Recipe
Step 1: Prepare the Creamy Mixture
In a medium bowl, combine 8 oz of mascarpone cheese, 1 cup of powdered sugar, 1 tsp of vanilla extract, 2 tbsp of espresso, and 2 tbsp of cocoa powder. Use a spatula to mix until the ingredients are smooth and creamy, about 2-3 minutes. Look for a silky texture, free of lumps, which will be the base for your Tiramisu Truffles.
Step 2: Incorporate the Ladyfinger Crumbs
Next, gently fold in 1 cup of finely crushed ladyfinger crumbs into the creamy mixture until fully combined. The texture should now be thick enough to hold its shape when scooped. This step typically takes about 1-2 minutes of gentle folding. Ensure you don’t overmix, as you want to maintain that lovely softness of the filling.
Step 3: Chill the Mixture
Once fully combined, cover the bowl with plastic wrap and place it in the refrigerator for at least 1 hour. Chilling is essential for firming up the mixture, making it easier to scoop and roll into balls later. After an hour, you’ll notice it’s firm but still soft enough to shape, so it should hold together beautifully.
Step 4: Shape the Truffles
After chilling, take a small scoop of the mixture and roll it into 1-inch balls using your hands. Place the truffles on a parchment-lined baking sheet, ensuring they’re spaced apart. This process may take around 15 minutes, but it’s the key to creating those delightful, bite-sized treats that resemble classic tiramisu.
Step 5: Freeze to Set
Once shaped, place the tray of truffles in the freezer for 15-20 minutes. This step helps maintain their shape while you prepare the chocolate coating. You’ll know they’re ready when they feel firm to the touch; this firmer texture will help prevent cracking while dipping in chocolate.
Step 6: Melt the Chocolate
While the truffles are chilling, melt 8 oz of semi-sweet or dark chocolate using a double boiler or microwave. If using the microwave, heat in 30-second intervals, stirring between each, until the chocolate is smooth and glossy. The ideal consistency should be fluid, allowing for an even coating when you dip the truffles.
Step 7: Dip the Truffles
Carefully dip each chilled truffle into the melted chocolate, ensuring they’re fully coated. Allow any excess chocolate to drip off before placing them back onto the parchment-lined tray. This process can get a bit messy, so take your time, and soon you’ll see each Tiramisu Truffle looking elegantly coated.
Step 8: Dust and Decorate
Immediately after dipping, dust each truffle with cocoa powder for an authentic touch. If desired, drizzle with melted white chocolate for added sweetness and visual appeal. You can also sprinkle mini chocolate chips on top for a fun garnish. Work quickly, as the chocolate coating will begin to set as it cools.
Step 9: Harden and Enjoy
Let the truffles sit at room temperature for about 30 minutes, or refrigerate them until the chocolate coating has fully hardened. Once set, these delightful Tiramisu Truffles are ready to be enjoyed. Store any leftovers in an airtight container in the refrigerator for up to 3 days—if they last that long!
Expert Tips for Tiramisu Truffles
- Mind the Temperature: Ensure truffles are adequately chilled but not frozen before dipping; overly frozen truffles may crack the chocolate shell.
- Smooth Chocolate Coating: Allow melted chocolate to cool slightly before dipping for a smooth, even coating.
- Creative Add-Ins: Consider adding a splash of rum or coffee liqueur for an adult twist, or spices like cinnamon for added warmth.
- Flavor Variations: Don’t hesitate to swap ingredients, such as using cream cheese instead of mascarpone, to create your perfect Tiramisu Truffles recipe.
- Garnish Immediately: Dust truffles with cocoa powder or drizzle with white chocolate right after dipping, ensuring it sticks before the chocolate sets.
- Storage Secrets: Keep these truffles chilled in an airtight container in the fridge for up to 3 days, maintaining their delightful texture.
Tiramisu Truffles Recipe Variations
Feel free to mix things up and make these Tiramisu Truffles truly your own with these delightful variations!
-
Cream Cheese: Swap mascarpone with cream cheese for a tangier flavor and creamier texture. Just keep in mind, this will change the traditional taste slightly.
-
Decaf Espresso: Use decaffeinated espresso or strong coffee to create a kid-friendly version that everyone can enjoy without the caffeine jitters. They’ll still be delicious!
-
Flavor Extracts: Add a splash of almond or hazelnut extract to your truffle base for a unique twist. These extracts can give a warm, nutty aroma that’ll elevate your truffles to new heights.
-
Spice It Up: Incorporate spices like cinnamon, nutmeg, or even a bit of chili powder for a surprising kick. These warm spices will bring extra depth and holiday cheer to your truffles.
-
Milk Chocolate Coating: Use milk chocolate instead of semi-sweet or dark for a sweeter alternative that pairs beautifully with the bold flavors of espresso. This adjustment is perfect for anyone with a sweet tooth!
-
Mini Chocolate Chips: Fold in mini chocolate chips into the creamy mixture before chilling for a delightful texture twist that adds a fun surprise with every bite.
-
No-Bake Cheesecake Fill: For a playful variation, replace the truffle base with no-bake cheesecake filling. This creamy and dreamy filling will give your truffles a richness that’s simply irresistible. If you’re in the mood for something else, why not try my Brownie Waffle recipe for a delightful treat?
-
White Chocolate Drizzle: Enhance the sweetness by drizzling melted white chocolate over the finished truffles before serving. This elegant touch adds a charming visual appeal that’s sure to impress.
Exploring these variations will not only enrich your Tiramisu Truffles but create delightful surprises for your taste buds! Enjoy your creative culinary journey!
Storage Tips for Tiramisu Truffles
Fridge: Store your Tiramisu Truffles in an airtight container in the fridge for up to 3 days to maintain their fresh flavor and creamy texture.
Freezer: For longer storage, freeze the truffles in a single layer on a baking sheet before transferring them to an airtight container. They can be frozen for up to 3 months.
Defrosting: When ready to enjoy, transfer the desired number of frozen truffles to the fridge and let them thaw overnight. This ensures they maintain their rich, creamy center.
Reheating: There’s no need to reheat the truffles; they’re designed to be enjoyed chilled. Simply enjoy them straight from the fridge or at room temperature!
Make Ahead Options
These Tiramisu Truffles are perfect for busy home cooks looking to save time! You can prepare the creamy mixture and refrigerate it up to 24 hours in advance—just be sure to cover it tightly to maintain freshness. After chilling, shape the truffles and freeze them for about 15-20 minutes to help them keep their form while dipping in chocolate. When you’re ready to serve, simply dip the truffles in melted chocolate, dust with cocoa, and optional drizzle of white chocolate. They’ll be just as delicious, allowing you to impress your guests without the last-minute rush!
What to Serve with Tiramisu Truffles
Indulging in Tiramisu Truffles invites a delightful exploration of flavors and textures that can elevate your entire dessert experience.
- Rich Espresso: A freshly brewed cup enhances the coffee notes in the truffles, creating a harmonious pairing that’s simply irresistible.
- Vanilla Ice Cream: The creaminess of vanilla ice cream balances the rich flavors of the truffles and adds a refreshing contrast. Perfect for mixing temperatures!
- Fresh Berries: Raspberries or strawberries add a pop of color and a tartness that beautifully offsets the sweetness of the truffles, brightening every bite.
- Chocolate-Covered Almonds: These crunchy delights resonate with the chocolate in the truffles while adding complexity with a nutty texture—brilliant for a sophisticated nibble.
- Dessert Wine: A sweet Moscato or a rich port pairs elegantly, enhancing the dessert without overpowering the nuanced flavors of the truffles.
- Creamy Cheesecake: Serve alongside mini cheesecakes for a decadent dessert platter that offers a delightful blend of flavors and textures.
- Hazelnut Coffee: Brewed hazelnut coffee plays on the nutty undertones of espresso, adding complexity to your Tiramisu Truffles experience.
- Chocolate Mousse: A light, fluffy chocolate mousse brings a luxurious touch that complements the rich, creamy center of the truffles beautifully.
Tiramisu Truffles Recipe FAQs
How do I select ripe ingredients for my Tiramisu Truffles?
Absolutely! For the best flavor, choose fresh mascarpone cheese; it should be smooth and creamy with no sour smell. When selecting espresso, look for a strong brew made from freshly ground coffee beans for that bold flavor. Fresh powdered sugar should be fine and clump-free to ensure a smooth texture.
What is the best way to store Tiramisu Truffles, and how long do they last?
You can store your Tiramisu Truffles in an airtight container in the refrigerator for up to 3 days. Make sure they’re kept in a cool area to preserve their creamy texture and rich flavor. If you find yourself with leftovers (which can be hard!), simply seal them tight to maintain their fresh taste!
Can I freeze Tiramisu Truffles, and how should I do it?
Absolutely! To freeze your Tiramisu Truffles, first place them in a single layer on a baking sheet and freeze for 1-2 hours. After they are firm, transfer them to an airtight container, separating layers with parchment paper, to prevent sticking. They can be frozen for up to 3 months. When you’re ready, just thaw them in the refrigerator overnight before enjoying.
What should I do if my truffle mixture is too soft to shape?
No worries! If your mixture seems too soft, it may need a bit more chilling time. Place the bowl back in the fridge for another 30 minutes, making sure it firms up enough to hold its shape. If it remains too soft, you can gradually fold in more crushed ladyfinger crumbs until you achieve the right consistency.
Are there any dietary considerations for Tiramisu Truffles?
Very! If you’re making these for someone with dietary restrictions, you can substitute cream cheese for a gluten-free option by using gluten-free ladyfingers. If it’s for kids, opt for decaf coffee instead of espresso. And be sure to check for allergies to dairy or chocolate before treating your loved ones to these delightful bites!
What’s the best way to achieve an elegant presentation for my Tiramisu Truffles?
For an elegant finish, dust your truffles with cocoa powder right after dipping them in chocolate. You can also drizzle them with melted white chocolate before the coating sets to add a beautiful contrast. Adding mini chocolate chips just before the chocolate hardens gives them a delightful touch, making them perfect for gatherings and gifts!
Decadent Tiramisu Truffles Recipe for Easy Indulgence
Ingredients
Equipment
Method
- In a medium bowl, combine mascarpone cheese, powdered sugar, vanilla extract, espresso, and cocoa powder. Mix until smooth and creamy, about 2-3 minutes.
- Gently fold in finely crushed ladyfinger crumbs into the creamy mixture until fully combined, about 1-2 minutes.
- Cover the bowl with plastic wrap and refrigerate for at least 1 hour.
- Roll the mixture into 1-inch balls and place them on a parchment-lined baking sheet.
- Place the tray in the freezer for 15-20 minutes to firm up.
- Melt the chocolate in a double boiler or microwave until smooth and glossy.
- Dip each truffle into the melted chocolate, ensuring they are fully coated.
- Dust each truffle with cocoa powder and drizzle with melted white chocolate if desired.
- Let the truffles sit at room temperature for about 30 minutes until the coating has hardened.
Leave a Reply