
As I stirred the vibrant orange Thai tea mix into the cream, a wave of nostalgia washed over me, transporting me straight to bustling markets of Thailand. This Thai Tea Crème Brûlée is my favorite fusion dessert, cleverly merging the creamy richness of a classic French recipe with the aromatic undertones of Thai tea. Not only does this elegant treat offer a unique flavor twist that always impresses my guests, but it’s also surprisingly simple to whip up! With just a few ingredients and easy steps, you can create a dessert that feels indulgent while satisfying your sweet tooth. Ready to brighten up your kitchen and taste buds? Let’s dive into this delightful recipe!
Why is This Dessert So Unique?
Fusion of Flavors: This Thai Tea Crème Brûlée combines the traditional creamy custard of French cuisine with the exotic aromas of Thai tea, offering a delightful flavor journey.
Effortless Elegance: You’ll impress your guests with a dessert that looks as exquisite as it tastes, yet it’s easy enough for any home cook to master.
Versatile Ingredients: Feel free to experiment! Substitute Thai tea with matcha for a vibrant green version or try coconut milk for a dairy-free option.
Crowd-Pleasing Treat: Perfect for entertaining, this dessert sparkles at dinner parties and festive gatherings. Serve it chilled with fresh fruit or a dollop of whipped cream to elevate the experience.
Whether you love crème brûlée or are looking to explore creative desserts, this recipe promises to enchant your taste buds!
Thai Tea Crème Brûlée Ingredients
For the Custard Base
• Heavy Cream – Primary base for the custard; can substitute with half-and-half for a lighter version.
• Thai Tea Mix – Adds distinctive flavor and color; can substitute with regular black tea if not available.
• Egg Yolks – Essential for achieving traditional creamy custard texture.
• Granulated Sugar – Sweetener that balances flavors; brown sugar can be used for a deeper flavor.
• Vanilla Extract – Enhances overall flavor; omitting it is fine, but it adds a lovely depth.
For the Baking Process
• Hot Water – Used in the water bath to ensure even baking; hot but not boiling water keeps the custard smooth.
Transform your dessert experience with this Thai Tea Crème Brûlée recipe, combining comforting creaminess with an exotic twist!
Step‑by‑Step Instructions for Thai Tea Crème Brûlée
Step 1: Prepare Custard
Start by microwaving 2 cups of heavy cream for about 1 minute until it’s warm but not boiling. Once heated, add 3 tablespoons of Thai tea mix, stirring gently to combine. Allow the mixture to steep for 20 minutes so the flavors of the tea can infuse beautifully into the cream.
Step 2: Preheat Oven
While your cream is steeping, preheat your oven to 325°F (163°C). This temperature is essential for baking the custard evenly and achieving that silky texture typical of a perfect Thai Tea Crème Brûlée.
Step 3: Strain Cream
Take a fine mesh sieve and strain the steeped cream to remove the Thai tea leaves, ensuring your custard is smooth. Next, return the strained cream to the saucepan and gently heat until it’s hot, but avoid boiling to keep the texture creamy.
Step 4: Mix Eggs and Sugar
In a mixing bowl, whisk together 5 large egg yolks and ½ cup of granulated sugar until the mixture is pale and smooth. This step is key in creating the proper custard consistency in your Thai Tea Crème Brûlée.
Step 5: Temper Eggs
Gradually pour a small amount of the hot cream into the egg yolk mixture, whisking continuously to prevent curdling. Slowly add the rest of the hot cream while whisking until everything is well combined and silky.
Step 6: Add Vanilla
Stir in 1 teaspoon of vanilla extract into the custard mixture for that extra layer of flavor. Remove the saucepan from heat and set it aside as you prepare to bake.
Step 7: Prepare for Baking
Ladle the custard evenly into 6 ramekins. Place these ramekins inside a larger baking dish and carefully fill the dish with hot water until it reaches halfway up the sides of the ramekins. This water bath helps regulate the baking temperature.
Step 8: Bake
Slide the baking dish into the preheated oven and bake for 35-40 minutes. The custard should jiggle slightly in the center, resembling set jello, indicating it’s ready and just the right texture for your Thai Tea Crème Brûlée.
Step 9: Cool
Once baked, remove the ramekins from the water bath and allow them to cool at room temperature for about 2 hours. This step is crucial for stabilizing the custard before transferring them to the refrigerator to chill overnight.
Step 10: Caramelize Sugar
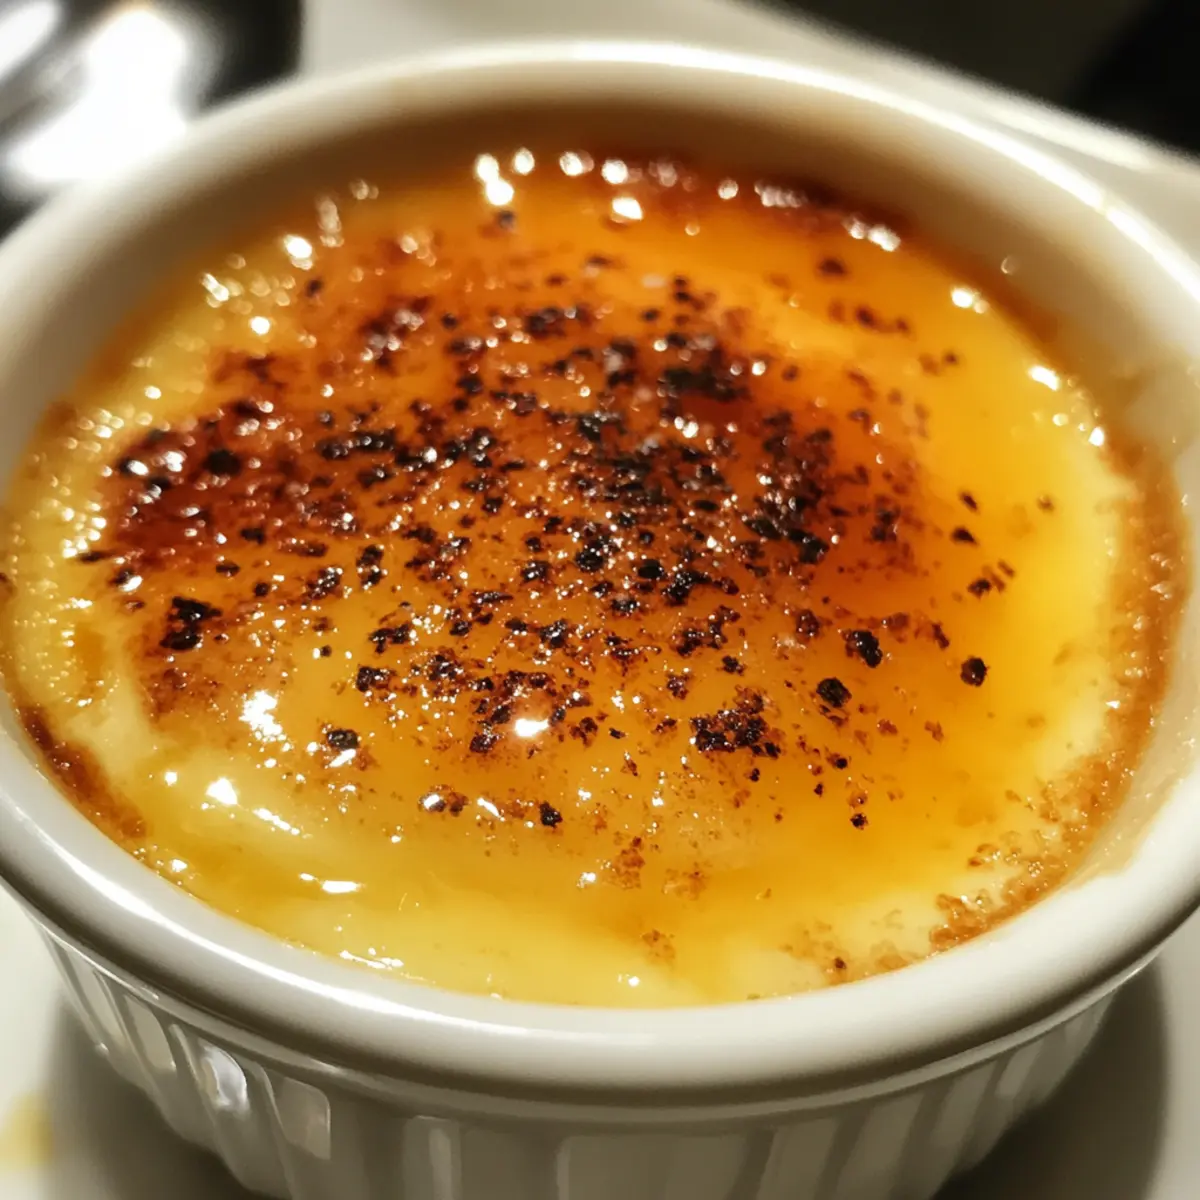
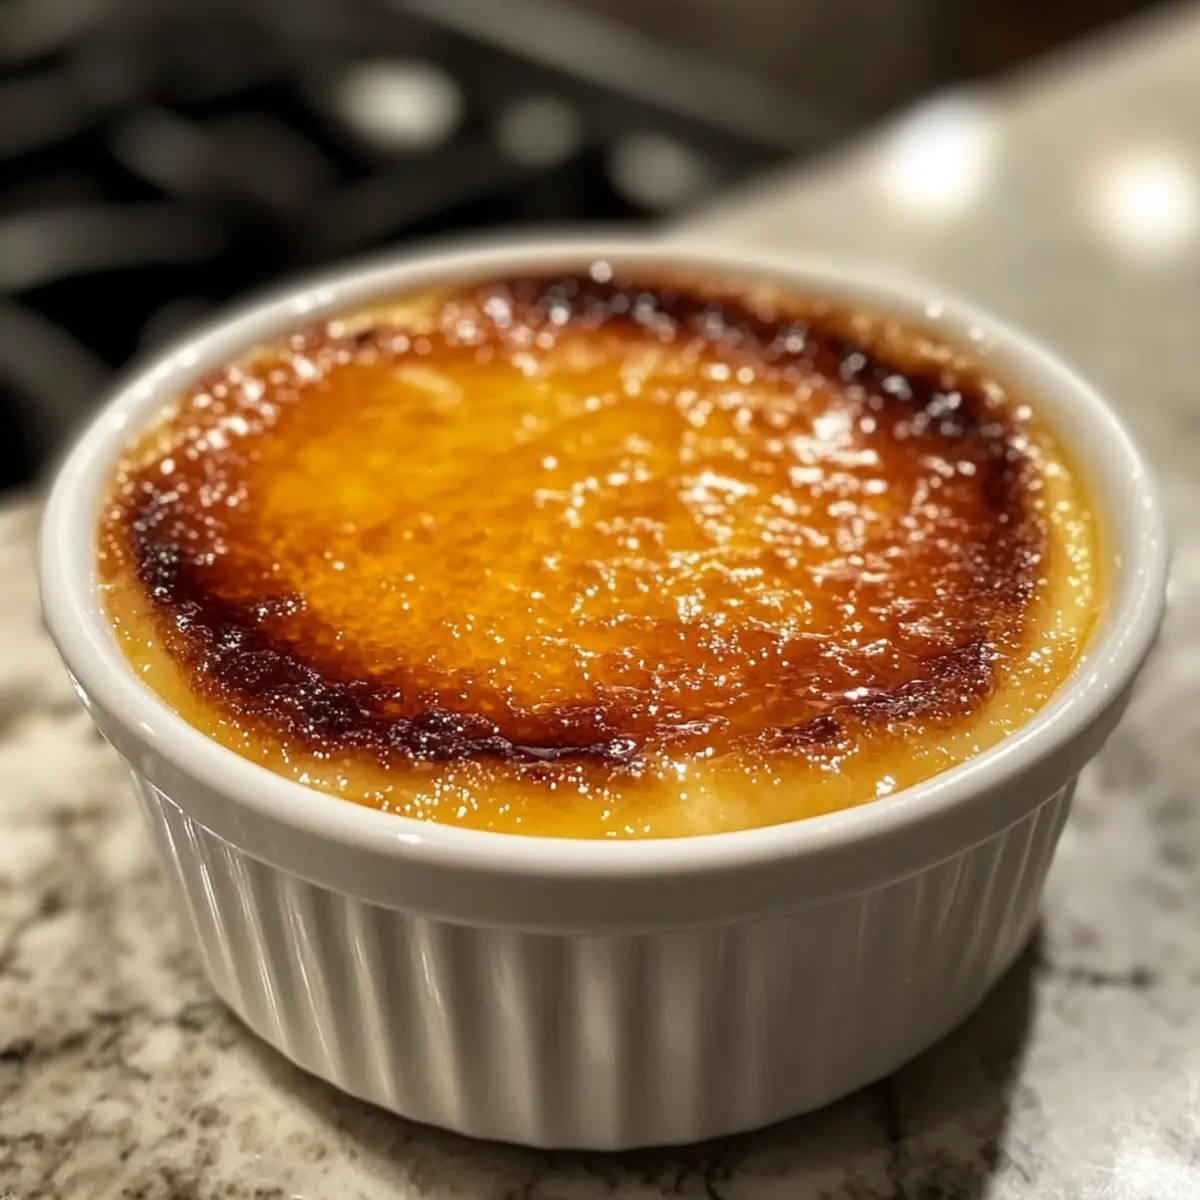
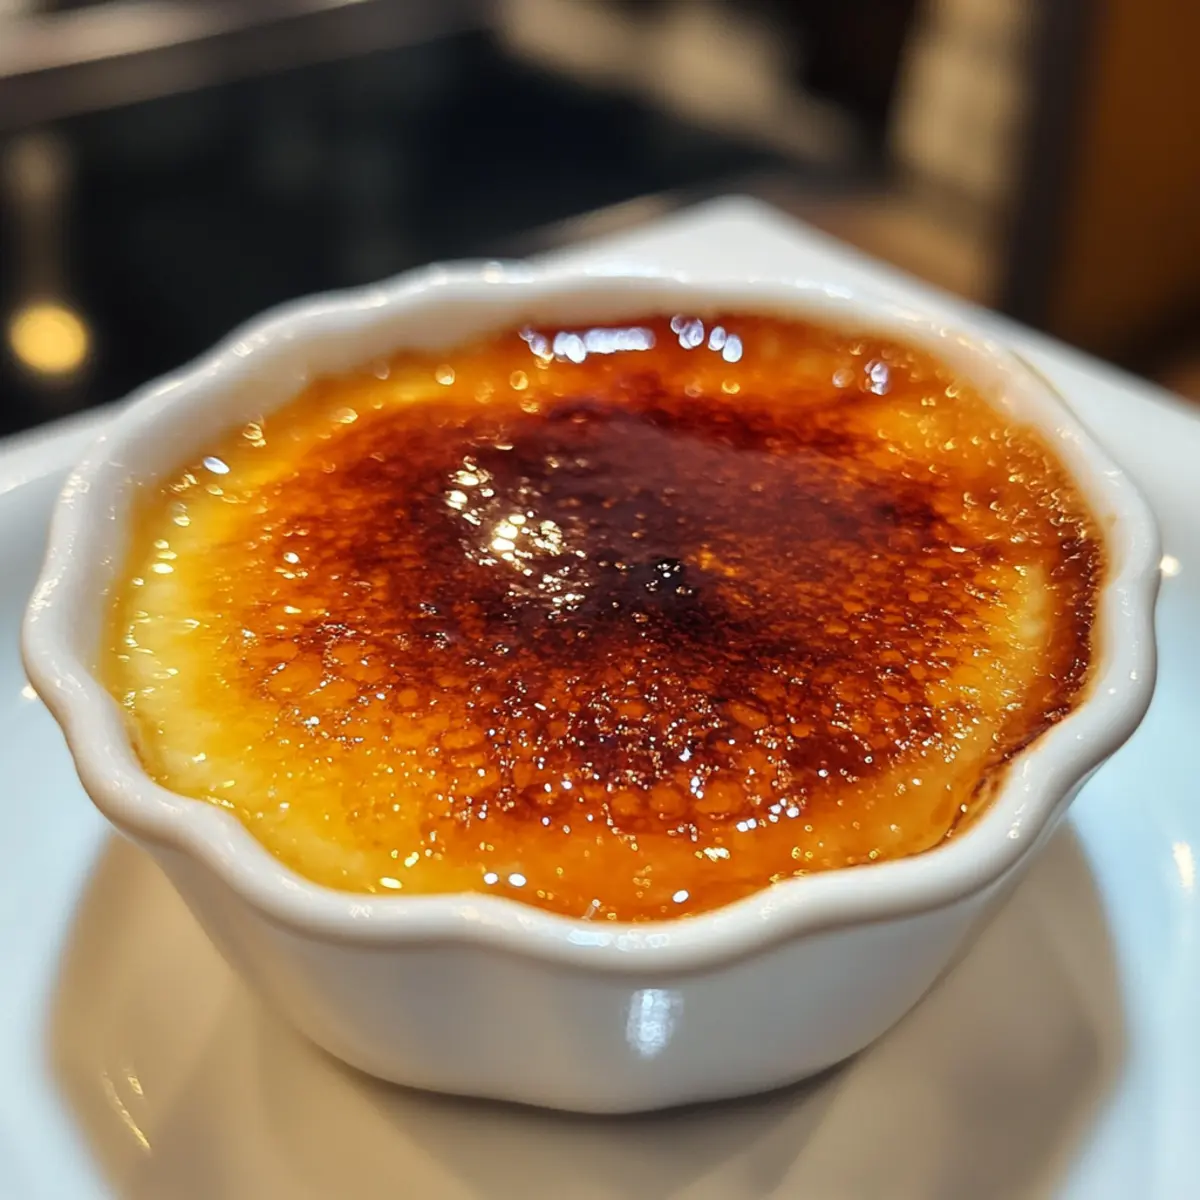
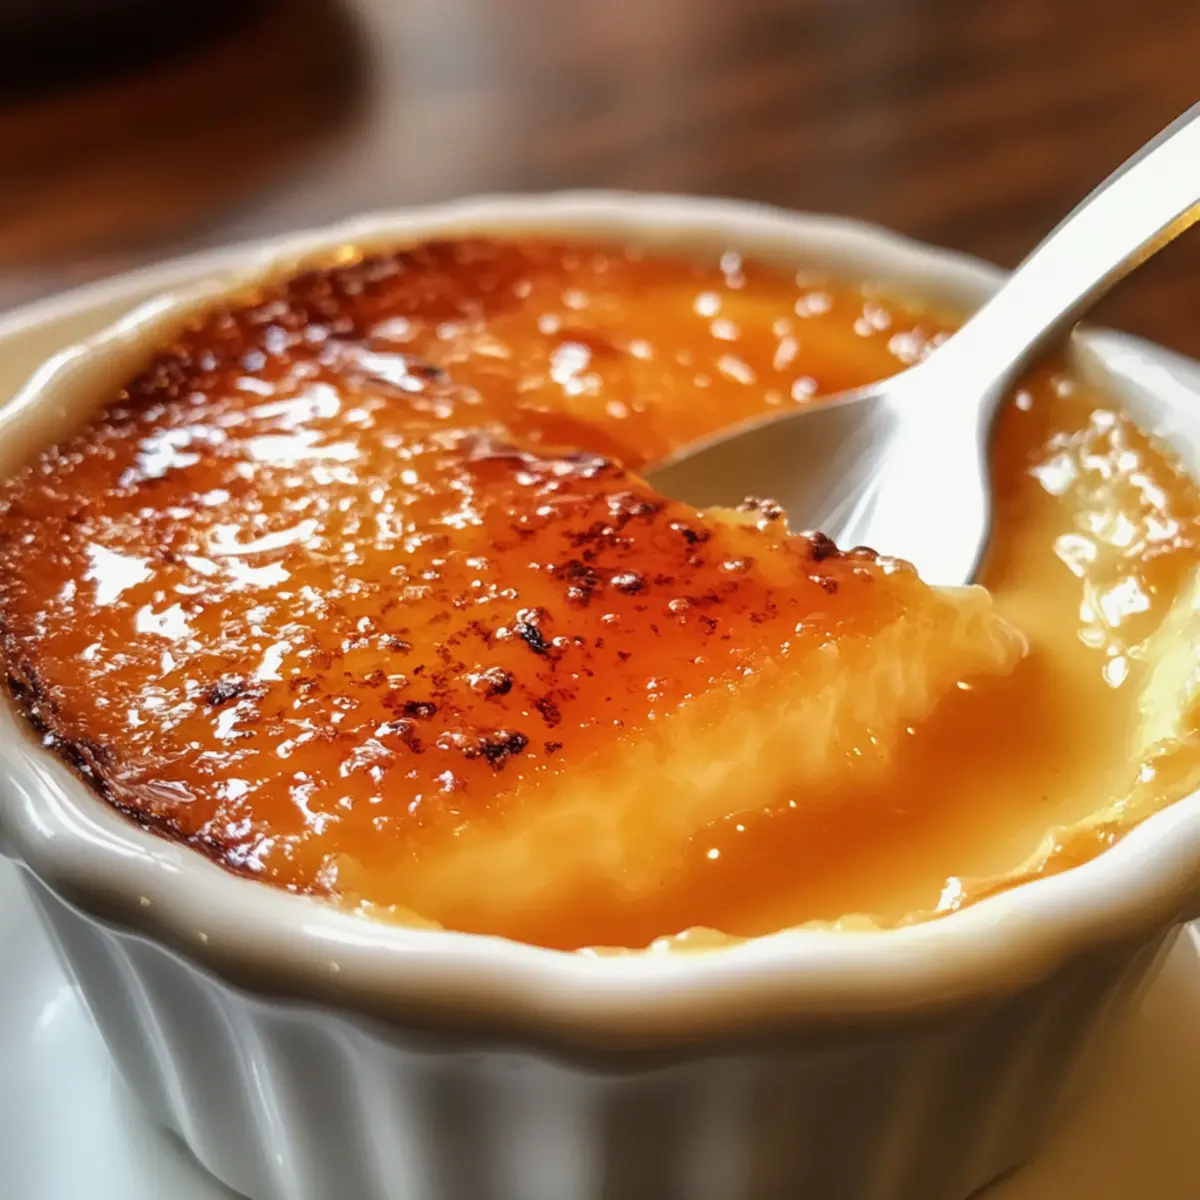
When ready to serve, sprinkle a thin, even layer of sugar over the chilled custards. Using a kitchen torch, caramelize the sugar until it forms a crispy, golden crust that contrasts beautifully with the creamy custard below.
How to Store and Freeze Thai Tea Crème Brûlée
Fridge: Store any leftover Thai Tea Crème Brûlée in an airtight container in the refrigerator for up to 3 days. It’s best to keep the sugar topping separate until you’re ready to serve to maintain its crispiness.
Freezer: For longer storage, you can freeze the custard base without the caramelized sugar layer. Place it in a freezer-safe container for up to 1 month. Thaw in the refrigerator overnight before reheating.
Reheating: When you’re ready to enjoy your frozen Thai Tea Crème Brûlée, gently reheat it in a water bath until warmed through. Then, top with a fresh layer of sugar and caramelize before serving.
Make-Ahead Tip: This dessert can be made up to 2 days in advance. Just ensure it is tightly covered to protect its creamy texture while in the fridge.
Make Ahead Options
These Thai Tea Crème Brûlée are perfect for busy home cooks and meal prep enthusiasts! You can prepare the custard up to 24 hours in advance by following all the steps until the cooling process. Once cooled, simply cover each ramekin tightly with plastic wrap and refrigerate them. To maintain quality and prevent the custard from absorbing odors, ensure they are completely covered. When it’s time to serve, just remove them from the fridge and caramelize the sugar on top before indulging in this creamy dessert. With this make-ahead option, you can offer a restaurant-quality treat with minimal effort when your guests arrive!
What to Serve with Thai Tea Crème Brûlée
Complete your delightful dessert experience with a thoughtfully curated selection of pairings that enhance the creamy richness of your Thai Tea Crème Brûlée.
- Fresh Berries: Juicy strawberries and raspberries add a refreshing tartness, balancing the sweetness of the brûlée beautifully.
- Coconut Whipped Cream: A luscious, airy topping that complements the Thai tea flavors while adding tropical flair.
- Crunchy Biscotti: The crisp texture of almond or coconut biscotti provides a delightful contrast to the smooth custard. It’s also perfect for dipping!
- Ice Cream Sandwich: A scoop of coconut or vanilla ice cream nestled between two delicate cookies creates a lovely palate cleanser.
Imagine serving your crème brûlée alongside a bowl of fresh vanilla scented berries. The pop of flavors creates a medley that enchants every guest!
- Mint Tea: The refreshing notes of mint tea are harmonious with the rich custard, providing a refreshing finish after the sweet indulgence.
- Mango Sorbet: This silky dessert adds a sweet, fruity note that pairs wonderfully with the spiced undertones of the Thai tea.
- Espresso: A shot of rich espresso or a café au lait not only enhances the flavors but also provides a luxurious finish to your meal.
- Chocolate Drizzles: A delicate drizzle of dark chocolate sauce over the top adds an extra layer of indulgence and richness, making each bite even more special.
Thai Tea Crème Brûlée Variations
Feel free to get creative with your Thai Tea Crème Brûlée—it’s a versatile canvas for your flavor explorations!
-
Matcha Twist: Swap Thai tea for matcha for a vibrant green dessert that’s just as creamy and delicious.
-
Dairy-Free: Use coconut milk instead of heavy cream for a rich, tropical alternative that everyone can enjoy.
-
Spiced Up: Add a pinch of cardamom or star anise to the custard for an aromatic twist that elevates each bite.
-
Fruit Fusion: Mix in pureed mango or passion fruit with the custard for fruity notes that bring a zing to this classic.
-
Nutty Delight: Incorporate crushed almonds or pistachios into the custard as a beautiful contrast in flavor and texture.
-
Coffee Lover’s Dream: Blend in a shot of espresso or strong coffee for a caffeine-kissed crème brûlée that will delight your senses.
-
Chocolate Indulgence: Mix in cocoa powder for a decadent chocolate version that pairs wonderfully with the creaminess of the custard.
If you love exploring new flavors, consider taking inspiration from my Matcha Green Tea Cookies or try adding a touch of heat inspired by my Cheesesteak Tortellini Comforting dish for a unique culinary experience!
Expert Tips for Thai Tea Crème Brûlée
• Accurate Temperature: Ensure your oven is precisely set at 325°F. An oven thermometer can help avoid undercooking or burning the custard.
• Jiggle Test: The center of your crème brûlée should jiggle slightly when done. Overbaking can lead to curdled texture, so keep a close eye on the timing.
• Chill Properly: For best flavor and texture, chill your Thai Tea Crème Brûlée overnight. This allows the flavors to meld beautifully and makes for a richer dessert.
• Use Quality Ingredients: Opt for a high-quality Thai tea mix for the most authentic flavor. The better your ingredients, the better your dessert will be!
• Mind the Sugar Layer: When caramelizing, use an even layer of granulated sugar. Too thick, and it won’t caramelize properly; too thin, and you won’t get that lovely crunch.
Thai Tea Crème Brûlée Recipe FAQs
What kind of Thai tea mix should I use?
Absolutely! Using a high-quality Thai tea mix is key to achieving that unique flavor profile you want in your Thai Tea Crème Brûlée. Look for blends that contain natural ingredients and deliver a vibrant orange color. If you can’t find Thai tea mix, a regular black tea can be used as a substitute, although the flavor will differ slightly.
How do I store leftover crème brûlée?
Very simply! Store any leftover Thai Tea Crème Brûlée in an airtight container in the refrigerator. It will keep well for up to 3 days. For the best experience, it’s advisable to leave the sugar topping for when you’re ready to serve, helping maintain that lovely crispy texture.
Can I freeze Thai Tea Crème Brûlée?
Yes! To freeze your Thai Tea Crème Brûlée, it’s best to do so before adding the caramelized sugar layer. Pour the custard into a freezer-safe container and freeze it for up to 1 month. When you’re ready to enjoy it, thaw it overnight in the refrigerator, and then reheat gently in a water bath until warmed through before adding fresh sugar on top and caramelizing.
How can I troubleshoot if my crème brûlée curdles?
Absolutely, I can help with that! If your Thai Tea Crème Brûlée curdles, it may be due to overheating the egg mixture or baking at a temperature that’s too high. To prevent curdling, ensure you are mixing the hot cream gradually into the egg mixture, whisking continuously. Bake at an accurate temperature of 325°F (163°C) for the recommended time, and always perform the jiggle test to check doneness. If it’s curdled, don’t fret—it’s still delicious, just a different texture!
Is there a dairy-free option for this recipe?
Yes! For a delightful dairy-free version, you can use full-fat coconut milk instead of heavy cream in your Thai Tea Crème Brûlée. This swap will add a lovely tropical twist while maintaining the creamy profile. Just ensure your Thai tea mix doesn’t contain any dairy products, and you’re all set for a delicious dairy-free dessert!
Thai Tea Crème Brûlée: A Creamy Twist on a Classic Delight
Ingredients
Equipment
Method
- Microwave 2 cups of heavy cream for about 1 minute until warm but not boiling. Stir in 3 tablespoons of Thai tea mix and steep for 20 minutes.
- Preheat your oven to 325°F (163°C).
- Strain the steeped cream through a fine mesh sieve to remove the tea leaves.
- Whisk together 5 large egg yolks and ½ cup of granulated sugar until pale and smooth.
- Gradually pour a small amount of hot cream into the egg yolk mixture while whisking continuously, then mix in the remaining cream.
- Stir in 1 teaspoon of vanilla extract into the custard mixture.
- Ladle the custard into 6 ramekins, place them in a baking dish, and fill with hot water halfway up the sides of the ramekins.
- Bake for 35-40 minutes until the custard jiggles slightly in the center.
- Remove from the oven and cool at room temperature for about 2 hours, then refrigerate overnight.
- When ready, sprinkle sugar over the chilled custards and use a kitchen torch to caramelize.
Leave a Reply