
As I was whisking together ingredients, I couldn’t help but reminisce about cozy winter evenings spent by the fireplace, wrapped in a warm blanket, and dreaming of delightful desserts. This Red Velvet Creme Brulee is my homage to those moments, transforming a classic French treat into a festive showstopper perfect for Valentine’s Day. Not only is it gluten-free, but it’s also surprisingly easy to make, allowing you to impress your loved ones without spending hours in the kitchen. The velvety custard, tinged with chocolate and that iconic red hue, paired with a crackling caramelized sugar top, brings a playful twist to every spoonful. Ready to elevate your dessert game and wow your guests? Let’s dive into this luxurious recipe together and discover the magic of Red Velvet Creme Brulee!
Why is Red Velvet Creme Brulee Irresistible?
Velvety Smoothness: This dessert delivers a luscious, creamy texture that melts in your mouth, making it a decadent treat you won’t soon forget.
Simple Elegance: With straightforward steps, you can impress your guests without the fuss of complicated techniques.
Festive Flair: Its vibrant red color and rich flavor make it a showstopper for special occasions like Valentine’s Day.
Versatile Delight: Pair it with seasonal fruits like strawberries or opt for a splash of liqueur for an adult twist, just like in my Layered Zucchini Ricotta dish!
Gluten-Free Wonder: Perfect for anyone looking to enjoy a delicious dessert without worry, making it inclusive for all dining experiences.
Crowd-Pleasing Treat: Whether it’s a cozy dinner or a lavish celebration, this Red Velvet Creme Brulee guarantees smiles all around!
Red Velvet Creme Brulee Ingredients
For the Custard
- Egg Yolks – Essential for creating that rich, custardy base, ideally fresh and at room temperature for the best results.
- Granulated Sugar – Adds sweetness and aids in the caramelization; consider using brown sugar for a deeper flavor profile.
- Cocoa Powder – Imparts a subtle chocolate flavor while enriching the dessert’s red hue; sifted cocoa powder ensures a silky custard.
- Heavy Cream – The key to a luxuriously creamy texture; substituting with half-and-half can lighten it up, but may alter the consistency.
- Vanilla Extract – Enhances the overall flavor; opt for pure vanilla extract to achieve the best taste.
- Red Gel Food Coloring – Gives that striking red color characteristic of Red Velvet; adjust the amount for the intensity you desire.
- Salt – A vital element that balances sweetness and elevates the flavors in the custard.
For the Topping
- Fine Sugar – Crucial for creating that delightful crispy caramelized layer on top; use a light, even dusting for the best results.
Now that you have all the ingredients ready, you’re one step closer to creating a stunning Red Velvet Creme Brulee that’s sure to impress!
Step‑by‑Step Instructions for Red Velvet Creme Brulee
Step 1: Preheat the Oven
Begin by preheating your oven to 325°F (163°C). This step is crucial as it ensures your Red Velvet Creme Brulee cooks evenly. While the oven heats up, you can prepare the ramekins and the custard mixture, streamlining your dessert-making process.
Step 2: Set Up Ramekins
Place six ramekins into a roasting pan, ensuring they’re evenly spaced. This setup is vital for creating a gentle water bath while baking. Adding a water bath during cooking helps maintain the custard’s creamy texture, providing a smooth finish to your Red Velvet Creme Brulee.
Step 3: Mix Egg Yolks and Sugar
In a large mixing bowl, whisk together the egg yolks, granulated sugar, and salt until fully combined and the mixture takes on a pale yellow color, about 2 minutes. This incorporation of air into the yolks will add richness to your custard and enhance the final flavor of your Red Velvet Creme Brulee.
Step 4: Add Cocoa Powder
Sift the cocoa powder into the egg mixture and stir thoroughly until fully incorporated and smooth. This step not only adds a hint of chocolate flavor but also deepens the vibrant color of your custard, ensuring that your Red Velvet Creme Brulee looks as delicious as it tastes.
Step 5: Incorporate Gel Food Coloring
Next, pour in the red gel food coloring and mix well until the entire egg mixture is uniformly colored. Adjust the amount of food coloring according to your preference for intensity; the blend should delightfully resemble the rich hue of a classic red velvet treat by now.
Step 6: Heat the Cream
In a saucepan, heat the heavy cream over medium heat until it just begins to simmer. Stir occasionally to prevent burning. Once hot, remove from heat and let it cool for a few moments before gradually whisking it into the egg mixture. This careful approach ensures the eggs don’t cook prematurely, resulting in a creamy custard.
Step 7: Skim the Foam
Allow the blended custard to rest for a moment before skimming off any foam that has formed on the surface. This step is crucial as it results in a smoother texture for your Red Velvet Creme Brulee, allowing the silky custard to shine without any unwanted air bubbles.
Step 8: Pour into Ramekins
Carefully pour the custard mixture into each ramekin, filling them almost to the top. Once filled, place the roasting pan in the oven, being careful not to spill. To create the water bath, add hot water to the roasting pan until it reaches halfway up the sides of the ramekins, ensuring even and gentle cooking.
Step 9: Bake the Custards
Bake the Red Velvet Creme Brulee for 45-50 minutes, or until the edges are set, and the centers are slightly jiggly. You’ll know they’re done when a toothpick inserted comes out clean. Keep a close eye on them to avoid overcooking, as the texture is key to a perfect custard.
Step 10: Cool and Refrigerate
Once baked, carefully remove the ramekins from the water bath and let them cool at room temperature for about 30 minutes. Afterward, refrigerate the custards for at least 2 hours, allowing them to firm up and develop the rich flavor characteristic of your delectable Red Velvet Creme Brulee.
Step 11: Caramelize the Sugar
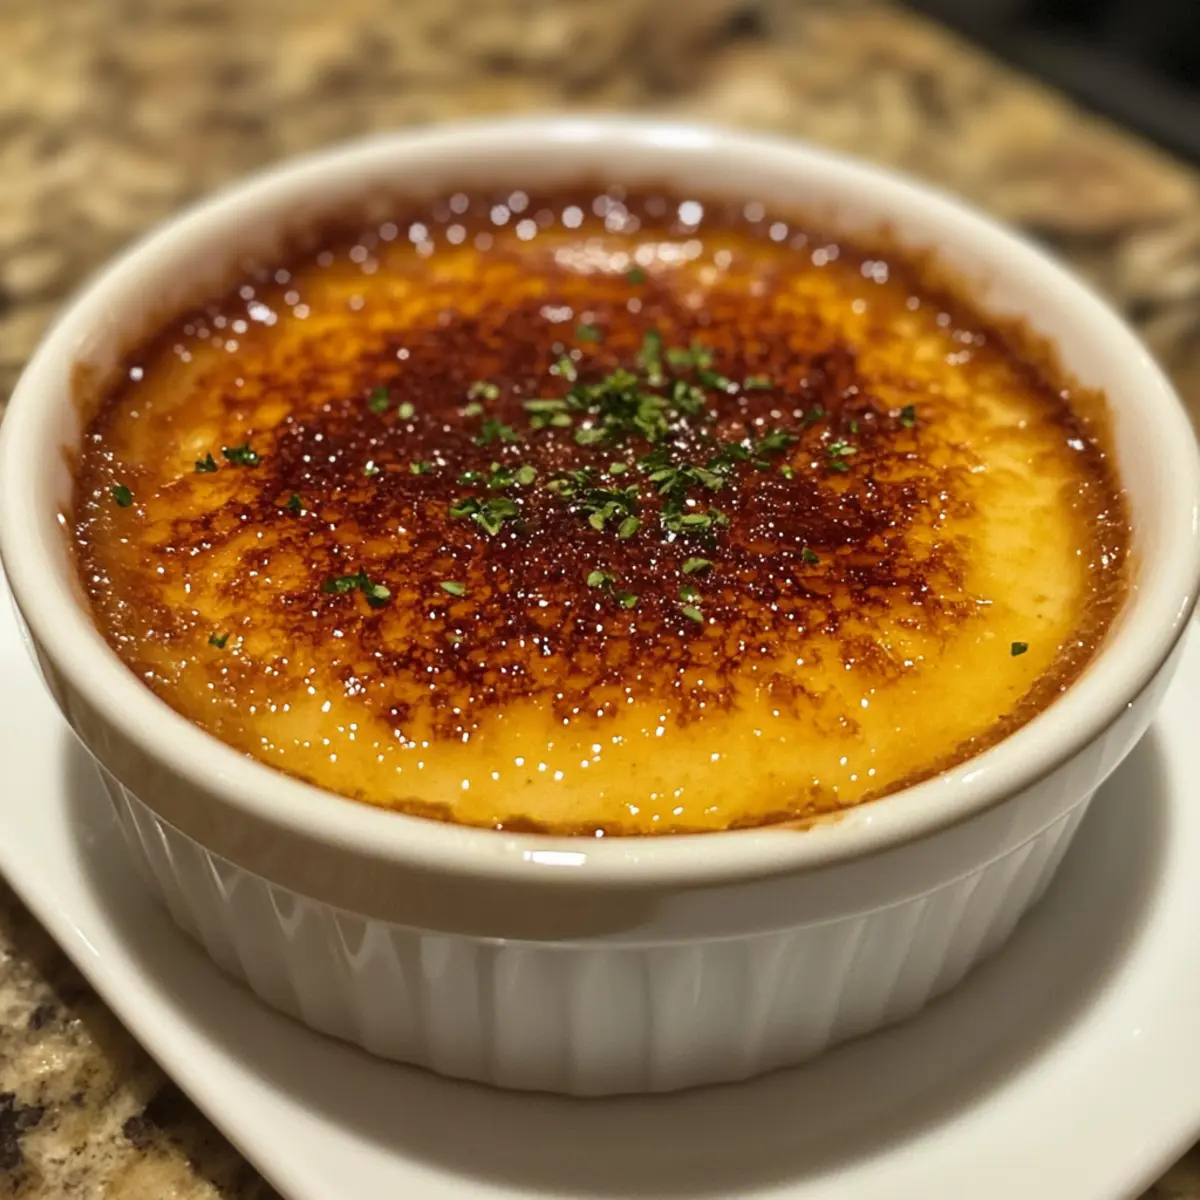
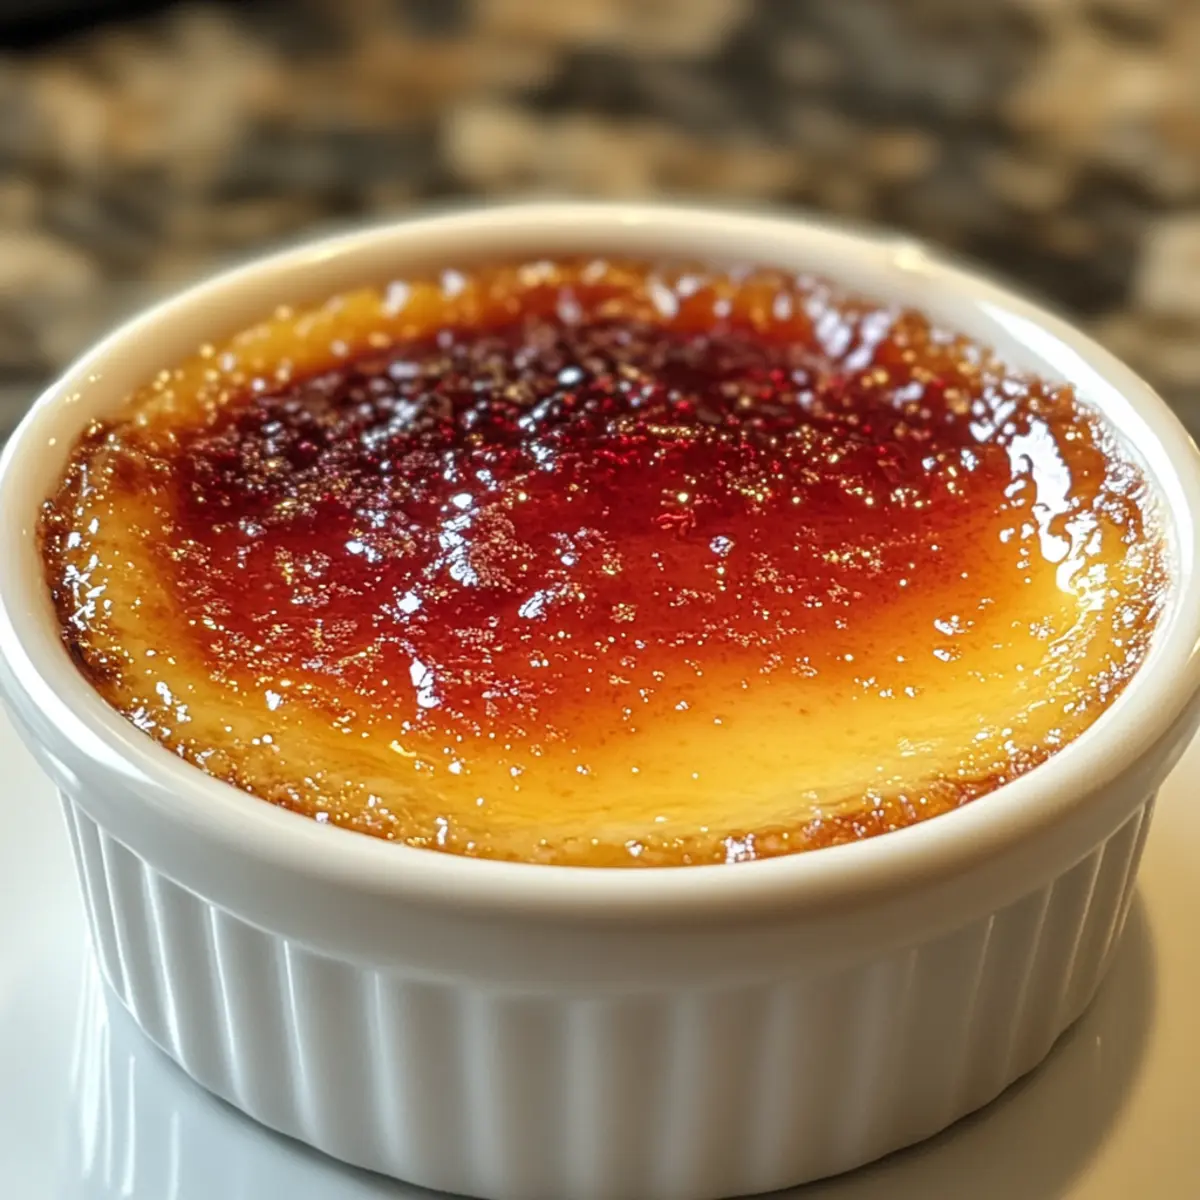
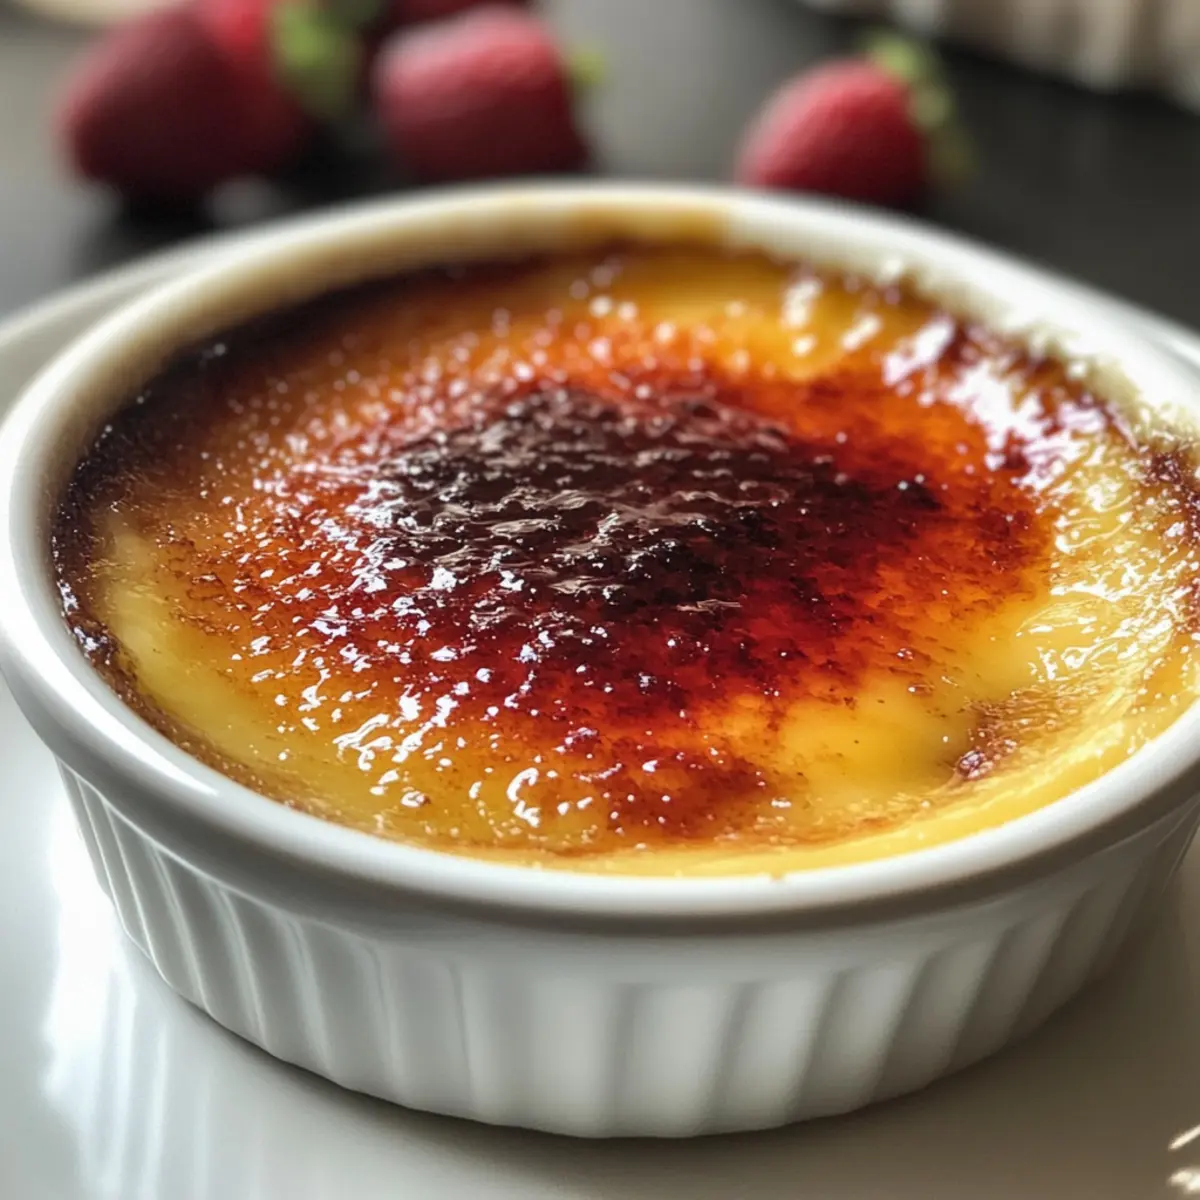
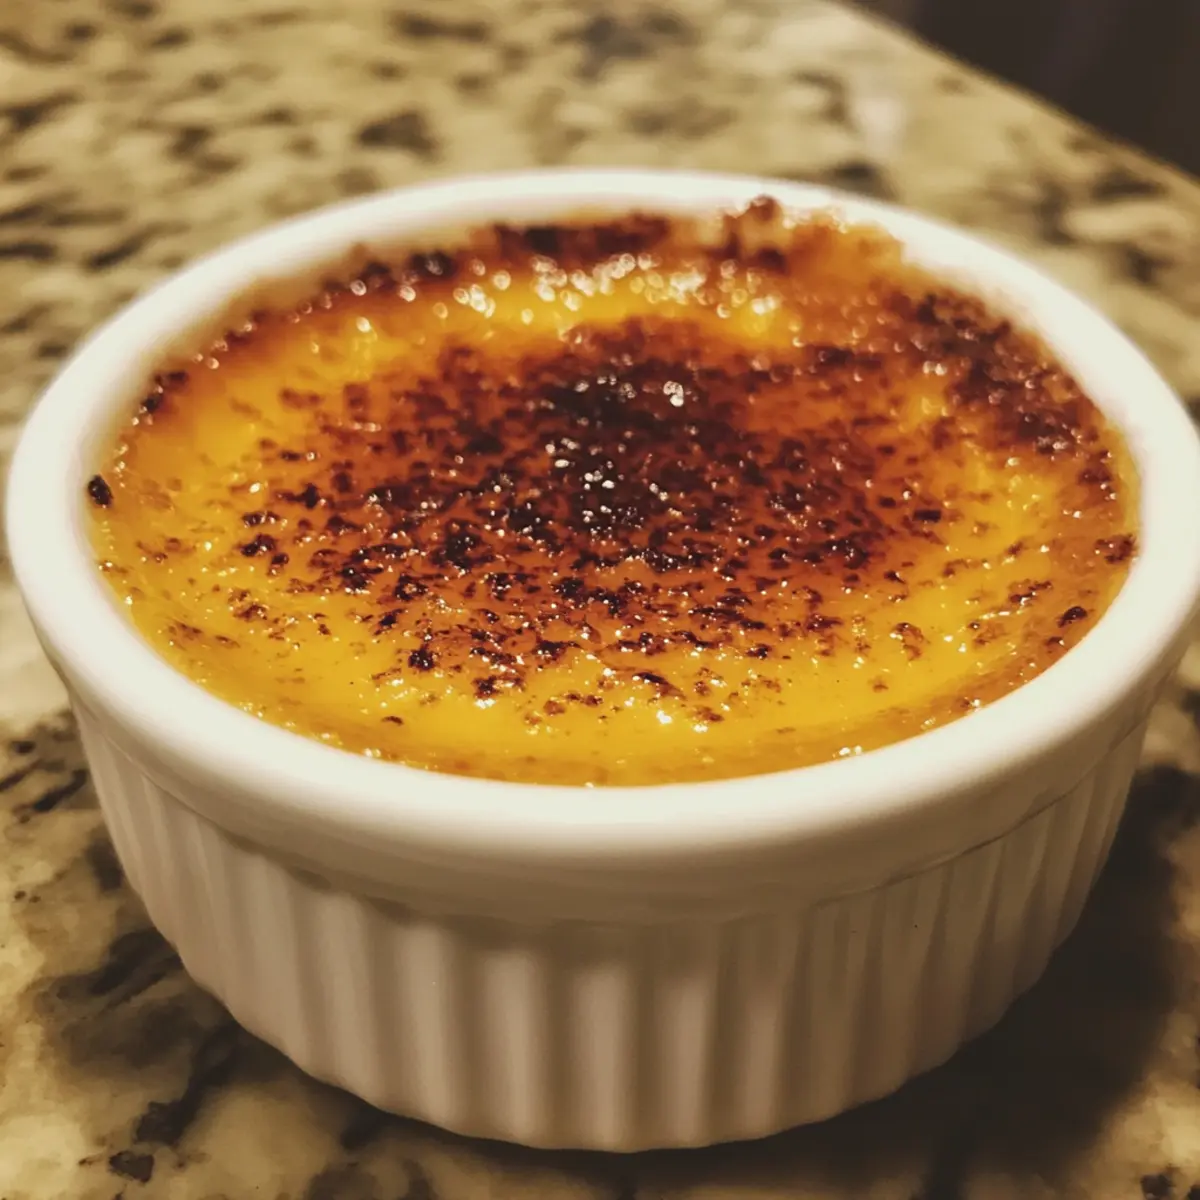
Before serving, sprinkle an even layer of fine sugar on top of each cooled custard. Using a kitchen torch, caramelize the sugar until it forms a crispy, golden-brown crust. If you don’t have a torch, you can use the broiler, but be sure to watch closely to avoid burning the sugar.
Step 12: Serve and Enjoy
Allow the caramelized tops to sit for about 10 minutes before serving, letting them cool and harden slightly. Garnish your stunning Red Velvet Creme Brulee with fresh berries or a sprig of mint for added color and flavor, and prepare for delighted smiles from your loved ones!
Red Velvet Creme Brulee Variations
Embrace the creative side of cooking by personalizing your Red Velvet Creme Brulee with these delightful twists!
-
Dairy-Free: Substitute heavy cream with coconut milk for a luscious, dairy-free version, perfect for those with lactose sensitivities.
-
Brown Sugar Boost: Use brown sugar instead of granulated sugar to add a deep, molasses-like flavor that complements the chocolate notes beautifully.
-
Fruit Fusion: Top with fresh raspberries or strawberries for a vibrant tartness that balances the dessert’s sweetness, enhancing its festive appeal.
-
Chocolate Lovers: Incorporate mini chocolate chips into the custard before baking for an extra chocolatey surprise in every bite!
-
Nutty Delight: Blend in finely ground almonds for a subtle nutty flavor; this adds texture and a wonderful depth to the creamy custard.
-
Spiced Twist: Sprinkle cinnamon or nutmeg into the custard for a warm, spiced flavor reminiscent of your favorite holiday treats that brings a cozy vibe.
-
Liqueur Libation: A splash of amaretto or Irish cream adds a sophisticated touch that transforms this classic dessert into an adult-only indulgence, perfect for romantic evenings.
-
Presentation Perfection: Serve in unique glassware or even mini mason jars for a rustic feel that’s as delightful to the eyes as it is to the taste buds, similar to my Creepy Skewered Salami idea!
Let your imagination run wild and create a personalized masterpiece with each variation you try!
Expert Tips for Red Velvet Creme Brulee
-
Choose Fresh Yolks: Always use fresh, room-temperature egg yolks for the best emulsification, helping to create a richer custard base.
-
Perfect Cream Temperature: Heat the heavy cream until it’s just simmering—not boiling—to prevent cooking the eggs when combined.
-
Watch the Caramelization: Whether using a torch or broiler, keep a close eye on the sugar to ensure it caramelizes evenly without burning.
-
Avoid Air Bubbles: Skim off any foam after mixing the custard to ensure a smooth texture in your Red Velvet Creme Brulee.
-
Cooling Time Matters: Let the dessert sit for 30 minutes at room temperature before serving; it enhances the texture and flavor.
-
Garnish Wisely: Elevate presentation and taste by garnishing with fresh berries or a mint leaf, making your dessert even more delightful!
How to Store and Freeze Red Velvet Creme Brulee
Fridge: Keep your leftover Red Velvet Creme Brulee in an airtight container for up to 3 days. Be sure not to caramelize the sugar until just before serving to maintain texture.
Freezer: For longer storage, you can freeze the unfrosted custards without the sugar topping. Wrap each ramekin securely in plastic wrap and foil, storing for up to 1 month.
Thawing: To enjoy your frozen creme brulee, thaw it in the fridge overnight before caramelizing and serving. This will help preserve the creamy texture.
Reheating: If you prefer to gently reheat, place the ramekin in a warm water bath for a few minutes prior to adding your sugar topping and caramelizing.
What to Serve with Red Velvet Creme Brulee
As you prepare to delight in this rich, custardy treat, consider these perfect pairings to create an unforgettable dining experience.
-
Fresh Berries: A mix of strawberries and raspberries adds a tart contrast to the sweet, creamy custard, enhancing both flavor and presentation. The burst of freshness cuts through the richness of the brulee, making every bite harmonious.
-
Whipped Cream: Light and airy, whipped cream serves as a cloud-like companion to the indulgent creme brulee, softening each spoonful. A sprinkle of vanilla or even a hint of cinnamon can elevate this simple addition.
-
Chocolate Dipped Strawberries: The combination of glassy chocolate and juicy strawberries complements the chocolate notes in the creme brulee, creating a match made in dessert heaven. These elegant treats not only satisfy your sweet tooth but also add visual flair to your table setting.
-
Mint Chocolate Chip Ice Cream: This cool, refreshing flavor is a delightful contrast to the warm caramelized sugar on top. The mint marries beautifully with the cocoa notes, while the ice cream slowly melts, creating a delicious combination with each bite.
-
Coffee or Espresso: The depth of flavor in a rich cup of coffee or a shot of espresso balances the sweetness of the Red Velvet Creme Brulee, enhancing its chocolatey undertones. Invite your guests to sip alongside their dessert for a comforting end to any meal.
-
Sparkling Wine: A bubbly glass of prosecco or champagne adds celebratory notes that elevate your dessert’s festive nature. The effervescence cleanses the palate, making room for more of that velvety custard, ensuring a delightful dining experience.
-
Chocolate Molten Cake: For the chocolate aficionados, serving this alongside your Red Velvet Creme Brulee creates a textural paradise—rich and gooey meets silky and creamy. Each bite reveals new layers of flavor, enchanting every dessert lover at the table.
Make Ahead Options
These Red Velvet Creme Brulee are perfect for busy home cooks looking to save time while still impressing friends and family! You can prepare the custard up to 24 hours in advance by following the instructions up to the cooling step. Once baked, let the ramekins cool at room temperature before chilling them in the refrigerator—this preserves their creamy texture. To maintain quality, avoid caramelizing the sugar until just before serving; this ensures that the topping remains crispy. When you’re ready to serve, simply sprinkle on the sugar and use a kitchen torch (or broiler) to create that delightful caramelized crust for an instant showstopper!
Red Velvet Creme Brulee Recipe FAQs
How do I choose the best egg yolks for the custard?
Absolutely! For the best results, always use fresh, room-temperature egg yolks. This helps with emulsification and contributes to a richer custard base. You can crack them directly into your mixing bowl, ensuring you separate the whites completely.
What is the best way to store leftover Red Velvet Creme Brulee?
Store your leftover Red Velvet Creme Brulee in an airtight container in the refrigerator for up to 3 days. Just remember, avoid caramelizing the sugar topping until you’re ready to serve each portion. This keeps the crispy layer intact and enhances its delightful texture!
Can I freeze Red Velvet Creme Brulee?
Yes, you can! To freeze, wrap each ramekin securely in plastic wrap followed by foil to prevent freezer burn. Your custards will keep well for up to 1 month. When you’re ready to enjoy them, simply thaw in the fridge overnight before caramelizing the sugar.
What should I do if my custard comes out too runny or overcooked?
If your Red Velvet Creme Brulee is too runny, it might not have baked long enough. Make sure to check for doneness; the edges should be set, and the center should still jiggle slightly. If overcooked, the texture may become grainy—next time, reduce baking time slightly, and use the water bath method to help maintain moisture.
Are there any dietary considerations I should be aware of?
Absolutely! While this recipe is gluten-free due to the absence of flour, it’s important to check all your ingredients for hidden gluten. If you or your guests have egg allergies, this recipe would not be suitable. Always adjust and ensure all ingredients meet your dietary needs, making this festive delight enjoyable for everyone!
Decadent Red Velvet Creme Brulee for Your Sweetest Moments
Ingredients
Equipment
Method
- Preheat your oven to 325°F (163°C).
- Place six ramekins into a roasting pan, spacing them evenly.
- In a large mixing bowl, whisk together the egg yolks, granulated sugar, and salt until pale yellow, about 2 minutes.
- Sift the cocoa powder into the egg mixture and stir until smooth.
- Pour in the red gel food coloring and mix until uniformly colored.
- Heat the heavy cream in a saucepan over medium heat until simmering; then whisk it into the egg mixture carefully.
- Skim off any foam from the surface of the custard.
- Pour the custard mixture into each ramekin, filling them almost to the top.
- Add hot water to the roasting pan until it reaches halfway up the sides of the ramekins.
- Bake for 45-50 minutes, until the edges are set and centers are slightly jiggly.
- Allow to cool at room temperature for about 30 minutes, then refrigerate for at least 2 hours.
- Before serving, sprinkle an even layer of fine sugar on top of each custard and caramelize using a kitchen torch.
- Allow the caramelized tops to sit for about 10 minutes before serving and garnish as desired.
Leave a Reply