
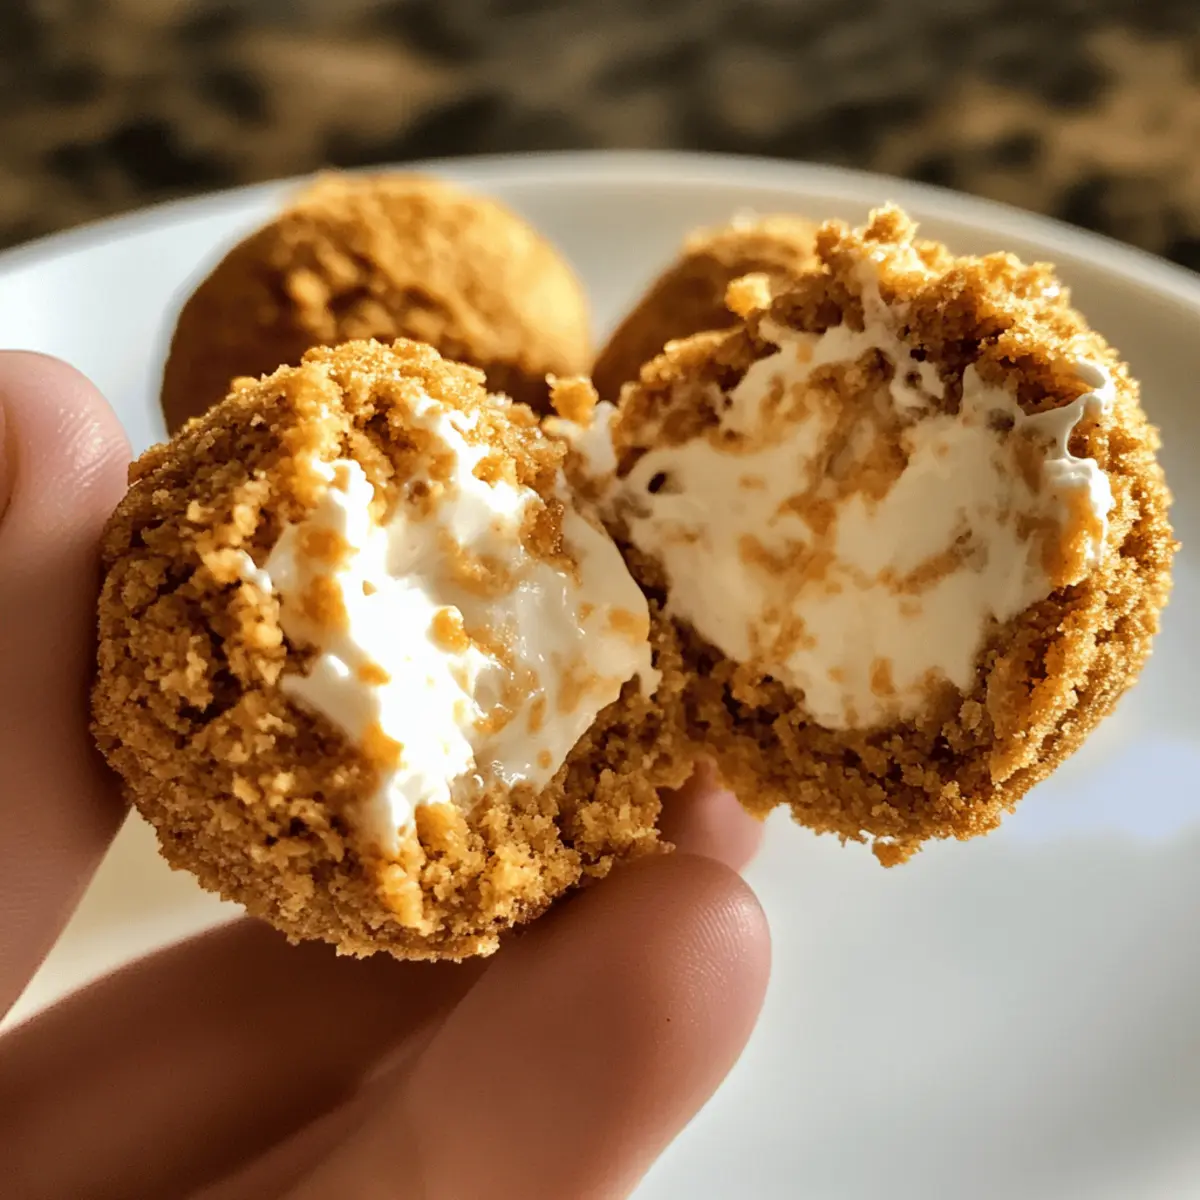
As I took my first bite of these creamy No Bake Pumpkin Cheesecake Balls, a wave of cozy nostalgia washed over me, evoking memories of crisp autumn afternoons. These delightful bite-sized treats are a celebration of fall flavors, marrying rich pumpkin with a touch of indulgent creaminess—all without the hassle of baking! With just a few ingredients and a quick chill in the fridge, you can whip up a dessert that’s perfect for gatherings, snack-time, or simply treating yourself. Not only do these little gems save time, but they also deliver all the comforting essence of pumpkin cheesecake in a portable, fun format. Curious about how to capture the spirit of the season in every bite? Let’s dive into this deliciously easy recipe together!
Why are Pumpkin Cheesecake Balls a must-try?
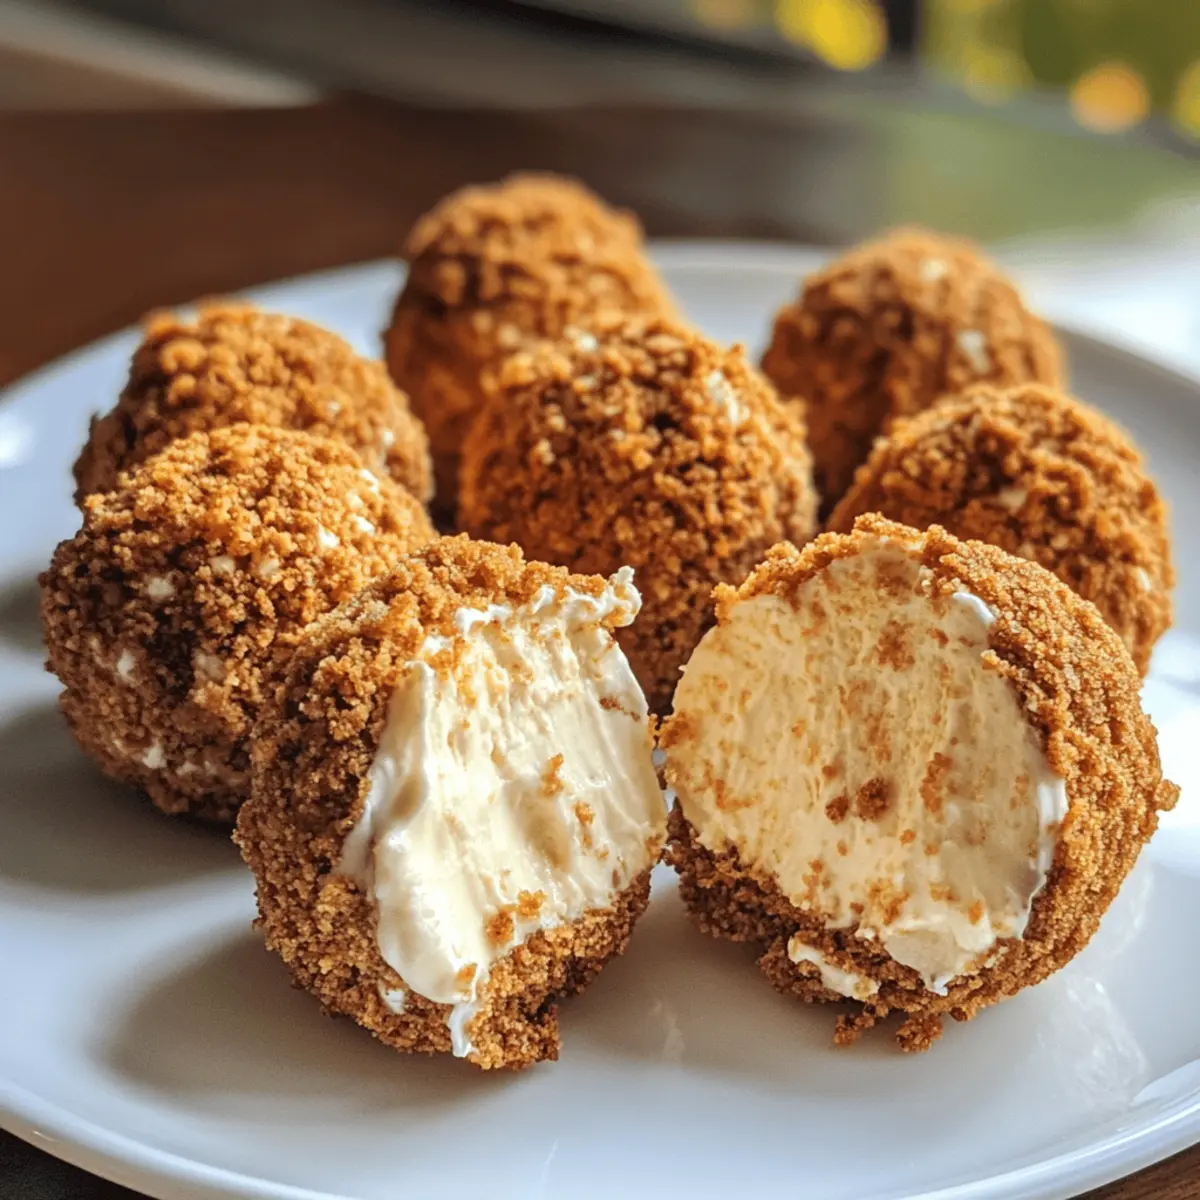
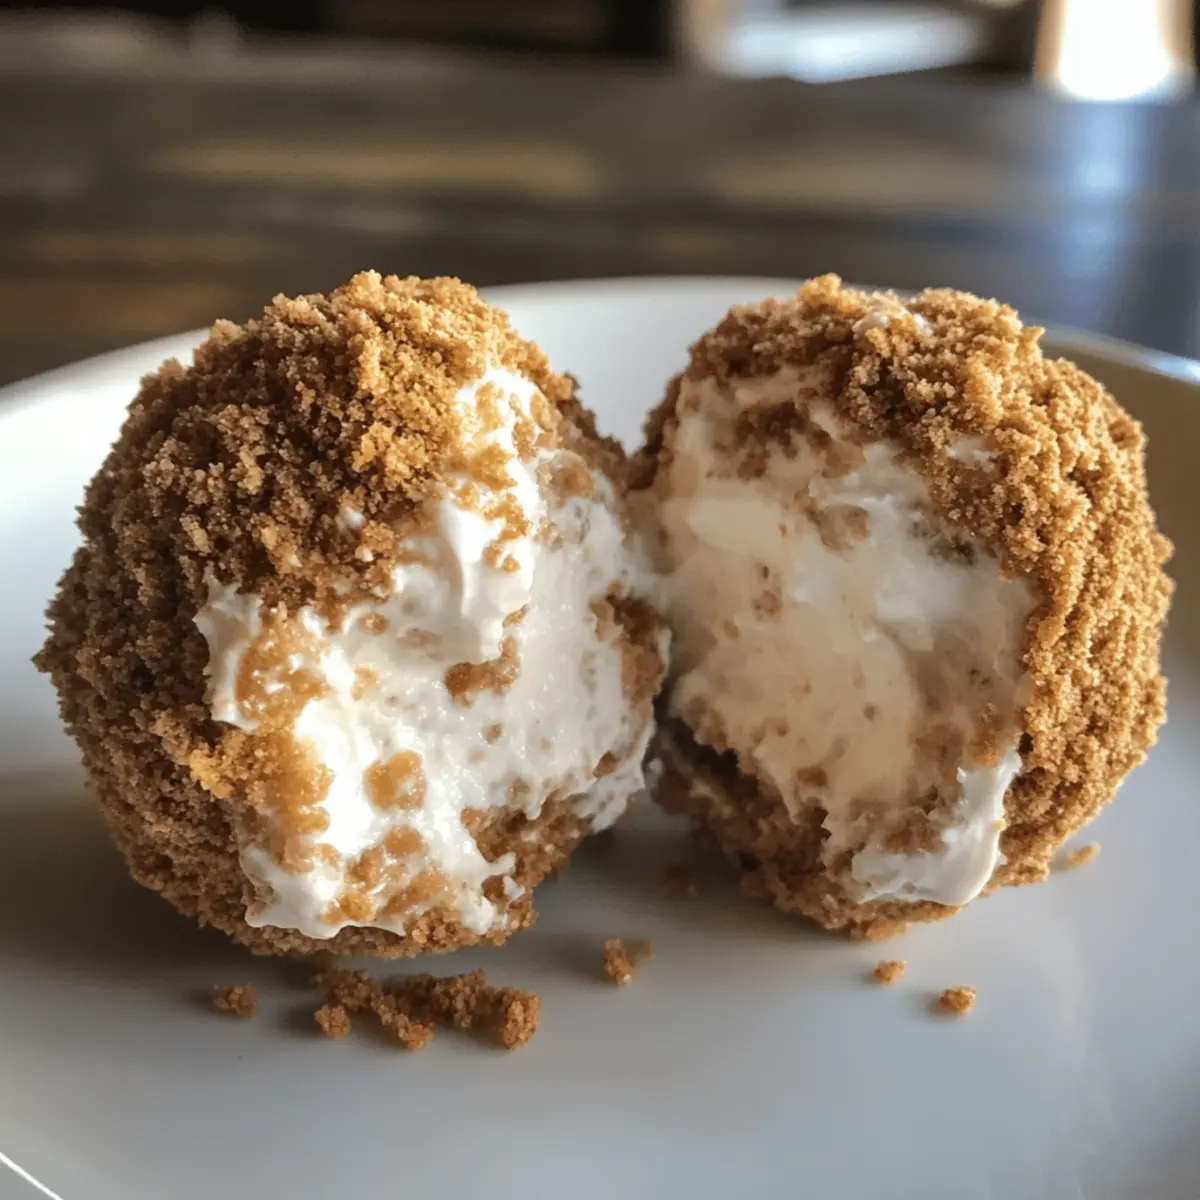
Irresistibly Creamy: Each bite of these No Bake Pumpkin Cheesecake Balls offers a luxurious, velvety texture that melts in your mouth, making them a delightful indulgence.
Fall Flavors: Infused with pumpkin puree and warm spices, they capture the essence of autumn in one sweet morsel.
Quick Prep: With minimal effort required, you can whip up this treat in no time—perfect for busy schedules!
Versatile Snack: Ideal for gatherings, school snacks, or an afternoon pick-me-up. They’re sure to impress friends and family alike while pairing beautifully with Pumpkin Cheesecake Muffins.
No-Bake Ease: Forget the oven! This recipe cuts out the baking stress while delivering all the flavors you love.
Pumpkin Cheesecake Balls Ingredients
For the Cheesecake Base
- Cream Cheese – Provides a rich and creamy base for the cheesecake; make sure it’s softened for easy mixing.
- Pumpkin Puree – Adds moisture and authentic pumpkin flavor; use canned for convenience, or homemade to elevate freshness.
- Powdered Sugar – Sweetens the mixture while ensuring a smooth texture; can substitute with coconut sugar for a hint of caramel flavor.
- Vanilla Extract – This enhances overall flavor; opt for pure vanilla extract if possible.
For the Spice Blend
- Pumpkin Pie Spice – A must-have for that cozy fall flavor; substitute with nutmeg and cinnamon if needed for a custom touch.
For the Coating
- Graham Cracker Crumbs – Adds texture and flavor when rolling the balls; crushed digestive biscuits or ground nuts make a great gluten-free alternative.
Step‑by‑Step Instructions for Pumpkin Cheesecake Balls
Step 1: Mix Base
In a large mixing bowl, beat 8 ounces of softened cream cheese with an electric mixer on medium speed until smooth and creamy, about 2 minutes. Gradually add in 1 cup of pumpkin puree, ¾ cup of powdered sugar, 1 teaspoon of vanilla extract, and 2 teaspoons of pumpkin pie spice, mixing until everything is well-combined and velvety, roughly 3-4 minutes.
Step 2: Chill Mixture
Once your pumpkin cheesecake mixture is creamy and homogeneous, cover the bowl tightly with plastic wrap or a lid. Place it in the refrigerator for about 1 hour. This chilling step helps firm up the mixture, making it much easier to shape into balls later on, so you should notice it thickening noticeably.
Step 3: Form Balls
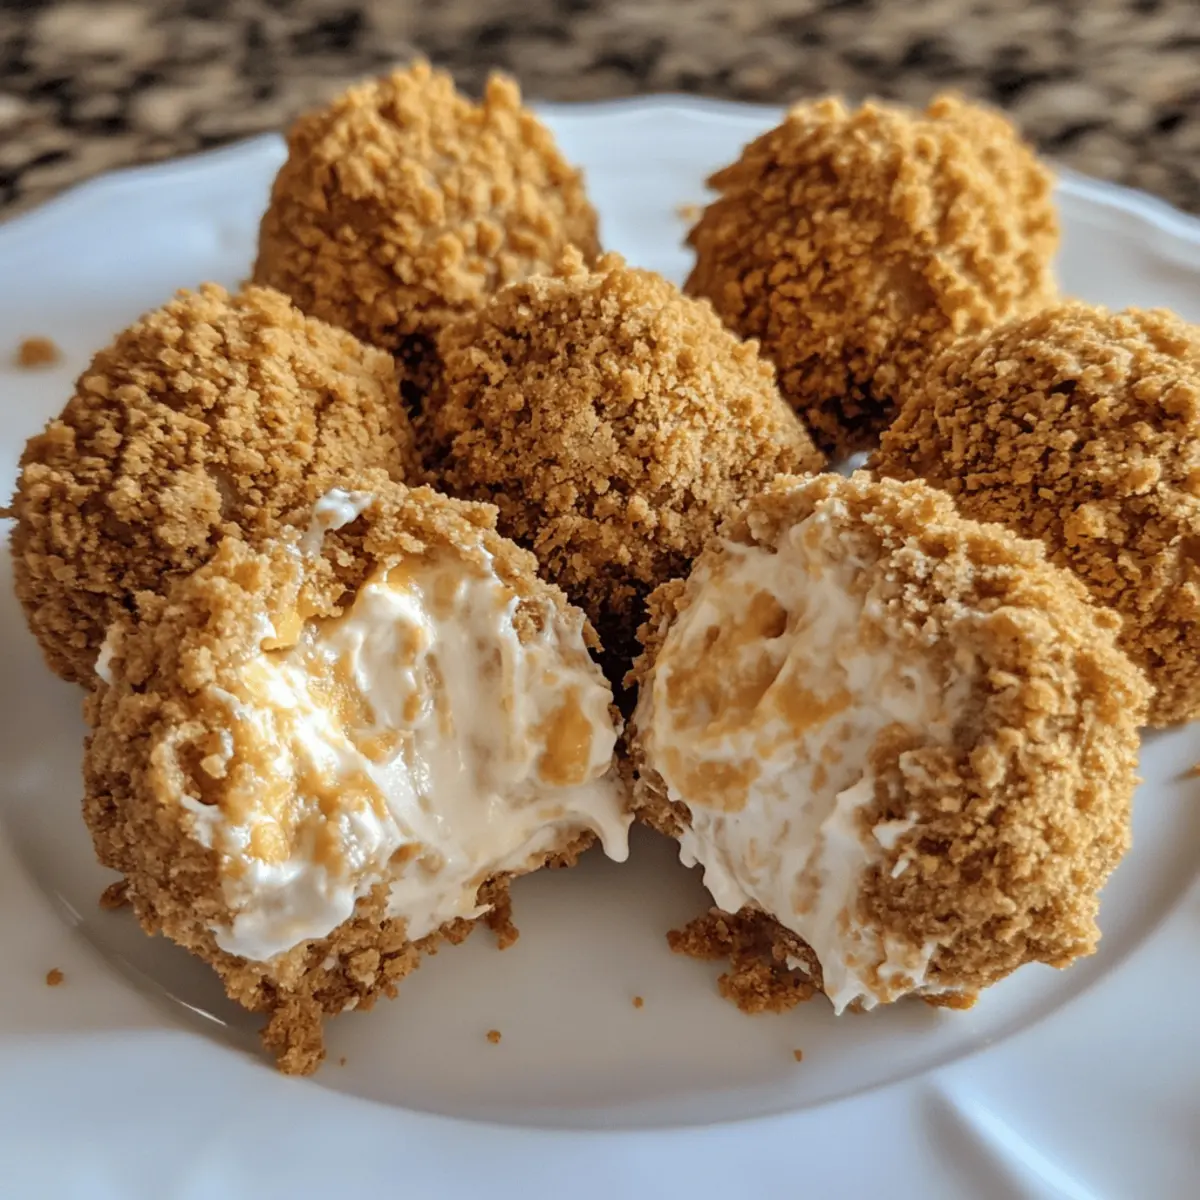
After chilling, remove the mixture from the fridge. Using a small cookie scoop, scoop out even portions, about 1 inch in diameter, to form individual balls. With clean hands, roll each scoop gently to create a smooth ball shape. The pumpkin cheesecake balls should be uniform for even coating and presentation.
Step 4: Coat Balls
Prepare a shallow dish filled with 1 cup of graham cracker crumbs. Roll each pumpkin cheesecake ball in the crumbs, ensuring they are fully coated on all sides. This adds a delightful crunch and flavor that compliments the creamy filling. Set aside the coated balls on a lined baking sheet for the next step.
Step 5: Chill Again
Once all the pumpkin cheesecake balls are coated, place the lined baking sheet in the refrigerator for at least 30 minutes to allow them to set. For a quicker option, you can freeze them for 30-45 minutes. This chilling helps maintain their shape and ensures a perfect texture when served, giving you a delicious treat ready to enjoy!
Pumpkin Cheesecake Balls Variations
Feel free to mix and match ingredients to create your perfect version of these treats!
- Dairy-Free: Substitute cream cheese with dairy-free cream cheese and use a plant-based milk alternative for the perfect vegan option.
- Gluten-Free: Roll the balls in ground nuts or gluten-free cookie crumbs instead of graham crackers for a delicious alternative. These modifications ensure everyone can enjoy them!
- Spicy Kick: Add a pinch of cayenne pepper or a dash of ground ginger to the filling for a surprising heat that balances the sweetness beautifully.
- Nutty Delight: Mix in chopped pecans or walnuts into the cheesecake base for added texture, providing a delightful crunch in every bite.
- Chocolate Coated: Dip the finished pumpkin balls in melted dark chocolate before chilling them again to create a rich, indulgent treat that will satisfy any chocolate lover’s cravings!
- Salted Caramel Twist: Drizzle some homemade or store-bought salted caramel over the chilled balls, adding a sweet and salty contrast that elevates these treats to a new level.
- Fruit Infusion: Incorporate finely chopped dried fruit like cranberries or raisins for an unexpected burst of flavor, giving a delightful chewiness that complements the creamy texture.
- Pumpkin Cheesecake Muffin Combo: Pair these with Pumpkin Cheesecake Muffins for a fun dessert platter that showcases different textures and flavors while keeping your pumpkin-themed celebration going!
Make Ahead Options
These No Bake Pumpkin Cheesecake Balls are perfect for meal prep enthusiasts looking to save time on busy days! You can mix the cheesecake base up to 24 hours in advance and refrigerate it—just cover it tightly to keep the flavors fresh. Once chilled, form the balls and coat them in graham cracker crumbs; they can then be stored in an airtight container in the fridge for up to 3 days before serving. For ultimate convenience, you can also freeze them for later enjoyment—just remember to let them thaw in the refrigerator before serving. This way, you can whip up a delightful fall treat with minimal effort, ready to impress your friends and family at a moment’s notice!
What to Serve with No Bake Pumpkin Cheesecake Balls
Indulging in these creamy delights opens the door to a world of flavors and textures that can elevate any gathering or cozy night in.
- Spiced Apple Cider: Warm spiced apple cider offers a delightful contrast to the cool cheesecake balls, perfectly embodying the warmth of fall.
- Ginger Snap Cookies: Their crunch and zesty flavor beautifully complement the creamy texture of pumpkin cheesecake balls, making every bite a delightful experience.
- Whipped Cream: A dollop of fluffy whipped cream adds an airy sweetness, enhancing the richness of the cheesecake while creating a light pairing.
- Caramel Drizzle: A drizzle of decadent caramel sauce elevates the experience and adds a sweet touch that works wonders with pumpkin flavors.
- Pecan Pie Bars: The nutty, sweet notes of pecan pie bars offer a textural contrast, creating a festive dessert spread that’s sure to impress.
- Hot Chocolate: A cozy mug of hot chocolate pairs wonderfully with the rich flavors of the cheesecake, providing a delightful counterpoint to the creamy bites.
- Cheese Platter: Add an assortment of cheeses alongside, like creamy brie or sharp cheddar, for a sophisticated balance between sweet and savory.
- Fresh Fruit Salad: Brighten up your plate with a refreshing fruit salad, layering textures and flavors, perfectly cutting through the cheesecake’s richness.
- Fall Spice Cake: Pair with slices of moist fall spice cake to create a comforting dessert table that evokes the essence of the season.
Expert Tips for Pumpkin Cheesecake Balls
- Room Temperature Cream Cheese: Ensure your cream cheese is at room temperature for seamless mixing; cold cream cheese can lead to lumps in your mixture.
- Chill to Firm: If the mixture feels too sticky while shaping, chill it for an additional 10-15 minutes before forming the pumpkin cheesecake balls to make rolling easier.
- Creative Coating Options: Roll the balls in crushed nuts or chocolate for extra texture and flavor; this not only enhances the taste but adds a delightful twist to your dessert.
- Storage Wisdom: Keep your finished pumpkin cheesecake balls in an airtight container in the refrigerator for up to a week or freeze them for longer storage—maintaining flavor and freshness!
- Taste Testing: Always taste your mixture before final shaping; adjust sweetness or spice levels according to your preference for the perfect balance.
Storage Tips for Pumpkin Cheesecake Balls
Fridge: Store your pumpkin cheesecake balls in an airtight container in the refrigerator for up to one week; this keeps them fresh and ready for indulgence anytime.
Freezer: For longer storage, freeze the balls in a single layer on a baking sheet, then transfer to a freezer-safe container for up to one month to preserve their delicious flavor.
Thawing: When ready to enjoy, simply transfer the frozen pumpkin cheesecake balls to the fridge to thaw overnight or leave at room temperature for about 30 minutes.
Reheating: These treats are best served chilled, so there’s no need to reheat; just enjoy them straight from the fridge or freezer!
Pumpkin Cheesecake Balls Recipe FAQs
What type of pumpkin puree should I use?
Absolutely! You can use either canned pumpkin puree for convenience or make your own from fresh pumpkins. Just be sure to use 100% pumpkin with no added spices or sugar to achieve that lovely pumpkin flavor.
How should I store my Pumpkin Cheesecake Balls?
To keep these treats fresh, store them in an airtight container in the fridge for up to one week. If you want them to last longer, you can freeze them. Just layer them on a baking sheet first to keep them from sticking together, then transfer them to a freezer-safe container where they can stay fresh for up to three months.
Can I freeze Pumpkin Cheesecake Balls?
Absolutely! After forming and coating your pumpkin cheesecake balls, you can freeze them on a baking sheet until solid. Once frozen, transfer them to a freezer-safe container or bag. Just remember to thaw them in the fridge before enjoying—this usually takes about 4 hours or overnight.
What should I do if my pumpkin cheesecake mixture is too sticky?
If you find that the mixture is sticking to your hands while forming the balls, no worries! You can simply chill the mixture for an additional 10-15 minutes. This extra chilling time helps firm it up and makes the rolling process much easier.
Are there any dietary considerations for these Pumpkin Cheesecake Balls?
Very! These balls are naturally gluten-free if you use gluten-free graham cracker crumbs. It’s also important to note that they contain dairy due to the cream cheese, so those with dairy allergies should substitute with a non-dairy cream cheese alternative. If making for kids or pets, always ensure the ingredients are safe and suitable for their dietary needs!
Can I customize the spices in the recipe?
Yes! Feel free to get creative with the spices. If you prefer a spicier flavor or want to tone it down, you can adjust the pumpkin pie spice. I often swap it with just cinnamon and nutmeg for a more personalized taste, making it just how I like it!
Pumpkin Cheesecake Balls: Irresistibly Creamy Fall Delights
Ingredients
Equipment
Method
- In a large mixing bowl, beat the cream cheese with an electric mixer on medium speed until smooth and creamy, about 2 minutes.
- Gradually add in the pumpkin puree, powdered sugar, vanilla extract, and pumpkin pie spice, mixing until everything is well-combined and velvety, roughly 3-4 minutes.
- Cover the bowl tightly with plastic wrap and place it in the refrigerator for about 1 hour.
- After chilling, scoop out even portions, about 1 inch in diameter, and roll each scoop gently to create a smooth ball shape.
- Roll each pumpkin cheesecake ball in the graham cracker crumbs, ensuring they are fully coated on all sides.
- Place the coated balls on a lined baking sheet and refrigerate for at least 30 minutes to allow them to set.
Leave a Reply