
As I savored a luscious scoop of creamy goodness, I realized I had stumbled upon a delightful kitchen revelation: Ninja Creami Cottage Cheese Ice Cream! This incredible homemade treat transforms a staple ingredient into a rich, high-protein alternative to traditional ice cream. Not only does it whip up in no time, but it’s also a fantastic way to indulge your sweet tooth without the guilt. With a smooth texture and endless possibilities for mix-ins and toppings, this recipe invites you to get creative. Are you ready to discover how a simple container of cottage cheese can lead to a frozen masterpiece?
Why is this ice cream so special?
Guilt-Free Indulgence: Enjoy the creamy texture without the calories of traditional ice cream, thanks to the use of cottage cheese.
High-Protein Treat: Packed with protein, this recipe is a fantastic option for those looking to satisfy their sweet cravings healthily.
Quick and Easy: Whipping up this Ninja Creami Cottage Cheese Ice Cream requires minimal effort and common ingredients, making it a perfect weeknight dessert.
Endless Customization: Get creative with mix-ins like chocolate chips or fresh fruits and toppings like honey or granola, making each batch uniquely yours.
Kid-Friendly Fun: This recipe is a hit for kids and adults alike, transforming snack time into a delightful ice cream party. Each scoop promises to please, and you can feel good about sharing!
Ninja Creami Cottage Cheese Ice Cream Ingredients
• Create your creamy masterpiece with these essentials!
For the Base
- Milk – Provides a luscious liquid base; whole milk gives the richest texture.
- Pudding Mix – Acts as a stabilizer for smooth consistency; opt for sugar-free if you’re watching sugar intake.
- Sugar – Sweetens the mixture to balance flavors; feel free to adjust or swap for a sugar alternative.
- Vanilla Extract – Depth-of-flavor enhancer; always choose pure vanilla for the best results.
- Cottage Cheese – The star ingredient, offering high protein and creaminess; use small curd for best blending results.
- Salt – A pinch enhances overall flavor without overpowering sweetness; crucial for balance.
Optional Mix-Ins and Toppings
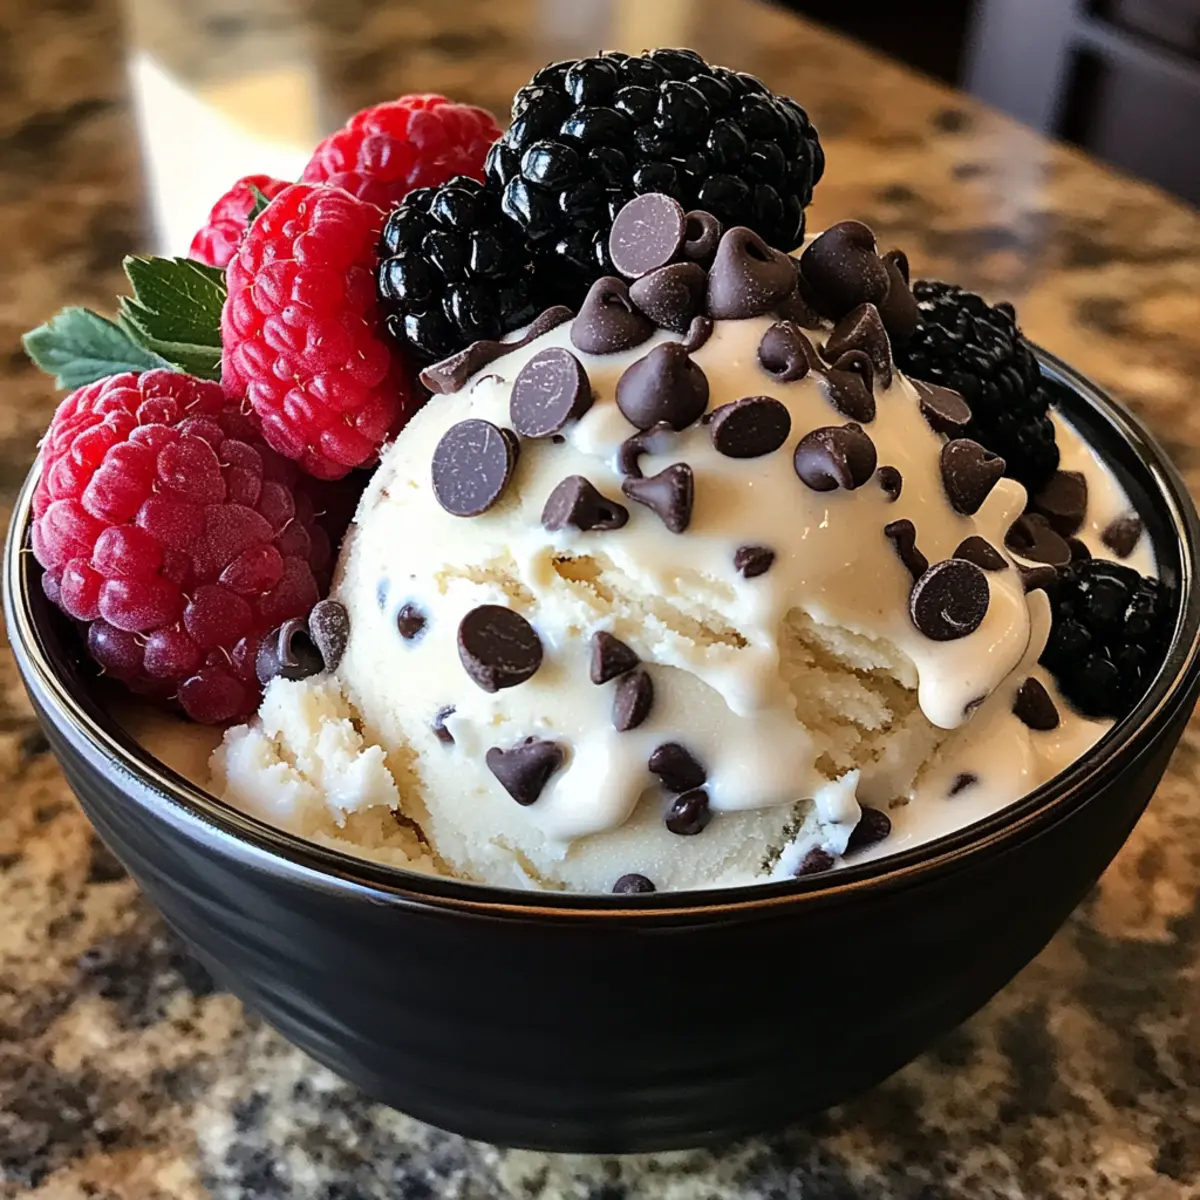
- Chocolate Chips – For indulgent bursts of chocolate; add after smoothing the base for an elegant treat.
- Fresh Fruits – Incorporate strawberries, blueberries, or bananas to bring natural sweetness and freshness.
- Nut Butter – A swirled spoonful adds richness and flavor complexity; mix in post-blending for delightful surprises.
- Honey or Granola – Perfect for topping your ice cream; these add a lovely crunch and additional sweetness.
Dive into this delightful recipe, and witness how simple ingredients transform into a delicious Ninja Creami Cottage Cheese Ice Cream!
Step‑by‑Step Instructions for Ninja Creami Cottage Cheese Ice Cream
Step 1: Mix the Base
In a medium bowl, whisk together 1 cup of milk, 1 packet of pudding mix, ½ cup of sugar, 1 teaspoon of vanilla extract, and a pinch of salt until the mixture is smooth and free of lumps. This step is crucial for achieving a creamy texture in your Ninja Creami Cottage Cheese Ice Cream. Aim for a consistency that is slightly thick but pourable, which usually takes about 2-3 minutes.
Step 2: Blend in Cottage Cheese
Next, add 1 cup of cottage cheese to the mixture. Use an immersion blender to blend until everything is well combined and smooth; this might take about 1-2 minutes. If you prefer a smoother consistency, continue blending until there are no visible lumps. Your cottage cheese should seamlessly integrate, enhancing the creaminess of your ice cream.
Step 3: Pour and Freeze
Carefully pour the blended mixture into a Ninja Creami pint container, filling it just below the rim. Make sure to avoid spillages as you go, and level the top with a spatula for even freezing. Place the pint in the freezer, allowing it to freeze for at least 24 hours. This extended freezing time ensures a consistent texture when you’re ready to churn your ice cream.
Step 4: Prepare for Churning
Once your mixture is frozen solid, take it out of the freezer. Let it sit at room temperature for about 10 minutes to soften slightly, making it easier to process. This step is essential for achieving that perfect creamy consistency when you put it into the Ninja Creami machine for your cottage cheese ice cream.
Step 5: Spin in the Ninja Creami
Insert the pint into the Ninja Creami machine and select the Ice Cream function to start churning. This process typically takes 2-3 minutes, during which the ice cream develops a silky texture. Keep an eye on it, as you want to ensure it reaches a smooth, creamy consistency without over-processing.
Step 6: Assess and Adjust Texture
After the initial spin, check the texture of your ice cream. If it seems too hard or not creamy enough, add 1 tablespoon of milk and re-spin for an additional minute. This step allows you to customize the consistency of your Ninja Creami Cottage Cheese Ice Cream to your liking, ensuring each scoop is rich and satisfying.
Step 7: Serve and Enjoy
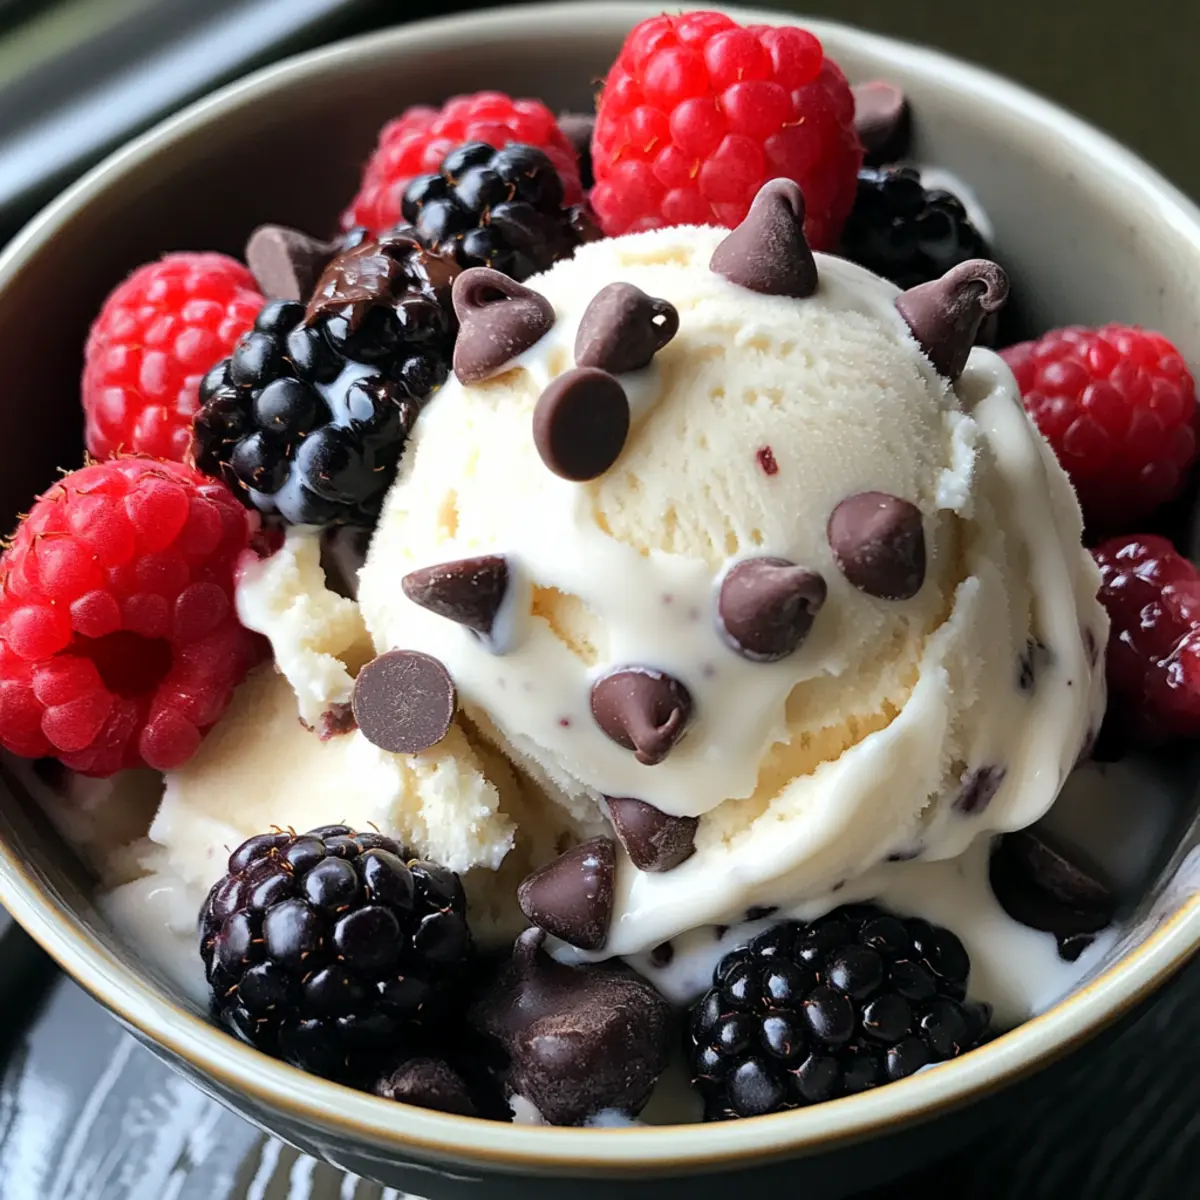
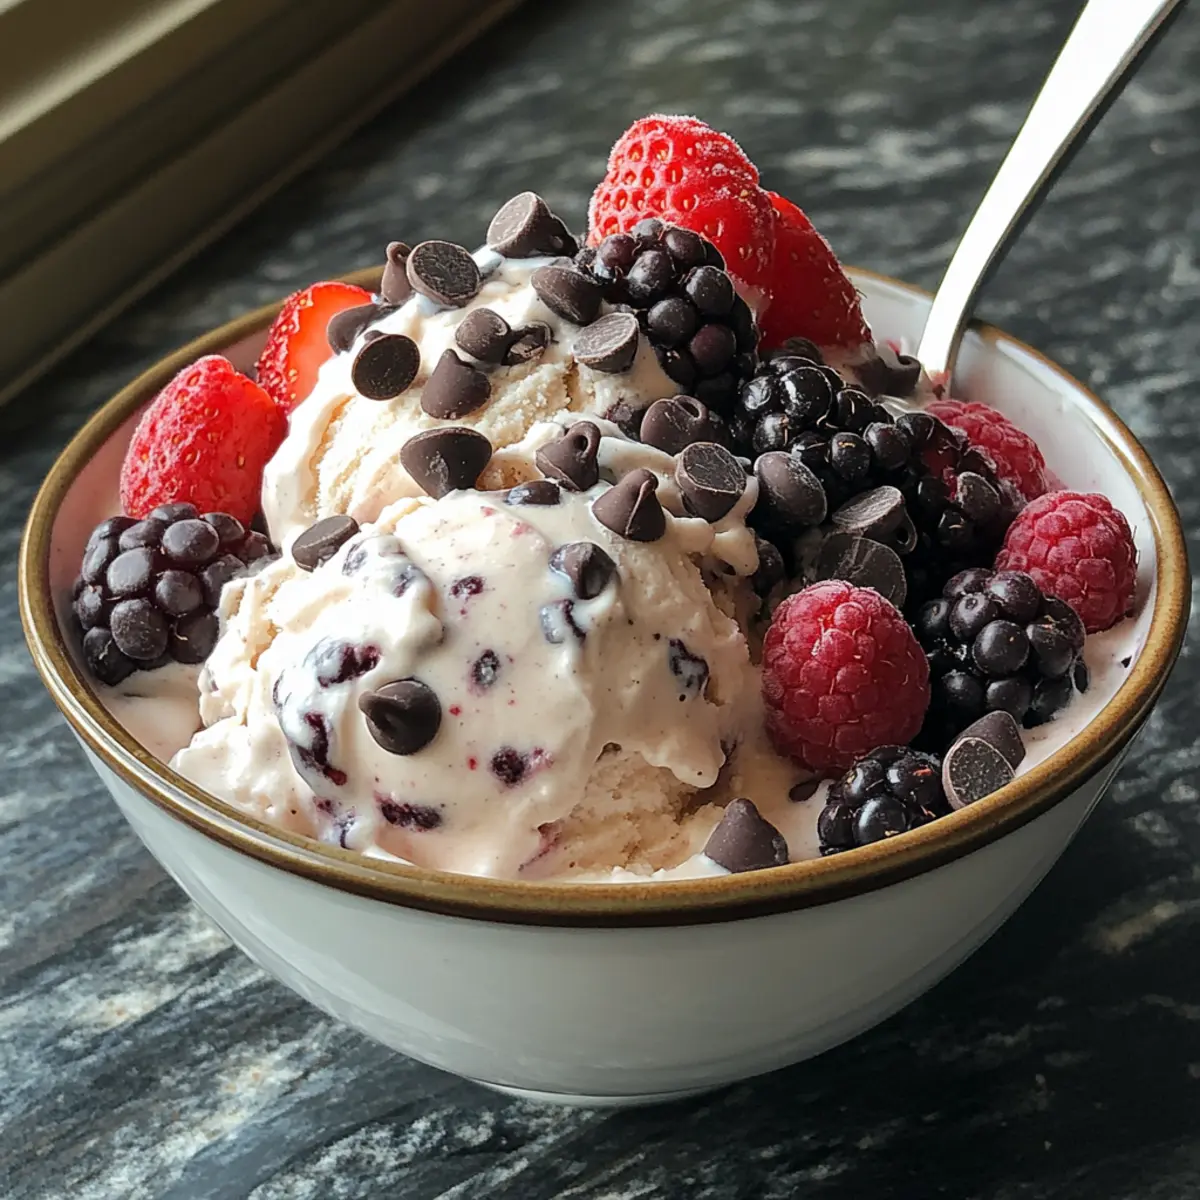
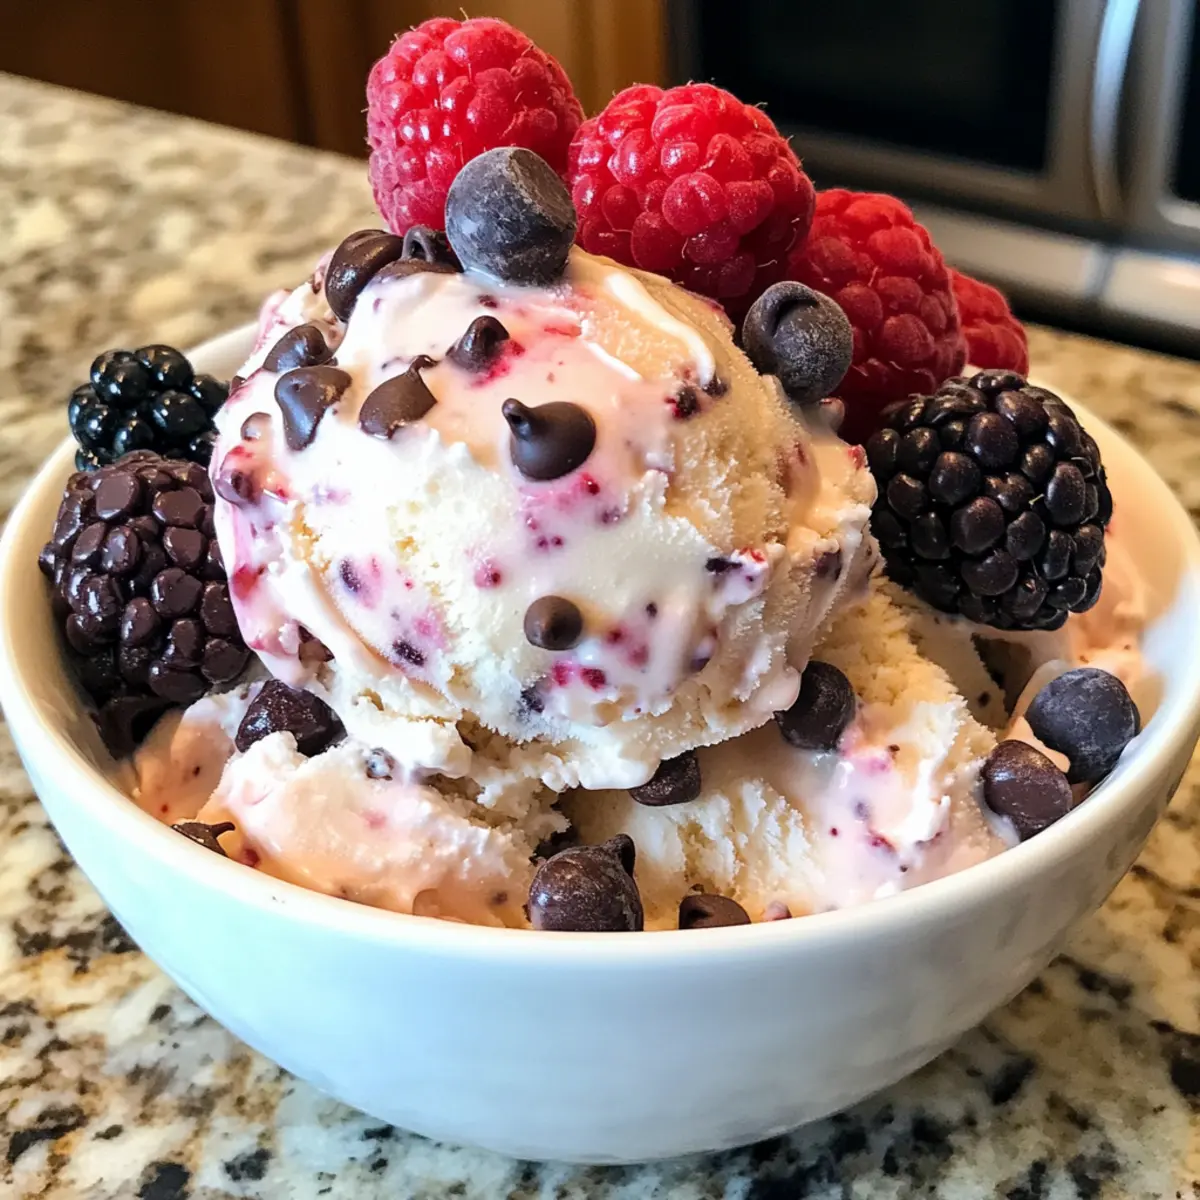
Scoop the creamy ice cream into bowls and feel free to add mix-ins like chocolate chips or fresh fruit if desired. Your delicious Ninja Creami Cottage Cheese Ice Cream is ready to be enjoyed! Serve immediately for the best texture, or store any leftovers in an airtight container in the freezer for up to 2 weeks.
Expert Tips for Ninja Creami Cottage Cheese Ice Cream
-
Keep It Level: Always freeze the ice cream base flat and level. This helps achieve a consistent texture when processing in the Ninja Creami.
-
Thorough Mixing: Blend the cottage cheese until completely smooth. Lumps may affect final creaminess, so don’t skip this step!
-
Re-Spin Strategy: If the texture seems too hard after the initial spin, simply add 1 tablespoon of milk and re-spin. This will give you that perfect creamy consistency.
-
Timing is Key: Allow the mixture to sit at room temperature for about 10 minutes before churning. This slight softening makes a big difference in texture.
-
Customize with Care: Add mix-ins like chocolate chips or fruits after achieving a smooth texture. This ensures they don’t interfere with the ice cream base’s creaminess.
-
Storage Tips: For best results, store any leftovers in an airtight container. Enjoy your homemade Ninja Creami Cottage Cheese Ice Cream within two weeks for optimal taste!
How to Store and Freeze Ninja Creami Cottage Cheese Ice Cream
Fridge: Store the ice cream in an airtight container for up to 3 days if you plan to finish it quickly; however, it’s best enjoyed freshly made.
Freezer: For longer storage, keep the ice cream in the Ninja Creami pint with the lid on or transfer to a sealed container. It will maintain quality for up to 2 weeks.
Reheating: If frozen solid, let it sit at room temperature for about 10 minutes before scooping to soften it slightly. This makes serving easier and restores the creamy texture.
Vigilance: Always check the ice cream for any signs of freezer burn before serving; a smooth, creamy Ninja Creami Cottage Cheese Ice Cream should still be free from ice crystals.
What to Serve with Ninja Creami Cottage Cheese Ice Cream
Elevate your delightful frozen treat experience with these perfect pairings that complement its creamy goodness beautifully.
- Fresh Berries: The tartness of strawberries, blueberries, or raspberries adds a vibrant contrast to the creamy sweetness of the ice cream.
- Crunchy Granola: Adding granola brings a delightful crunch and nutty flavor, enhancing the texture and creating a satisfying bite.
- Chocolate Sauce: A drizzle of warm chocolate sauce transforms each bowl into a decadent dessert while balancing the lighter flavors of the ice cream.
- Nut Butter Swirl: Swirling in almond or peanut butter not only delivers a rich flavor but also adds a protein punch, making your treat even more indulgent.
- Honey Drizzle: A touch of honey elevates the natural sweetness, creating a harmonious blend with the cottage cheese base.
- Caramel Sauce: For those with a sweet tooth, caramel sauce offers a luxurious richness that beautifully complements the lightness of the ice cream.
- Coconut Flakes: Toasted coconut adds a tropical flair, bringing in hints of crunch and sweetness that play well with the creamy texture.
- Mint Leaves: Garnishing with fresh mint provides a refreshing twist, making each scoop feel invigorating and light.
Pair these delightful options and turn your Ninja Creami Cottage Cheese Ice Cream into a full sensory experience that family and friends will love!
Make Ahead Options
These Ninja Creami Cottage Cheese Ice Cream bites are perfect for meal prep, allowing you to savor this delightful treat without last-minute fuss! You can prepare the ice cream base up to 24 hours in advance by whisking together milk, pudding mix, sugar, vanilla, and salt, then blending in the cottage cheese. Store this mixture in the Ninja Creami pint container and freeze it flat to maintain a smooth texture. When you’re ready to indulge, simply remove it from the freezer, let it soften for about 10 minutes, and churn it in the Ninja Creami. This planning makes enjoying a protein-packed ice cream incredibly convenient, and it’ll be just as delicious, even days later!
Variations & Substitutions for Ninja Creami Cottage Cheese Ice Cream
Feel free to personalize this delightful ice cream creation and make it truly your own!
-
Dairy-Free: Use almond, coconut, or oat milk as a base for a vegan-friendly twist. Just ensure the pudding mix and any mix-ins are also dairy-free.
-
Low-Sugar: Swap traditional sugar for a sugar substitute like Stevia or Erythritol to cut down on calories while keeping sweetness intact. It’s a fantastic way to enjoy dessert without the sugar rush!
-
Enhanced Flavor: Experiment with flavored pudding mixes, such as chocolate or banana, to give an exciting twist to your ice cream. Each variation brings a unique essence, making repeat indulgence even more exciting!
-
Nutty Depth: Incorporate a tablespoon of almond or hazelnut extract for a rich, nutty aroma. It beautifully complements the creaminess of the cottage cheese and adds an unexpected twist.
-
Spicy Kick: For a fun challenge, add a hint of cayenne or cinnamon to bring warmth and spice to your sweet treat. This is especially delightful during colder months!
-
Berries Galore: Fold in fresh or frozen berries like strawberries, raspberries, or blueberries after blending the base. Their natural sweetness and tartness balance the creamy texture wonderfully.
-
Chocolate Delight: Mix in chocolate chunks or Nutella swirls for a rich chocolate experience. It creates those gooey pockets of joy that chocolate lovers crave.
-
Granola Crunch: Top with your favorite granola before serving to add a satisfying crunch. Not only does it provide texture, but it also makes this ice cream a wholesome dessert option, especially if you combine it with fresh fruits.
With these creative variations, you’re well on your way to crafting indulgent treats that can change from one scoop to the next. And if you’re looking for more delicious ways to indulge, don’t miss out on our recipes for Pumpkin Cream Cheese and Bacon Cream Cheese!
Ninja Creami Cottage Cheese Ice Cream Recipe FAQs
What kind of cottage cheese should I use?
I recommend using small curd cottage cheese for this recipe, as it blends more smoothly into the mixture. If you prefer an even creamier texture, switch to whipped cottage cheese. The goal is to achieve a silky consistency that resembles traditional ice cream.
How long can I store the Ninja Creami Cottage Cheese Ice Cream?
For the best quality and taste, enjoy your ice cream within 2 weeks of making it. If stored properly in an airtight container or the Ninja Creami pint with the lid on, it will remain fresh, but the texture may start to change after that. Just remember, it’s best enjoyed right after it’s made!
Can I freeze the Ninja Creami Cottage Cheese Ice Cream?
Absolutely! To freeze, pour your prepared ice cream mixture into the Ninja Creami pint container and ensure it is filled just below the rim. Freeze for at least 24 hours for the best texture. For smooth serving, let it sit at room temperature for 10 minutes before scooping.
What should I do if the ice cream is too hard after processing?
If your ice cream is too firm after spinning, don’t fret! Simply add 1 tablespoon of milk and re-spin in the Ninja Creami. This step will help achieve that dreamy, creamy consistency we all crave, so you can enjoy every luscious scoop.
Are there any dietary considerations for this recipe?
Yes! If you’re concerned about allergies, please note that this recipe contains dairy — specifically cottage cheese and milk. For those with lactose intolerance, you can opt for lactose-free milk and cottage cheese to make this treat more accessible. Customize your mix-ins based on dietary restrictions for a guilt-free treat everyone can enjoy!
Delicious Ninja Creami Cottage Cheese Ice Cream Made Easy
Ingredients
Equipment
Method
- In a medium bowl, whisk together milk, pudding mix, sugar, vanilla extract, and salt until smooth and free of lumps.
- Add cottage cheese to the mixture and blend using an immersion blender until smooth.
- Pour the blended mixture into a Ninja Creami pint container, filling just below the rim and level the top.
- Freeze the pint for at least 24 hours.
- Let the frozen mixture sit at room temperature for about 10 minutes before processing.
- Insert the pint into the Ninja Creami machine and select the Ice Cream function to churn.
- If the texture is too hard, add 1 tablespoon of milk and re-spin.
- Scoop ice cream into bowls and add desired mix-ins or toppings.
Leave a Reply