
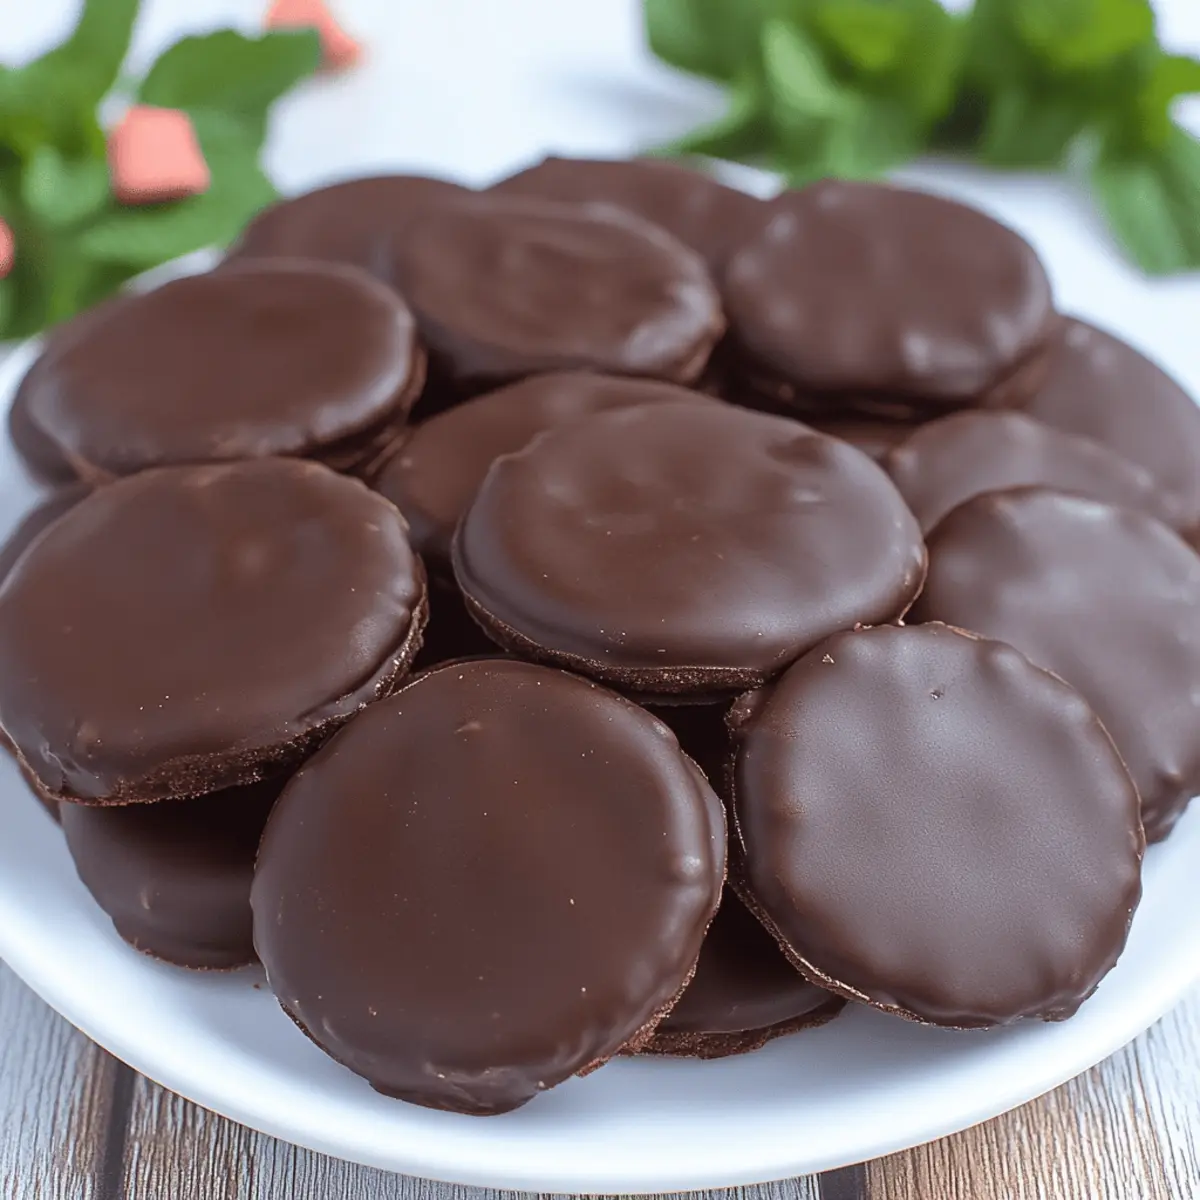
As I unwrapped a box of those iconic minty treats, a wave of nostalgia washed over me. Homemade Thin Mints Girl Scout Cookies have always held a special place in my heart—those delightful, chocolate-covered snacks that remind us of carefree days and friendly cookie-selling encounters. This copycat version elevates the classic with fresh ingredients, offering a guilt-free indulgence perfect for any occasion. Not only are these cookies easy to whip up, but they also promise a crisp texture that won’t crumble at the first bite. With no preservatives in sight, you can indulge without a hint of guilt! Whether you’re looking for a sweet addition to a picnic or a charming cookie exchange, these minty delights are sure to impress. Curious about how to make this beloved treat at home? Let’s dive into the recipe!
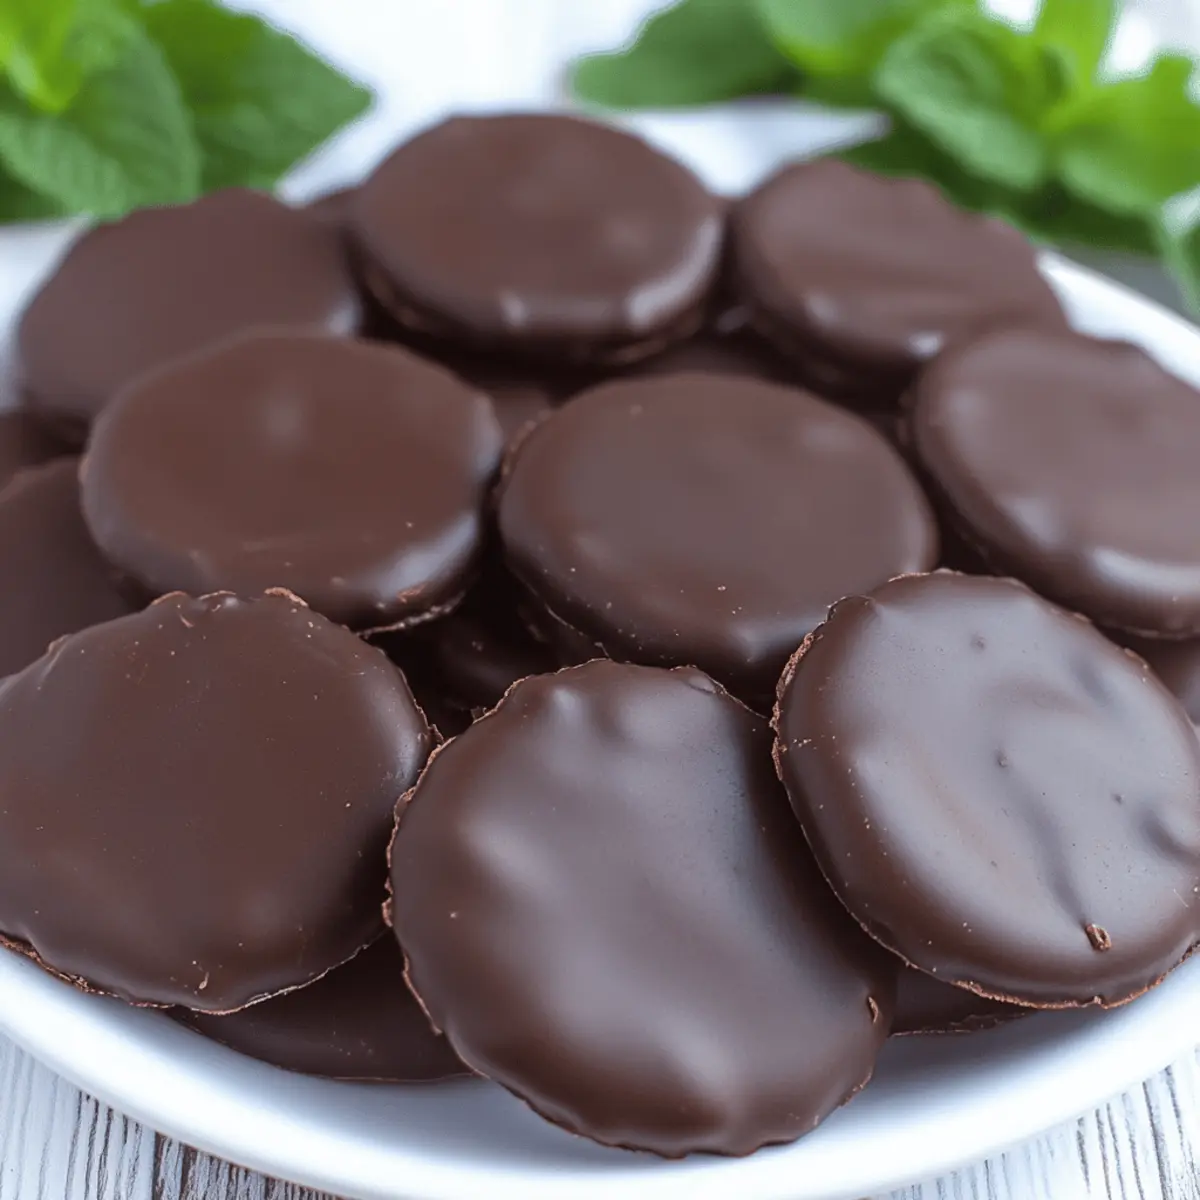
Why Are These Homemade Thin Mints Special?
Freshness: Prepare to enjoy the vibrant flavors of fresh ingredients that elevate your cookie experience. No more stale store-bought options!
Family-Friendly Fun: Crafting these cookies can be a great bonding activity with family or friends. Get everyone involved in the kitchen!
Guilt-Free Indulgence: With zero preservatives, you can savor these cookies without any guilt. They’re a delightful treat that won’t weigh you down.
Versatile Variations: Feel free to experiment—switch to dark chocolate for an intensely rich flavor or add crushed peppermint candies for extra crunch.
Perfect for Any Occasion: Whether it’s a picnic, cookie exchange, or just a cozy night in, these cookies are sure to be a crowd-pleaser! Want more sweet inspiration? Check out my Chocolate Oat Cookies for another delicious treat.
Homemade Thin Mints Girl Scout Cookies Ingredients
For the Cookie Dough
• Butter – Provides richness and moisture; can substitute with margarine or dairy-free butter for a vegan alternative.
• Sugar – Adds sweetness and is critical for structure and flavor; no direct substitution recommended.
• Egg – Binds the ingredients for better texture; can use flax egg for a vegan version.
• Vanilla bean paste – Enhances flavor depth; vanilla extract works as a suitable substitute.
• Peppermint extract – Delivers that classic mint flavor; make sure to use peppermint, not pure mint extract for authenticity.
• All-purpose flour – Forms the base structure of the cookies; can substitute with a gluten-free flour blend if desired.
• Cocoa powder – Provides a deep chocolate flavor; Dutch-processed cocoa can yield a milder taste.
• Baking powder – Acts as a necessary leavening agent; no direct alternatives.
• Salt – Enhances sweetness and flavor balance; essential and shouldn’t be omitted.
For the Chocolate Coating
• Semi-sweet chocolate chips – Coating that adds a rich layer to the cookies; dark chocolate can be swapped for a more intense flavor.
• Vegetable oil – Ensures a smooth and shiny chocolate coating; melted coconut oil can be used for added flavor.
Dive straight into the joy of crafting these Homemade Thin Mints Girl Scout Cookies, and enjoy every delicious bite!
Step‑by‑Step Instructions for Homemade Thin Mints Girl Scout Cookies
Step 1: Preheat the Oven
Begin by preheating your oven to 350°F (175°C). This step is crucial as it ensures even baking. While the oven heats up, line your baking sheets with parchment paper to prevent the cookies from sticking, and to make for an easy clean-up.
Step 2: Cream the Butter and Sugar
In a large mixing bowl, cream together room temperature butter and sugar using an electric mixer. Beat on medium speed until the mixture is light and fluffy, which should take about 2-3 minutes. Aim for a pale, airy texture that promises delightful Homemade Thin Mints Girl Scout Cookies.
Step 3: Add Egg and Flavorings
Once your butter and sugar are well-combined, add in the egg, vanilla bean paste, and peppermint extract. Beat on low speed until completely mixed, ensuring all ingredients are homogenous. This mixture will create a rich base full of flavor for your cookies.
Step 4: Combine Dry Ingredients
In a separate bowl, sift together the all-purpose flour, cocoa powder, baking powder, and salt. Whisk gently to incorporate air and break up any lumps. Slowly add this dry mix into the wet ingredients, mixing on low speed until a dough forms. The dough should be soft and slightly sticky.
Step 5: Chill the Dough
Transfer the dough onto a large sheet of parchment paper, and slightly flatten it into a rectangle. Cover with another sheet of parchment, then chill the dough in the refrigerator for at least 2 hours. This chilling process is vital to keep your cookies from spreading during baking.
Step 6: Cut Out the Cookies
After chilling, unwrap the dough and remove the top layer of parchment. Use a 2-inch round cookie cutter to cut out shapes, placing them on the prepared baking sheets. You may need to re-chill the dough if it softens too much while cutting, ensuring clean edges for your Homemade Thin Mints.
Step 7: Bake the Cookies
Bake the cookies in the preheated oven for approximately 8 minutes. They should look set but still soft in the center. Remove them from the oven and let them cool for a few minutes on the baking sheet before transferring them to wire racks to cool completely.
Step 8: Prepare the Chocolate Coating
While the cookies cool, place the semi-sweet chocolate chips in a microwave-safe bowl. Microwave in 30-second intervals, stirring after each interval until fully melted and smooth. Be patient here—overheating can lead to a gritty texture.
Step 9: Coat the Cookies
Once your chocolate is smooth, mix in the vegetable oil and peppermint extract, which adds extra flavor and shine. Dip each cooled cookie into the chocolate, using a fork to fully coat then tapping it lightly on the edge of the bowl to remove excess chocolate.
Step 10: Let Them Set
Place the coated cookies on clean parchment paper to set. Allow them to cool until the chocolate hardens, which may take 30-60 minutes at room temperature. You can speed up the process by placing them in the fridge for about 15 minutes, making them ready to enjoy sooner!
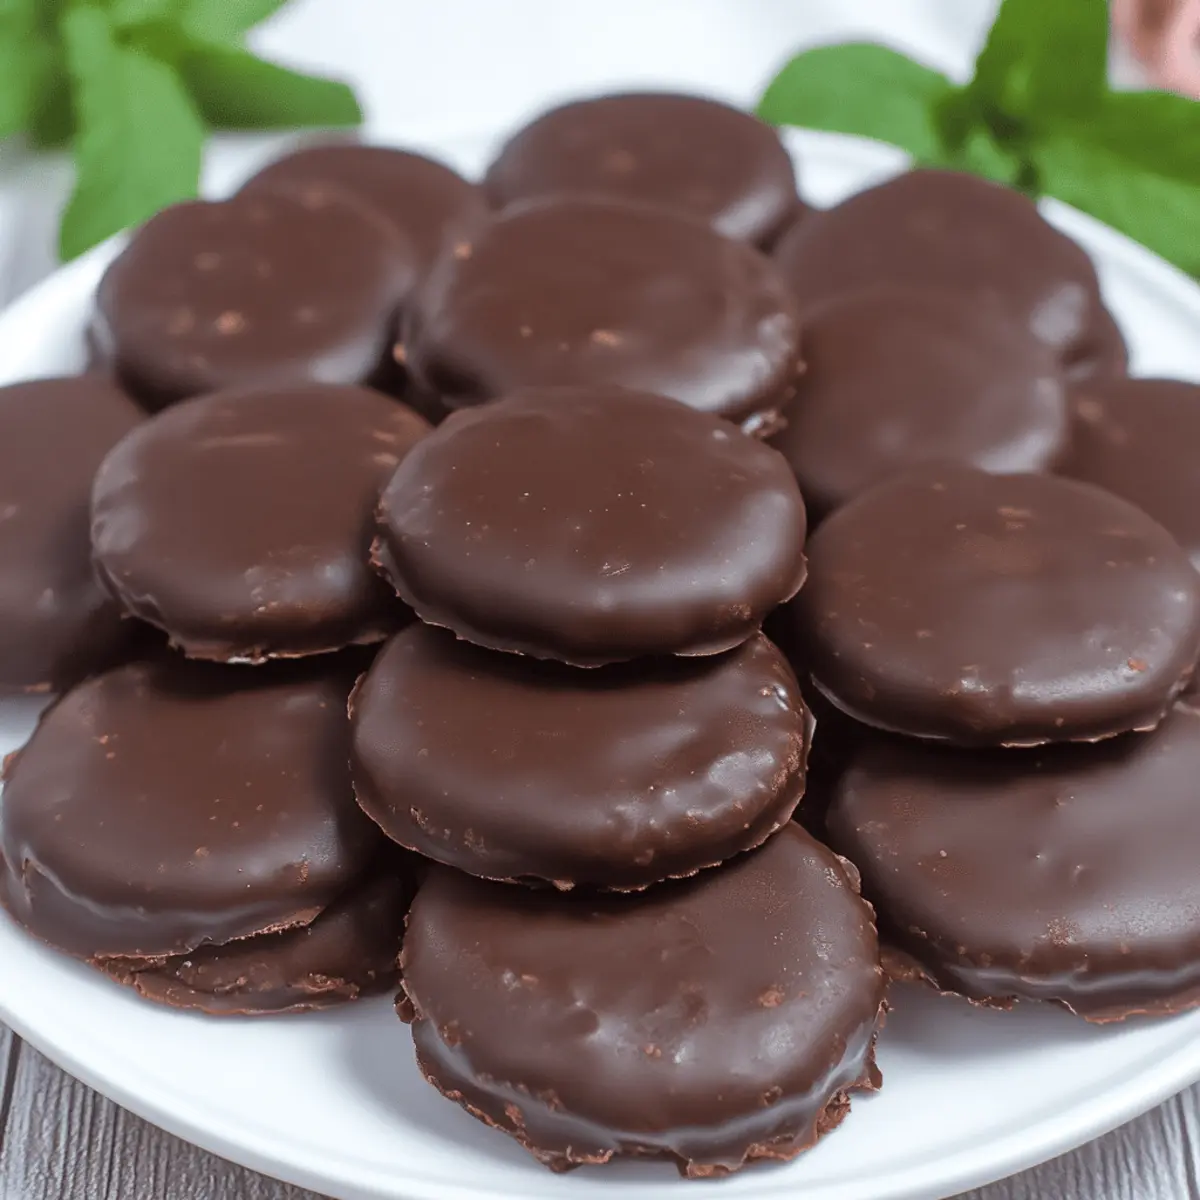
Make Ahead Options
These Homemade Thin Mints Girl Scout Cookies offer fantastic make-ahead opportunities that save time for busy days! You can prepare the cookie dough up to 24 hours in advance; simply wrap it tightly in plastic wrap and refrigerate. For even longer storage, freeze the dough for up to 3 months. When you’re ready to bake, just thaw the dough overnight in the fridge before rolling and cutting. Additionally, after baking and cooling, the cookies can be stored in an airtight container for up to a week or frozen for up to 6 months—just ensure they’re well-sealed to lock in freshness. When you’re ready to enjoy, dip the cookies in melted chocolate and let them set before serving. You’ll have delicious cookies ready with minimal effort!
Homemade Thin Mints Girl Scout Cookies Variations
Feel free to customize this chocolatey delight to suit your tastes and dietary preferences—your kitchen, your rules!
-
Dairy-Free: Substitute butter with dairy-free butter or margarine for a vegan-friendly version. Your cookies will still taste irresistibly rich and delicious.
-
Gluten-Free: Make it gluten-free by using a high-quality gluten-free flour blend in place of all-purpose flour. You won’t sacrifice texture or flavor!
-
Minty Chocolate Boost: For an extra minty punch, add a teaspoon of crushed peppermint candies into the chocolate coating. This provides delightful crunchiness with each bite.
-
Dark Chocolate Lovers: Swap semi-sweet chocolate chips for dark chocolate to achieve a richer, less sweet indulgence that chocolate lovers will adore. You’ll be amazed at the depth of flavor!
-
Cocoa Powder Twist: Use Dutch-processed cocoa powder instead of regular cocoa powder for a milder, smoother chocolate flavor. It will bring a different twist to the classic taste.
-
Nutty Addition: Mix in some finely chopped walnuts or almonds into the dough for a delightful crunch. The nuttiness pairs beautifully with the mint.
-
Baked Alternative: If you prefer a less crispy texture, try baking them a bit longer for chewier cookies. But watch them closely to avoid over-baking!
-
Cookie Sandwiches: Spread a layer of mint cream or your favorite frosting between two cookies, creating a delightful sandwich that elevates your cookie game!
And if you’re feeling adventurous, check out my delightful Chocolate Oat Cookies for another delicious twist on our favorite treats! Get creative and enjoy!
Expert Tips for Homemade Thin Mints
Creaming Is Key: Ensure the butter and sugar are whipped until light and fluffy—this step adds airiness and texture to your Homemade Thin Mints Girl Scout Cookies.
Chill for Success: Don’t skimp on the chilling time! At least 2 hours in the fridge prevents the dough from spreading during baking, keeping your cookies perfectly shaped.
Cool Completely: Let your cookies cool entirely before dipping them in chocolate. This step helps avoid crumbling and makes for a smooth coating.
Stir Gently: When melting the chocolate, stir it regularly and gently to avoid overheating, which can lead to a grainy texture that will ruin your cookie coating.
Use Quality Ingredients: Opt for high-quality chocolate and real peppermint extract for the best flavor in your Homemade Thin Mints; the difference will be noticeable!
How to Store and Freeze Homemade Thin Mints Girl Scout Cookies
Room Temperature: Store your baked cookies in an airtight container at room temperature for up to 1 week—this helps maintain their crispy texture and delightful flavor.
Fridge: If you live in a warm climate, consider refrigerating the cookies to prevent any melting of the chocolate coating; they will stay fresh for up to 2 weeks.
Freezer: For longer storage, freeze your cookies for up to 6 months. Place them in a single layer in a freezer-safe bag, separating layers with parchment paper to prevent sticking.
Unbaked Dough: You can also freeze the unbaked dough for up to 3 months. Wrap it tightly in plastic wrap and then place in an airtight container, so you can make fresh Homemade Thin Mints whenever the craving strikes!
What to Serve with Homemade Thin Mints Girl Scout Cookies
Indulging in these homemade delights creates the perfect opportunity to pair them with delightful sides and beverages.
- Glass of Milk: A classic accompaniment, the creamy richness of milk balances the cookies’ sweetness and chocolate notes beautifully.
- Herbal Tea: Brew a warm cup of peppermint tea to enhance the minty flavor, creating a cozy and aromatic experience.
- Fruit Salad: Fresh fruits provide a refreshing contrast to the cookies’ rich flavors, offering a delightful burst of brightness.
- Chocolate Fondue: For the ultimate indulgence, serve the cookies alongside warm chocolate for dipping, turning snack time into a decadent treat.
- Vanilla Ice Cream: A scoop of creamy vanilla ice cream melts deliciously alongside the cookies, creating a delightful combination of temperatures and textures.
- Coffee: Brew a cup of rich coffee for an energizing pairing—its bitterness amplifies the sweetness of the cookies beautifully.
- Whipped Cream: Serve with a dollop of freshly whipped cream to add a touch of lightness and elevate your cookie experience.
- Pistachio Gelato: A nutty gelato creates a unique counterpoint to the chocolate and mint, providing a sophisticated twist on your dessert course.

Homemade Thin Mints Girl Scout Cookies Recipe FAQs
How do I select the best peppermint extract?
Absolutely! For the most authentic flavor in your Homemade Thin Mints Girl Scout Cookies, make sure to choose peppermint extract rather than pure mint extract. Look for extracts that use real peppermint oil for a more vibrant and aromatic flavor.
How should I store my Homemade Thin Mints?
I recommend storing your baked cookies in an airtight container at room temperature for up to a week. This will keep them deliciously crispy. If you live in a warm area, refrigeration may be helpful, allowing them to stay fresh for up to two weeks.
Can I freeze the cookie dough?
Yes, you can absolutely freeze the unbaked dough! Just wrap it tightly in plastic wrap, then place it in an airtight container. It will keep well for up to 3 months. When you’re ready to bake, just thaw it in the refrigerator overnight before rolling it out and cutting out your cookies!
What if my dough is too sticky?
Very often, cookie dough can become sticky due to warmth or too much mixing. If this happens, chill the dough for an extra 30 minutes in the fridge. If it’s still sticky after that, you can lightly dust your work surface and rolling pin with flour when you roll it out, or add a little bit more flour to the dough, a tablespoon at a time, until you achieve the right consistency.
Are these cookies safe for pets?
It’s best to keep these Homemade Thin Mints away from our furry friends. Chocolate is toxic to dogs and can cause serious health problems. Always store them out of reach to ensure your pets stay safe!
How long can the chocolate coating last?
The chocolate coating should set within 30-60 minutes at room temperature, but if you want to speed things up, you can refrigerate the coated cookies for about 15 minutes. Once set, they can last up to 2 weeks if stored properly in an airtight container!
Homemade Thin Mints Girl Scout Cookies Made Healthier and Yummier
Ingredients
Equipment
Method
- Preheat your oven to 350°F (175°C) and line baking sheets with parchment paper.
- Cream together room temperature butter and sugar using an electric mixer until light and fluffy, about 2-3 minutes.
- Add in the egg, vanilla bean paste, and peppermint extract. Beat on low speed until completely mixed.
- Sift together the all-purpose flour, cocoa powder, baking powder, and salt. Slowly mix this into the wet ingredients until a dough forms.
- Transfer the dough onto a large sheet of parchment paper, flatten it slightly, cover with another sheet, and chill for at least 2 hours.
- Cut out shapes using a 2-inch round cookie cutter, placing them on the prepared baking sheets.
- Bake for approximately 8 minutes. Let them cool on the baking sheet before transferring to wire racks.
- Melt the semi-sweet chocolate chips in a microwave-safe bowl, stirring regularly until smooth.
- Mix in the vegetable oil and peppermint extract, then dip each cooled cookie into the chocolate coating.
- Place the coated cookies on parchment paper to set, allowing chocolate to harden for about 30-60 minutes.
Leave a Reply