
As I watched the sun set beyond my kitchen window, I couldn’t help but smile at the thought of making Flaky Roti Canai. This dish captures the essence of comfort food, inviting family and friends to gather around the table. Renowned for its mouthwatering layers, this flaky delight is surprisingly easy to whip up, offering a satisfying alternative to greasy takeout. Whether you enjoy it dipped in a savory curry or sprinkled with sugar for a sweet finish, Flaky Roti Canai proves to be both versatile and crowd-pleasing. Plus, this recipe is a delightful way to explore traditions from various cultures that make this dish unique. Ready to roll out some dough and create memories in your kitchen?
Why is Flaky Roti Canai so irresistible?
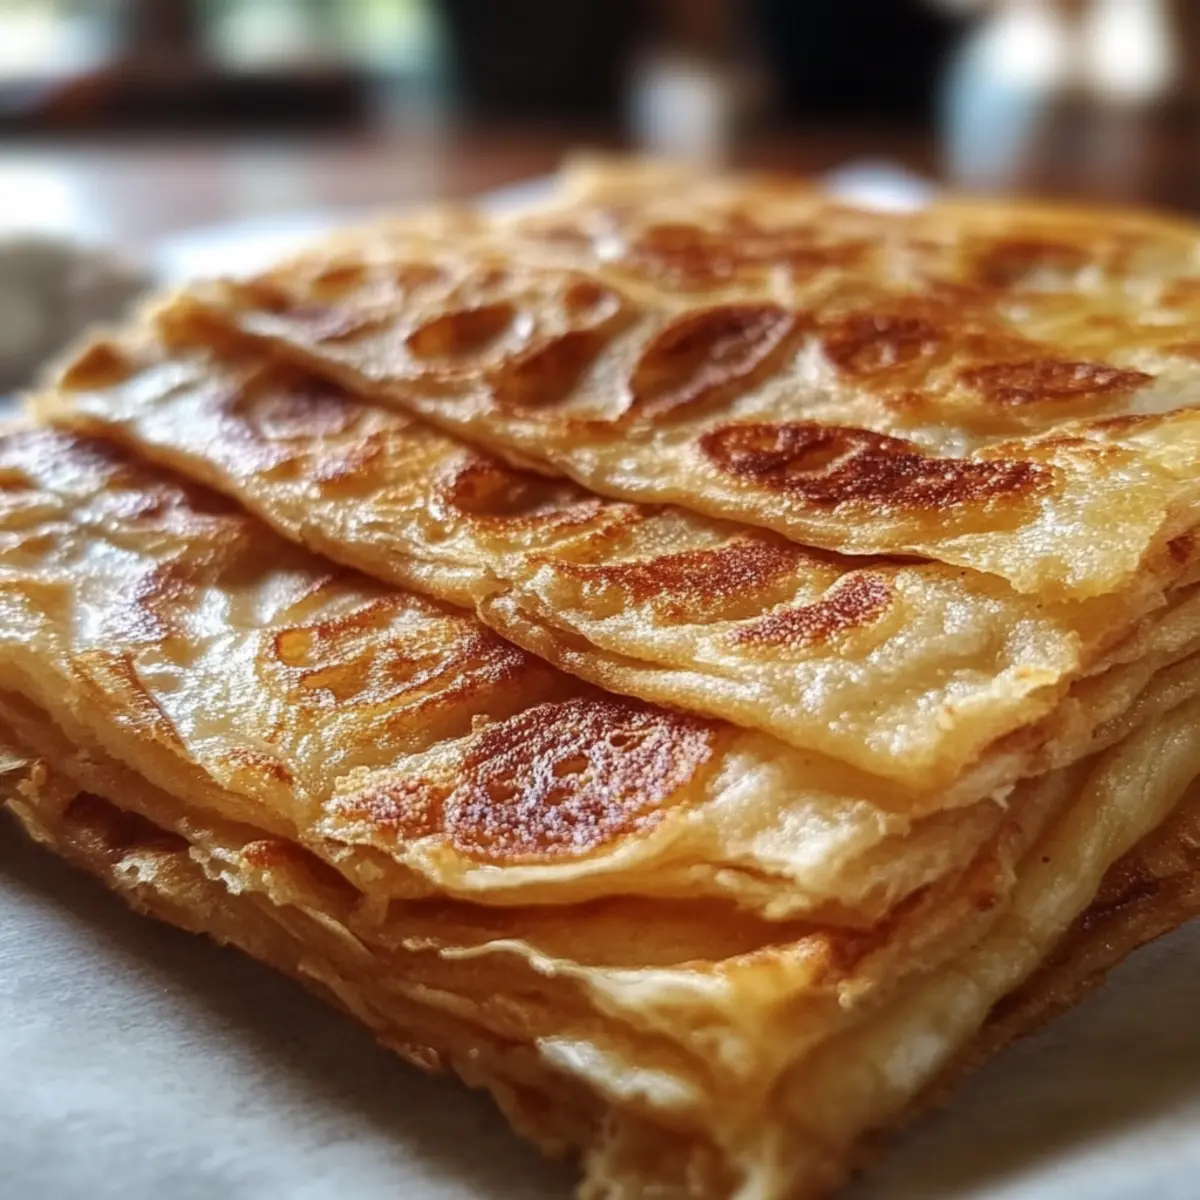
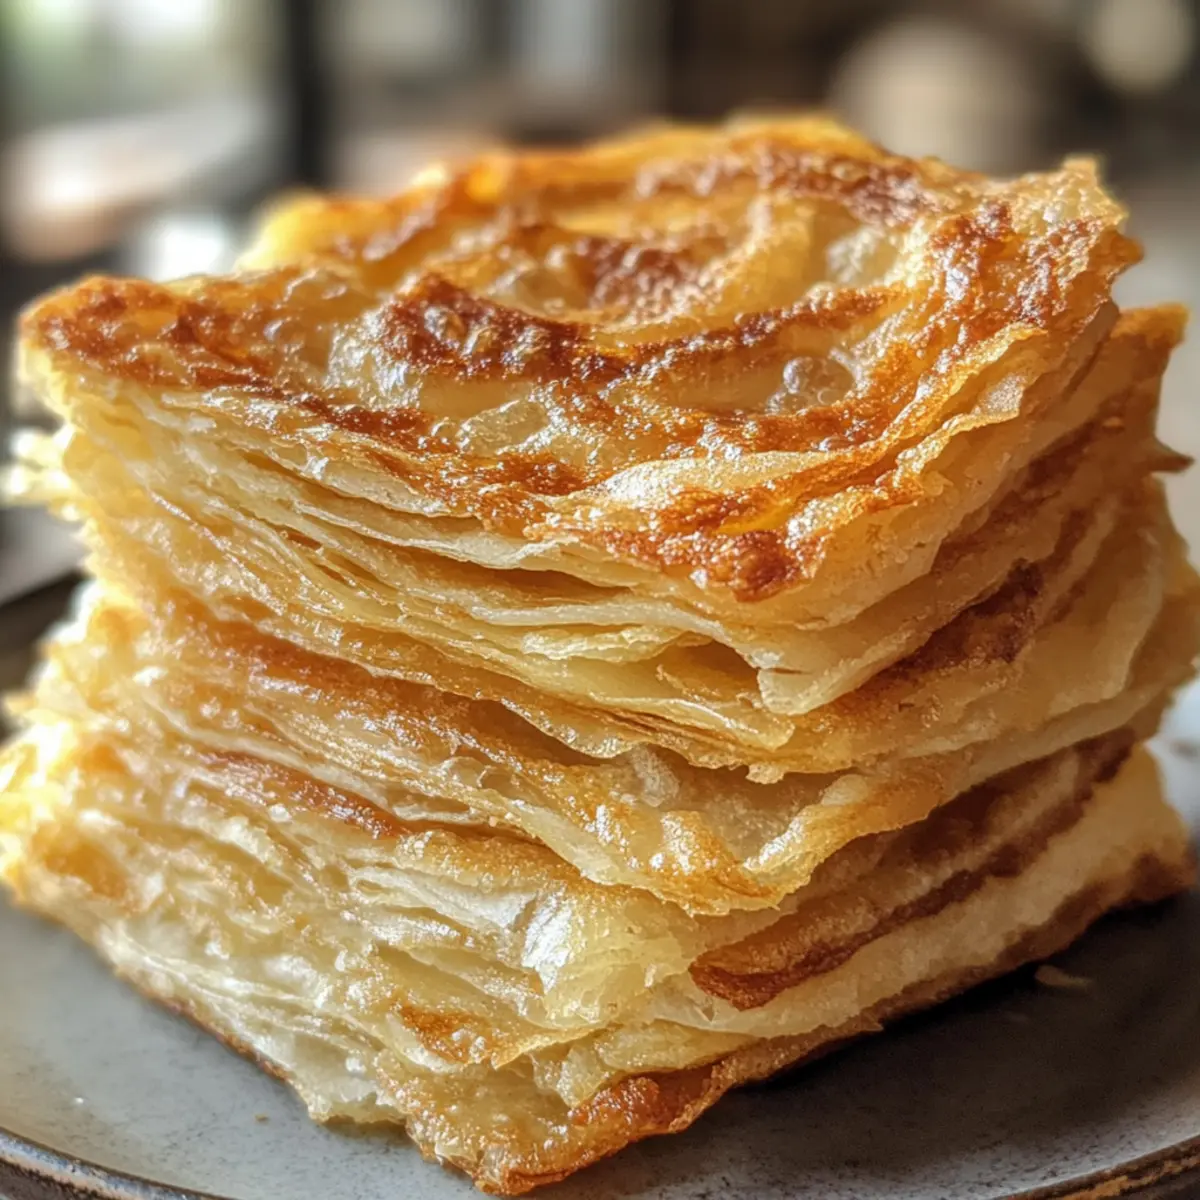
Layered Delicacy: With its crispy exterior and flaky interior, each bite offers a delightful textural contrast that keeps you coming back for more.
Endless Versatility: This dish pairs seamlessly with spicy curries or can be transformed into a sweet treat topped with desserts.
Cultural Fusion: Roti Canai embodies a rich culinary heritage, blending influences from various cultures, making it a global favorite.
Quick Prep Time: Despite its impressive layering technique, the prep and cook time is manageable, perfect for a weeknight meal or entertaining guests.
Vegan-Friendly: Easily made into a vegan option by omitting dairy, ensuring everyone at your table can enjoy this comfort food classic!
Embrace the joy of homemade meals; check out our tips on making traditional roti recipes for more delicious ideas!
Flaky Roti Canai Ingredients
For the Dough
- All Purpose Flour – Provides structure and chewiness; substitute with whole wheat flour for a healthier version.
- Sea Salt – Enhances flavor and brings out the natural taste of the dough.
- Boiling Water – Activates gluten, aiding dough development; this is key for achieving that flaky texture.
- Room Temperature Water – Adjusts the dough consistency to create the perfect elasticity.
- Oil (for coating, layering, and cooking) – Adds richness and ensures the layers don’t stick together; you can use ghee or butter for additional flavor.
For Cooking
- Oil for Frying – Ensures a golden, crispy finish on each roti; keeping it versatile, you can swap with a neutral oil if desired.
Get ready to embrace the magic of Flaky Roti Canai right in your kitchen, and let’s create something unforgettable!
Step‑by‑Step Instructions for Flaky Roti Canai
Step 1: Prepare the Dough
In a large mixing bowl, combine all-purpose flour and sea salt, then gradually pour in the boiling water, stirring with a wooden spoon until the mixture forms clumps. You should see the flour absorbing the water, creating a shaggy mix. Allow this to sit for 10 minutes to start developing warmth and hydration in your dough.
Step 2: Mix and Knead
After the resting period, add room temperature water to the mixture and begin kneading it by hand for about 8-10 minutes. You’re aiming for a soft, elastic dough that is smooth and not sticky. Once this consistency is achieved, shape the dough into a ball and cover it with a damp cloth; let it rest for 30 minutes to 1 hour to enhance its texture.
Step 3: Divide the Dough
Once rested, knead the dough lightly again before dividing it into 8 equal portions. Roll each portion into a smooth ball, ensuring there are no cracks. Each ball should feel soft and pliable in your hands. This is crucial for achieving the layers of your Flaky Roti Canai later.
Step 4: Coat and Rest Again
Lightly coat each dough ball with oil to prevent sticking, then place them on a greased plate. Cover with plastic wrap or a cloth and let them rest for at least 2 hours, or preferably overnight, in the refrigerator. This resting will improve the gluten development and help create extra flakiness.
Step 5: Roll Out the Dough
Heat a non-stick surface or your countertop lightly. Take a resting dough ball, and flatten it with your palms. Using a rolling pin, stretch and roll the dough into a thin layer, using oil as needed to prevent sticking. Aim for a translucent thickness that still holds together; this ensures a delightfully layered Flaky Roti Canai.
Step 6: Shape and Coil
Once you have a thin layer, roll it up tightly into a tube shape, then coil it into a spiral, tucking the end underneath. Press gently to secure its shape. Cover the spiral with a damp cloth and let it rest for an additional hour. This step is instrumental in achieving that signature flaky texture.
Step 7: Cook the Roti
Heat a non-stick pan over medium heat and add a bit of oil to coat the surface. Take a rested coil and flatten it gently with your hands or a rolling pin until it’s about 1/4 inch thick. Cook each side for about 2-3 minutes or until golden brown, flipping when you see a lovely color and texture developing.
Step 8: Fluff and Serve
Once both sides are beautifully browned, take the roti off the pan and gently squash it by pressing with your hands—this separates the layers for that delightful flakiness. Serve your warm Flaky Roti Canai immediately alongside curries, chutneys, or even sweet toppings. The aroma and fresh texture will bring everyone to the table!

Flaky Roti Canai: Creative Twists Await!
Feel free to personalize your Flaky Roti Canai experience with these flavorful variations that spark your culinary creativity.
-
Whole Wheat Roti: Swap all-purpose flour with whole wheat for a heartier, nutty flavor that’s equally delicious.
-
Sweet & Spicy: Add a pinch of cinnamon and sugar in the dough for a delightful twist; serve with honey or chocolate sauce for dipping.
-
Spicy Sriracha Roti: Incorporate Sriracha into the dough for a spicy kick that pairs beautifully with creamy avocado or yogurt.
-
Stuffed Roti: Roll out the dough with a savory filling of spiced vegetables or minced meat before coiling; each bite becomes wonderfully flavorful.
-
Herb-Infused Dough: Mix fresh herbs like cilantro or mint into the dough for a fragrant and vibrant twist. This pairs beautifully with coconut curry!
-
Garlic Butter Roti: Brush cooked roti with garlic-infused butter for an irresistible flavor; serve it alongside your favorite dipping sauces.
-
Coconut Roti: Replace part of the water with coconut milk for extra richness and a hint of sweetness that complements any curry nicely.
-
Vegan-Friendly Roti: Use plant-based butter or oil to ensure your roti is completely vegan while keeping all that lovely flakiness intact!
Explore these variations to make your Flaky Roti Canai truly one-of-a-kind! If you want to dive deeper into traditional recipes, check out our guide on making traditional roti recipes for inspiration. Enjoy your culinary journey!
What to Serve with Flaky Roti Canai
As you enjoy the crispy, flaky layers of this delightful dish, think about what will elevate your meal to unforgettable heights.
-
Coconut Curry: The creamy richness of coconut curry perfectly balances the flaky goodness of the roti, whisking you away to tropical shores.
-
Spicy Lentil Dhal: This hearty, comforting dish pairs beautifully with roti, as its warming spices complement the texture and soak up the flavors.
-
Chunky Vegetable Chutney: A fresh and zesty chutney not only adds a vibrant splash of color but also a burst of acidity that beautifully cuts through the roti’s richness.
-
Garlic Naan: Pairing roti with other flatbreads is just delightful! The mellow garlic flavor provides a fragrant harmony that makes each bite even more enjoyable.
-
Cucumber Raita: A cooling yogurt-based sauce contrasts with spicy dishes, providing a refreshing balance as you savor each flaky layer of roti.
-
Sweetened Condensed Milk: For a delightful twist, serve with a side of this rich treat for dipping, transforming your meal into a sumptuous dessert experience.
Enjoy the culinary journey while gathering loved ones around the table, as Flaky Roti Canai and its delightful accompaniments bring warmth to any occasion!
Tips for the Best Flaky Roti Canai
- Proper Flour Measurement: Always weigh your flour for the most accurate results. Too much flour can make the dough dry and hinder the flaky texture.
- Rest Time is Key: Don’t skip the resting periods. Allowing the dough to rest helps develop gluten, resulting in soft, flexible layers in your Flaky Roti Canai.
- Stretch with Care: Practice gentle stretching to achieve the ideal thinness without tearing. A smooth, even layer is crucial for perfect layering!
- Grease for Flakiness: Use enough oil when coating and rolling the dough to prevent it from sticking. This step is vital for creating those delicious, flaky layers.
- Cook on Medium Heat: Ensure your pan isn’t too hot. Cooking on medium heat develops a golden crust without burning the outside, leaving the inside tender.
Make Ahead Options
These Flaky Roti Canai are fantastic for busy cooks who want to save time during the week! You can prepare the dough up to 24 hours in advance; after mixing and resting, simply cover it tightly and refrigerate. Additionally, once you’ve formed the individual dough balls, coat them in oil and let them rest for up to 3 days in the fridge—this allows the flavors to deepen while ensuring the layers remain flaky. When you’re ready to cook, just roll out and fry each roti directly from the refrigerator. This means you can enjoy freshly made, restaurant-quality Flaky Roti Canai with minimal effort during your mealtime!
How to Store and Freeze Flaky Roti Canai
Fridge: Store leftover Flaky Roti Canai in an airtight container for up to 3 days to maintain moisture and freshness. Reheat on a skillet for best results.
Freezer: Freeze wrapped roti in plastic wrap and then in aluminum foil for up to 3 months. Thaw in the fridge overnight before reheating.
Reheating: For crispy roti, reheat in a hot pan for 2-3 minutes per side, ensuring each layer remains flaky and delicious.
Make-Ahead: Prepare the dough in advance and freeze the shaped coils. Just thaw, rest, and cook when ready to enjoy this delightful dish!

Flaky Roti Canai Recipe FAQs
How do I choose the right flour for Roti Canai?
Absolutely! For the best texture, I recommend using all-purpose flour, which provides great structure and chewiness. If you’re looking for a healthier option, whole wheat flour can also work well; just be aware that the texture may be slightly denser.
What is the best way to store leftover Flaky Roti Canai?
To keep your Roti Canai fresh, store any leftovers in an airtight container in the fridge for up to 3 days. When you’re ready to eat, simply reheat them on a skillet over medium heat for a couple of minutes on each side. This method helps to restore their delightful crispiness.
Can I freeze Flaky Roti Canai?
Yes, indeed! To freeze, wrap each individual roti tightly in plastic wrap and then place it in a freezer-safe bag or container to prevent freezer burn. They can be kept frozen for up to 3 months. When you’re ready to enjoy, simply thaw them in the fridge overnight and reheat in a hot pan for 2-3 minutes on each side.
Why isn’t my Roti Canai flaky?
If your Roti Canai lacks flakiness, double-check your resting times—don’t rush them! Proper gluten development is crucial for achieving those beautiful layers. Additionally, ensure you’re using enough oil during the rolling process to prevent sticking. If the dough is too thick, practice stretching it thinner for the desired flakiness.
Are there vegan alternatives for Flaky Roti Canai?
Very! To make this delicious dish vegan-friendly, simply omit dairy by using vegetable-based oils or substitutes in place of ghee or butter. The beauty of Flaky Roti Canai is that it can easily adapt to fit various dietary preferences, ensuring everyone can indulge in a warm, satisfying treat!
What are some common fillings for stuffed Roti Canai?
You can get creative with your stuffing! Popular options include a mixture of sautéed vegetables, minced meats, or even cheeses. If you’d like a sweet variation, try incorporating mashed bananas or a sprinkle of sugar before rolling. Remember, the more the merrier when it comes to filling those delightful layers!
Flaky Roti Canai: The Ultimate Comfort Food Experience
Ingredients
Equipment
Method
- In a large mixing bowl, combine all-purpose flour and sea salt, then gradually pour in the boiling water, stirring with a wooden spoon until the mixture forms clumps.
- Allow this to sit for 10 minutes to start developing warmth and hydration in your dough.
- After the resting period, add room temperature water to the mixture and begin kneading it by hand for about 8-10 minutes.
- Shape the dough into a ball and cover it with a damp cloth; let it rest for 30 minutes to 1 hour.
- Once rested, knead the dough lightly again before dividing it into 8 equal portions.
- Roll each portion into a smooth ball, ensuring there are no cracks.
- Lightly coat each dough ball with oil to prevent sticking, then place them on a greased plate.
- Cover with plastic wrap or a cloth and let them rest for at least 2 hours, or preferably overnight.
- Heat a non-stick surface lightly. Take a resting dough ball, flatten it, and stretch it into a thin layer.
- Roll it up tightly into a tube shape and coil it into a spiral, tucking the end underneath.
- Cover the spiral with a damp cloth and let it rest for an additional hour.
- Heat a non-stick pan over medium heat, adding a bit of oil.
- Take a rested coil and flatten it gently until it’s about 1/4 inch thick.
- Cook each side for about 2-3 minutes or until golden brown.
- Once both sides are beautifully browned, squash the roti by pressing with your hands to separate the layers.
- Serve your warm Flaky Roti Canai immediately alongside curries, chutneys, or sweet toppings.
Leave a Reply