
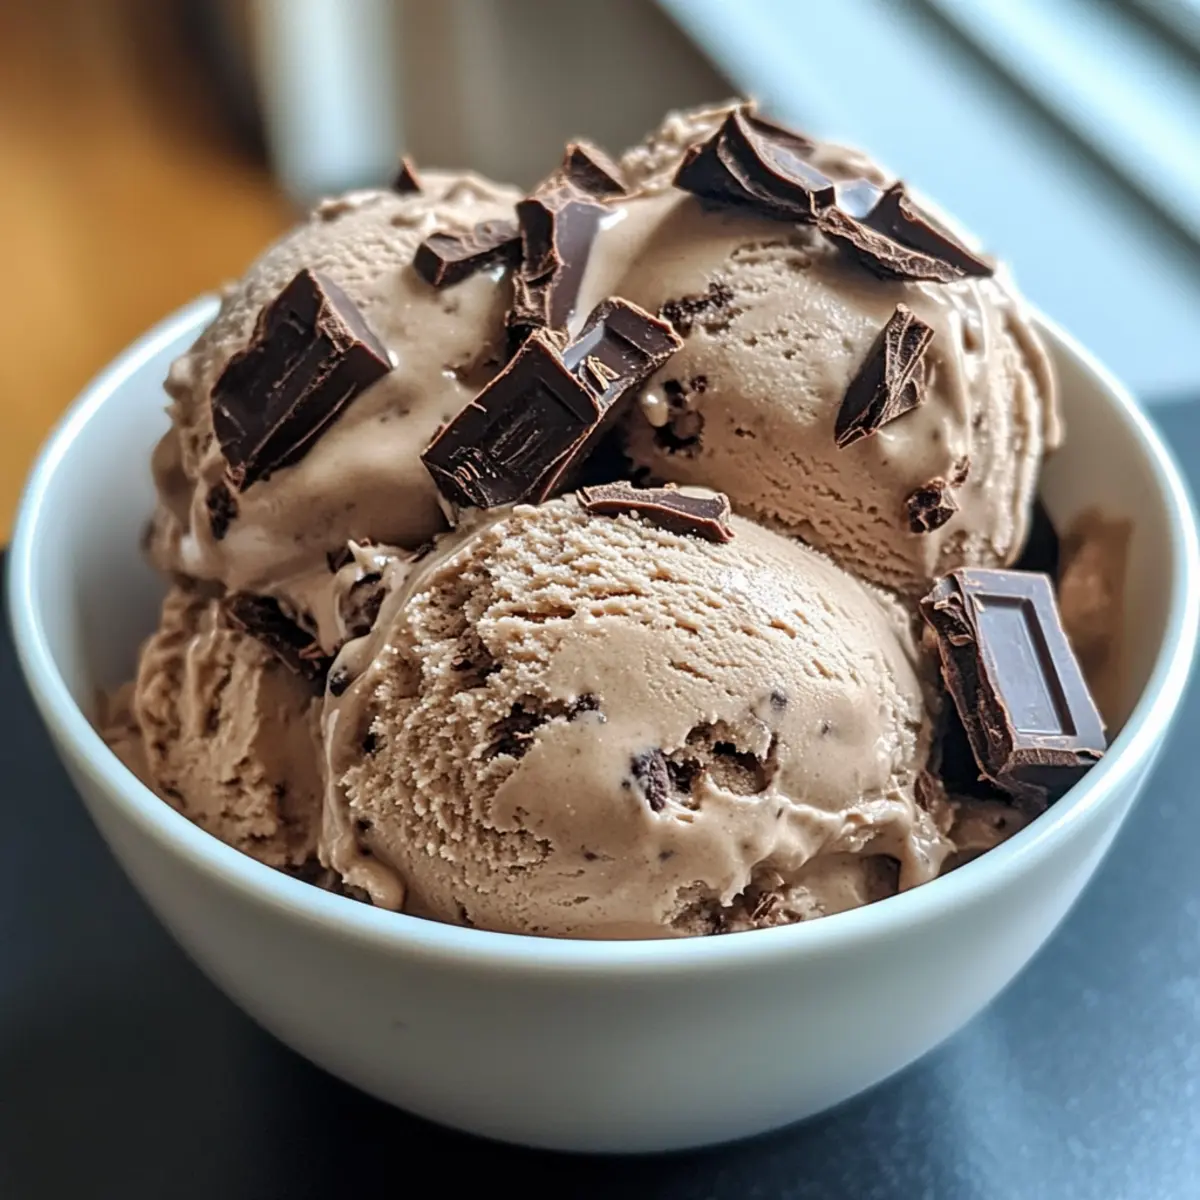
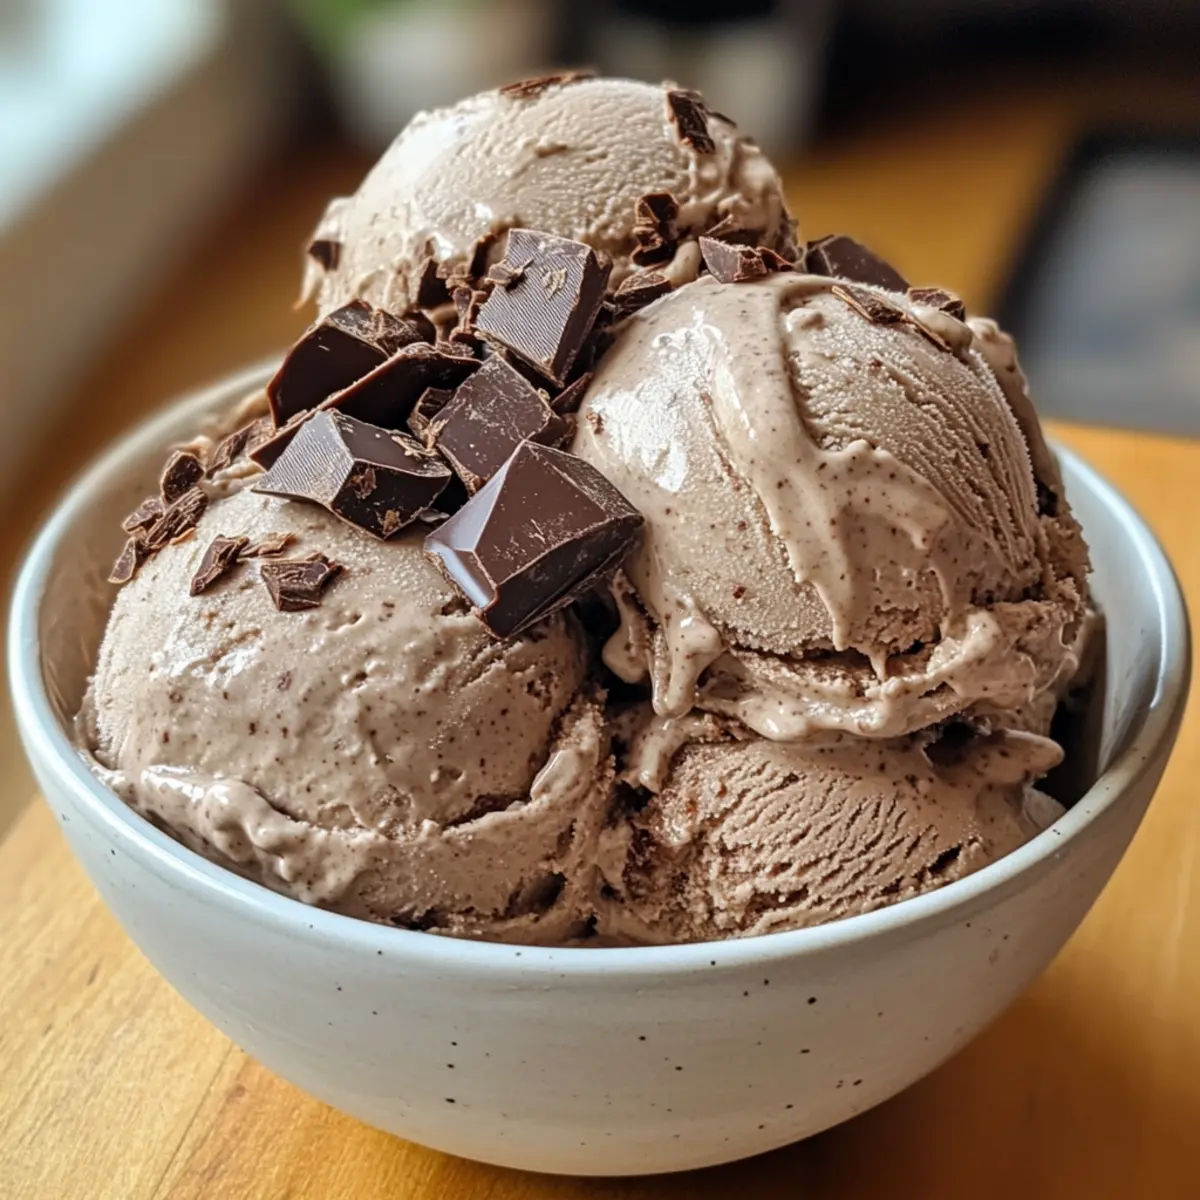
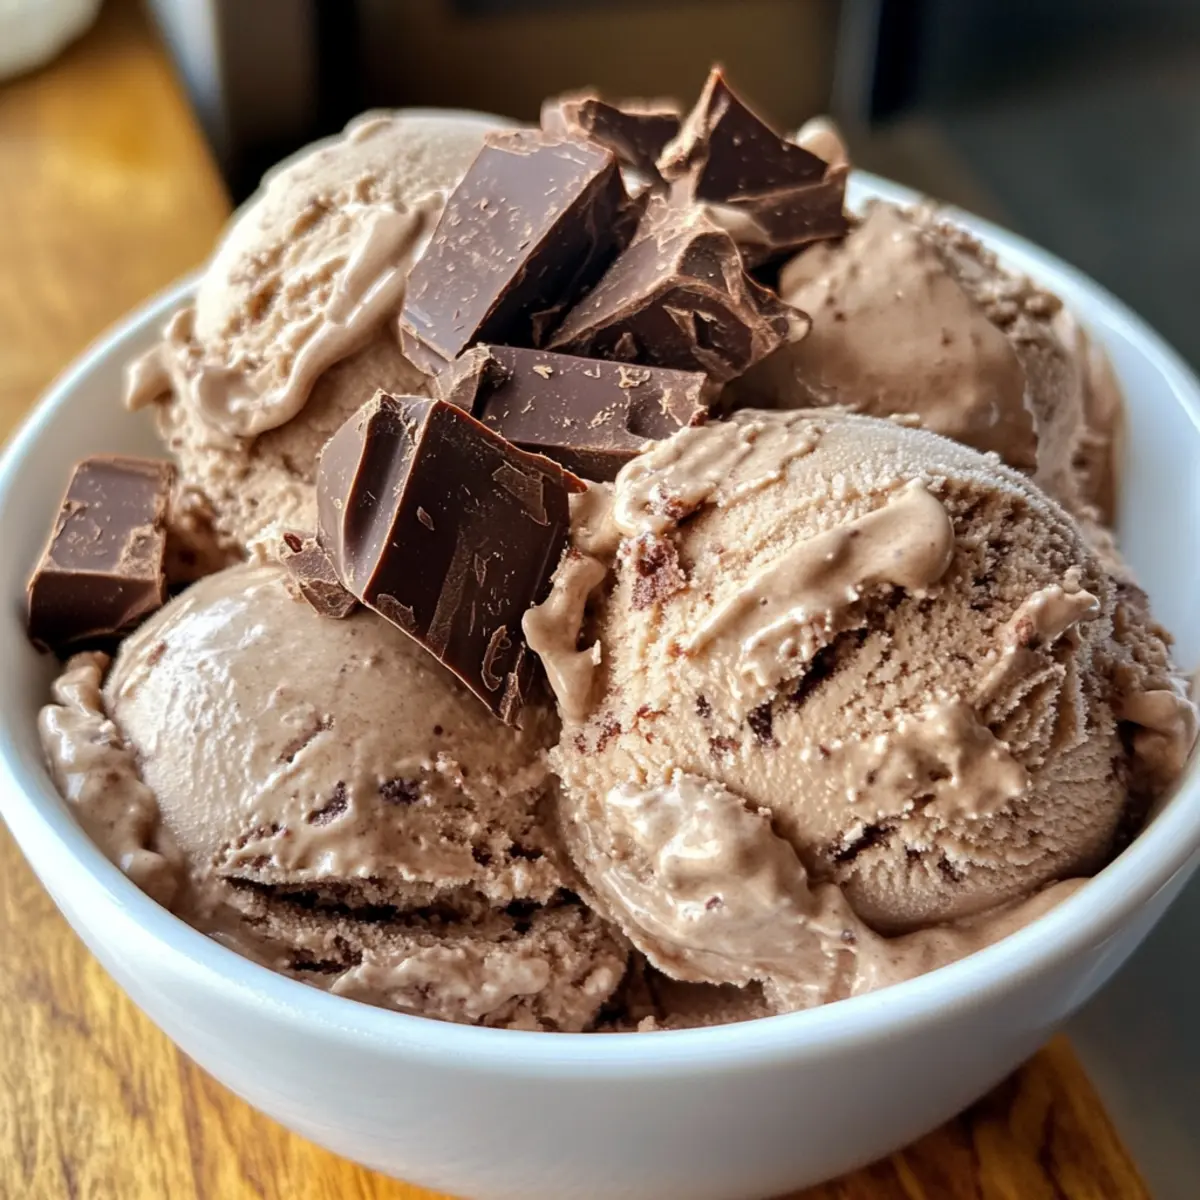
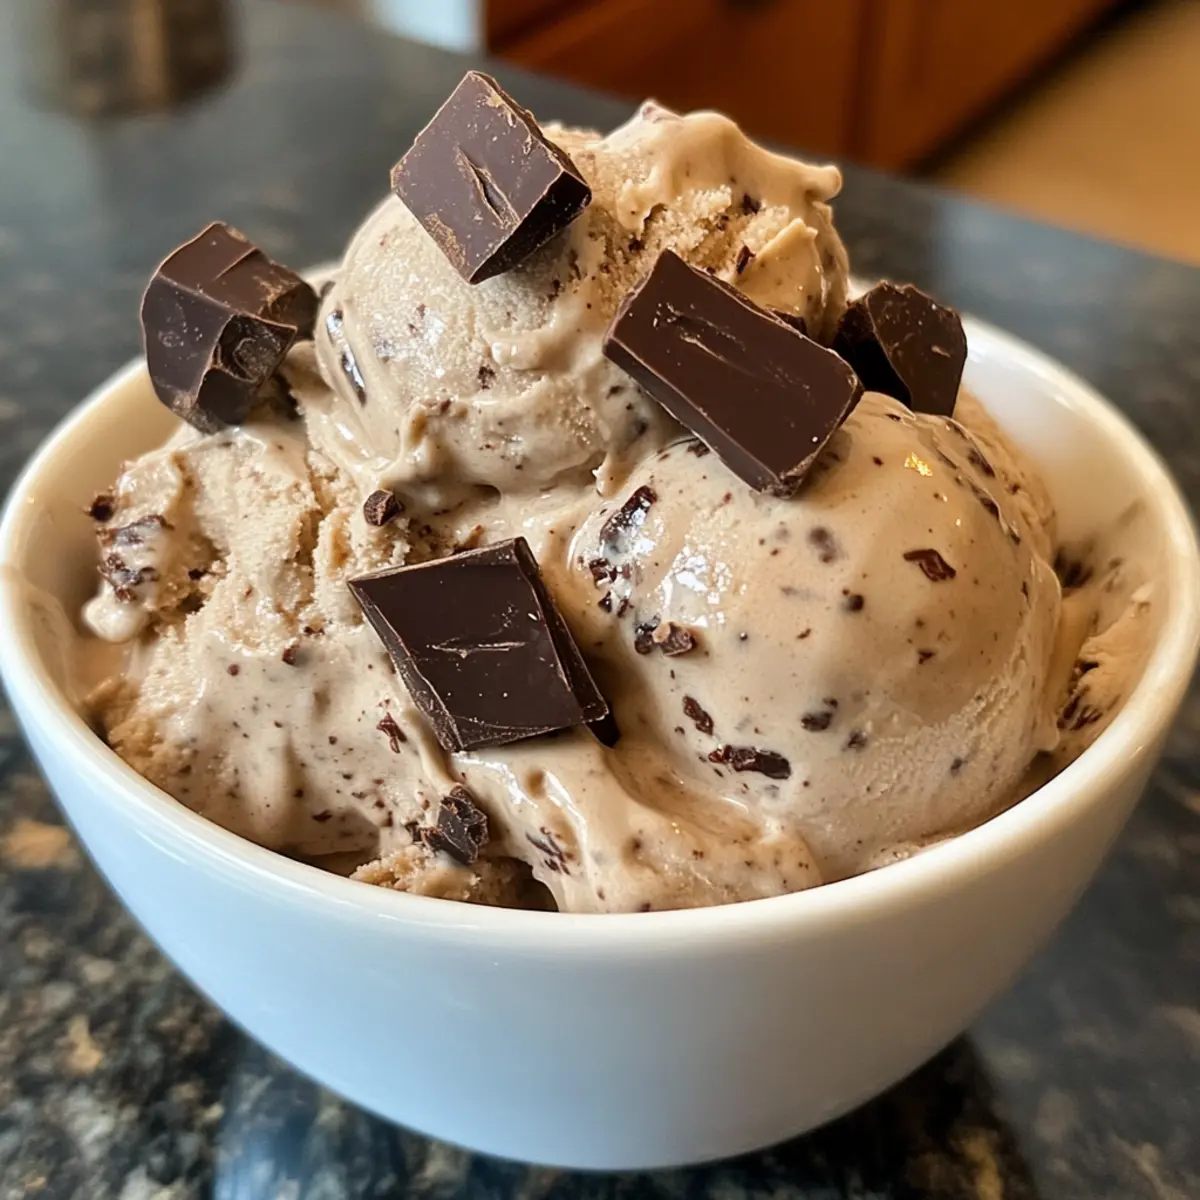
As I stood in my kitchen, the fragrant aroma of freshly brewed coffee mingled with thoughts of sweet indulgence. There’s something incredibly comforting about making your own No-Churn Coffee Ice Cream with Chocolate Chunks—it’s like a warm hug from inside the freezer! This recipe is not only a breeze to whip up, requiring no ice cream maker, but it also transforms everyday ingredients into a creamy masterpiece that’s perfect for any occasion. The best part? You can enjoy a delightful fusion of rich coffee and luscious chocolate chunks while keeping things simple and manageable. Whether you’re treating yourself after a long day or impressing guests with a homemade dessert, this luscious coffee ice cream promises to be a crowd-pleaser and a refreshing option on hot summer days. What flavor combinations will you create to make it your own?
Why is this Coffee Ice Cream a Must-Try?
Simplicity at its finest: With no ice cream maker required, this recipe is incredibly easy to prepare, making it perfect for novice and experienced home cooks alike. Decadent Flavor: The rich fusion of coffee and dark chocolate chunks creates an indulgent taste that satisfies your sweet cravings. Customizable delight: You can add your favorite mix-ins or switch to coconut cream for a dairy-free alternative, ensuring everyone can enjoy this treat. Perfect for Any Occasion: Whether it’s a summer gathering or a cozy night in, this coffee ice cream will impress guests and provide a delightful escape. Plus, if you love desserts that are easy yet delicious, check out my recipes for Pumpkin Cream Cheese and Bacon Cream Cheese for more homemade inspiration!
Coffee Ice Cream Ingredients
• This simple ingredient list makes your delicious coffee ice cream a reality!
For the Base
- Heavy Cream (2 cups) – Provides the creamy base and texture; ensure it’s well-chilled for optimal whipping.
- Sweetened Condensed Milk (1 cup) – Adds sweetness and richness, creating a smooth consistency; can be substituted with dairy-free condensed milk for a vegan option.
- Brewed Coffee (1 cup, cooled) – Infuses rich coffee flavor; using espresso gives a stronger taste, and decaf can be used for a caffeine-free option.
- Vanilla Extract (1 teaspoon) – Enhances overall flavor and aroma; pure vanilla extract is recommended for best results.
- Pinch of Salt – Balances sweetness and elevates flavor; this element enhances the overall taste profile, so it should not be omitted.
For the Mix-Ins
- Dark Chocolate Chunks (1 cup) – Offers a delightful crunch and decadent chocolate flavor; chocolate chips can be used instead, and consider white chocolate or nuts for variation.
Step‑by‑Step Instructions for No-Churn Coffee Ice Cream with Chocolate Chunks
Step 1: Prepare the Coffee
Begin by brewing a strong cup of coffee, ensuring it’s rich and flavorful. Once brewed, allow the coffee to cool to room temperature for about 15–20 minutes. This step is crucial as it prevents the ice cream base from melting during mixing, ensuring a creamy No-Churn Coffee Ice Cream awaits you.
Step 2: Whip the Heavy Cream
In a large mixing bowl, pour in 2 cups of well-chilled heavy cream. Using an electric mixer, whip the cream on medium-high speed for about 3–5 minutes, or until stiff peaks form. Pay attention to the texture; it should be light and fluffy, resembling soft clouds, which will create an airy base for the coffee ice cream.
Step 3: Combine the Coffee Mixture
In another bowl, combine 1 cup of sweetened condensed milk, your cooled brewed coffee, 1 teaspoon of vanilla extract, and a pinch of salt. Stir this mixture gently until everything is well incorporated and smooth, creating a rich and flavorful foundation that enhances the overall taste of your No-Churn Coffee Ice Cream.
Step 4: Fold in the Whipped Cream
Carefully fold the whipped cream into the coffee mixture using a spatula. Start by adding a third of the whipped cream to lighten the coffee mix, then gently incorporate the rest. This technique ensures that you maintain the airiness, resulting in a luxuriously creamy texture for your ice cream.
Step 5: Add the Chocolate Chunks
Once the whipped cream is fully incorporated, it’s time to mix in 1 cup of dark chocolate chunks. Use a gentle folding motion to evenly distribute the chocolate throughout your ice cream base. This step not only adds a delightful crunch but also enhances the overall decadent flavor of your No-Churn Coffee Ice Cream.
Step 6: Freeze the Ice Cream
Transfer the completed mixture into a freezer-safe container, smoothing out the top with a spatula for even freezing. Cover the container tightly to prevent ice crystals from forming. Place it in the freezer for at least 6 hours, or preferably overnight, to achieve the ideal firm texture for your homemade coffee ice cream.
Step 7: Serve and Enjoy
When ready to serve, scoop out portions of your creamy No-Churn Coffee Ice Cream with Chocolate Chunks. If it feels too firm, let it sit at room temperature for a few minutes to soften lightly. Indulge in this delightful dessert in bowls or cones, savoring each rich and chocolaty bite!
Coffee Ice Cream Variations & Substitutions
Feel free to bring your creativity to the table and customize your coffee ice cream experience!
- Dairy-Free: Substitute heavy cream with coconut cream for a rich, vegan twist. The tropical hints of coconut add an exotic flavor.
- Nutty Delight: Fold in walnuts or almonds for a crunchy texture. These additions bring a delightful nutty flavor that complements the coffee beautifully.
- Espresso Boost: Use espresso instead of regular brewed coffee for an even stronger coffee flavor. If you crave a morning jolt, this variation is your go-to!
- Caramel Swirl: Incorporate homemade or store-bought caramel sauce into the mixture before freezing. The luscious ribbons of caramel create a dreamy contrast to the coffee.
- Mocha Heaven: Swap out dark chocolate chunks for chocolate-covered coffee beans. The chocolatey crunch will elevate your coffee ice cream with delightful bursts of flavor.
- Seasonal Spices: Add a pinch of cinnamon or nutmeg for warmth and complexity. These spices can transform your coffee ice cream into a cozy seasonal dessert.
- Minty Fresh: Mix in a few drops of mint extract for a refreshing mint mocha twist. This delightful variation brings a cool, invigorating flavor to your indulgent treat.
Discover more delicious recipes! If you enjoy the joy of home cooking, check out my Cajun Cream Sauce for a flavorful addition to pasta or seafood. Don’t miss out on creating delectable memories with each recipe!
Storage Tips for Coffee Ice Cream
Fridge: Once prepared, store any leftover coffee ice cream in the freezer, not the fridge, as it requires freezing to maintain its creamy texture.
Freezer: Store your no-churn coffee ice cream in an airtight container for optimal freshness, preventing ice crystals from forming; it will last for up to 2-3 weeks.
Serving: When ready to serve, let the ice cream sit at room temperature for about 5-10 minutes for easier scooping. Enjoy it as a delightful treat even on hot summer days!
What to Serve with No-Churn Coffee Ice Cream with Chocolate Chunks
Enhance your homemade treat with delightful accompaniments that elevate every scoop into a memorable dessert experience.
-
Warm Brownies: The fudgy texture of warm brownies creates a perfect contrast, allowing the rich coffee flavor to shine even brighter.
-
Fresh Berries: Juicy raspberries or strawberries bring a vibrant freshness that balances the sweetness of the ice cream beautifully.
-
Chocolate Sauce: A drizzle of luscious chocolate sauce intensifies the chocolate chunks and enriches every spoonful with extra decadence.
-
Whipped Cream: Light and fluffy whipped cream adds an airy contrast, making the whole dessert delightfully indulgent and visually appealing.
-
Espresso: Pouring a shot of hot espresso over your ice cream transforms it into an affogato, creating a sensational coffee-flavored dessert experience.
-
Cookie Crumbles: Crushed cookies, like Oreos or biscotti, introduce a delightful crunch, enhancing both flavor and texture in each mouthful.
Enjoy the perfect harmony of flavors and textures to make your No-Churn Coffee Ice Cream with Chocolate Chunks even more tantalizing.
Expert Tips for No-Churn Coffee Ice Cream
- Perfect Whipping: Make sure to chill your mixing bowl and beaters before whipping the cream; this helps achieve the ideal fluffy consistency for your Coffee Ice Cream.
- Avoid Melting: Ensure your brewed coffee is completely cooled before combining; this prevents the heavy cream from melting and losing its wonderful texture.
- Quality Ingredients: Use high-quality coffee and pure vanilla extract. These elements significantly enhance the flavor of your ice cream, creating a richer experience.
- Mix-In Experimentation: Don’t hesitate to get creative! Add nuts or varied chocolate types to customize your No-Churn Coffee Ice Cream according to your taste preferences.
- Freezing Strategy: For the best results, consider freezing the mixture overnight. This allows the flavors to develop beautifully while ensuring that your ice cream achieves the perfect, firm texture.
Make Ahead Options
These No-Churn Coffee Ice Cream with Chocolate Chunks are a game-changer for meal prep enthusiasts! You can prepare the coffee mixture (sweetened condensed milk, cooled coffee, vanilla extract, and salt) up to 24 hours in advance, refrigerating it to keep flavors melded. Additionally, whip the heavy cream and fold it into the coffee mixture just before freezing for optimal texture—this ensures your ice cream stays just as delicious. When you’re ready to serve, simply fold in the chocolate chunks and transfer the mixture to a freezer-safe container. Freeze for at least 6 hours or overnight for a perfect, creamy dessert that will impress your family and friends!
No-Churn Coffee Ice Cream with Chocolate Chunks Recipe FAQs
How do I choose the right coffee for this ice cream?
Absolutely! For a rich flavor, opt for freshly brewed coffee or espresso. If you’re looking for a milder taste, regular brewed coffee works perfectly. If you prefer a caffeine-free treat, using decaffeinated coffee ensures you won’t miss out on the delightful flavor.
How should I store my No-Churn Coffee Ice Cream?
I recommend storing it in an airtight container in the freezer to keep it fresh. It can last for about 2-3 weeks. Make sure to press a piece of cling film against the surface of the ice cream before sealing the lid to prevent ice crystals from forming.
Can I freeze this No-Churn Coffee Ice Cream for longer periods?
Yes, you can freeze your delicious coffee ice cream for up to 3 months! Just ensure it’s tightly covered and stored in a freezer-safe container. However, it’s best enjoyed within a few weeks for the best texture and flavor.
What if my ice cream turns out too soft?
Very often, this issue occurs when the mixture isn’t frozen long enough or if the heavy cream is under whipped. Ensure you whip the cream to stiff peaks and freeze for at least 6 hours, preferably overnight. If you encounter a soft texture, re-freezing it for a few hours can help firm it up!
Can pets eat this No-Churn Coffee Ice Cream?
No, it’s best to keep this delicious treat away from pets. The caffeine in coffee can be harmful to dogs and cats, and other ingredients like chocolate are toxic to pets. Stick to pet-safe frozen treats designed just for furry friends!
What customization options do I have with this recipe?
The more the merrier! You can easily modify this recipe by adding nuts, using coconut cream for a dairy-free version, or even incorporating flavored syrups like caramel for a twist. Feel free to get creative and make it uniquely yours!
Creamy No-Churn Coffee Ice Cream with Chocolate Chunks
Ingredients
Equipment
Method
- Begin by brewing a strong cup of coffee and allow it to cool to room temperature for about 15–20 minutes.
- In a large mixing bowl, whip the heavy cream on medium-high speed for 3–5 minutes until stiff peaks form.
- In another bowl, combine the sweetened condensed milk, cooled brewed coffee, vanilla extract, and salt; stir gently until smooth.
- Carefully fold the whipped cream into the coffee mixture, starting with a third of the whipped cream to lighten it.
- Mix in the dark chocolate chunks using a gentle folding motion.
- Transfer the mixture to a freezer-safe container, smoothing the top, and freeze for at least 6 hours.
- When ready to serve, scoop the ice cream into bowls or cones.
Leave a Reply