
Underneath the flickering lights of a cozy kitchen, a new culinary adventure begins—making Chewy Chocolate Mochi Ice Cream from scratch! This delightful Japanese treat marries the chewy goodness of mochi with creamy, rich chocolate ice cream, creating an experience that promises to delight your taste buds. What I love most about this recipe is its simplicity, making it perfect for both seasoned home chefs and those who are just starting their cooking journey. Not only does this whimsical dessert bring a fun twist to your usual ice cream routine, but it’s also gluten-free! As I slide these little bites of joy into the freezer, I can’t help but wonder: what unique flavors would you choose to fill your mochi? Let’s dive into this delicious creation together!

Why is Chocolate Mochi Ice Cream Amazing?
Uniqueness: This recipe gives you a one-of-a-kind blend of chewy mochi and rich chocolate ice cream that can’t be beaten!
Gluten-Free Delight: Using glutinous rice flour, you’ll create a gluten-free dessert that everyone can enjoy without compromising on flavor.
Simplicity to Success: With straightforward steps, even beginners can easily master this fun recipe, making it perfect for family cooking nights.
Versatile Customization: Feel free to experiment with various ice cream flavors or add fun toppings—why not try it with a scoop of Pistachio Ice Cream for a delightful twist?
Crowd Pleasure: Perfect for gatherings or special occasions, this treat will impress your guests and ignite conversations. Get ready for requests for more!
Chocolate Mochi Ice Cream Ingredients
For the Mochi Dough
- Glutinous Rice Flour – Essential for that signature chewy texture, don’t swap it for regular rice flour!
- Cocoa Powder – Provides a rich chocolate flavor in the mochi shell; tweak according to your taste preference.
- Powdered Sugar – Sweetens the dough and balances cocoa’s bitterness; you can substitute with granulated sugar, though it will change the sweetness.
- Water – Vital for hydrating the mixture, ensuring proper dough consistency; no substitutes here!
- Cornstarch – Prevents sticking to surfaces; indispensable for a smooth process.
For the Filling
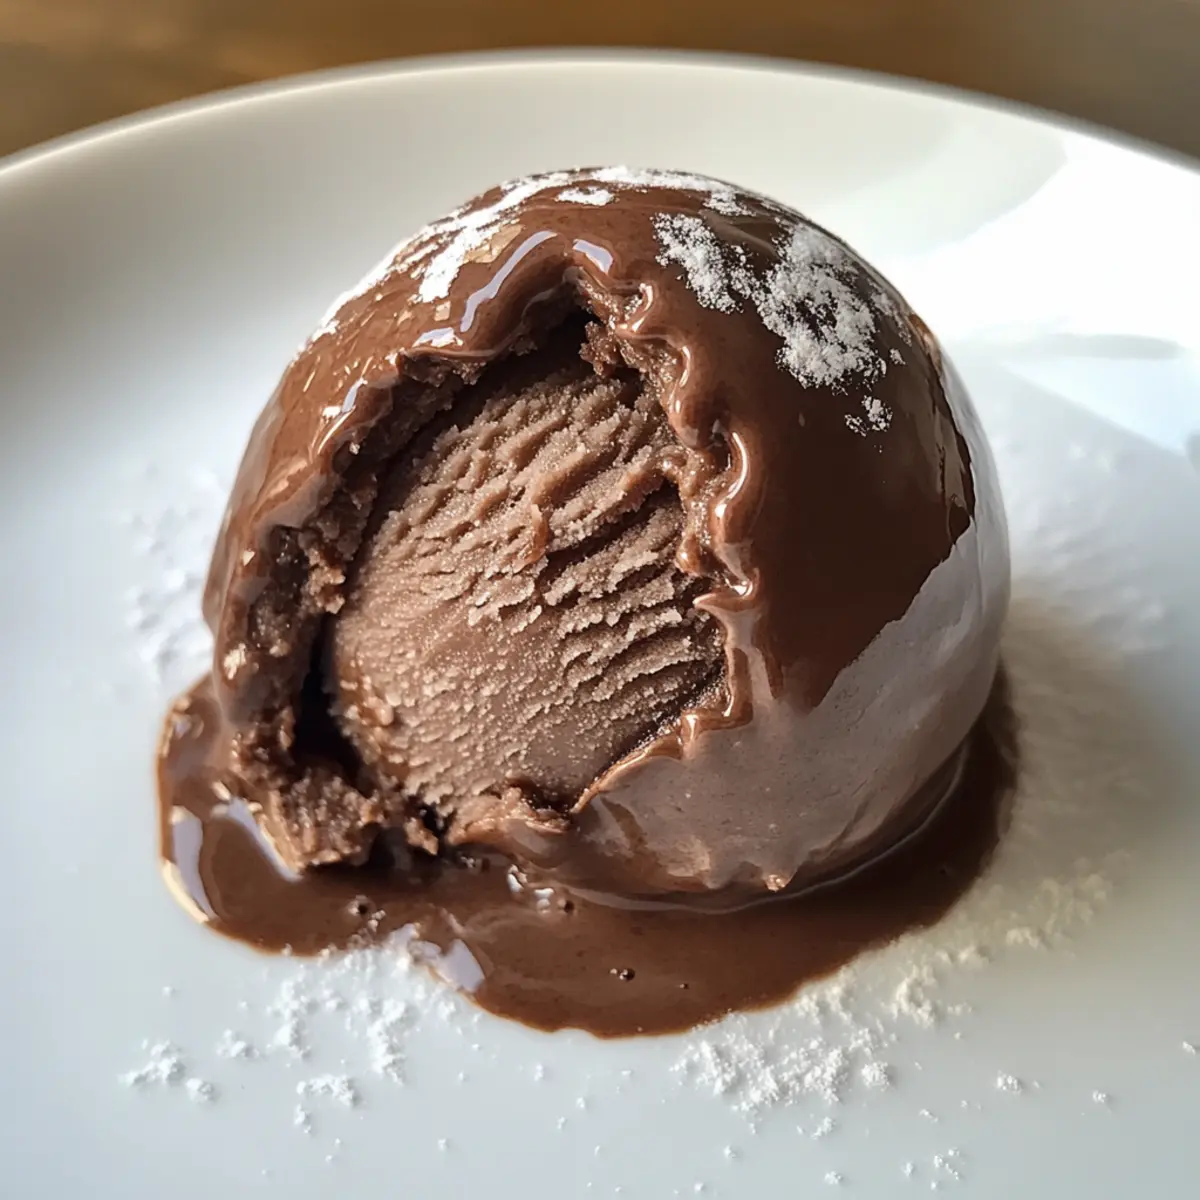
- Chocolate Ice Cream – The creamy, indulgent centerpiece; feel free to use homemade or store-bought for convenience!
Step‑by‑Step Instructions for Chocolate Mochi Ice Cream
Step 1: Prepare Ice Cream
Begin by scooping about 1/3 cup of chocolate ice cream into paper cups. Make sure to press the ice cream firmly into the cups to create a nice shape. Place the filled cups in the freezer for about 30 minutes, allowing the ice cream to firm up for the next steps.
Step 2: Make Mochi Dough
In a mixing bowl, combine glutinous rice flour, cocoa powder, and powdered sugar together. Gradually add in water and stir until the mixture forms a smooth, thick batter with no lumps. This chocolate mochi dough should be slightly sticky but well-combined; set it aside for a moment while you prepare for steaming.
Step 3: Steam the Mixture
Prepare your steamer by bringing water to a boil, then carefully pour the mochi mixture into a heatproof dish. Cover the dish tightly to retain moisture, then steam the mixture for about 15 minutes. You’ll know it’s done when the dough has become translucent and slightly firm to the touch.
Step 4: Cool and Roll
Once steamed, let the mochi cool for a few minutes, then dust a tray with cornstarch to prevent sticking. Transfer the warm mochi onto the tray and dust the top with more cornstarch. Using a rolling pin, gently roll out the mochi to a thickness of 2-4 mm, then cut it into 15 cm squares for easy wrapping around the ice cream.
Step 5: Assemble
Remove the frozen chocolate ice cream from the paper cups carefully. Place one scoop at the center of each mochi square. Gather the edges of the mochi around the ice cream, pinching them together to seal, which helps trap the ice cream within. Trim any excess dough to ensure a neat finish.
Step 6: Wrap and Freeze
Finally, wrap each chocolate mochi ice cream treat tightly in cling wrap to keep them fresh. Place the wrapped mochi back into the freezer and allow them to freeze until they are firm, about 1-2 hours. This helps the flavors meld together and ensures they maintain their shape when served.
How to Store and Freeze Chocolate Mochi Ice Cream
-
Fridge: Keep any leftover chocolate mochi ice cream in an airtight container for 1-2 days. However, for best texture, store in the freezer.
-
Freezer: Wrap each mochi ice cream treat tightly in cling wrap, then place them in an airtight container. They can be stored for up to a month without losing their delicious chewy texture.
-
Reheating: If the mochi ice cream is too hard to bite into, let it sit at room temperature for 5-10 minutes before enjoying. This allows the chocolate ice cream to soften just enough.
-
Avoid Refreezing: Once thawed, do not refreeze chocolate mochi ice cream as it may lose its delightful chewiness and flavor. Enjoy them fresh!
Expert Tips for Chocolate Mochi Ice Cream
-
Choose the Right Flour: Ensure you use glutinous rice flour for an authentic chewy texture; non-glutinous flours won’t replicate this characteristic.
-
Control the Temperature: Allow the mochi to cool slightly before wrapping it around ice cream to prevent melty mishaps; patience pays off!
-
Steaming Success: Use a dedicated mochi steamer, but a regular steamer works just fine—just make sure to keep the dough covered during steaming!
-
Cut Carefully: When rolling the mochi, keep a light dusting of cornstarch on the surface to prevent sticking, and use a sharp knife for clean edges.
-
Experiment Freely: Don’t hesitate to try different ice cream flavors or infuse the mochi with matcha for a unique twist that complements the chocolate mochi ice cream beautifully.
What to Serve with Chewy Chocolate Mochi Ice Cream
Indulging in the delightful flavor of chocolate mochi ice cream opens up a world of delicious pairings to create a memorable meal experience.
- Berries Medley: Fresh strawberries and blueberries add a burst of flavor and balance the richness of the chocolate mochi.
- Green Tea: A warm cup of earthy green tea provides a lovely contrast and helps cleanse your palate.
- Coconut Sorbet: Creamy yet refreshing, this tropical addition enhances the dessert vibe, balancing textures beautifully.
- Chocolate Dipping Sauce: For a decadent finish, a drizzle of warm chocolate sauce will elevate every bite, deepening the chocolate experience.
- Matcha Whipped Cream: Light and airy, this subtly sweet topping adds a delightful hint of bitterness that complements the sweet mochi.
- Toasted Almonds: Crunchy and nutty, finely chopped almonds provide a delightful textural contrast that pairs well with the chewy mochi.
- Mochi Ice Cream Sandwiches: Layer two pieces of chocolate mochi ice cream between your favorite cookies for a fun twist on dessert!
- Peanut Butter Sauce: A rich, creamy peanut sauce makes for an indulgent dip that pairs well with the sweet chocolate flavors.
- Mint Tea or Mojito: A refreshing mint beverage can wonderfully cut through the sweetness, creating a balanced dessert experience.
Make Ahead Options
Chocolate mochi ice cream is a fantastic treat that can be prepped ahead to save you precious time during busy weeks! You can prepare the mochi dough and freeze it up to 24 hours in advance. Simply follow the initial steps of making the dough and steaming it, then allow it to cool before wrapping it in cling wrap and storing it in the freezer. The chocolate ice cream can also be scooped into cups and frozen up to 3 days before assembly. When you’re ready to serve, just thaw the mochi dough slightly, assemble the ice cream, and wrap again. This ensures each bite remains just as delightful and fresh, perfect for when the sweet tooth strikes!
Chocolate Mochi Ice Cream Variations
Get ready to unleash your creativity as you tailor this delightful mochi treat to your family’s taste buds!
-
Flavor Infusions: Add matcha or fruit powders to the mochi dough for a unique flavor twist. Imagine the earthy depth of matcha harmonizing with the rich chocolate ice cream—pure bliss!
-
Fruit-Filled Delight: Swap in mango or strawberry ice cream instead of chocolate for a refreshing fruity flavor. This variation brings a sunny twist, perfect for summertime chill sessions!
-
Dairy-Free Option: Use coconut milk-based ice cream for a creamy, dairy-free delight. The subtle coconut undertones beautifully complement the mochi’s chewy texture.
-
Choco-Chip Crunch: Mix mini chocolate chips into the mochi dough for added texture and extra chocolate goodness. Each bite becomes a surprise bursting with delightful crunch!
-
Nutty Twist: Incorporate finely chopped nuts, like almonds or hazelnuts, into the mochi for a delightful crunch and flavor combination. It’s a great way to elevate your dessert!
-
Toppings Galore: Roll the mochi in crushed nuts or colorful sprinkles before freezing for a fun, festive finish. These eye-catching variations will be a hit at gatherings!
-
Spicy Chocolate: Add a pinch of cayenne or chili powder to the chocolate ice cream for a surprising kick. Sweet and spicy creates an exciting flavor adventure that will tantalize your palate.
-
Unique Shells: Try different flavored mochi shells, like vanilla or taro, to add a playful surprise. The combination of textures and tastes offers a delightful experience for both kids and adults.
Feel free to explore these variations and even mix and match for a truly personalized chocolate mochi ice cream experience! If you’re feeling adventurous, why not pair this treat with a scoop of White Chocolate Orange for a twist that evokes a sunny day? Or perhaps try a bite of the crunchy Milk Chocolate Stuffed for another delightful dessert option to complement your fantastic mochi journey!

Chocolate Mochi Ice Cream Recipe FAQs
How do I choose the right ingredients for my mochi?
Absolutely! To ensure the best results, always use glutinous rice flour, as regular rice flour will not provide the desired chewy texture. Look for a fine texture in your glutinous rice flour and check the expiration date to ensure freshness. Additionally, opt for high-quality cocoa powder for a richer chocolate flavor in your mochi shell.
How do I store leftover chocolate mochi ice cream?
Very! To keep your chocolate mochi ice cream fresh, wrap each piece tightly in cling wrap and place them in an airtight container. They can be stored in the freezer for up to a month. Just remember to let them sit at room temperature for about 5-10 minutes before enjoying, as this prevents them from being too hard to bite into.
Can I freeze chocolate mochi ice cream for later?
Of course! To freeze, wrap each chocolate mochi ice cream tightly in cling wrap and place them in an airtight container. They will maintain their delightful texture for up to 3 months. Ensure they’re sealed well to avoid freezer burn, which can affect flavor and texture.
What if my mochi dough is too sticky or too dry?
No worries! If your dough is too sticky, try adding a little more cornstarch while rolling it out to help manage the stickiness. On the other hand, if it’s too dry, add a teaspoon of water at a time until you reach a smooth consistency. It’s all about finding that right balance for the perfect mochi!
Are there dietary concerns for chocolate mochi ice cream?
Absolutely! This recipe is great for gluten-free diets, as it uses glutinous rice flour. However, be aware of any allergies to the ingredients, such as dairy in the chocolate ice cream. For a vegan option, use dairy-free chocolate ice cream, ensuring it aligns with your dietary needs. Always check the labels to be safe!

Chocolate Mochi Ice Cream: A Fun Twist on Classic Treats
Ingredients
Equipment
Method
- Scoop about 1/3 cup of chocolate ice cream into paper cups and press firmly. Freeze for 30 minutes.
- Combine glutinous rice flour, cocoa powder, and powdered sugar in a bowl. Gradually add water until smooth.
- Steam the mixture in a heatproof dish for 15 minutes until translucent and firm.
- Cool the mochi, dust a tray with cornstarch, roll out the mochi to 2-4 mm thick, and cut into 15 cm squares.
- Remove ice cream from cups, place on mochi squares, and seal by pinching the edges together.
- Wrap each treat in cling wrap and freeze for 1-2 hours until firm.
Leave a Reply