
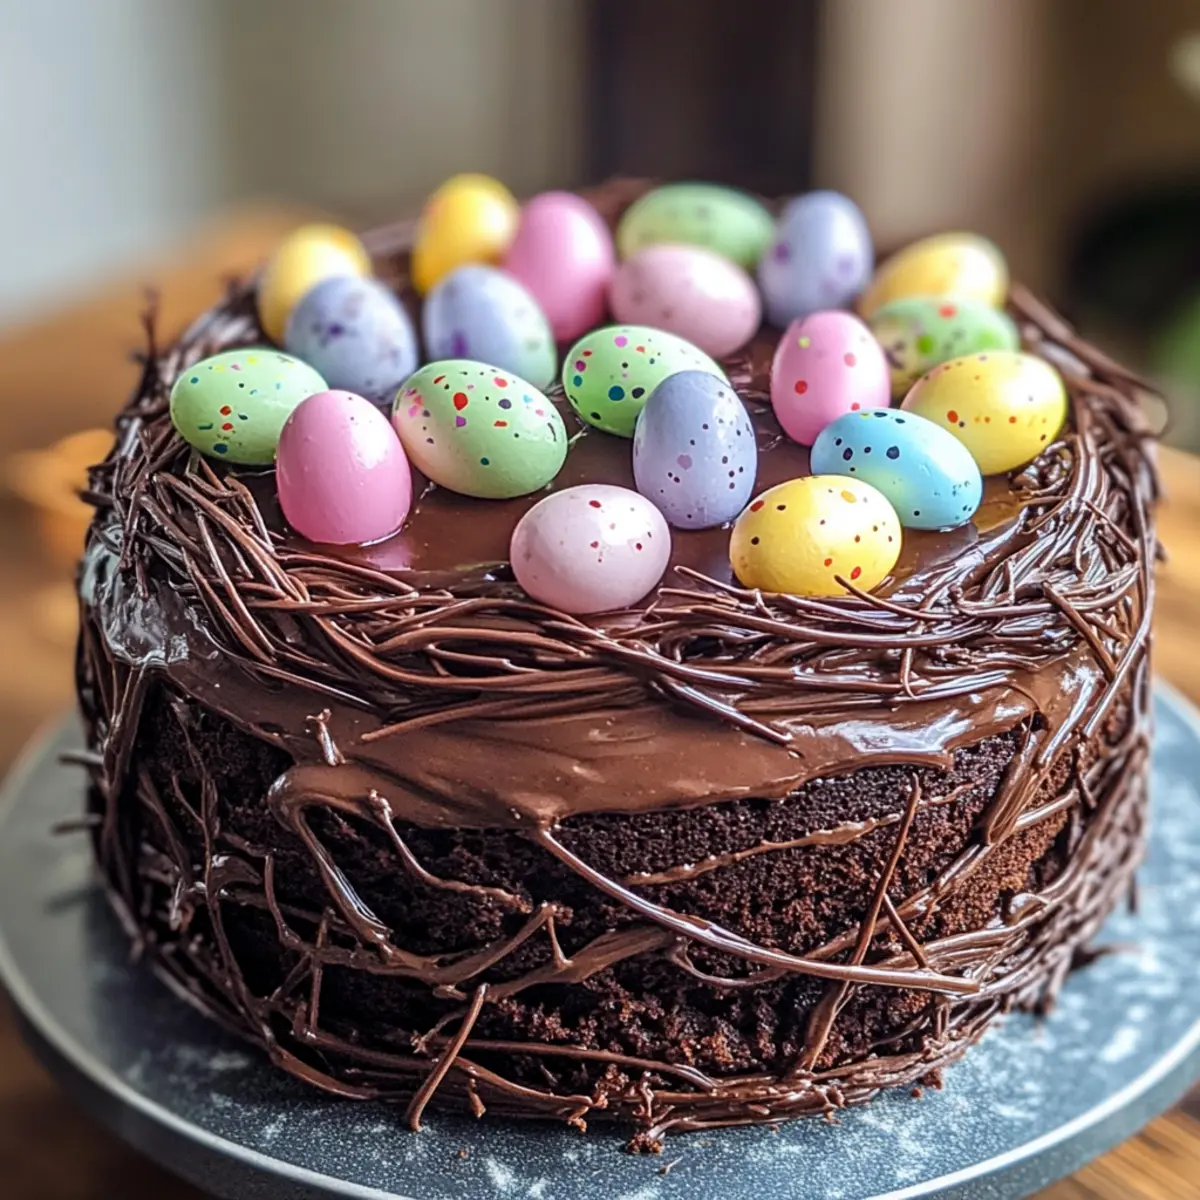
The sweet aroma of spring fills the air, and I can’t help but think of the celebrations that come with it. One of my favorite creations this season is the Chocolate Easter Egg Nest Cake, a truly delightful dessert that brings joy to any gathering. This rich chocolate cake, generously topped with silky ganache and artfully adorned with a whimsical chocolate nest and colorful mini eggs, is a feast for both the eyes and the taste buds. Not only is it a quick recipe that can be whipped up in no time, but it’s also versatile enough to suit various dietary preferences like gluten-free or vegan. Whether you’re hosting a family brunch or just craving something festive, this cake invites you to indulge in a moment of sweet nostalgia. Ready to make a show-stopping dessert that will impress all your loved ones? Let’s dive in!
Why will this cake impress everyone?
Decadent Flavor: The rich chocolate flavor, amplified by hot coffee, elevates this cake beyond your average dessert.
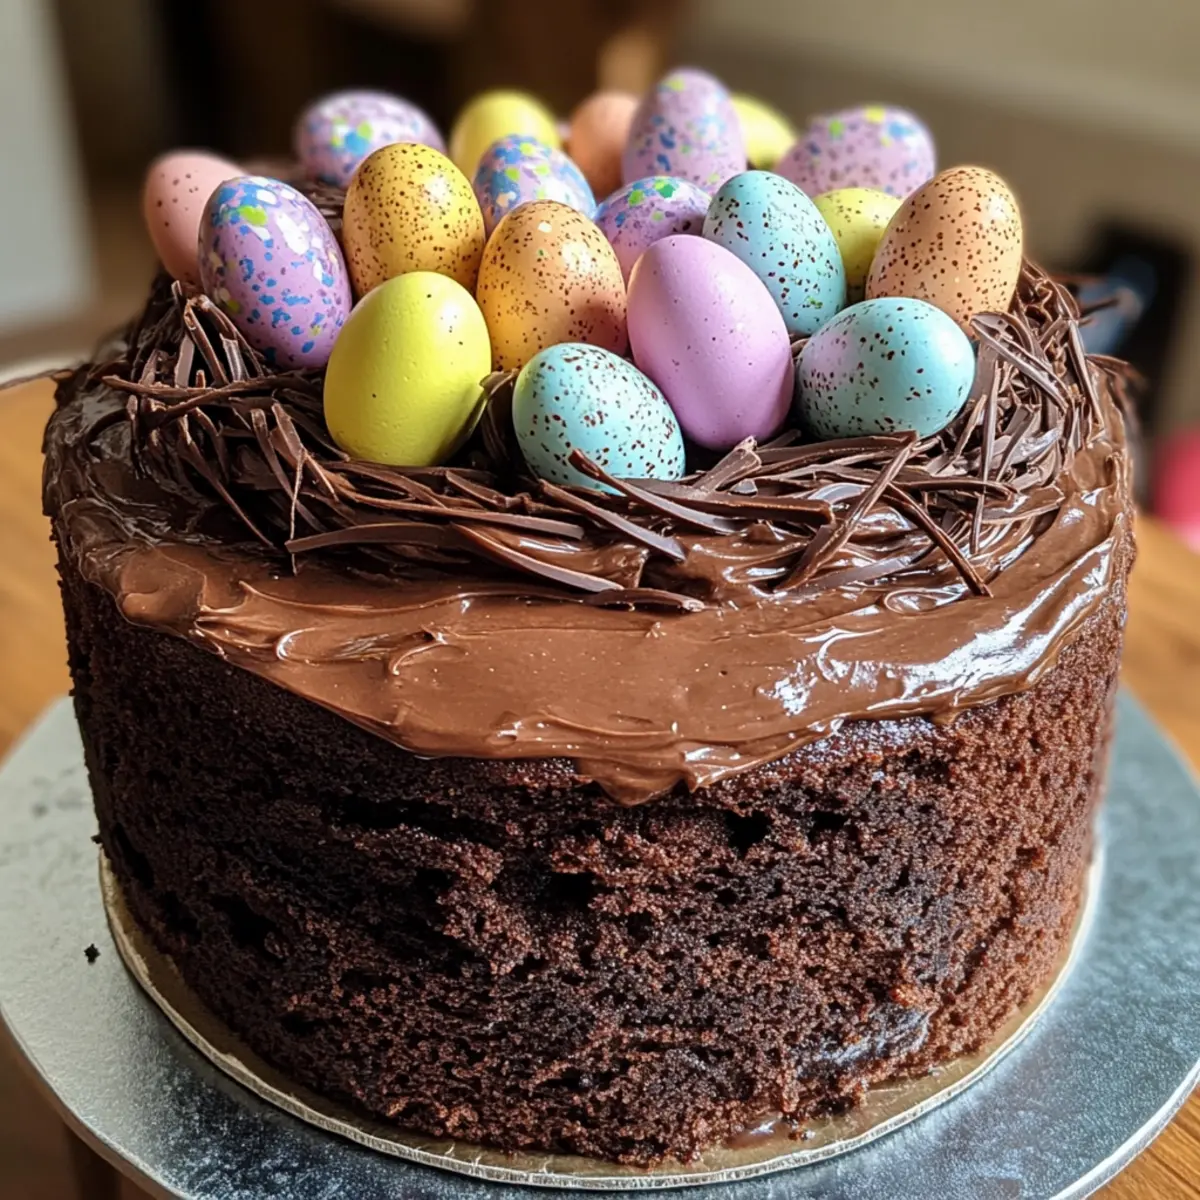
Artistic Appeal: The stunning chocolate nest, filled with colorful mini eggs, not only looks fabulous but adds a fun, festive touch that captures the essence of spring!
Customizable Options: Perfectly adaptable, this recipe caters to gluten-free, vegan, or dairy-free diets, ensuring everyone can enjoy it.
Quick and Easy: Whip it up in no time with simple ingredients, making it a breeze for home cooks of all levels.
Crowd-Pleasing Delight: Ideal for family gatherings or holiday celebrations, it’s bound to be the centerpiece and a conversation starter at any table.
For another deliciously rich dessert, try our Chocolate Espresso Banana Bread or enjoy the unique blend of flavors in our White Chocolate Orange Mousse.
Chocolate Easter Egg Nest Cake Ingredients
To create this festive delight, gather these essential ingredients for your Chocolate Easter Egg Nest Cake!
For the Cake
- All-purpose flour – Provides structure to the cake; substitute with gluten-free flour for a gluten-free option.
- Cocoa powder – Adds rich chocolate flavor; use Dutch-process for a deeper taste.
- Granulated sugar – Sweetens the cake and promotes browning; coconut sugar can be used for a healthier choice.
- Baking powder & Baking soda – Essential leavening agents to help the cake rise.
- Salt – Enhances flavor and balances sweetness; no substitutions needed.
- Buttermilk – Adds moisture and tanginess; replace with non-dairy milk plus 1 teaspoon of vinegar for a dairy-free option.
- Vegetable oil – Keeps the cake moist; can substitute with canola oil or melted coconut oil.
- Eggs – Binds the ingredients together and adds richness; for a vegan alternative, use flax eggs (1 egg = 1 tbsp ground flaxseed + 2.5 tbsp water).
- Vanilla extract – Adds depth of flavor; vanilla bean paste can also be used as a substitute.
- Hot coffee – Deepens the chocolate flavor; hot water can work as an alternative.
For the Ganache
- Dark chocolate – Provides a rich topping for the cake; opt for dairy-free chocolate if necessary.
- Heavy cream – Used to create a smooth ganache; substitute with coconut cream for a dairy-free option.
For the Nest Decoration
- Chocolate – Adds a decorative element to the cake; consider using white chocolate for a lovely contrast.
Step‑by‑Step Instructions for Chocolate Easter Egg Nest Cake
Step 1: Preheat the Oven
Begin by preheating your oven to 350°F (175°C). While the oven warms up, take a 9-inch round cake pan, grease it generously with butter or oil, and line the bottom with parchment paper to prevent sticking. This preparation ensures that your Chocolate Easter Egg Nest Cake will slide out easily once baked.
Step 2: Mix Dry Ingredients
In a large mixing bowl, whisk together the all-purpose flour, cocoa powder, baking powder, baking soda, and salt. Combine well until the dry ingredients are evenly mixed and there are no lumps. The mixture should look uniform and smell inviting. This foundation will offer structure and rich flavor to your cake.
Step 3: Blend Wet Ingredients
In another bowl, combine the buttermilk, vegetable oil, eggs, vanilla extract, and hot coffee. Use a whisk or an electric mixer on low speed to blend these ingredients together until smooth. The heat from the coffee will enhance the chocolate flavor, creating a rich base for your cake.
Step 4: Combine Wet and Dry Mixtures
Gradually pour the wet mixture into the bowl with the dry ingredients. Gently fold the mixtures together using a spatula or wooden spoon until everything is just combined and smooth. Remember, the batter will be somewhat thin, which is perfect for a moist Chocolate Easter Egg Nest Cake.
Step 5: Bake the Cake
Pour the chocolate cake batter into your prepared cake pan, ensuring it’s evenly distributed. Place the pan in the oven and bake for 30 to 35 minutes. Check for doneness by inserting a toothpick into the center; it should come out clean or with a few moist crumbs attached.
Step 6: Cool the Cake
Once baked, remove the pan from the oven and let the cake cool in the pan for about 10 minutes. After that, carefully invert it onto a wire rack to cool completely. Allowing it to cool fully is essential before adding the ganache, as a warm cake can melt the topping.
Step 7: Prepare the Ganache
In a small saucepan over low heat, mix the dark chocolate and heavy cream. Stir continuously until the mixture is melted and smooth, taking care not to let it boil. Once combined, remove it from the heat and let it cool slightly. This glossy ganache will be the luxurious finish for your Chocolate Easter Egg Nest Cake.
Step 8: Decorate the Cake
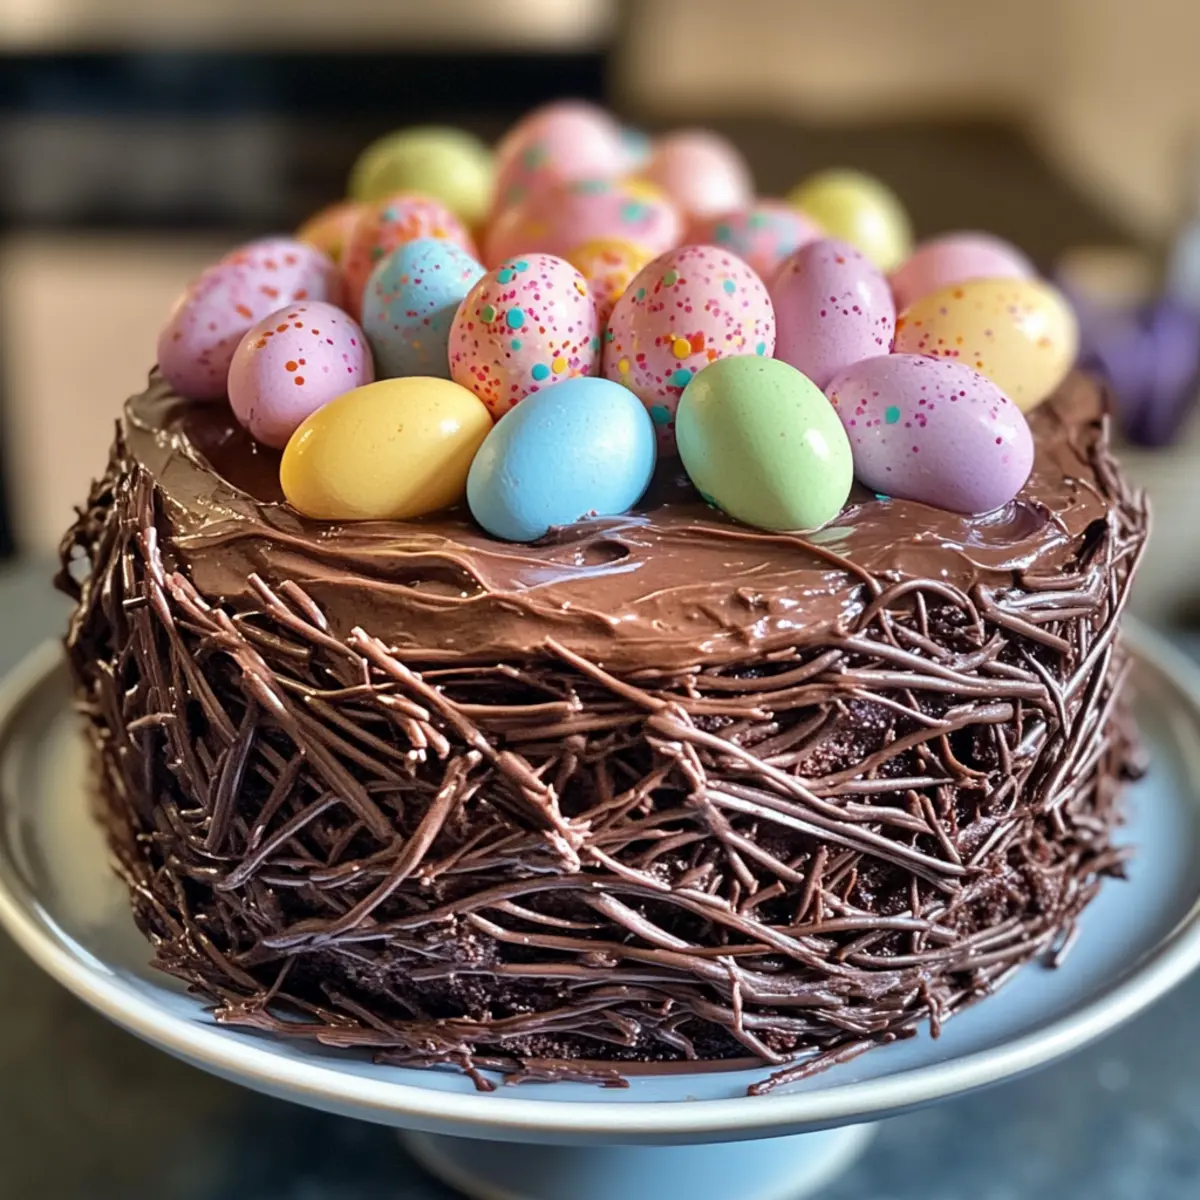
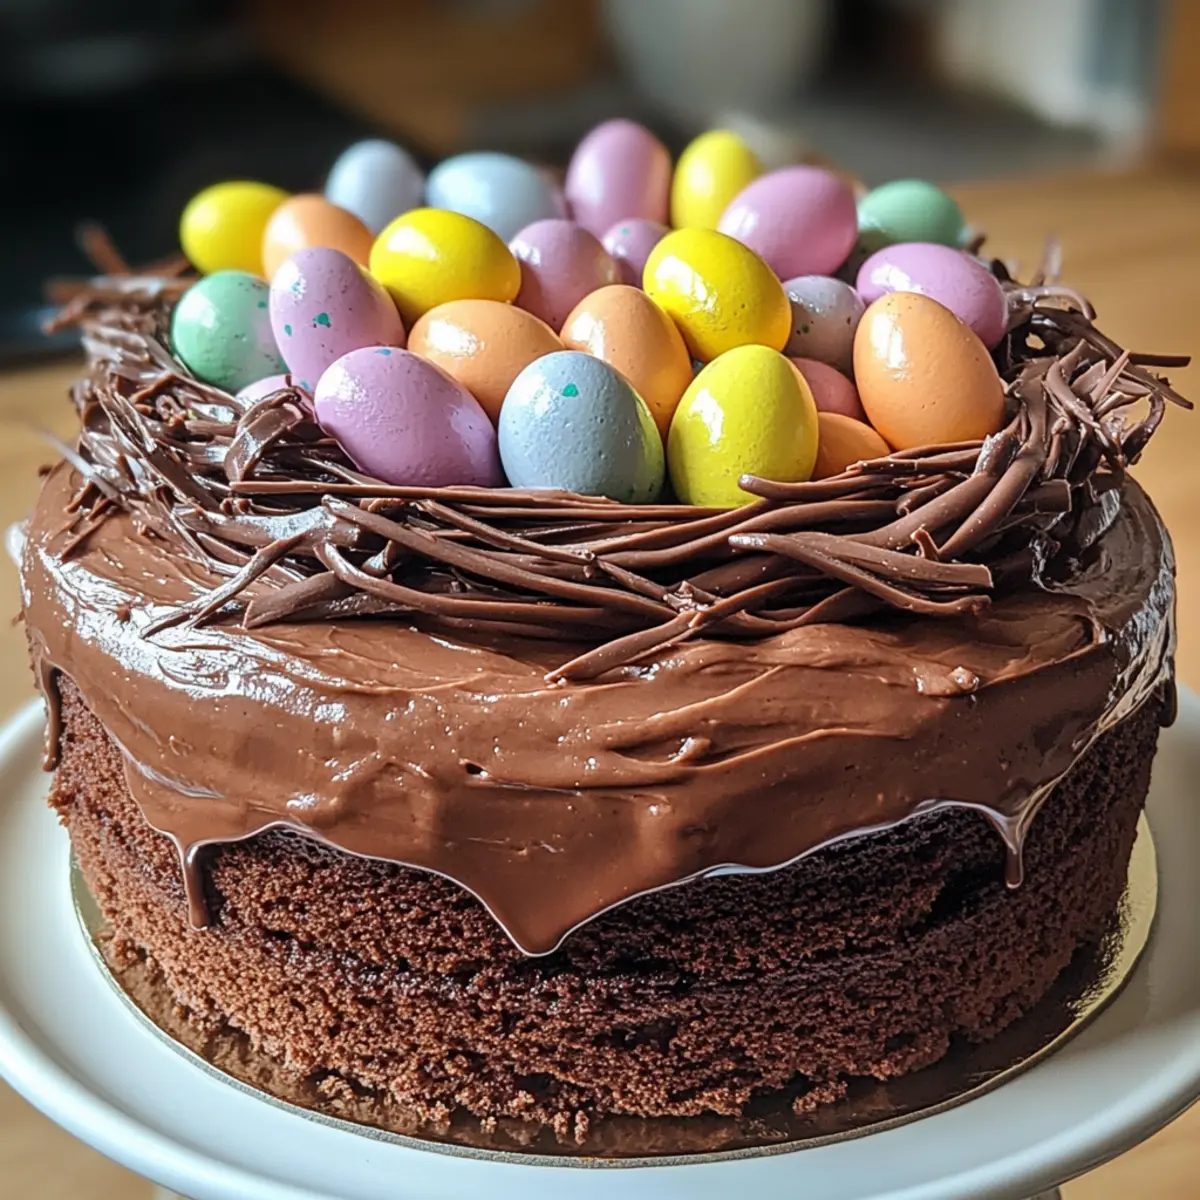
While the ganache cools, melt additional chocolate for the nest decoration. Pipe it into freeform strands on a sheet of parchment paper, then chill until set. Once cooled, carefully lift the chocolate nest and place it atop the cake, making it both visually stunning and deliciously chocolatey.
Step 9: Assemble the Final Touches
With your chocolate nest in place, fill it with colorful mini Easter eggs for a festive touch. The vibrant candies contrast beautifully with the rich chocolate cake, creating a centerpiece that is sure to impress. Serve slices of your Chocolate Easter Egg Nest Cake to delight your guests!
Make Ahead Options
These Chocolate Easter Egg Nest Cake prep options are perfect for busy home cooks looking to save time without sacrificing flavor! You can prepare the cake itself up to 24 hours in advance; just cool it completely and wrap it tightly in plastic wrap to keep it moist. The ganache can be made 3 days ahead; store it in the refrigerator and gently reheat it before pouring over the cake to achieve that silky finish. For the decorative chocolate nest, simply pipe your strands and refrigerate until set, keeping it fresh for assembly right before serving. When you’re ready to wow your guests, assemble the final touches by filling the nest with mini eggs for a delightful springtime presentation that is just as delicious as if it were freshly made!
What to Serve with Chocolate Easter Egg Nest Cake
Delight in a full spring meal with these irresistible pairings perfect for your festive dessert.
- Fresh Berries: The tartness of strawberries, raspberries, or blueberries adds a wonderful contrast to the rich sweetness of the chocolate cake.
- Vanilla Ice Cream: A scoop of creamy vanilla ice cream atop a slice of cake provides a delightful temperature and texture difference, enhancing enjoyment.
- Mint Chocolate Chip Cookies: Pairing these whimsical cookies offers a playful texture and adds a minty freshness, complementing the chocolate beautifully.
- Coffee or Espresso: Enjoy a warm cup of coffee or espresso alongside this sweet treat, as the rich flavors of coffee elevate the chocolate experience.
- Chocolate Sauce: Drizzling additional chocolate sauce over your slice invites a more indulgent experience. It’s an option for those who can never have enough chocolate!
- Homemade Whipped Cream: A dollop of lightly sweetened, freshly whipped cream lightens the dessert and adds a delightful creaminess to each bite.
- Fruit Salad: A refreshing, vibrant fruit salad freshens the palate, balancing the decadent chocolate flavors perfectly.
- Sparkling Water with Lime: A bubbly drink with a splash of lime adds a refreshing zing, cleansing the palate between bites.
- Lemon Tart: For a contrast of flavors, serve with a lemon tart. The tartness cuts through the cake’s richness and provides a bright, zesty finish.
Expert Tips for Chocolate Easter Egg Nest Cake
-
Cool Completely: Always allow your cake to cool completely before applying ganache to prevent melting and create a glossy finish.
-
Use Quality Chocolate: Invest in high-quality dark chocolate for your ganache; it makes a significant difference in flavor and texture for this Chocolate Easter Egg Nest Cake.
-
Consider Substitutions: Don’t hesitate to adapt ingredients based on dietary needs; this recipe can easily be made gluten-free or vegan without losing its charm.
-
Check Oven Temperature: Ovens can vary, so using an oven thermometer can help ensure your cake bakes evenly and according to the time outlined in the recipe.
-
Decorate Creatively: Get creative with your chocolate nest! Use a piping bag or fork to create fun shapes, and don’t hesitate to enhance it with edible flowers or sprinkles for added flair.
Chocolate Easter Egg Nest Cake Variations
Invite your creativity to shine as you customize this delightful dessert with these fun ideas!
-
Gluten-Free: Swap all-purpose flour for a gluten-free flour blend to make this cake accessible for your gluten-sensitive friends. The texture will still be rich and satisfying!
-
Vegan Delight: Replace eggs with flax eggs (1 tbsp ground flaxseed + 2.5 tbsp water) and use non-dairy milk for the buttermilk. You won’t miss a thing in terms of flavor!
-
Dairy-Free Ganache: Use dairy-free chocolate and coconut cream for the ganache, ensuring everyone can enjoy a luscious topping without dairy. It’s decadently delicious!
-
Flavor Boost: Add a splash of orange zest or espresso powder to the cake batter for unexpected layers of flavor. Transforming your cake into a chocolate coffee dream!
-
Nut-Free: Keep it nut-free by using sunflower seed oil instead of vegetable oil and ensuring your chocolate and additional ingredients don’t contain nuts. Everyone can indulge confidently!
-
Textural Contrast: Fold in crushed cookies or chocolate chips into the batter for added texture. Each bite will be an exciting surprise!
-
Heat It Up: Want a kick? Add a pinch of cayenne pepper or chili powder to the batter for warmth that balances the sweetness and elevates your cake!
-
Decorative Flair: Consider using small sugar flowers or edible glitter to adorn the chocolate nest once decorated, adding a whimsical touch to your springtime creation!
For a different treat, explore our Pistachio Milk Cake or delight in the flavors of our Carrot Cake Cheesecake!
Storage Tips for Chocolate Easter Egg Nest Cake
Room Temperature: Store your uncut Chocolate Easter Egg Nest Cake in an airtight container at room temperature for up to 2 days to maintain its moistness and flavor.
Fridge: If you plan to keep the cake longer, you can refrigerate it for up to a week in an airtight container. Be sure to allow it to come to room temperature before serving for the best texture.
Freezer: To freeze, wrap the cake layers tightly in plastic wrap and aluminum foil, and store in the freezer for up to 3 months. For best results, freeze without ganache applied.
Reheating: If you have leftover ganache, it can be refrigerated and gently reheated in the microwave until gooey again before drizzling over the cake or serving alongside slices.
Chocolate Easter Egg Nest Cake Recipe FAQs
How do I select the best cocoa powder for this recipe?
Absolutely! For the richest flavor, I recommend using Dutch-process cocoa powder, which gives the cake a deep chocolate taste and a beautiful dark color. Make sure to choose a high-quality brand—this is one ingredient that can really elevate your cake!
How should I store the Chocolate Easter Egg Nest Cake?
To keep your cake fresh, store it in an airtight container at room temperature for up to 2 days. If you’d like it to last longer, you can refrigerate it for up to a week. Just remember to let it come back to room temperature before serving—this helps restore its moist texture!
Can I freeze the Chocolate Easter Egg Nest Cake?
Yes, you can freeze this delightful cake! Wrap the layers tightly in plastic wrap and aluminum foil, then store them in the freezer for up to 3 months. However, it’s best to freeze the cake without the ganache to maintain its texture. When you’re ready to enjoy it, simply thaw overnight in the refrigerator, and reheat any leftover ganache in the microwave for a gooey topping.
What should I do if my ganache doesn’t set properly?
Very good question! If your ganache is too runny, it may need a little more chocolate. Simply melt some additional chocolate and stir it in until you reach your desired consistency. If it’s too thick to pour, you can gently reheat it over low heat, whisking until it becomes pourable again. Remember, patience is key for that silky smooth finish!
What are some common allergy considerations when making this cake?
When preparing the Chocolate Easter Egg Nest Cake, you can easily make substitutions for those with dietary restrictions. For a gluten-free version, use a gluten-free all-purpose flour blend. To make it vegan, opt for flax eggs (1 tablespoon ground flaxseed + 2.5 tablespoons water per egg) and dairy-free chocolate and cream. Always check labels to ensure that your ingredients are free from allergens like nuts or dairy to accommodate your guests’ dietary needs!
Indulge in Chocolate Easter Egg Nest Cake Bliss
Ingredients
Equipment
Method
- Preheat your oven to 350°F (175°C). Grease a 9-inch round cake pan with butter or oil and line the bottom with parchment paper.
- In a large mixing bowl, whisk together flour, cocoa powder, baking powder, baking soda, and salt until well combined.
- In another bowl, mix buttermilk, vegetable oil, eggs, vanilla extract, and hot coffee until smooth.
- Gradually combine wet and dry mixtures until just smooth. Pour into prepared cake pan.
- Bake for 30-35 minutes, checking for doneness with a toothpick.
- Let the cake cool in the pan for 10 minutes, then invert onto a wire rack to cool completely.
- Mix dark chocolate and heavy cream in a saucepan over low heat until melted and smooth.
- Melt additional chocolate for the nest and pipe it into freeform shapes on parchment. Chill until set.
- Once ganache cools, pour over the cooled cake and decorate with the chocolate nest and mini Easter eggs.
Leave a Reply