
As I watched my grandmother whip up her famous treats, the air was filled with a sweet nostalgia that lingers long after the last bite. Today, I’m excited to share my Cannoli Cookies Recipe, a delightful twist on the beloved Italian classic. These cookies combine a crispy exterior with a creamy ricotta filling that has hints of vanilla and citrus, making them a true crowd-pleaser. Not only are they a quick and easy dessert to whip up, but they also offer a fun way to bring a taste of tradition to your kitchen. Imagine the joy of sharing these treats with family and friends during cozy gatherings or as an afternoon snack with coffee. Who’s ready to dive into a scrumptious baking adventure?

Why are Cannoli Cookies a must-try?
Irresistible Twist: These Cannoli Cookies bring a modern spin to the classic Italian cannoli, perfect for family gatherings or festive occasions.
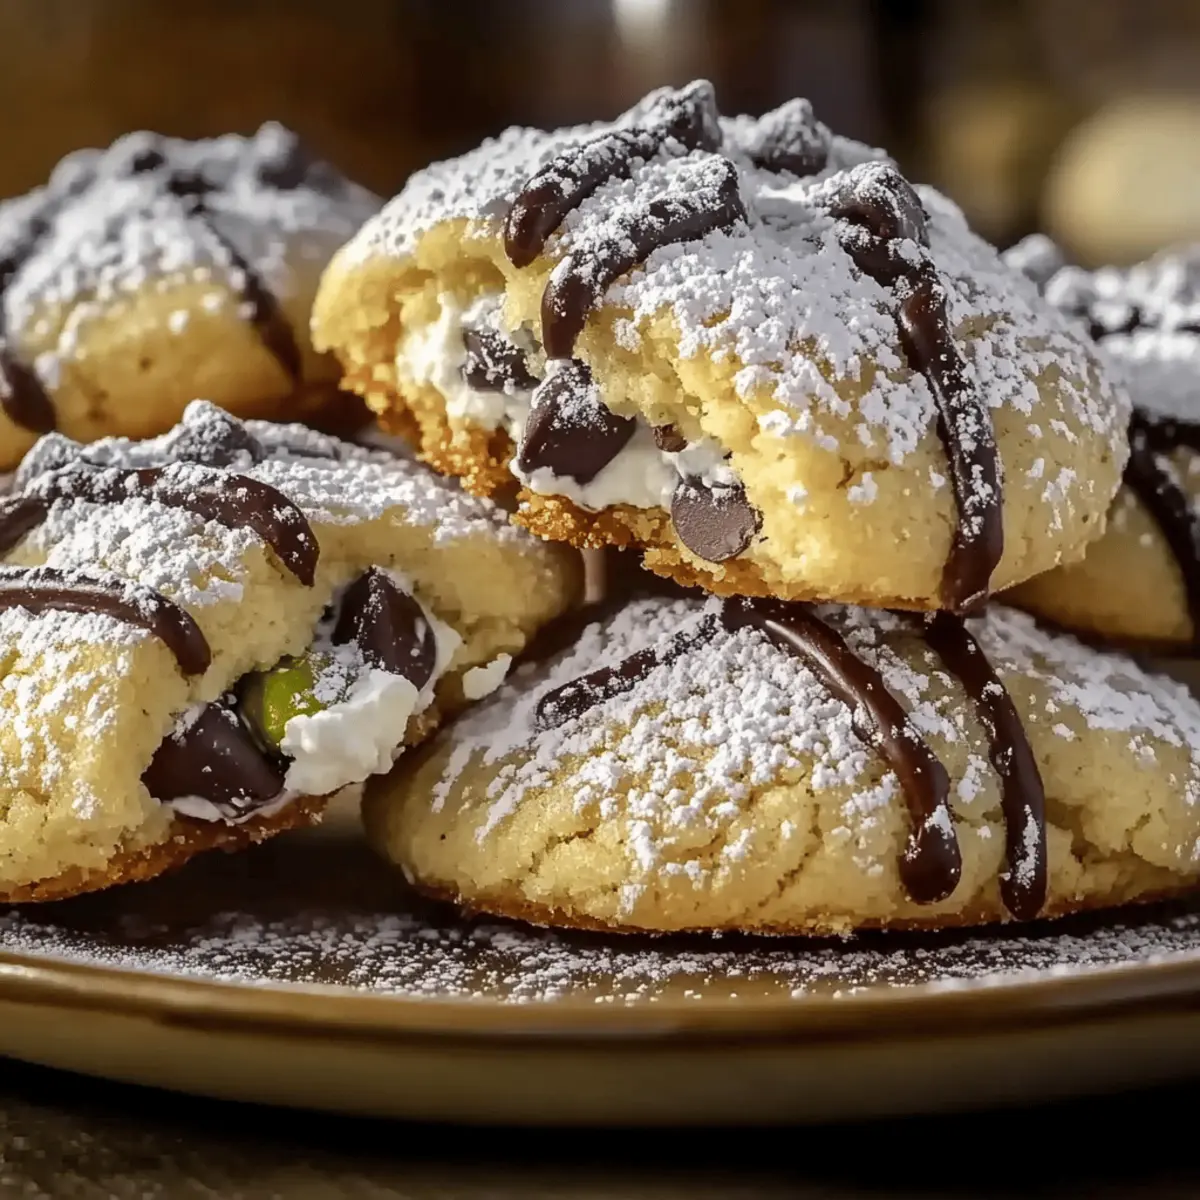
Delightfully Creamy Filling: Packed with a luscious ricotta filling infused with vanilla and lemon zest, they offer a satisfying contrast to the crisp cookie shell.
Adaptable for Everyone: Want a gluten-free treat? Simply swap in almond flour! Or try experimenting with different flavor variations like using mascarpone for a richer filling.
Quick to Make: With just a few simple steps, you can whip up this delightful dessert in no time. Your kitchen will smell heavenly!
Perfect for Sharing: Present these beauties on a lovely platter dusted with powdered sugar, and watch them disappear at any gathering—you’ll be the star of the show!
Get ready to bring home the joy of baking with this fantastic Cannoli Cookies Recipe that everyone will love!
Cannoli Cookies Recipe Ingredients
For the Cookie Dough
• All-Purpose Flour – This provides the necessary structure; for a gluten-free option, substitute with almond flour.
• Granulated Sugar – Adds sweetness; you can reduce the amount for a less sweet dough.
• Egg – Binds the mixture together; a flax egg can be used as a vegan alternative.
• Vanilla Extract – Enhances flavor depth; consider using almond extract for a unique twist.
• Lemon Zest – Brightens up the flavors; orange zest could also work for a different citrus note.
For the Creamy Filling
• Ricotta Cheese – The star of the filling, creating a creamy texture; mascarpone can make it richer if desired.
• Mini Chocolate Chips – Adds a delightful sweetness and texture contrast; these are optional if you prefer a simpler cookie.
• Chopped Pistachios – Introduces a nutty crunch; walnuts or omitting them altogether makes this nut-free.
For Finishing Touch
• Powdered Sugar – Essential for dusting the finished cookies, giving them a beautiful presentation and sweetness.
Indulge in this delightful Cannoli Cookies Recipe and share the joy with family and friends!
Step‑by‑Step Instructions for Cannoli Cookies Recipe
Step 1: Preheat the Oven
Begin by preheating your oven to 350°F (175°C). This ensures a hot baking environment that will help create beautifully golden Cannoli Cookies. While the oven is heating, gather your mixing bowls, spatula, and measuring cups so you are ready to bake.
Step 2: Mix Dry Ingredients
In a large mixing bowl, whisk together the all-purpose flour and granulated sugar until well combined. The mixture should appear uniform with no lumps. This step is crucial as it adds structure to your Cannoli Cookies, ensuring they hold together beautifully during baking.
Step 3: Combine Wet Ingredients
In a separate bowl, blend the ricotta cheese, egg, vanilla extract, and lemon zest until the mixture is smooth and creamy. This combination will create a rich filling for your cookies. Take a moment to enjoy the delightful aroma that the vanilla and lemon bring as you mix.
Step 4: Form the Dough
Gradually add the dry flour mixture for Cannoli Cookies to the wet ingredients, stirring until a soft and slightly sticky dough forms. If the dough seems too shaggy, you can add a tiny splash of water or milk to help it bind together.
Step 5: Rest the Dough
Cover the dough with plastic wrap and let it rest for 30 minutes at room temperature. This resting period allows the gluten to relax, making it easier to roll out later. Use this time to prepare your workspace and gather any additional ingredients you’ll need for the filling.
Step 6: Roll Out the Dough
After resting, turn the dough onto a lightly floured surface and roll it out to about ¼ inch thick. Aim for an even thickness for all Cannoli Cookies. Use a sharp knife or a pizza cutter to cut the dough into rectangles measuring about 2×3 inches, ensuring each cookie will hold a generous filling.
Step 7: Prepare the Filling
In a mixing bowl, combine ricotta cheese, mini chocolate chips, and chopped pistachios until well blended. This creamy filling is what makes your Cannoli Cookies irresistible. You can adjust the sweetness or flavor by adding more chocolate chips or different nuts as desired.
Step 8: Fill the Cookies
Place a generous teaspoon of the ricotta filling in the center of each rectangle. Fold the dough over the filling, pinching the edges together to seal them tightly. Make sure the filling is fully enclosed to prevent it from leaking out during baking.
Step 9: Bake the Cookies
Arrange the filled Cannoli Cookies on a lined baking sheet, leaving space between each one. Bake in the preheated oven for 15 to 18 minutes, or until they turn a lovely golden brown. Keep an eye on them towards the end to prevent overbaking, as the perfect cookies should look crisp yet still soft inside.
Step 10: Cool and Dust
Once baked, allow the cookies to cool slightly on the baking sheet for a few minutes before transferring them to a wire rack. This cooling period helps them set. After they are completely cool, dust them lightly with powdered sugar for a beautiful finish and added sweetness.

Make Ahead Options
These Cannoli Cookies are perfect for meal prep lovers! You can prepare the cookie dough up to 24 hours in advance by mixing all the dry ingredients and storing the wet mixture separately in the refrigerator. Additionally, you can fill the cookies and freeze them for up to 3 days before baking for a delightful homemade treat whenever you need it. To maintain their quality, ensure the filling is tightly sealed within the dough to prevent moisture loss. When you’re ready to enjoy, simply bake the frozen cookies directly from the freezer, adding an extra couple of minutes to the baking time for delicious, warm Cannoli Cookies that taste just as fresh and delightful as when they were made!
Expert Tips for Cannoli Cookies Recipe
-
Drain Ricotta: Allow ricotta to drain for 30 minutes before using; this prevents soggy cookies and ensures a perfect texture.
-
Check Baking Time: Keep an eye on your cookies as they bake; golden brown edges indicate they’re ready, avoiding the pitfall of overbaking.
-
Sift Your Flour: For best results, sift the flour before measuring; this helps in achieving a light and airy cookie dough.
-
Cool Properly: Let cookies cool slightly on the baking sheet before transferring them to a wire rack, allowing them to firm up and maintain their shape.
-
Storage Savvy: Place parchment paper between layers when storing your Cannoli Cookies to prevent sticking; they’ll stay fresh and delightful for longer!
How to Store and Freeze Cannoli Cookies
Room Temperature: Store Cannoli Cookies in an airtight container at room temperature for up to 3 days to keep them fresh and delicious.
Fridge: If you prefer, you can refrigerate the cookies where they will last for up to 5 days; just ensure they’re properly sealed to avoid moisture.
Freezer: For longer storage, freeze the cookies by wrapping them tightly in plastic wrap and placing them in a freezer-safe bag for up to 3 months.
Reheating: Thaw frozen Cannoli Cookies at room temperature for a few hours before serving, or warm them in a preheated oven for a few minutes to restore their delightful texture.
Cannoli Cookies Recipe Variations
Feel free to tailor this Cannoli Cookies Recipe to suit your tastes and dietary needs with these delightful variations!
-
Gluten-Free: Substitute all-purpose flour with almond flour for a gluten-free, nutty twist that doesn’t skimp on flavor. Your cookies will carry a rich texture, perfect for gluten-sensitive friends!
-
Vegan Delight: Replace the egg with a flax egg (1 tablespoon of flaxseed meal combined with 2.5 tablespoons of water) for a vegan option. This simple swap works wonders and keeps the cookies deliciously moist.
-
Richer Filling: Try using mascarpone cheese instead of ricotta for an even creamier texture and a touch of luxury. Imagine sinking your teeth into a clouds of creamy goodness—pure bliss!
-
Citrus Twist: Swap lemon zest for orange zest for a bright, vibrant flavor that adds a refreshing note to your cookies. The citrus aroma will fill your kitchen and delight your senses!
-
Nutty Variations: Substitute pistachios with finely chopped walnuts or hazelnuts to introduce a different crunchy texture. Each nut brings its own flavor profile, creating a delightful surprise in every bite.
-
Chocolate-Lover’s Dream: Mix in dark chocolate chips along with the mini chocolate chips to deepen the chocolate flavor profile of your cookies. A rich, decadent experience that will satisfy any sweet cravings!
-
Dried Fruit Addition: Toss in some chopped dried cherries or cranberries for a fruity explosion. This addition brings a delightful chewiness that complements the creamy filling perfectly.
-
Spice it Up: Add a pinch of cinnamon or nutmeg to the dough for a warm, comforting flavor that pairs beautifully with the sweet creamy filling. The subtle spices make each bite feel like a cozy hug!
These variations not only enhance the Cannoli Cookies Recipe but also allow you to customize it for a variety of preferences. For even more delightful baking inspiration, check out our Homemade Thin Cookies or try making Tiramisu Truffles next! Enjoy your delicious creations!
What to Serve with Cannoli Cookies
Imagine sharing warm Cannoli Cookies with your loved ones, surrounded by delightful aromas and laughter, creating lasting memories.
-
Espresso: The robust flavors of espresso perfectly complement the sweet ricotta filling, making each bite a heavenly experience.
-
Vanilla Ice Cream: A scoop of creamy vanilla ice cream adds a refreshing contrast against the crispy cookie, enhancing the dessert’s indulgence.
-
Fresh Berries: Juicy strawberries or plump blueberries provide a burst of freshness, cutting through the richness and adding a pop of color to your plate.
-
Whipped Cream: Light and airy whipped cream elevates the dessert, providing a silky smooth addition that pairs beautifully with the crunchy cookie.
-
Chocolate Sauce: Drizzling warm chocolate sauce over the cookies introduces an extra layer of richness that chocolate lovers will adore.
-
Sweet Wine: A glass of Moscato or a sweet dessert wine pairs wonderfully, adding a festive touch that’s perfect for celebrations or cozy gatherings.
Let your creativity shine with these pairings while enjoying the delightful Cannoli Cookies recipe, balancing flavors and textures for an unforgettable dessert experience!

Cannoli Cookies Recipe FAQs
What type of ricotta cheese is best for Cannoli Cookies?
Absolutely! I recommend using whole milk ricotta for the creaminess it brings to the filling. For a richer flavor, you can also use mascarpone cheese as a delightful substitute. Just make sure to drain the ricotta for about 30 minutes to remove excess moisture before mixing, ensuring a perfectly balanced cookie.
How should I store Cannoli Cookies?
For ideal freshness, keep your Cannoli Cookies in an airtight container at room temperature for up to 3 days. If you live in a more humid area, you can refrigerate them for up to 5 days. Always place parchment paper between layers to prevent sticking!
Can I freeze Cannoli Cookies?
Yes! Freezing your Cannoli Cookies is a great way to keep them longer. To freeze, wrap each cookie individually in plastic wrap and then place them in a freezer-safe bag. They will stay delicious for up to 3 months. To enjoy, simply thaw them at room temperature for a few hours or warm them in the oven for a few minutes!
What should I do if my cookie dough is too sticky?
If you find your dough is a bit too sticky after mixing, don’t fret! You can gradually incorporate a little more flour, about a tablespoon at a time, until you reach a manageable consistency. Alternatively, you can chill the dough for about 30 minutes before rolling it out, which also makes it easier to handle.
Are Cannoli Cookies suitable for a gluten-free diet?
Certainly! To make these Cannoli Cookies gluten-free, simply swap the all-purpose flour for almond flour. It’s a perfect alternative that maintains the delightful taste and texture. Just keep an eye on your measurements, as gluten-free flours behave differently from regular ones.
Can I make these cookies nut-free?
Yes! If you’re looking for a nut-free option, simply omit the chopped pistachios and chocolate chips from the filling. You can also add dried fruits like cranberries or raisins for a sweet twist without nuts, ensuring that everyone can enjoy these Cannoli Cookies!
Crispy Cannoli Cookies Recipe with Creamy Ricotta Delight
Ingredients
Equipment
Method
- Preheat your oven to 350°F (175°C).
- In a large mixing bowl, whisk together the all-purpose flour and granulated sugar until well combined.
- In a separate bowl, blend the ricotta cheese, egg, vanilla extract, and lemon zest until the mixture is smooth.
- Gradually add the dry ingredients to the wet ingredients and stir until a soft dough forms.
- Cover the dough with plastic wrap and let it rest for 30 minutes at room temperature.
- Roll the dough out to about ¼ inch thick and cut into rectangles measuring about 2x3 inches.
- In a mixing bowl, combine ricotta cheese, mini chocolate chips, and chopped pistachios until well blended.
- Place a teaspoon of the ricotta filling in the center of each rectangle and fold the dough over, sealing the edges.
- Arrange the filled cookies on a lined baking sheet and bake for 15 to 18 minutes or until golden brown.
- Allow the cookies to cool slightly on the baking sheet before transferring to a wire rack. Dust with powdered sugar before serving.
Leave a Reply