
Stepping into my kitchen with a craving for something sweet, the air filled with the tantalizing scent of coconut and warm rice flour transports me to the vibrant world of Filipino flavors. It’s time to whip up a batch of bibingka—a beloved Filipino coconut cake that has become a cherished favorite in my home. This easy-to-make dessert embraces the delightful combination of creamy coconut milk and sweet rice flour, resulting in a spongy texture that’s irresistibly gooey yet comforting. Not only is it gluten-free, making it a perfect dessert for everyone, but it’s also a showstopper at gatherings, sure to impress friends and family alike. Curious about how to recreate this tropical treat with that feel-good warmth? Let’s dive into this bibingka recipe that promises to bring a slice of the Philippines right to your table!

Why is Bibingka a Must-Try Dessert?
Irresistible Tropical Flavors: The unique blend of coconut milk and crushed pineapple creates a deliciously tropical flavor profile that’s hard to resist.
Simple Preparation: With just a few easy steps, this recipe requires minimal effort yet delivers maximum satisfaction, making it perfect for any home cook.
Gluten-Free Delight: Made with sweet rice flour, bibingka is a fantastic gluten-free option, allowing everyone to indulge in this delightful treat.
Showstopper at Gatherings: This cake will surely impress your guests, making it an ideal choice for family gatherings or celebrations, just like the vibrant flavors you’ll find in other desserts such as Pistachio Milk Cake and Carrot Cake Cheesecake.
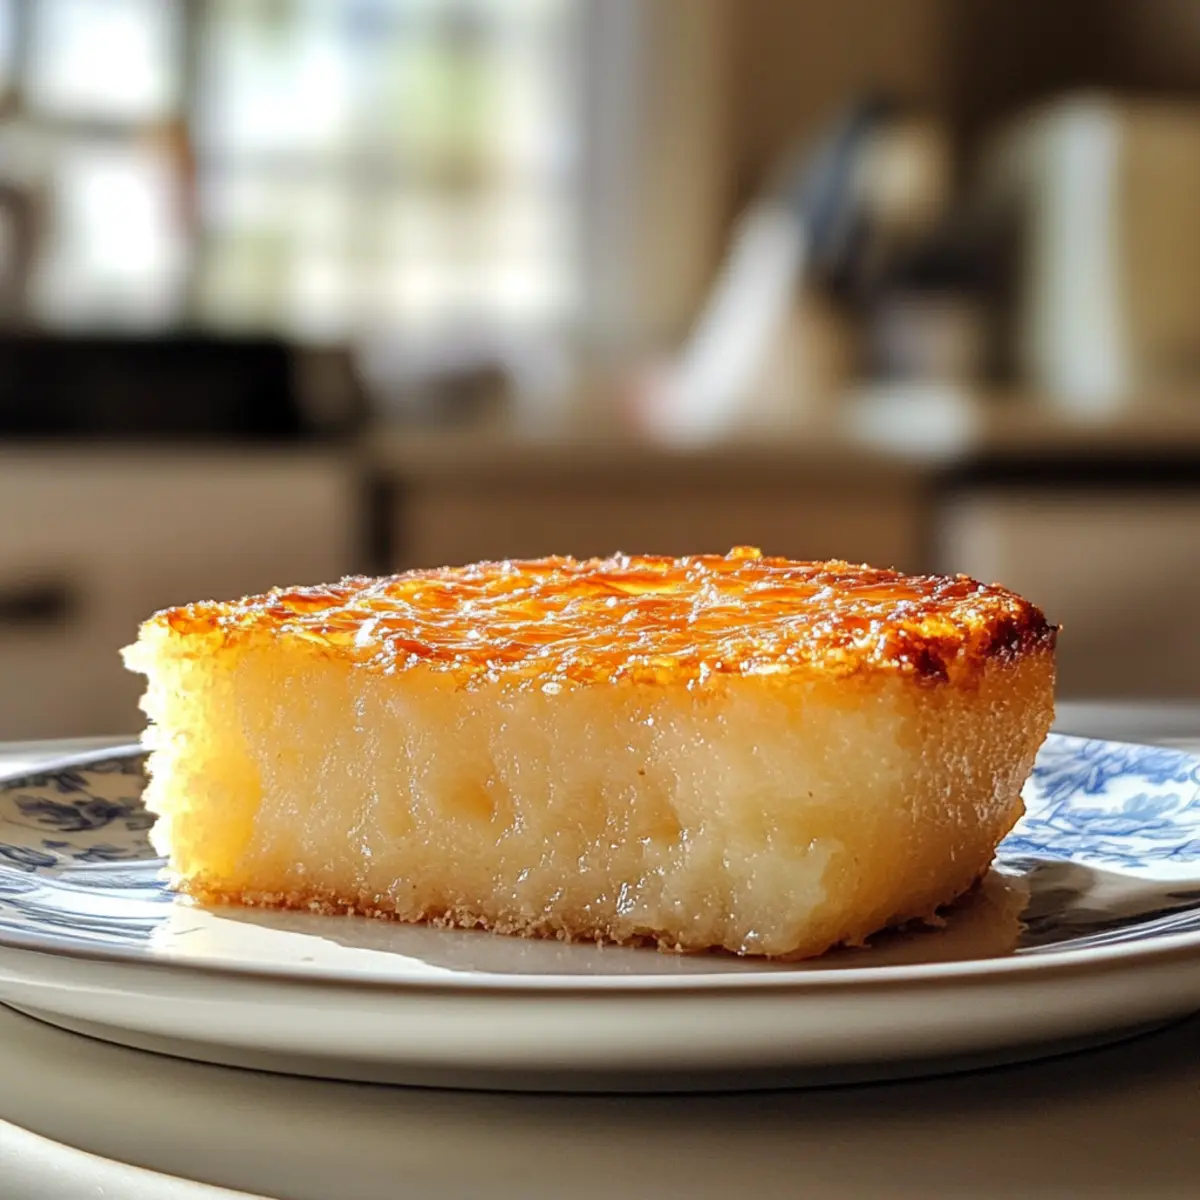
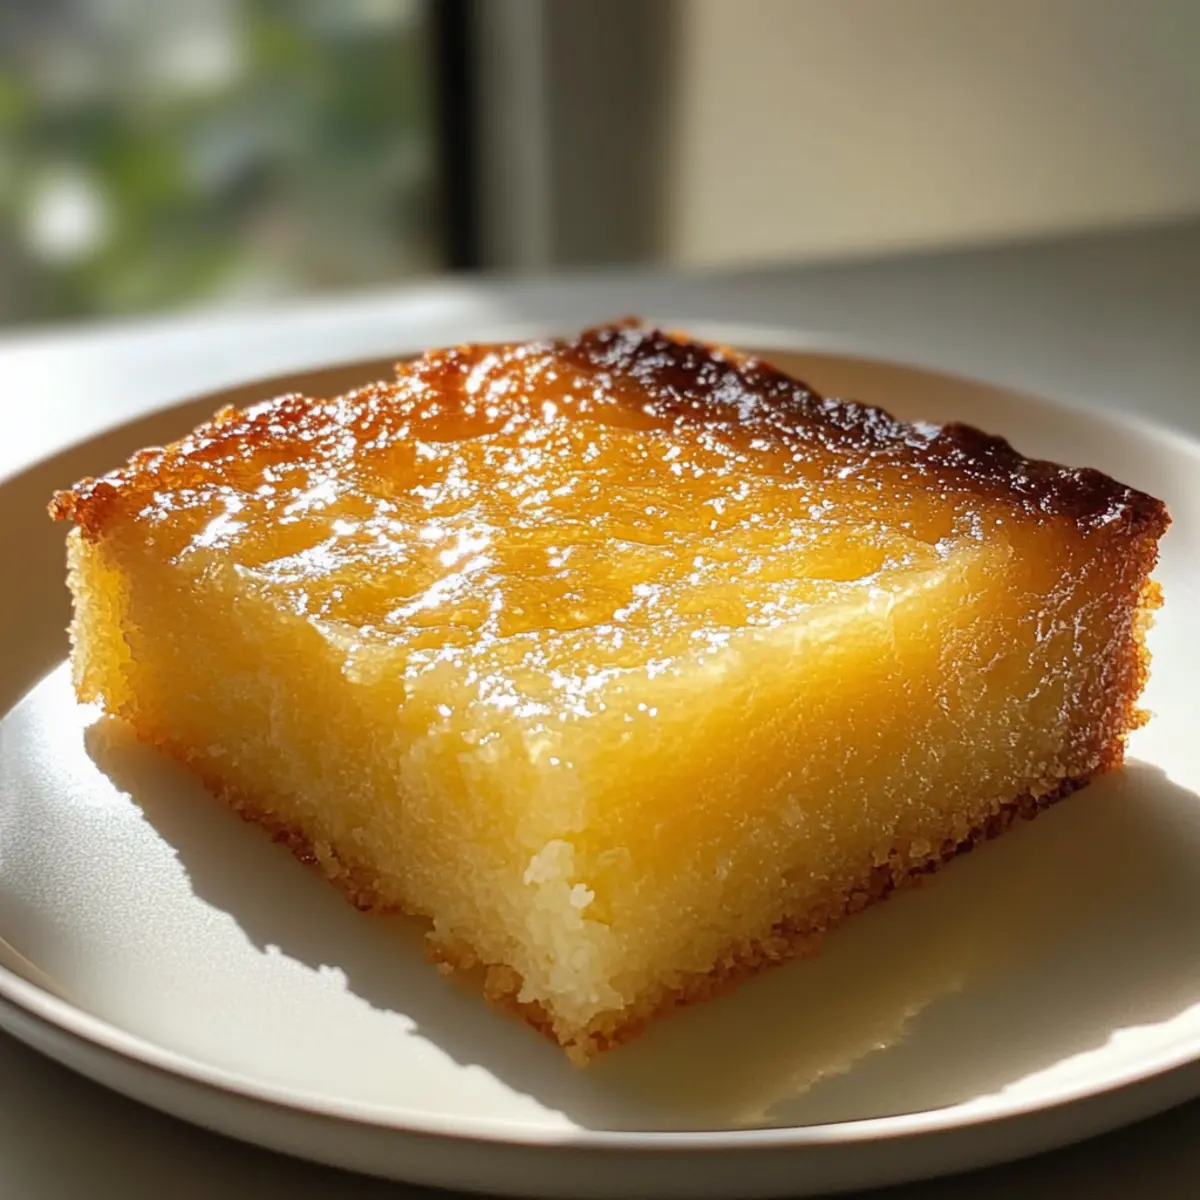
Perfect Texture: The sticky, gooey consistency coupled with a caramelized top offers a unique mouthfeel that resembles a delightful fusion of mochi and cake.
Treat your taste buds to a slice of this Filipino coconut cake and experience a warm slice of the tropics today!
Bibingka – Filipino Coconut Cake Ingredients
-
For the Batter
-
Cream Cheese – Provides rich flavor and moisture; substitute with mascarpone or Greek yogurt if desired.
-
Granulated Sugar – Adds sweetness and balances flavors; use brown sugar for a deeper taste.
-
Eggs – Binds ingredients together and contributes to the cake’s rise; ensure they are at room temperature for easier mixing.
-
Sweet Rice Flour (1 lb. / 3½ cups) – Gives the cake its unique texture and chewiness; it’s crucial not to substitute with regular rice flour.
-
Baking Powder – Helps the cake rise; make sure it’s fresh to ensure proper leavening.
-
Melted Butter (½ cup) – Adds richness and moisture; substitute with coconut oil for a richer coconut flavor.
-
Vanilla Extract (1 tbsp) – Enhances flavor; use pure vanilla extract for the best taste.
-
Cream of Coconut (15 oz can) – Provides a luscious coconut flavor; do not use coconut milk, as the consistency differs.
-
Milk (1 cup) – Adds moisture; can substitute with plant-based milk for a dairy-free version.
-
Crushed Pineapple (8 oz can, undrained) – Introduces sweetness and tropical flavor; fresh pineapple can be used but adjust the liquid content.
-
For Topping
-
Brown Sugar (¼ cup) & Granulated Sugar (2 tbsp) – Creates a caramelized top layer for added texture and sweetness in this bibingka cake.
Step‑by‑Step Instructions for Bibingka – Filipino Coconut Cake
Step 1: Preheat the Oven
Begin by preheating your oven to 350°F (175°C). This step is crucial as it ensures an even baking environment for your bibingka. While the oven warms, prepare your baking pan by greasing a 13×9-inch dish, ensuring a non-stick surface for the delicious cake to easily release after baking.
Step 2: Cream the Cheese and Sugar
In a large mixing bowl, combine the cream cheese and granulated sugar. Use an electric mixer to beat the mixture on medium speed until it becomes smooth and creamy, about 3–5 minutes. This creates a rich base for your bibingka, ensuring each slice is moist and flavorful.
Step 3: Incorporate the Eggs
Next, add the eggs one at a time into the cream cheese mixture. Beat well after each addition until fully incorporated. This process helps bind the ingredients together and gives your bibingka its delightful rise, setting the stage for a lovely texture.
Step 4: Add Dry Ingredients
Gently fold in the sweet rice flour and baking powder using a spatula. Mix until combined, taking care not to over-mix as this can affect the cake’s texture. The batter should be fairly thick but cohesive, embodying the heart of the bibingka you’re about to create.
Step 5: Mix in Wet Ingredients
Now, pour in the melted butter, milk, cream of coconut, and undrained crushed pineapple into the batter. Stir gently until just combined. This mixture will infuse your bibingka with tropical flavors and ensure a moist cake.
Step 6: Pour the Batter into the Pan
Carefully transfer the batter into your greased 13×9-inch pan, spreading it evenly with a spatula. Ensure the surface is smooth, as this will help the bibingka bake uniformly.
Step 7: Add Toppings
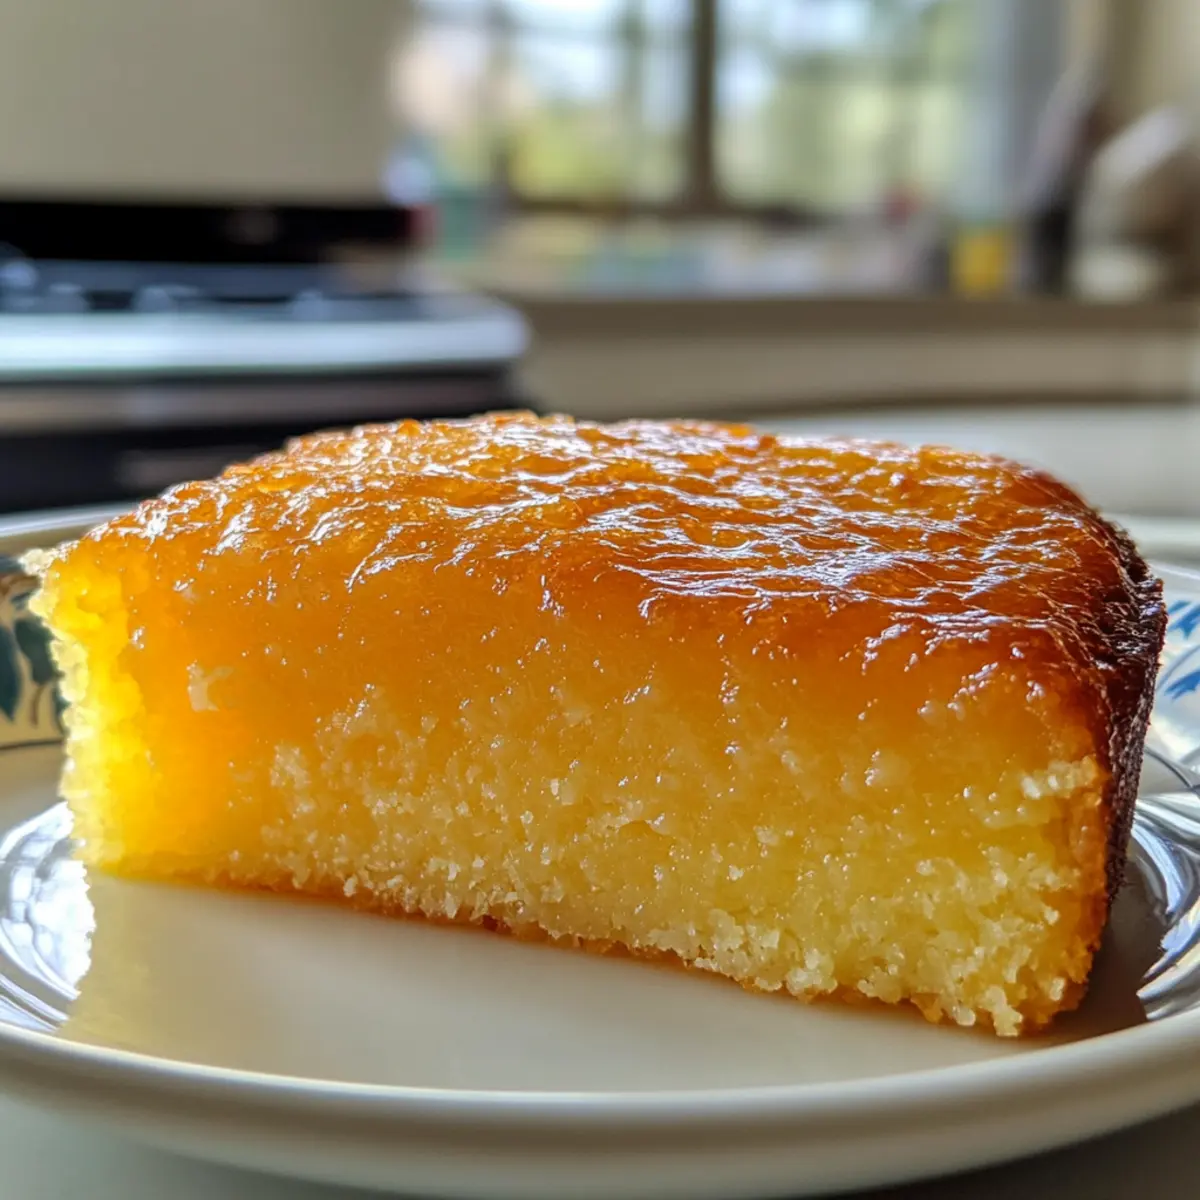
Sprinkle the top of the batter generously with brown sugar and granulated sugar. This will create a delightful caramelized crust that enhances the overall flavor and adds a textured finish to your bibingka.
Step 8: Bake the Bibingka
Place the pan in your preheated oven and bake for 1 hour. Keep an eye on it; the bibingka is done when the top is lightly golden and the center is set. A toothpick inserted should come out clean or with just a few moist crumbs.
Step 9: Cool and Serve
Once baked, remove the bibingka from the oven and allow it to cool in the pan for about 15 minutes. This cooling period helps with slicing. Cut into squares and serve warm, sharing the delightful flavors of this traditional Filipino coconut cake with your loved ones.
Bibingka – Filipino Coconut Cake Variations
Feel free to unleash your creativity and customize your bibingka with these delightful twists that enhance the flavors and textures of this traditional treat!
- Coconut Flour: Swap out some sweet rice flour for coconut flour for an extra coconut flavor while keeping the rice flour’s texture.
- Fruity Twist: Add in mashed ripe bananas or diced mangoes to infuse a burst of tropical sweetness with every bite.
- Spicy Kick: Sprinkle a dash of cinnamon or nutmeg into the batter for a warm spice element that complements the coconut beautifully.
- Nutty Delight: Fold in chopped nuts like cashews or almonds for delightful nutty crunchiness, enhancing both texture and taste.
- Dairy-Free: Use coconut milk instead of regular milk and coconut oil in place of butter to create a fully dairy-free version that’s still rich and satisfying.
- Zesty Surprise: Incorporate a hint of lime or orange zest into the batter, adding a refreshing citrus note that dances with the coconut.
- Decadent Toppings: Drizzle with caramel sauce or a sprinkle of toasted coconut on top before serving for an extra indulgent experience.
- Pineapple Variation: Instead of crushed pineapple, experiment with apple or peach puree for a different fruity flavor and texture sensation.
For an extra tropical experience, consider pairing this delightful bibingka with a side of fresh fruit or a scoop of ice cream—much like you would enjoy with Strawberry Crunch Cheesecake or Pumpkin Cheesecake Muffins. Enjoy your culinary journey!
Make Ahead Options
Bibingka – Filipino Coconut Cake is perfect for meal prep enthusiasts looking to save time on busy days! You can prepare the batter up to 24 hours in advance; simply mix all the ingredients and store it in an airtight container in the refrigerator to preserve its fresh flavors. To maintain quality, be sure to stir the mixture gently before pouring it into the pan, as it may settle. When you’re ready to bake, pour the batter into a greased 13×9-inch pan, sprinkle the top with sugar, and bake as instructed. This way, you’ll have a delightful dessert ready to impress your family with minimal effort!
How to Store and Freeze Bibingka
Fridge: Store leftover bibingka covered in an airtight container in the refrigerator for up to 5 days. This keeps it fresh and ready to enjoy!
Freezer: To freeze, cut the bibingka into individual squares and wrap each piece tightly in plastic wrap, followed by aluminum foil. It can be frozen for up to 3 months.
Reheating: When ready to eat, thaw the bibingka in the fridge overnight, then reheat gently in the microwave or bake in the oven at 350°F (175°C) for about 10 minutes until warmed through.
Room Temperature: If serving warm, allow bibingka to cool at room temperature for about 15 minutes after baking, enhancing its delightful texture before slicing.
What to Serve with Bibingka – Filipino Coconut Cake
Transform your homemade bibingka into a magnificent meal by pairing it with delightful sides and treats that complement its tropical flavors.
-
Fresh Mango Slices: Juicy and sweet, fresh mango adds a vibrant color and refreshing contrast to the rich flavors of bibingka.
-
Coconut Whipped Cream: A dollop of whipped cream infused with coconut gives an indulgent, creamy touch that enhances the cake’s tropical vibe.
-
Asian-style Fruit Salad: A medley of tropical fruits like pineapple, papaya, and banana offers a fresh, juicy balance to the sweet, dense cake.
-
Light Green Salad: Tossed greens with a tangy vinaigrette can cut through the bibingka’s sweetness, creating a harmonious balance on your plate.
-
Sweetened Condensed Milk Drizzle: Pouring a little sweetened condensed milk over your bibingka brings an extra layer of sweetness and creaminess to this delightful dessert.
-
Sago or Tapioca Pearls: Serve alongside cooked sago pearls drenched in syrup; their chewy texture pairs beautifully with the soft, sticky bibingka.
-
Iced Calamansi Drink: The bright and zesty flavors of an iced calamansi drink serve as a refreshing escape from the sweetness of the cake.
-
Coffee or Ube Latte: A warm cup of coffee or a vibrant ube latte rounds out the meal perfectly—balancing sweetness with energizing flavors.
Expert Tips for Bibingka
-
Mixing Matters: Take care not to over-mix the batter; gentle folding preserves the bibingka’s delightful texture.
-
Room Temperature Eggs: Always use room temperature eggs for better incorporation into the batter, resulting in a fluffier bibingka.
-
Baking Time Variations: If using mini pans, remember to reduce baking time to 25-30 minutes for an evenly baked dessert.
-
Storing Properly: Store leftover bibingka covered in the refrigerator for up to 5 days; be sure to reheat gently before serving to retain moisture.
-
Taste Testing: Don’t hesitate to try variations by adding fresh fruit or different sweeteners; just remember to adjust the liquid content accordingly.
Bibingka – Filipino Coconut Cake Recipe FAQs
What kind of sweet rice flour should I use for bibingka?
I highly recommend using mochi flour or sweet rice flour specifically labeled for baking. Regular rice flour will not yield the same structure and texture essential for your bibingka’s delightful chewiness. Make sure it’s fresh for best results!
How should I store leftover bibingka?
Store any leftover bibingka in an airtight container in the refrigerator for up to 5 days. This will help keep it moist and flavorful. Before serving, you can reheat it gently in the microwave or oven, which enhances its gooey texture.
Can I freeze bibingka, and how?
Absolutely! First, cut the bibingka into individual squares. Then, wrap each piece tightly in plastic wrap, followed by a layer of aluminum foil. This will keep it safe from freezer burn. You can store it in the freezer for up to 3 months. When you’re ready to enjoy, simply thaw overnight in the fridge and reheat at 350°F (175°C) for about 10 minutes until warmed through.
What should I do if my bibingka doesn’t rise properly?
If your bibingka hasn’t risen as expected, it may be due to older baking powder that lacks potency. Make sure your baking powder is fresh—check the expiration date! Additionally, be gentle while mixing; over-mixing can also hinder rise. Always ensure your ingredients, especially eggs and cream cheese, are at room temperature for optimal mixing.
Is bibingka gluten-free? Can anyone with allergies enjoy it?
Yes, bibingka is gluten-free since it’s made with sweet rice flour. However, if you have specific allergies or dietary restrictions, be cautious about the other ingredients, such as cream cheese and milk. For dairy-free options, you can use coconut cream and a plant-based milk substitute.
How can I tell when my bibingka is fully baked?
Your bibingka is done when the top is lightly golden, and the center is set. A toothpick inserted into the middle should come out clean or with just a few moist crumbs attached. If you’re checking while baking, be careful not to open the oven too frequently, as this can cause uneven baking.
Bibingka – Filipino Coconut Cake for Tropical Dessert Bliss
Ingredients
Equipment
Method
- Preheat your oven to 350°F (175°C) and grease a 13x9-inch dish.
- In a large mixing bowl, combine the cream cheese and granulated sugar, beating until smooth, about 3–5 minutes.
- Add the eggs one at a time to the mixture, beating well after each addition.
- Gently fold in the sweet rice flour and baking powder until combined.
- Pour in the melted butter, milk, cream of coconut, and crushed pineapple, stirring gently until combined.
- Transfer the batter into the greased 13x9-inch pan, spreading evenly.
- Sprinkle the top with brown sugar and granulated sugar.
- Bake in the preheated oven for 1 hour, until the top is lightly golden and center is set.
- Cool in the pan for about 15 minutes, cut into squares and serve warm.
Leave a Reply