
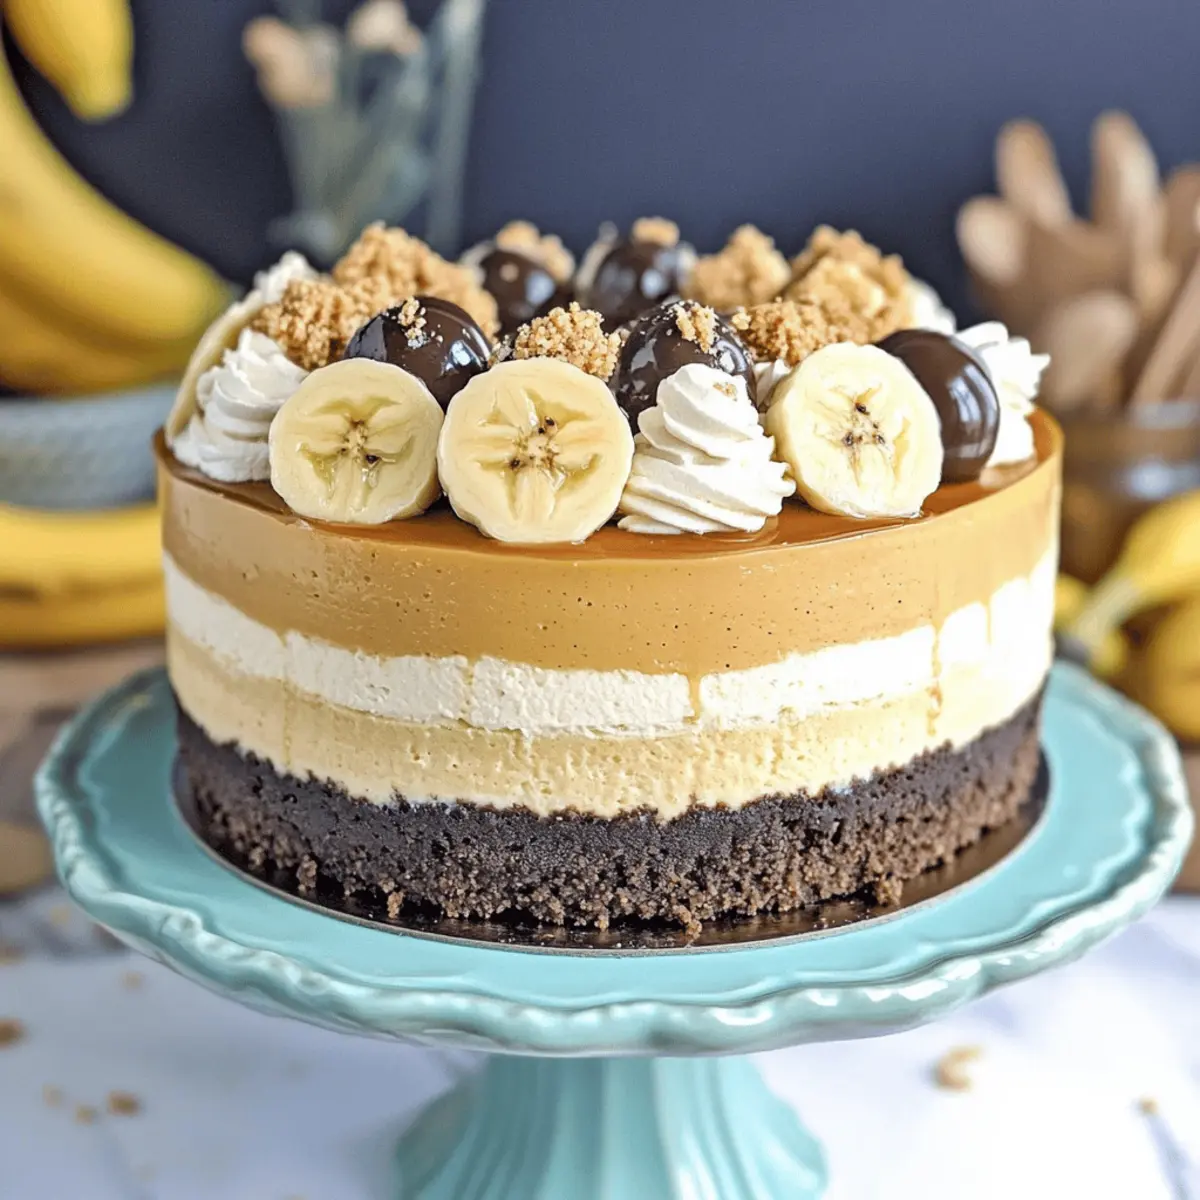
I’ll never forget the day I realized I could bring together two of my all-time favorite desserts into one amazing creation: the Banana Pudding Cheesecake! This delightful recipe marries the classic comfort of banana pudding with the luxurious creaminess of cheesecake, making it a treat that feels like a warm hug on a plate. The best part? It requires no baking, meaning you can whip it up with minimal effort while still impressing friends and family with its gorgeous layers and textures. You’ll love how the crunchy Nilla Wafer crust hugs the luscious filling, and that whipped topping adds a delightful lightness. Ready to elevate your dessert game and enjoy a slice of nostalgia? Let’s dive into this incredible Banana Pudding Cheesecake recipe that will have everyone coming back for seconds!
Why is Banana Pudding Cheesecake a Must-Try?
Indulgence at its Finest: This Banana Pudding Cheesecake brings layers of flavor and decadence that will blow your taste buds away.
No Baking Needed: With a no-bake approach, you save time while still creating a show-stopping dessert.
Classic Comfort: Combining traditional banana pudding with rich cheesecake flavors creates a nostalgia kick that everyone loves!
Versatile Serving Options: Serve it in individual cups or create a larger pie, adapting to any gathering.
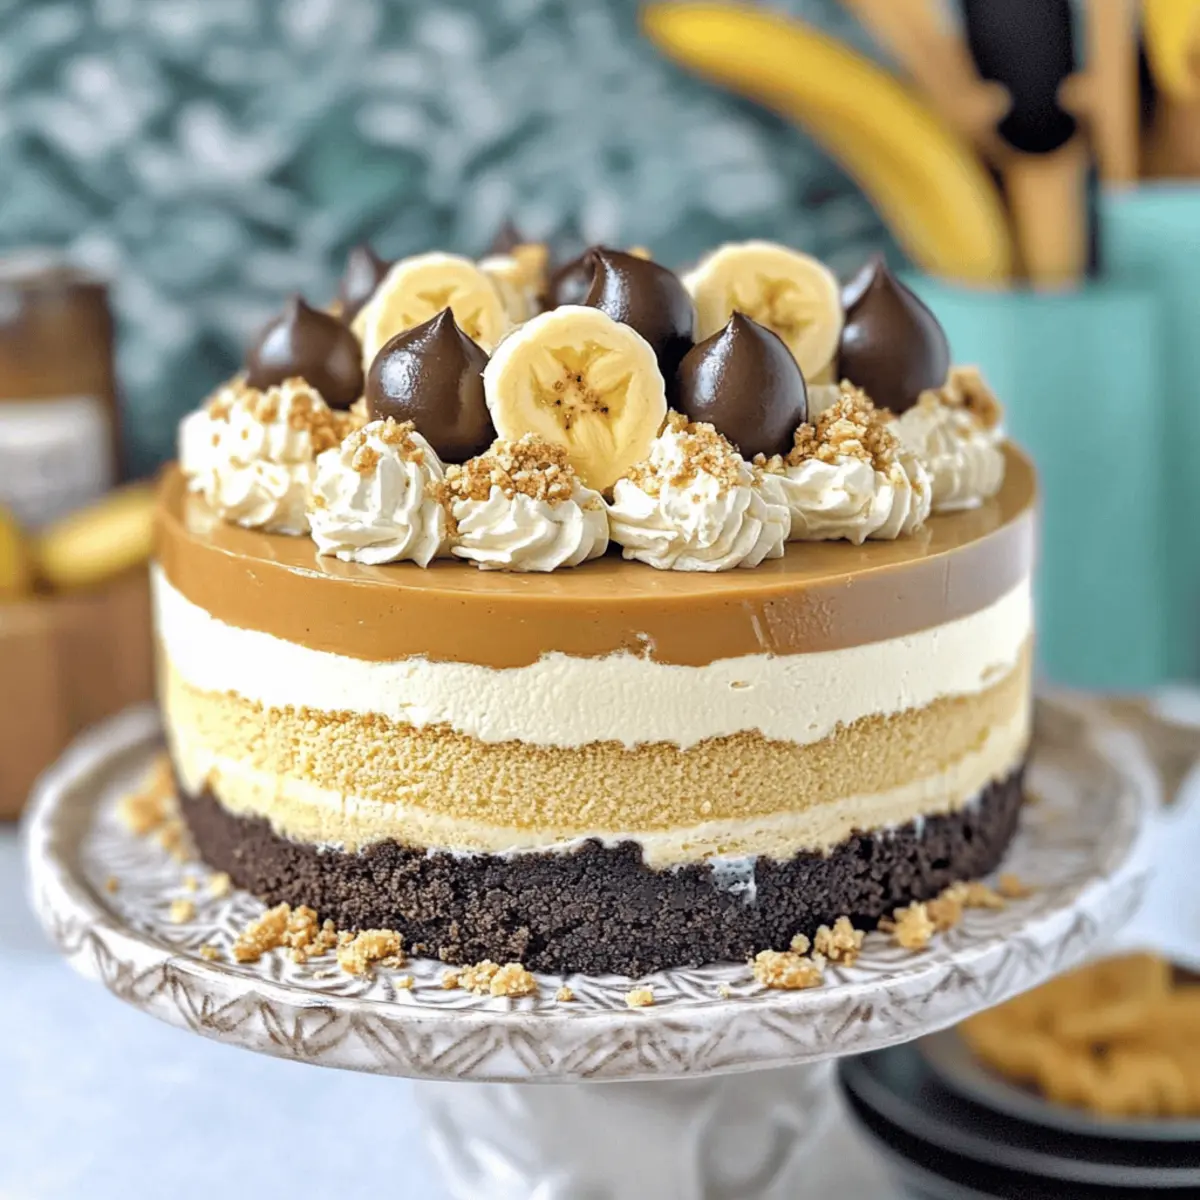
Effortless Elegance: Its stunning layers of bananas and whipped pudding make it a delightful centerpiece for any occasion.
For more delicious ideas, check out my recipes for Pumpkin Cheesecake Muffins and Chocolate Orange Mousse!
Banana Pudding Cheesecake Ingredients
For the Crust
- Nilla Wafers – Ideal for a sweet, crunchy base; can substitute with graham crackers for a different flavor.
- Brown Sugar – Adds sweetness and moisture to the crust; light or dark sugar works beautifully.
- Unsalted Butter – Binds the crust ingredients together; margarine can be used in a pinch.
For the Cheesecake Filling
- Cream Cheese – Forms the cheesecake base; ensure it’s at room temperature for smooth mixing.
- White Granulated Sugar – Sweetness for the cheesecake filling; coconut sugar makes it dairy-free.
- Pure Vanilla Extract – Enhances flavor; almond extract is a delicious twist.
- Bananas (mashed) – Provides natural sweetness and flavor; use ripe bananas for the best taste.
- Sour Cream – Adds creaminess and tang; Greek yogurt can lighten it up if desired.
- Heavy Cream – Incorporates richness into the batter; coconut cream is a great substitute for dairy-free.
- Large Eggs – Provides structure; bring to room temperature for even incorporation.
For the Topping
- Instant Vanilla Pudding – Essential for a creamy texture; ensures the topping sets perfectly.
- Milk – Used to prepare the pudding; try alternatives such as almond milk for a different taste.
- Crushed Nilla Wafers – Optional garnish for added texture; extra sprinkles can amp up the visuals.
For Decoration
- Bananas (sliced) – Fresh banana slices are recommended to garnish the cheesecake; they add visual appeal and flavor.
Step‑by‑Step Instructions for Banana Pudding Cheesecake
Step 1: Preheat and Prepare
Preheat your oven to 325°F (160°C) and prepare a 9-inch springform pan by spraying it with nonstick spray and lining the bottom with parchment paper. This will ensure easy removal of your delicious Banana Pudding Cheesecake later on.
Step 2: Make the Crust
In a food processor, pulse the Nilla Wafers into fine crumbs. Combine these crumbs with brown sugar and melted unsalted butter until well blended. Press this mixture firmly into the bottom of the springform pan, creating an even base. Bake for 11 minutes, or until lightly golden, then set aside to cool.
Step 3: Blend the Filling
In a large mixing bowl, use an electric mixer on medium speed to beat the softened cream cheese and white granulated sugar together until smooth and creamy, about 2-3 minutes. Then, gradually add in the mashed bananas, sour cream, heavy cream, and pure vanilla extract, mixing just until everything is well combined.
Step 4: Incorporate the Eggs
Add the large eggs to the mixing bowl one at a time, blending each egg in on low speed to maintain a smooth consistency. Scrape the sides of the bowl as needed to ensure all ingredients are evenly incorporated. Once added, half of the cheesecake batter can be poured over the cooled Nilla Wafer crust.
Step 5: Add the Banana Layer
Slice fresh bananas and layer them evenly over the first half of the cheesecake batter. If desired, sprinkle crushed Nilla Wafers on top of the banana layer for added texture. Carefully pour the remaining cheesecake batter on top, ensuring the bananas are well-covered as you build the delicious layers of your Banana Pudding Cheesecake.
Step 6: Bake in a Water Bath
To prevent cracking and ensure even cooking, prepare a water bath by placing the springform pan in a larger baking pan filled with hot water. Bake the cheesecake in the oven for 80-90 minutes or until it’s set with a slight jiggle in the center.
Step 7: Cool Slowly
Once baked, turn off the oven, leaving the door ajar for about 30 minutes. This slow cooling will help maintain the texture of your cheesecake. Afterward, transfer the pan to a wire rack and allow it to cool completely before refrigerating it overnight.
Step 8: Prepare the Topping
In a clean mixing bowl, beat together the instant vanilla pudding and milk until smooth and combined. Then, whip the heavy cream in a separate bowl until stiff peaks form. Carefully fold the whipped cream into the pudding mix, ensuring to keep it light and fluffy for the topping of your Banana Pudding Cheesecake.
Step 9: Assemble and Garnish
Spread the whipped pudding mixture over the cooled cheesecake layer, smoothing it out evenly. For a delightful finishing touch, sprinkle crushed Nilla Wafers on top for decoration. Optionally, add fresh banana slices right before serving to enhance the visual appeal and freshness of your stunning Banana Pudding Cheesecake.

Make Ahead Options
These Banana Pudding Cheesecake delights are perfect for meal prep! You can prepare the crust and cheesecake filling up to 24 hours in advance. Simply make the crust, cool it, and store it in the refrigerator, covered tightly with plastic wrap to maintain freshness. The cheesecake filling can also be mixed ahead of time; just keep it in an airtight container until you’re ready to pour it onto the crust. When it’s time to serve, bake the cheesecake according to the instructions, chill overnight for the best results, and top with the whipped pudding layer right before enjoying. This way, you save precious time and still deliver a deliciously impressive dessert!
Expert Tips for Banana Pudding Cheesecake
-
Room Temperature Ingredients: Ensure all dairy ingredients are at room temperature to prevent lumps and promote a smooth filling in your Banana Pudding Cheesecake.
-
Water Bath Method: Use a water bath during baking to keep the cheesecake moist and avoid cracks in the surface, ensuring a beautifully baked dessert.
-
Gentle Folding Technique: When incorporating whipped cream into your pudding, fold gently to maintain airiness, which adds lightness to the topping.
-
Fresh Bananas: For the best flavor and presentation, use ripe, fresh bananas and add them just before serving to avoid browning.
-
Chilling Time: Don’t rush the chilling process! Plan to let your cheesecake cool overnight for the best flavor and texture.
What to Serve with Banana Pudding Cheesecake?
Pairing this delightful dessert with complementary flavors and textures can elevate your dining experience and create a full meal.
-
Fresh Banana Slices:
Add a touch of freshness to your plate with thinly sliced bananas, enhancing the natural sweetness of the cheesecake. -
Whipped Cream:
A dollop of freshly whipped cream introduces a light and airy contrast, making every bite feel indulgent. -
Caramel Sauce:
A warm drizzle of caramel adds a rich, buttery flavor that perfectly balances the cheesecake’s creaminess and sweetness. -
Chocolate Ganache:
For a decadent twist, serve with a rich chocolate ganache. This addition enriches the dessert with an elegant and sophisticated touch. -
Coffee or Espresso:
The bold notes of coffee or espresso create a delightful balance against the sweetness of the cheesecake, making for a cozy pairing. -
Chilled Sweet Tea:
A refreshing glass of sweet tea, with its crispness, serves as a light counterpoint to the rich, creamy dessert. -
Fruit Salad:
A colorful mix of seasonal fruits brings a vibrant, refreshing element to the table, cutting through the cheesecake’s richness beautifully.
Imagine enjoying each bite, surrounded by the warmth of loved ones, sharing memories and laughter, while indulging in this luxurious Banana Pudding Cheesecake!
Storage Tips for Banana Pudding Cheesecake
- Fridge: Store your Banana Pudding Cheesecake covered in the refrigerator for up to 3 days to maintain freshness and prevent drying out.
- Freezer: For longer storage, wrap the cheesecake tightly in plastic wrap and aluminum foil, and freeze for up to 1 month. Thaw in the fridge overnight before serving.
- Reheating: If serving leftovers, enjoy them cool or at room temperature; avoid reheating in the microwave to keep the cheesecake’s texture intact.
- Make-Ahead: The cheesecake can be made 1-2 days in advance, making it a convenient option for gatherings while ensuring delicious flavors meld together.
Variations & Substitutions for Banana Pudding Cheesecake
Feel free to get creative with this Banana Pudding Cheesecake; every twist brings a new level of deliciousness!
-
Chocolate Twist: Substitute chocolate pudding for the vanilla pudding to create a rich chocolate-banana flavor. The contrast will surprise and delight every chocolate lover at your table.
-
Nutty Delight: Add creamy peanut butter into the cheesecake filling for a nutty surprise. This delightful combination offers a heartwarming nostalgia reminiscent of childhood favorites.
-
Fruit Fusion: Try adding a layer of fresh strawberries or blueberries along with the bananas for a fruity explosion. These bright flavors add a fresh, vibrant pop that pairs beautifully with the banana.
-
Graham Cracker Crust: Swap out Nilla Wafers for graham crackers in the crust for a different flavor profile. This switch provides a classic, sweet base that blends seamlessly with the cheesecake.
-
Dairy-Free Option: Use coconut cream instead of heavy cream and dairy-free cream cheese to make the recipe suitable for a dairy-free crowd. The coconut adds a subtle tropical flair that pairs perfectly with banana.
-
Mini Version: Create individual servings by layering the cheesecake in small jars or cups for cute, portable desserts. These mini delights make for perfect party treats and are easy to serve.
-
Spice it Up: Add a pinch of cinnamon or nutmeg to the cream cheese mixture for a warm, spiced flavor. These aromatic spices bring an extra level of comfort that enhances the banana essence.
-
Caramel Drizzle: Finish with a luscious drizzle of caramel sauce on top of the whipped pudding. This decadent touch elevates the dessert while adding a rich sweetness that everyone will love.
For even more delicious ideas, check out my recipes for Pumpkin Cheesecake Balls and Bake Pumpkin Pie!

Banana Pudding Cheesecake Recipe FAQs
How do I know if my bananas are ripe enough for the cheesecake?
Absolutely! Look for bananas that have a yellow peel with some brown speckles. These are the sweetest and will add the best flavor to your Banana Pudding Cheesecake. Avoid bananas that are too green or overly brown with dark spots all over, as they may not provide the right balance of sweetness and texture.
What’s the best way to store Banana Pudding Cheesecake?
To keep your cheesecake fresh, cover it with plastic wrap or aluminum foil and store it in the refrigerator for up to 3 days. If you plan to enjoy it later, wrapping it tightly and freezing it for up to 1 month is a great option. Simply thaw it in the fridge overnight for a perfect texture when ready to serve.
Can I freeze the Banana Pudding Cheesecake?
Very! To freeze your cheesecake, first, let it cool completely and then wrap it tightly in plastic wrap followed by aluminum foil. This helps protect it from freezer burn. When you’re ready to enjoy it, simply transfer it to the refrigerator to thaw overnight. It makes for a wonderful make-ahead dessert during busy times!
What if my cheesecake is cracking while baking?
If you notice cracks developing, don’t worry! This can happen sometimes. To avoid them in the future, ensure you use a water bath when baking. Place your springform pan in a larger pan filled with hot water, which creates steam in the oven and helps maintain moisture. Additionally, baking at a lower temperature for a longer duration can also prevent cracking.
Are there any dietary considerations I should keep in mind?
Absolutely! If you’re serving guests with dietary restrictions, consider using nut-free and dairy-free alternatives where applicable. For example, substituting coconut cream for heavy cream makes it dairy-free, and using coconut sugar instead of white granulated sugar can cater to different dietary needs. Always check the ingredients for allergies, especially regarding the Nilla Wafers and pudding mix.
Can pets eat any of the ingredients in the cheesecake?
Very! It’s important to note that many ingredients in the Banana Pudding Cheesecake, especially chocolate and sugars, aren’t suitable for pets. It’s best to keep this delicious treat all to yourself and ensure your furry friends stick to their pet-friendly snacks instead!
Pumpkin Chocolate Mousse Cake: A Fall Dessert Delight
Ingredients
Equipment
Method
- Preheat your oven to 325°F (160°C) and prepare a 9-inch springform pan by spraying it with nonstick spray and lining the bottom with parchment paper.
- In a food processor, pulse the Nilla Wafers into fine crumbs. Combine these crumbs with brown sugar and melted unsalted butter until well blended. Press this mixture firmly into the bottom of the springform pan.
- Bake for 11 minutes, or until lightly golden, then set aside to cool.
- In a large mixing bowl, beat the softened cream cheese and white granulated sugar together until smooth and creamy, about 2-3 minutes. Gradually add in the mashed bananas, sour cream, heavy cream, and pure vanilla extract, mixing until well combined.
- Add the large eggs one at a time, blending each in on low speed.
- Pour half of the cheesecake batter over the cooled Nilla Wafer crust.
- Layer sliced fresh bananas evenly over the first half of the cheesecake batter and sprinkle crushed Nilla Wafers on top if desired.
- Pour the remaining cheesecake batter on top, covering the bananas.
- Prepare a water bath by placing the springform pan in a larger baking pan filled with hot water. Bake for 80-90 minutes.
- Once baked, turn off the oven and leave the door ajar for about 30 minutes. Transfer the pan to a wire rack to cool completely before refrigerating overnight.
- Beat the instant vanilla pudding and milk until smooth. Whip the heavy cream until stiff peaks form and fold it into the pudding mix.
- Spread the whipped pudding mixture over the cooled cheesecake layer and sprinkle crushed Nilla Wafers on top, adding fresh banana slices before serving.
Leave a Reply